The Elven way: A tale of Red Era inspired Hobby
Welcome to my Hobby Blog, here I will look to chronicle my the building and painting of one of my dream projects a red era High Elf army inspired by the 4th Ed High Elf army book cover and this White Dwarf article:

I will look to include a some discussion of how I’ve painted stuff the challenges and thought processes etc. and some step by step shots etc. I’m by no means a skilled painter but I always enjoyed the white dwarf articles such as tale of four gamers where there’s just a broad discussion of the hobby and what goes into creating an army. I will also include some narrative background around my army.
For those interested there is also my complimentary gaming blog which can be found here:
https://www.kowforum.com/t/the-elven-way-a-tale-of-gaming/
In terms of the project I wanted to paint some of my favourite GW models from back in 4th ed WFB when I was introduced to the hobby right up to some of the modern day Lumineth Realm Lords (LRL) models. I’m approaching the project by trying to paint up a 1500pts list then expand to 2000pts and then to finish up with 2300pts allowing me to play most typical game sizes.
Phase 1: 1500pts
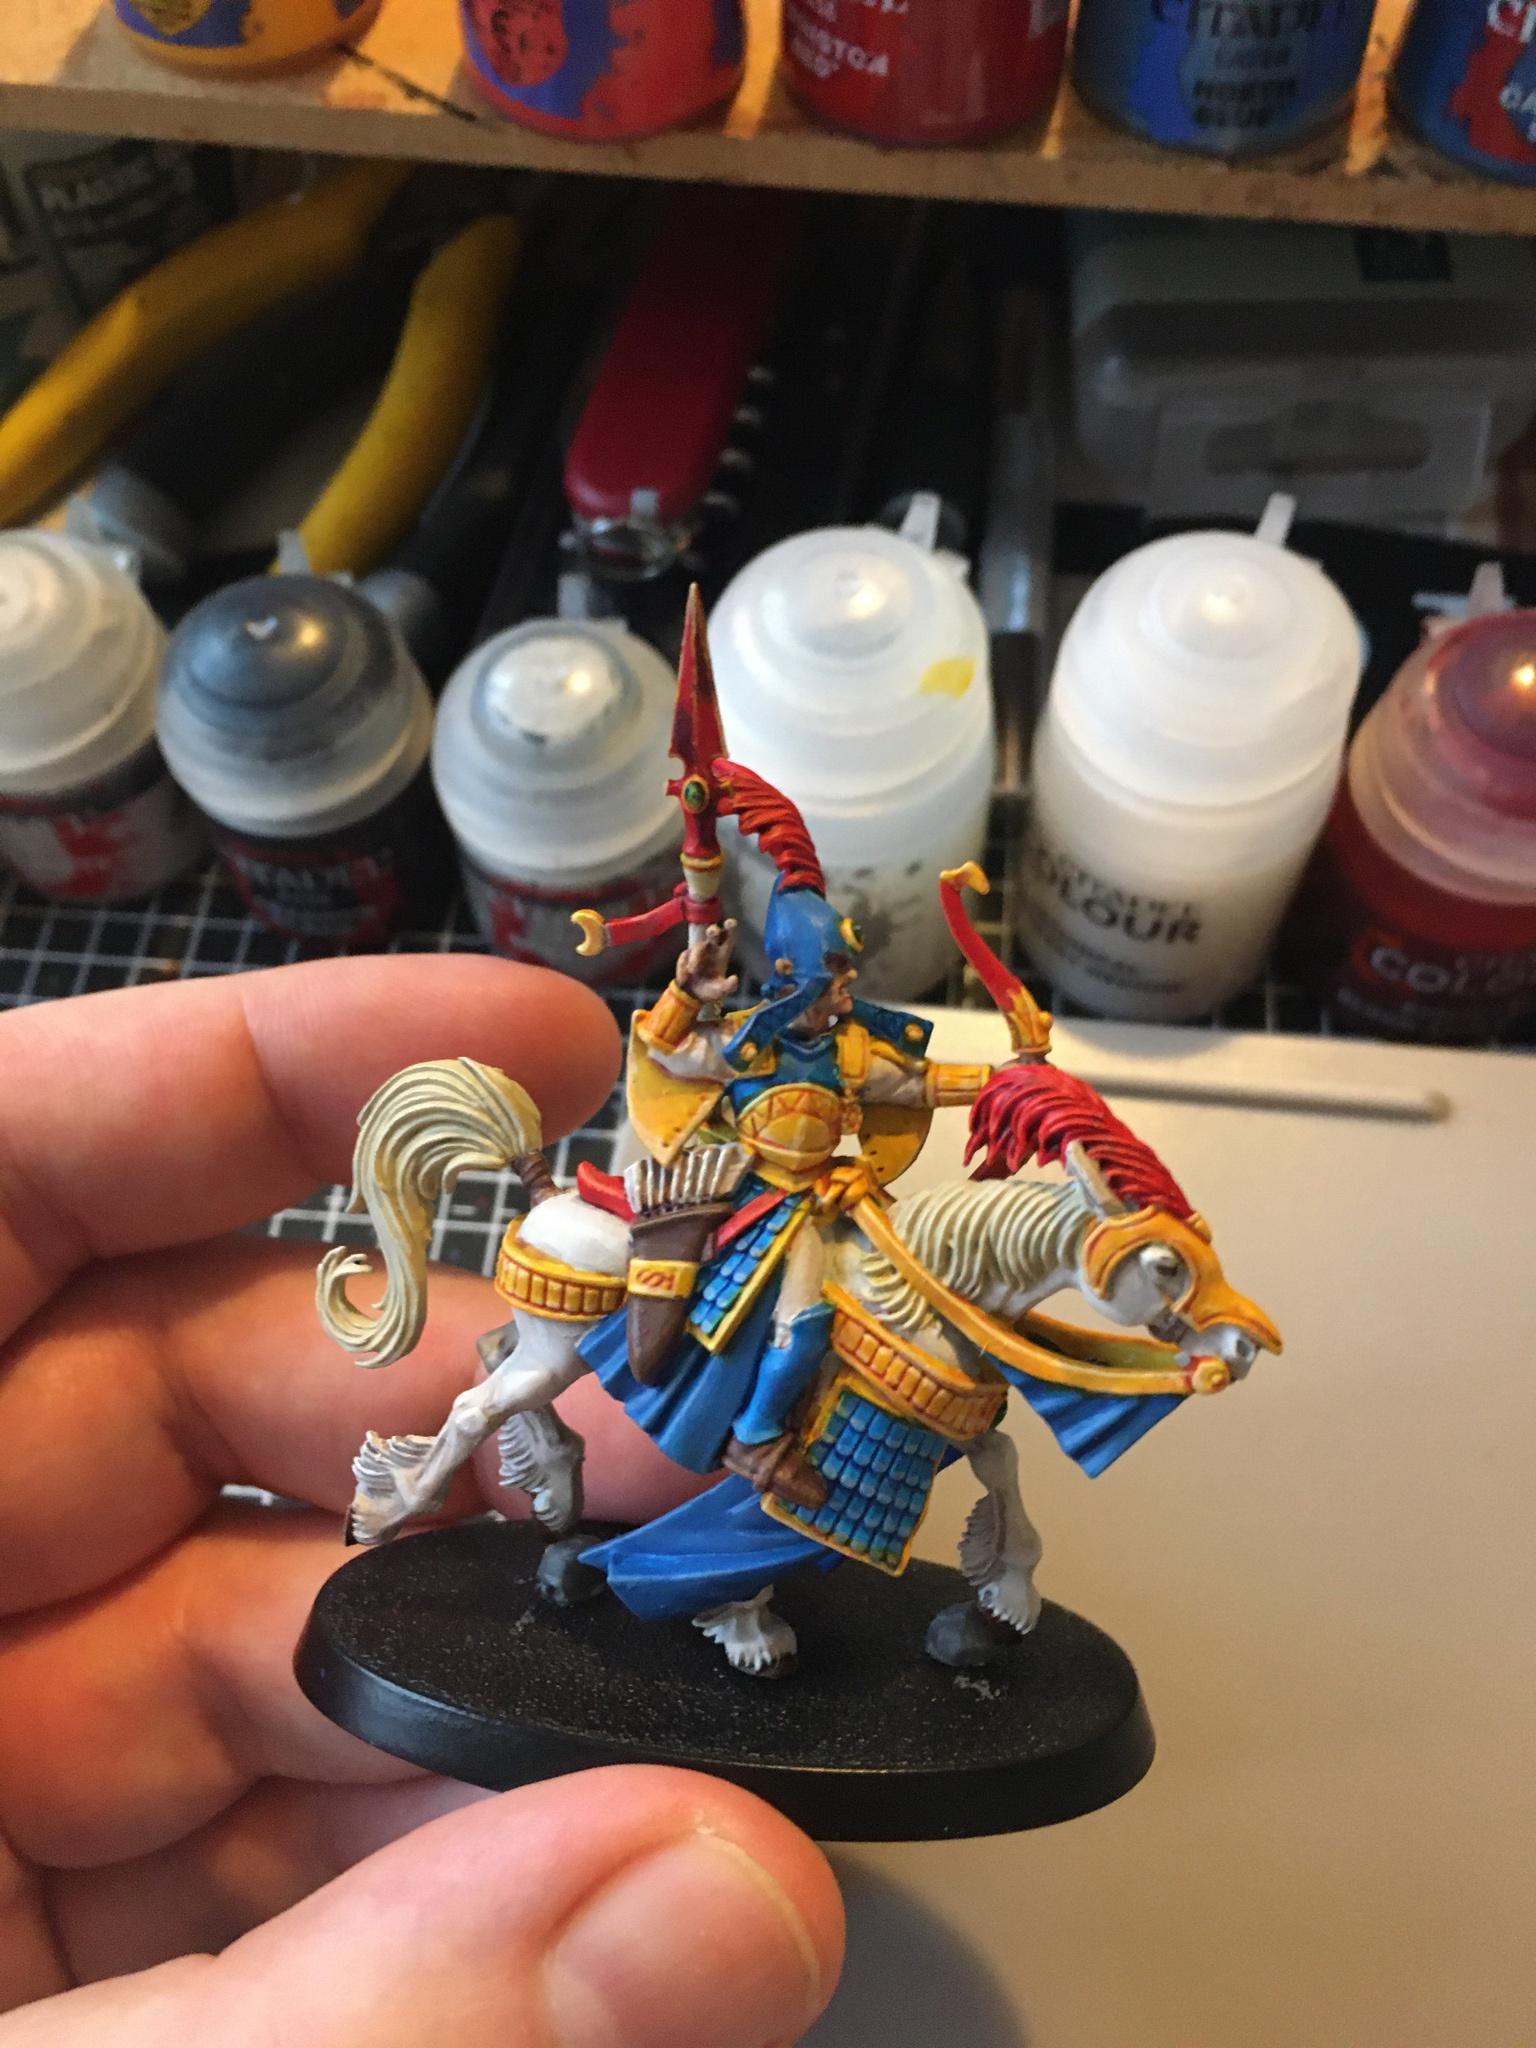
Mounted Elf King (5th ed mounted general)
Archmage on foot with sword (5th ed mage Tethan)
Drakon Lord (conveyed LRL Lord regent)
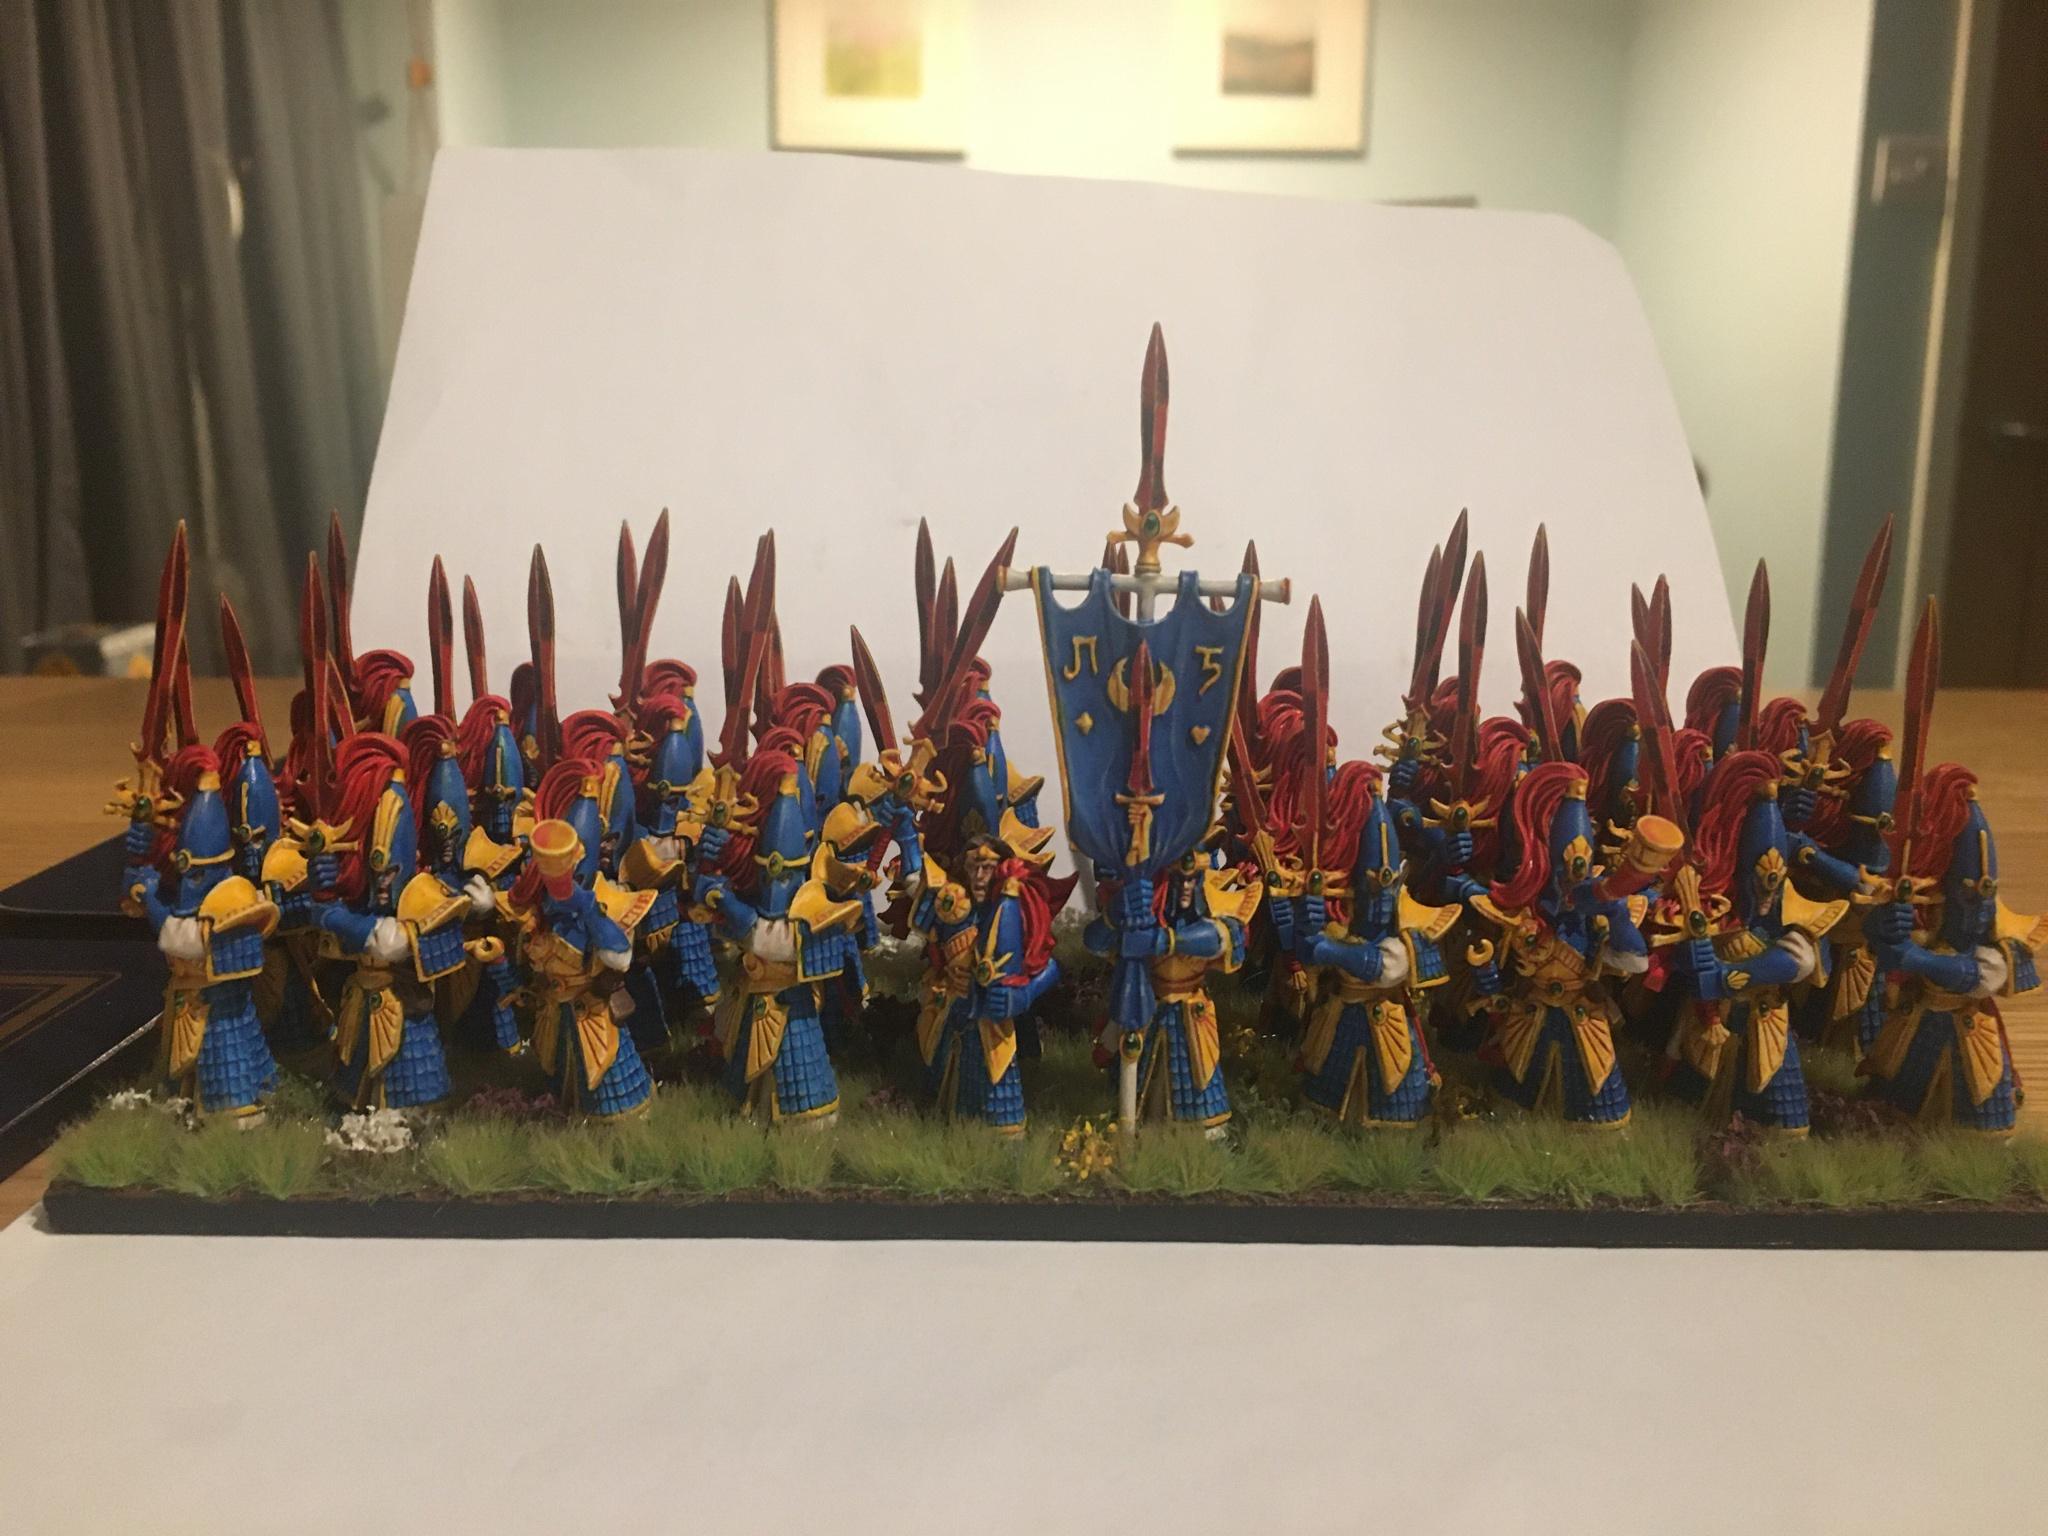
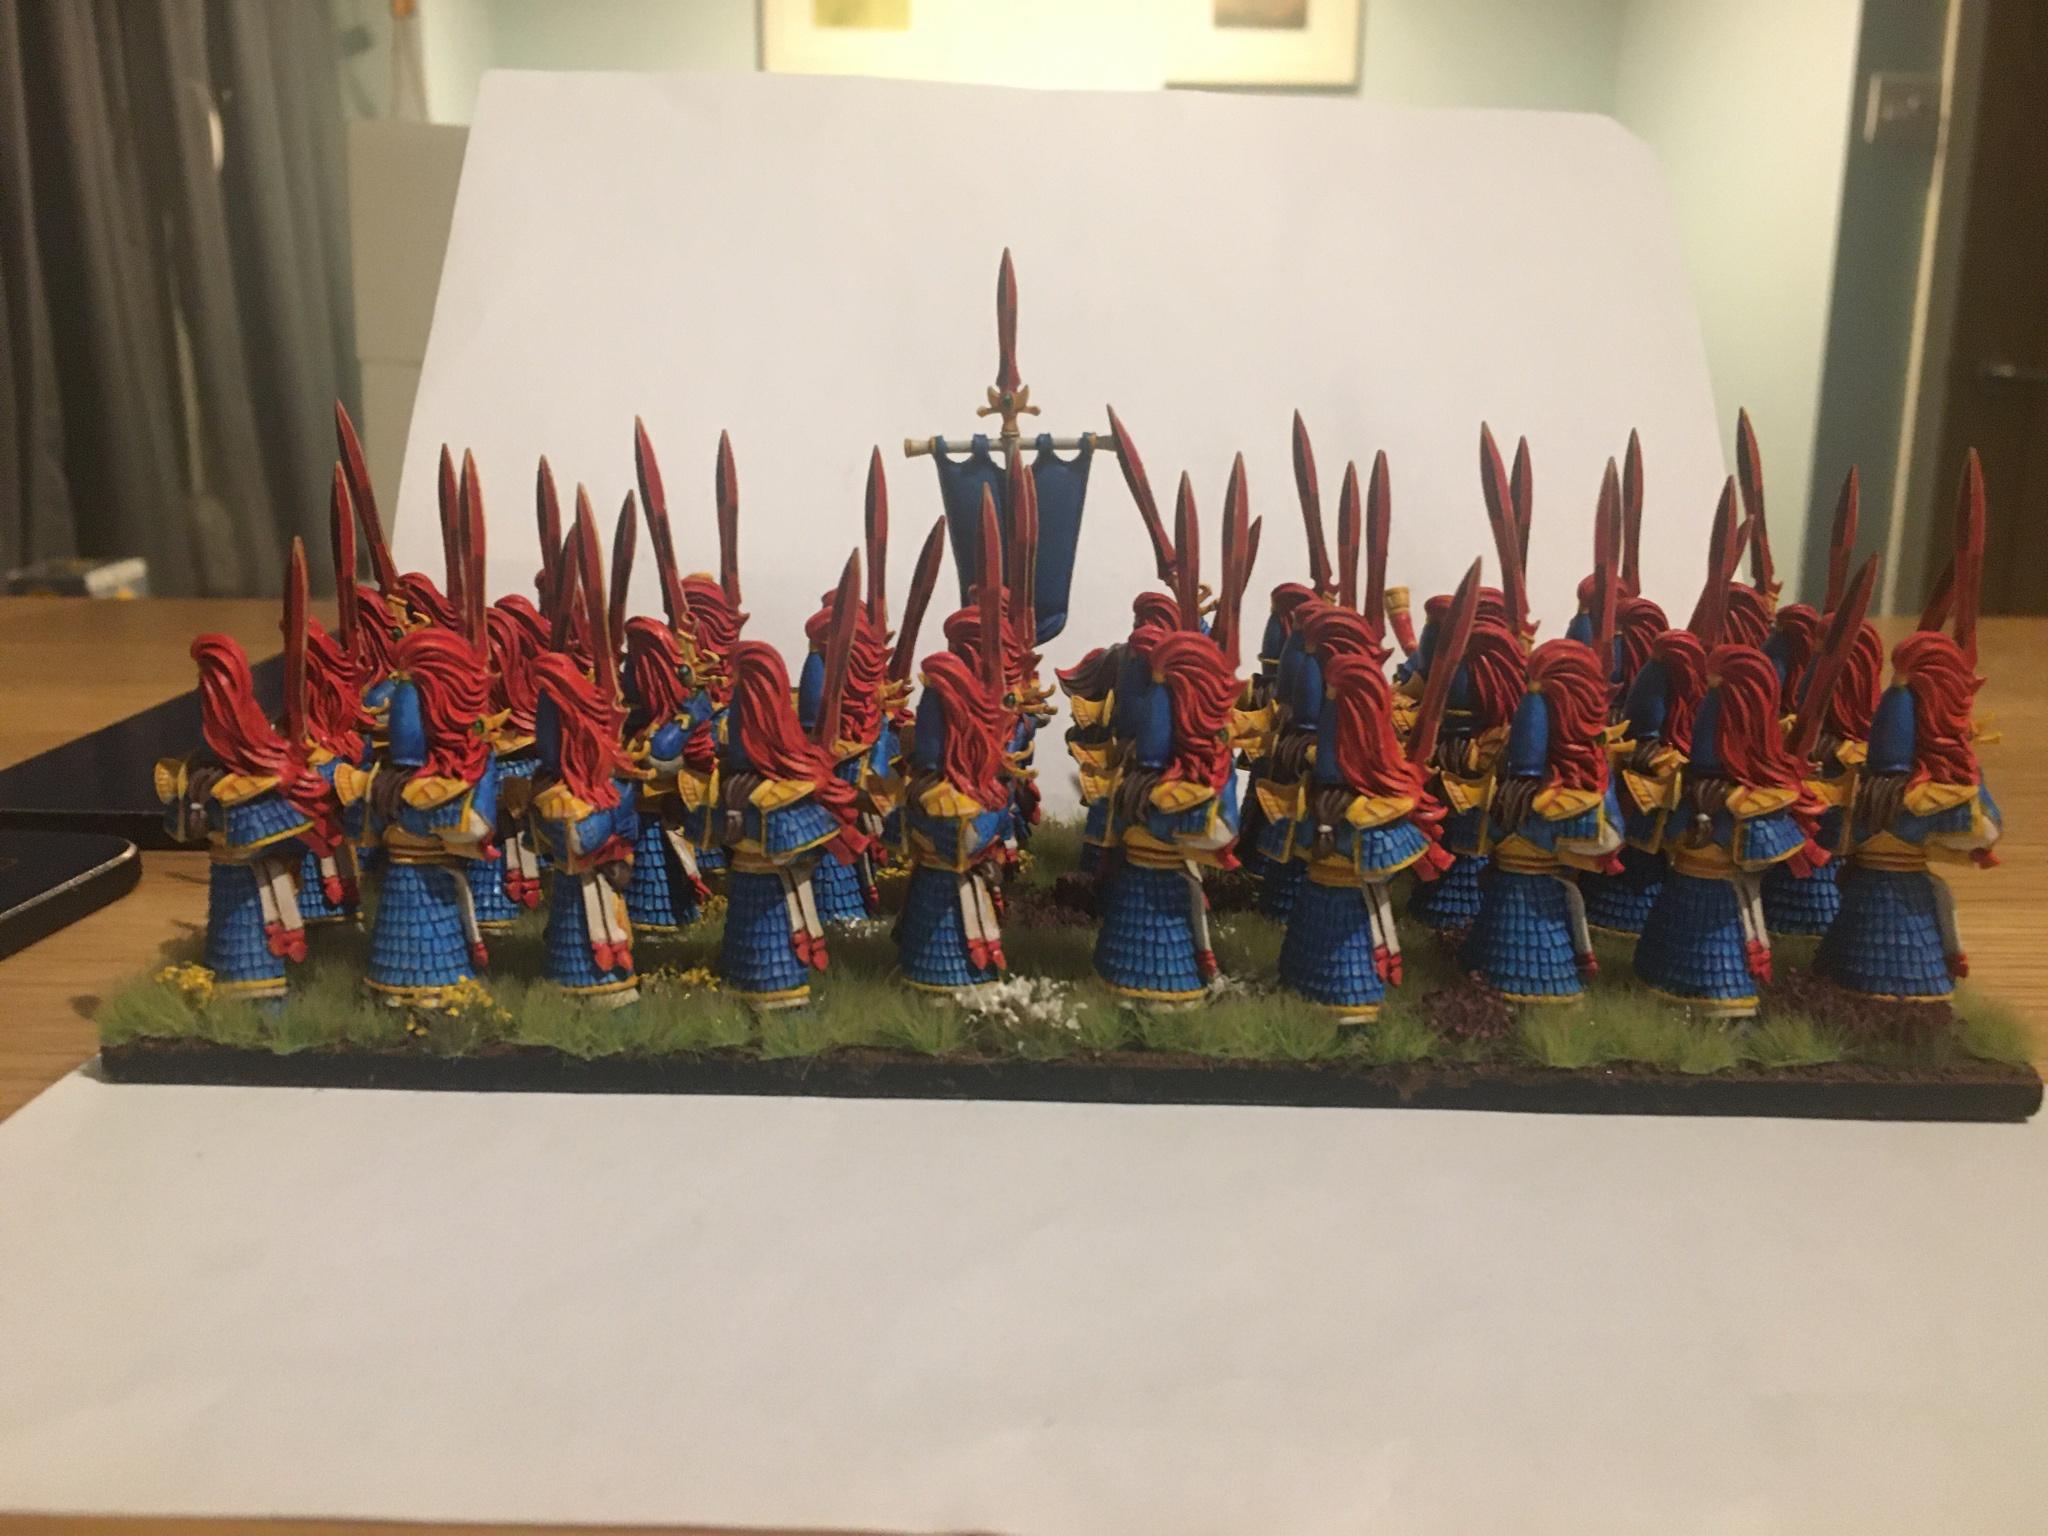
Horde of Palace Guard (8th ed plastic sword masters)
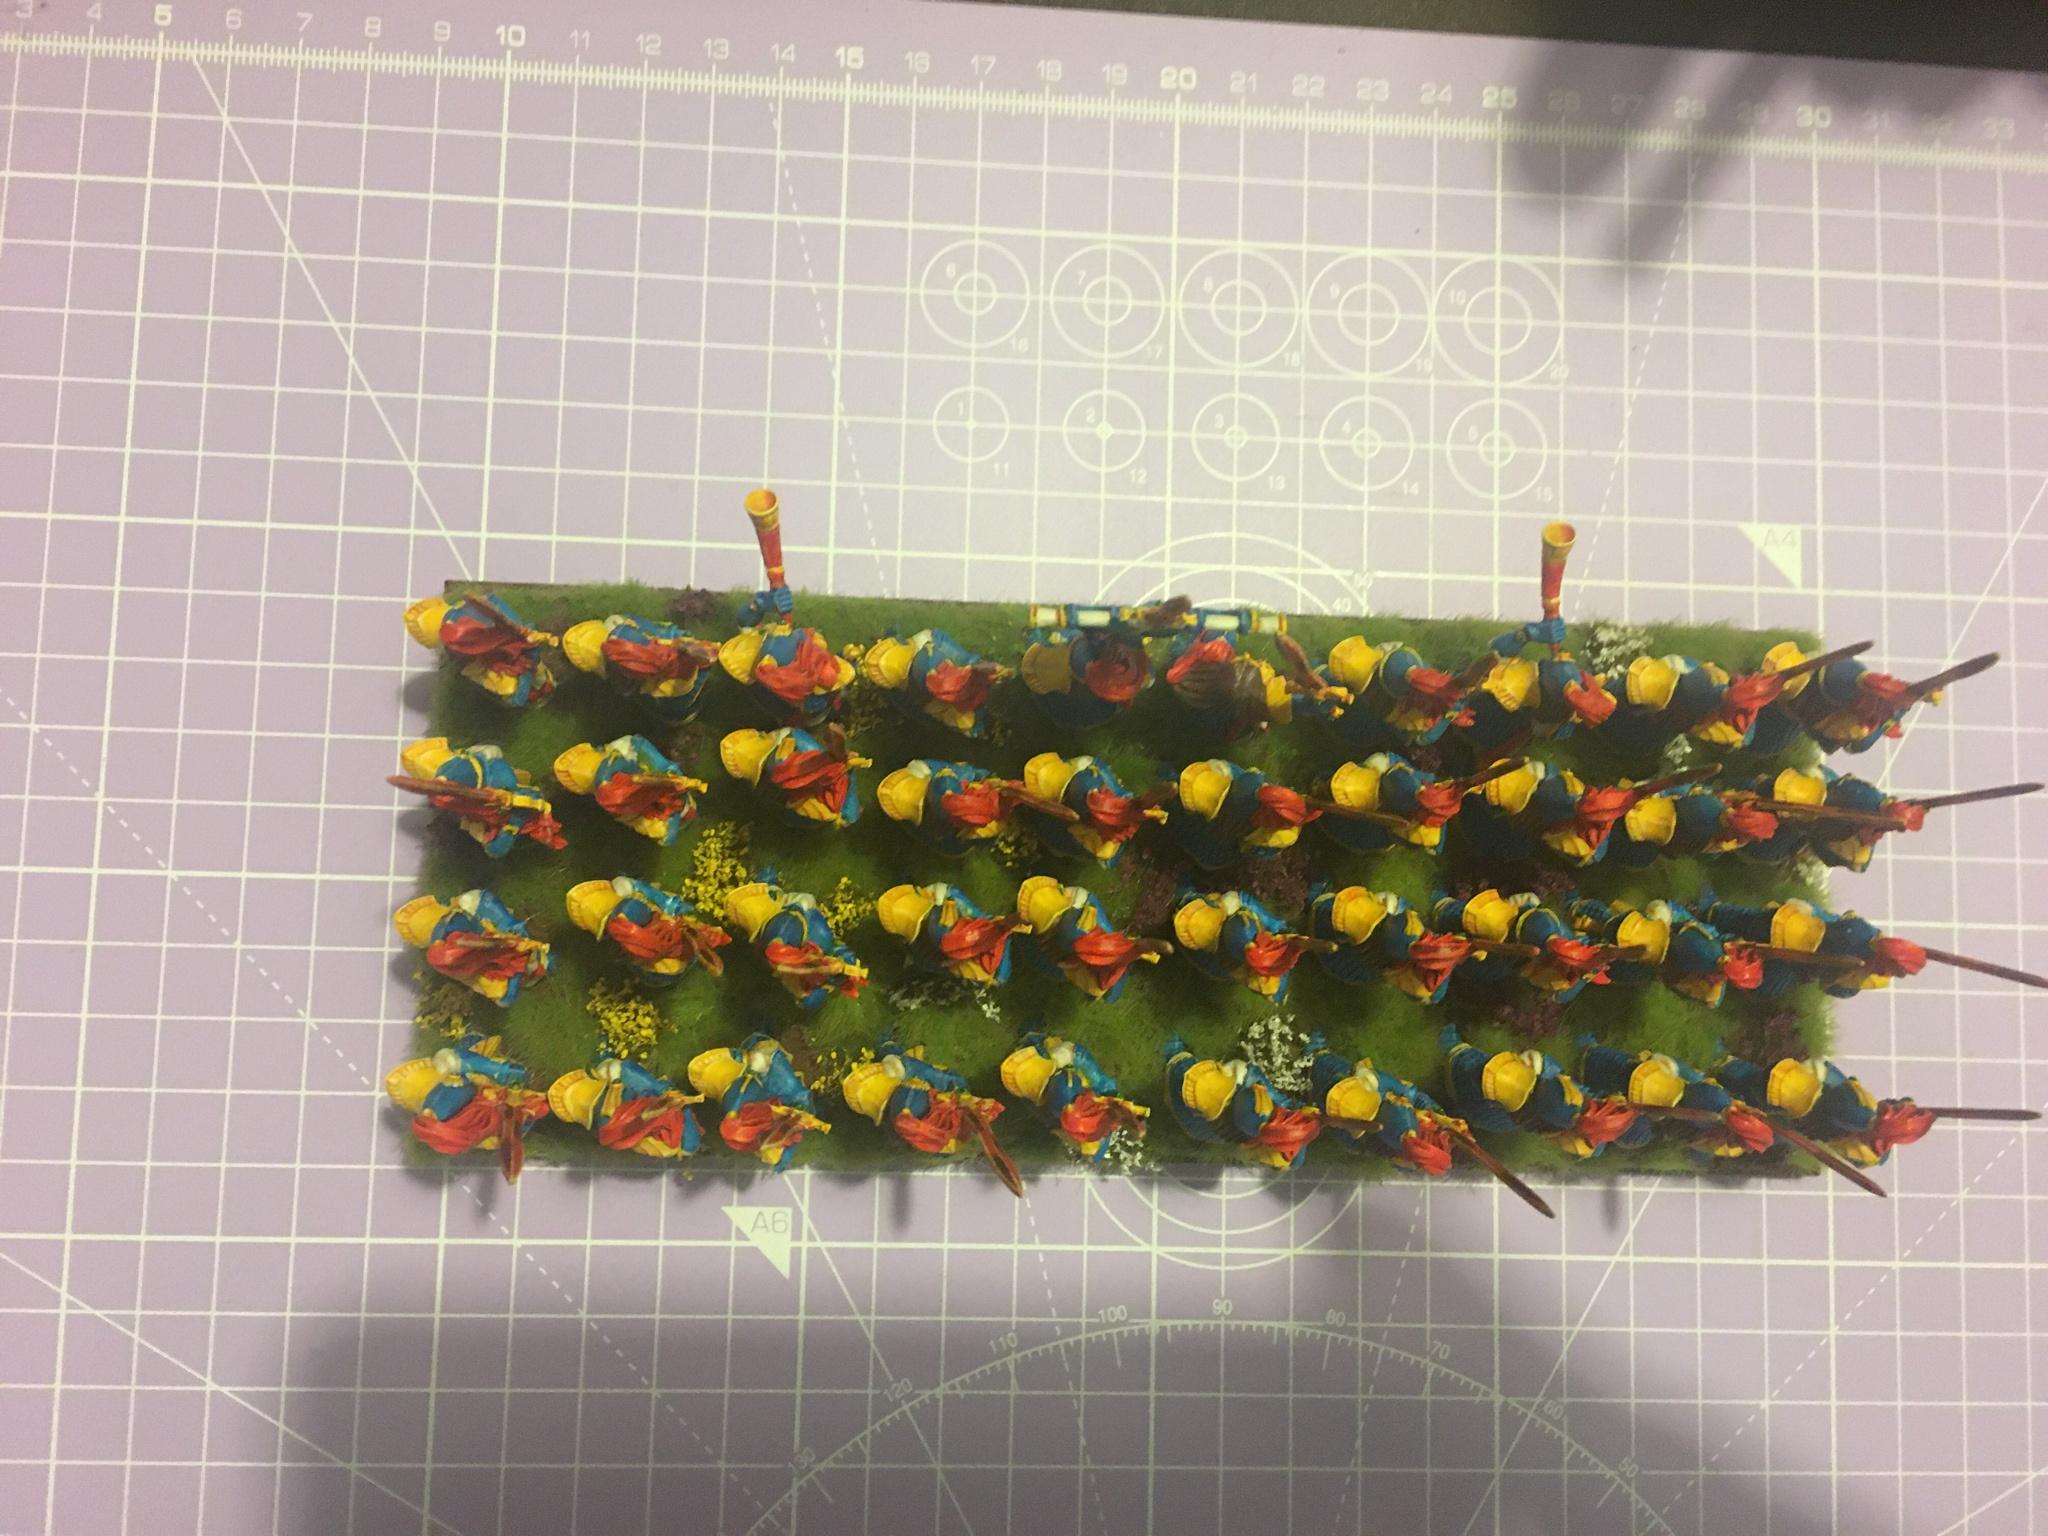
Horde of Spears (LRL Wardens/pikes)
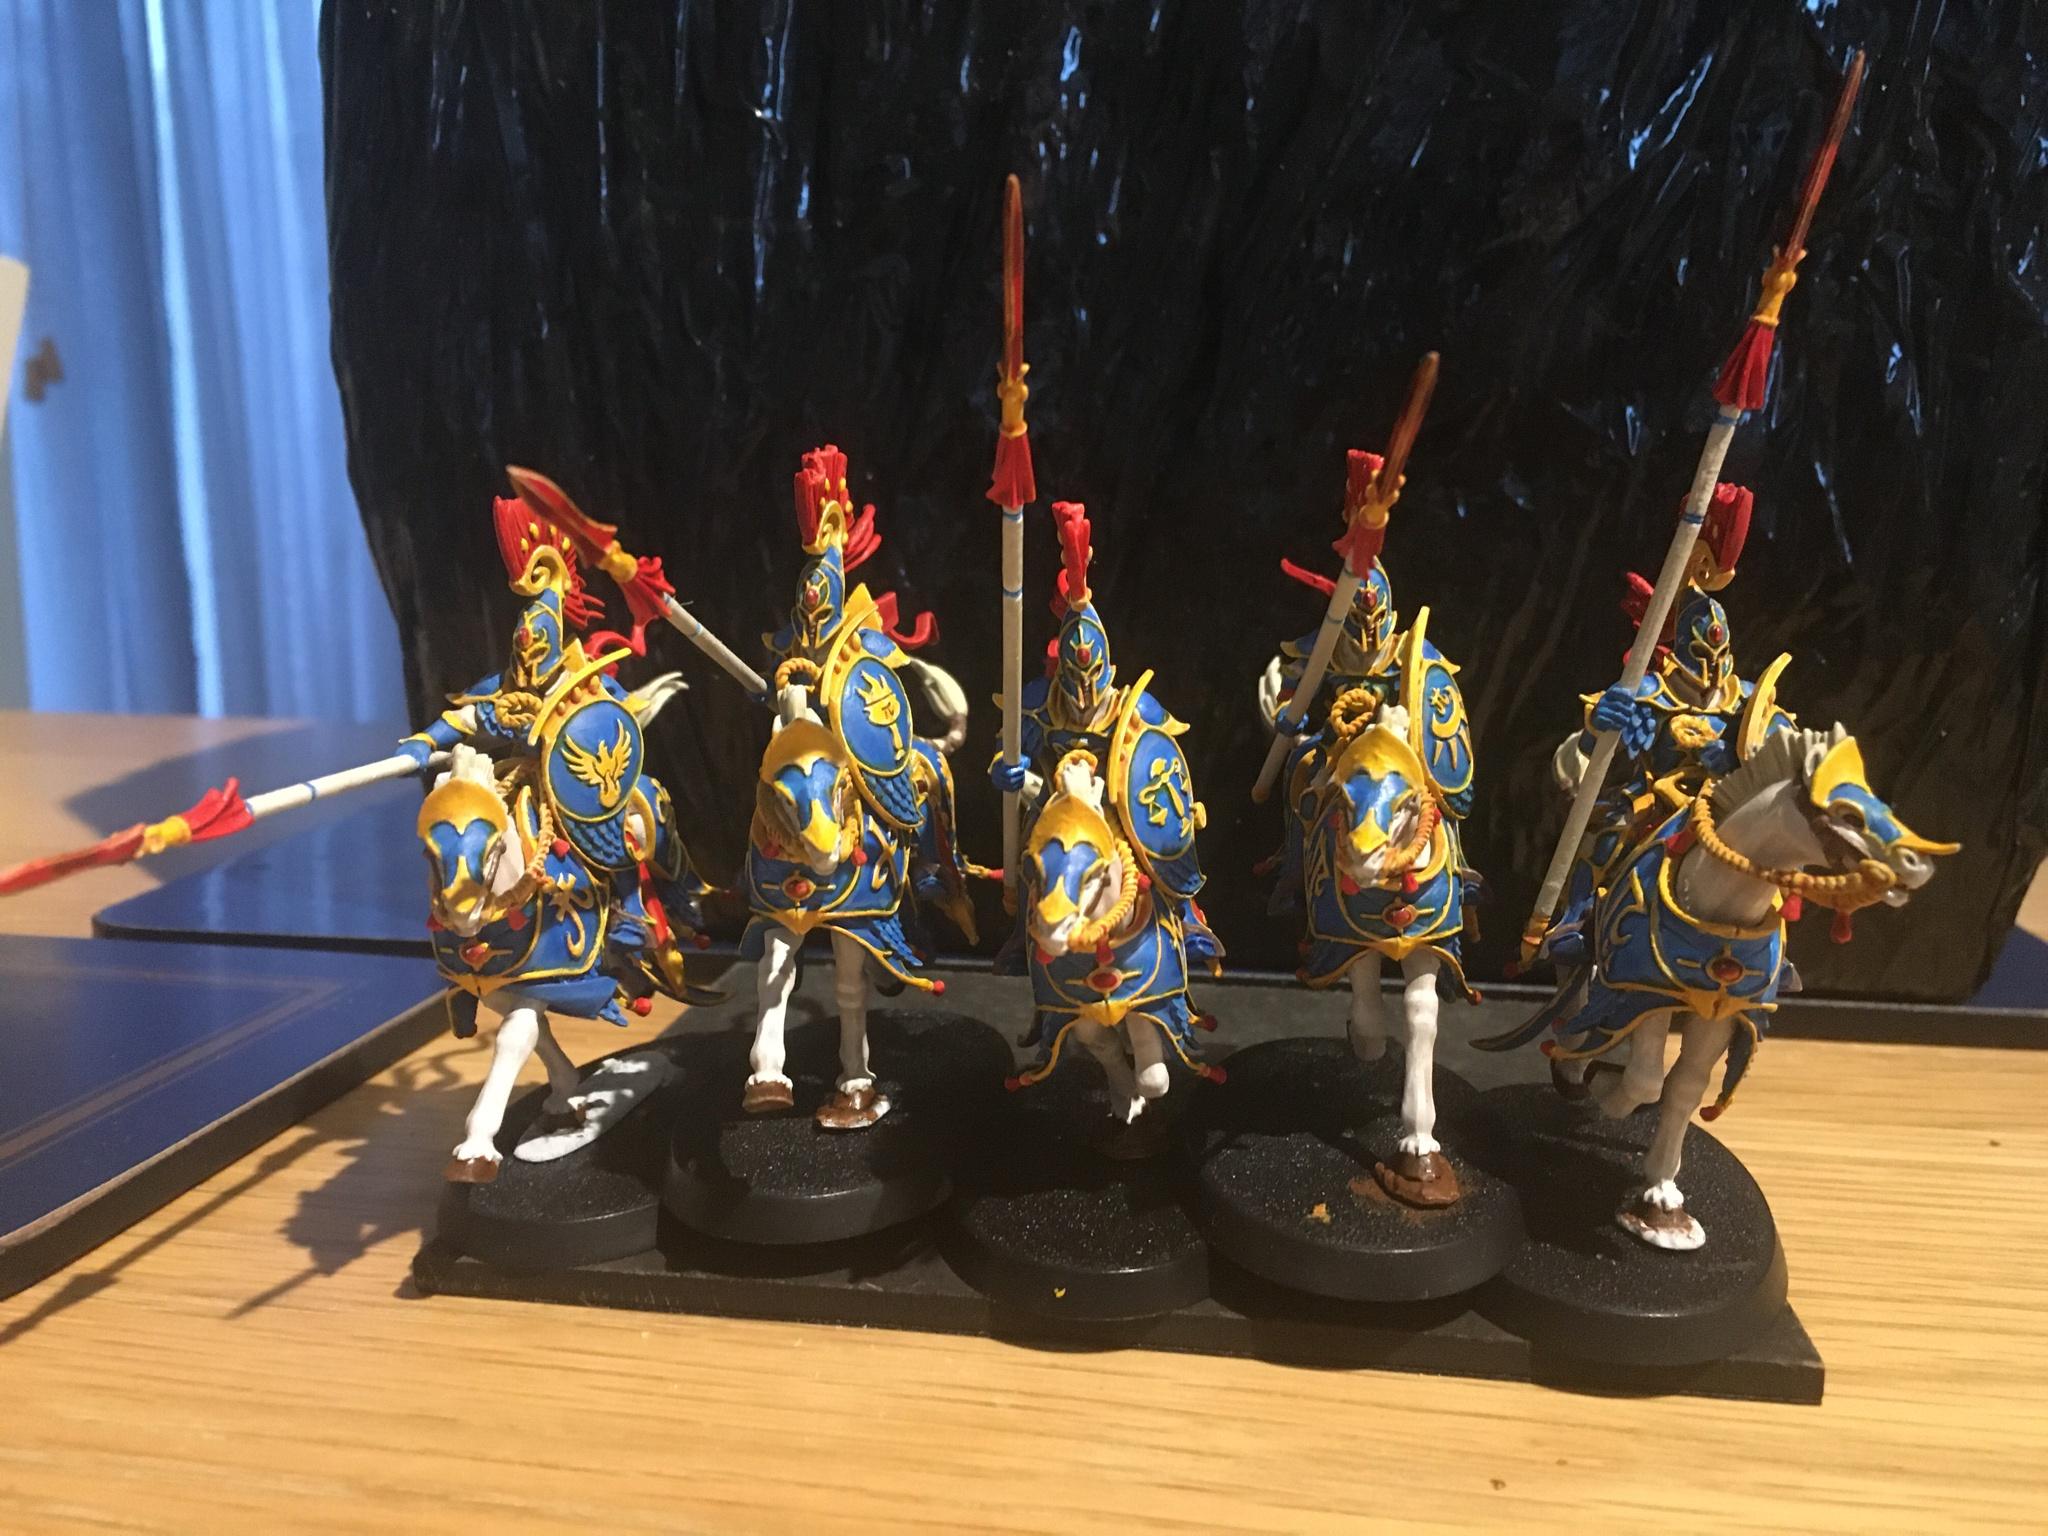
Silverbreeze cavalry troop (8th ed plastic reavers)
Forest Guard Troop (8th Ed Wood Elves Rangers)
Regiment of Stormwind Cavalry (LRL Dawnriders)
Phase 2: 2000pts
Mage on foot with staff (5th ed mage)
Silverbreeze cavalry troop (8th ed plastic reavers)
Regiment of Stormwind Cavalry (LRL Dawnriders)
Phase 3:
Forest Guard Troop (8th Ed Wood Elves Rangers)
2 bolt throwers (4th ed metal bolt thrower)
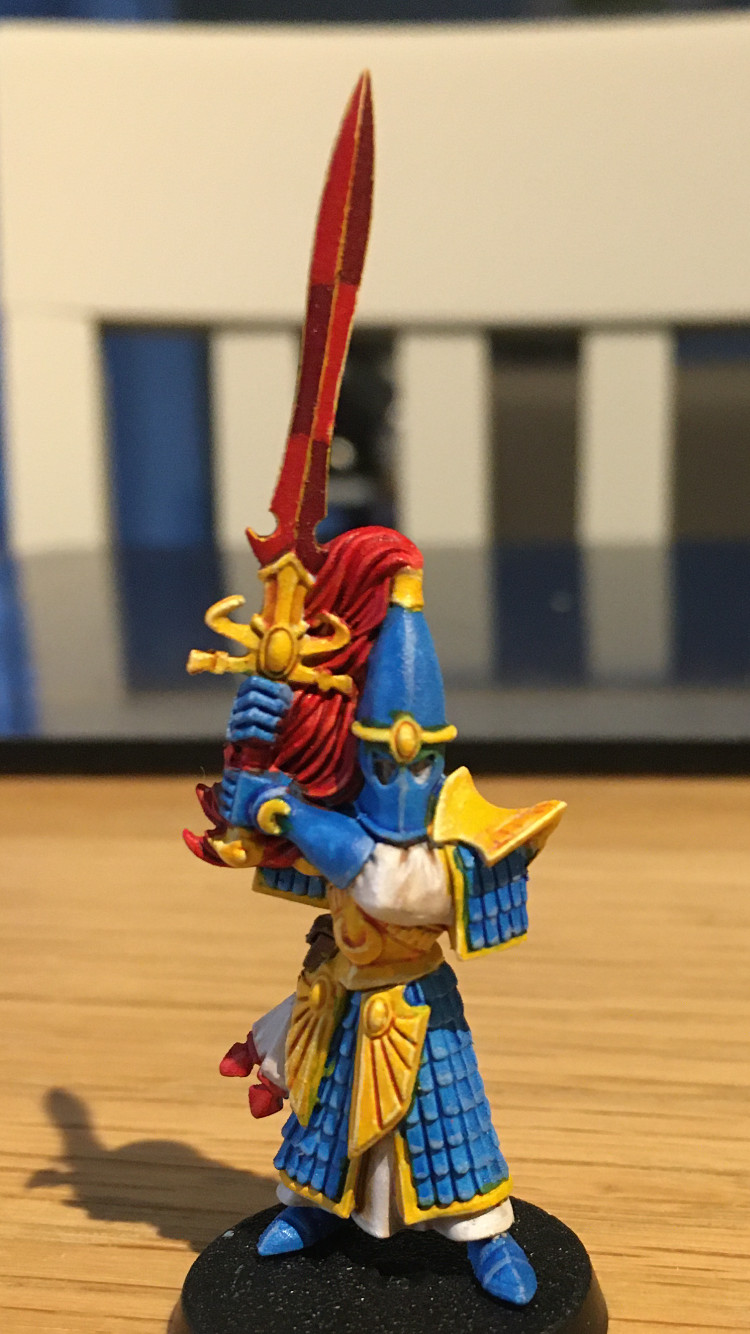
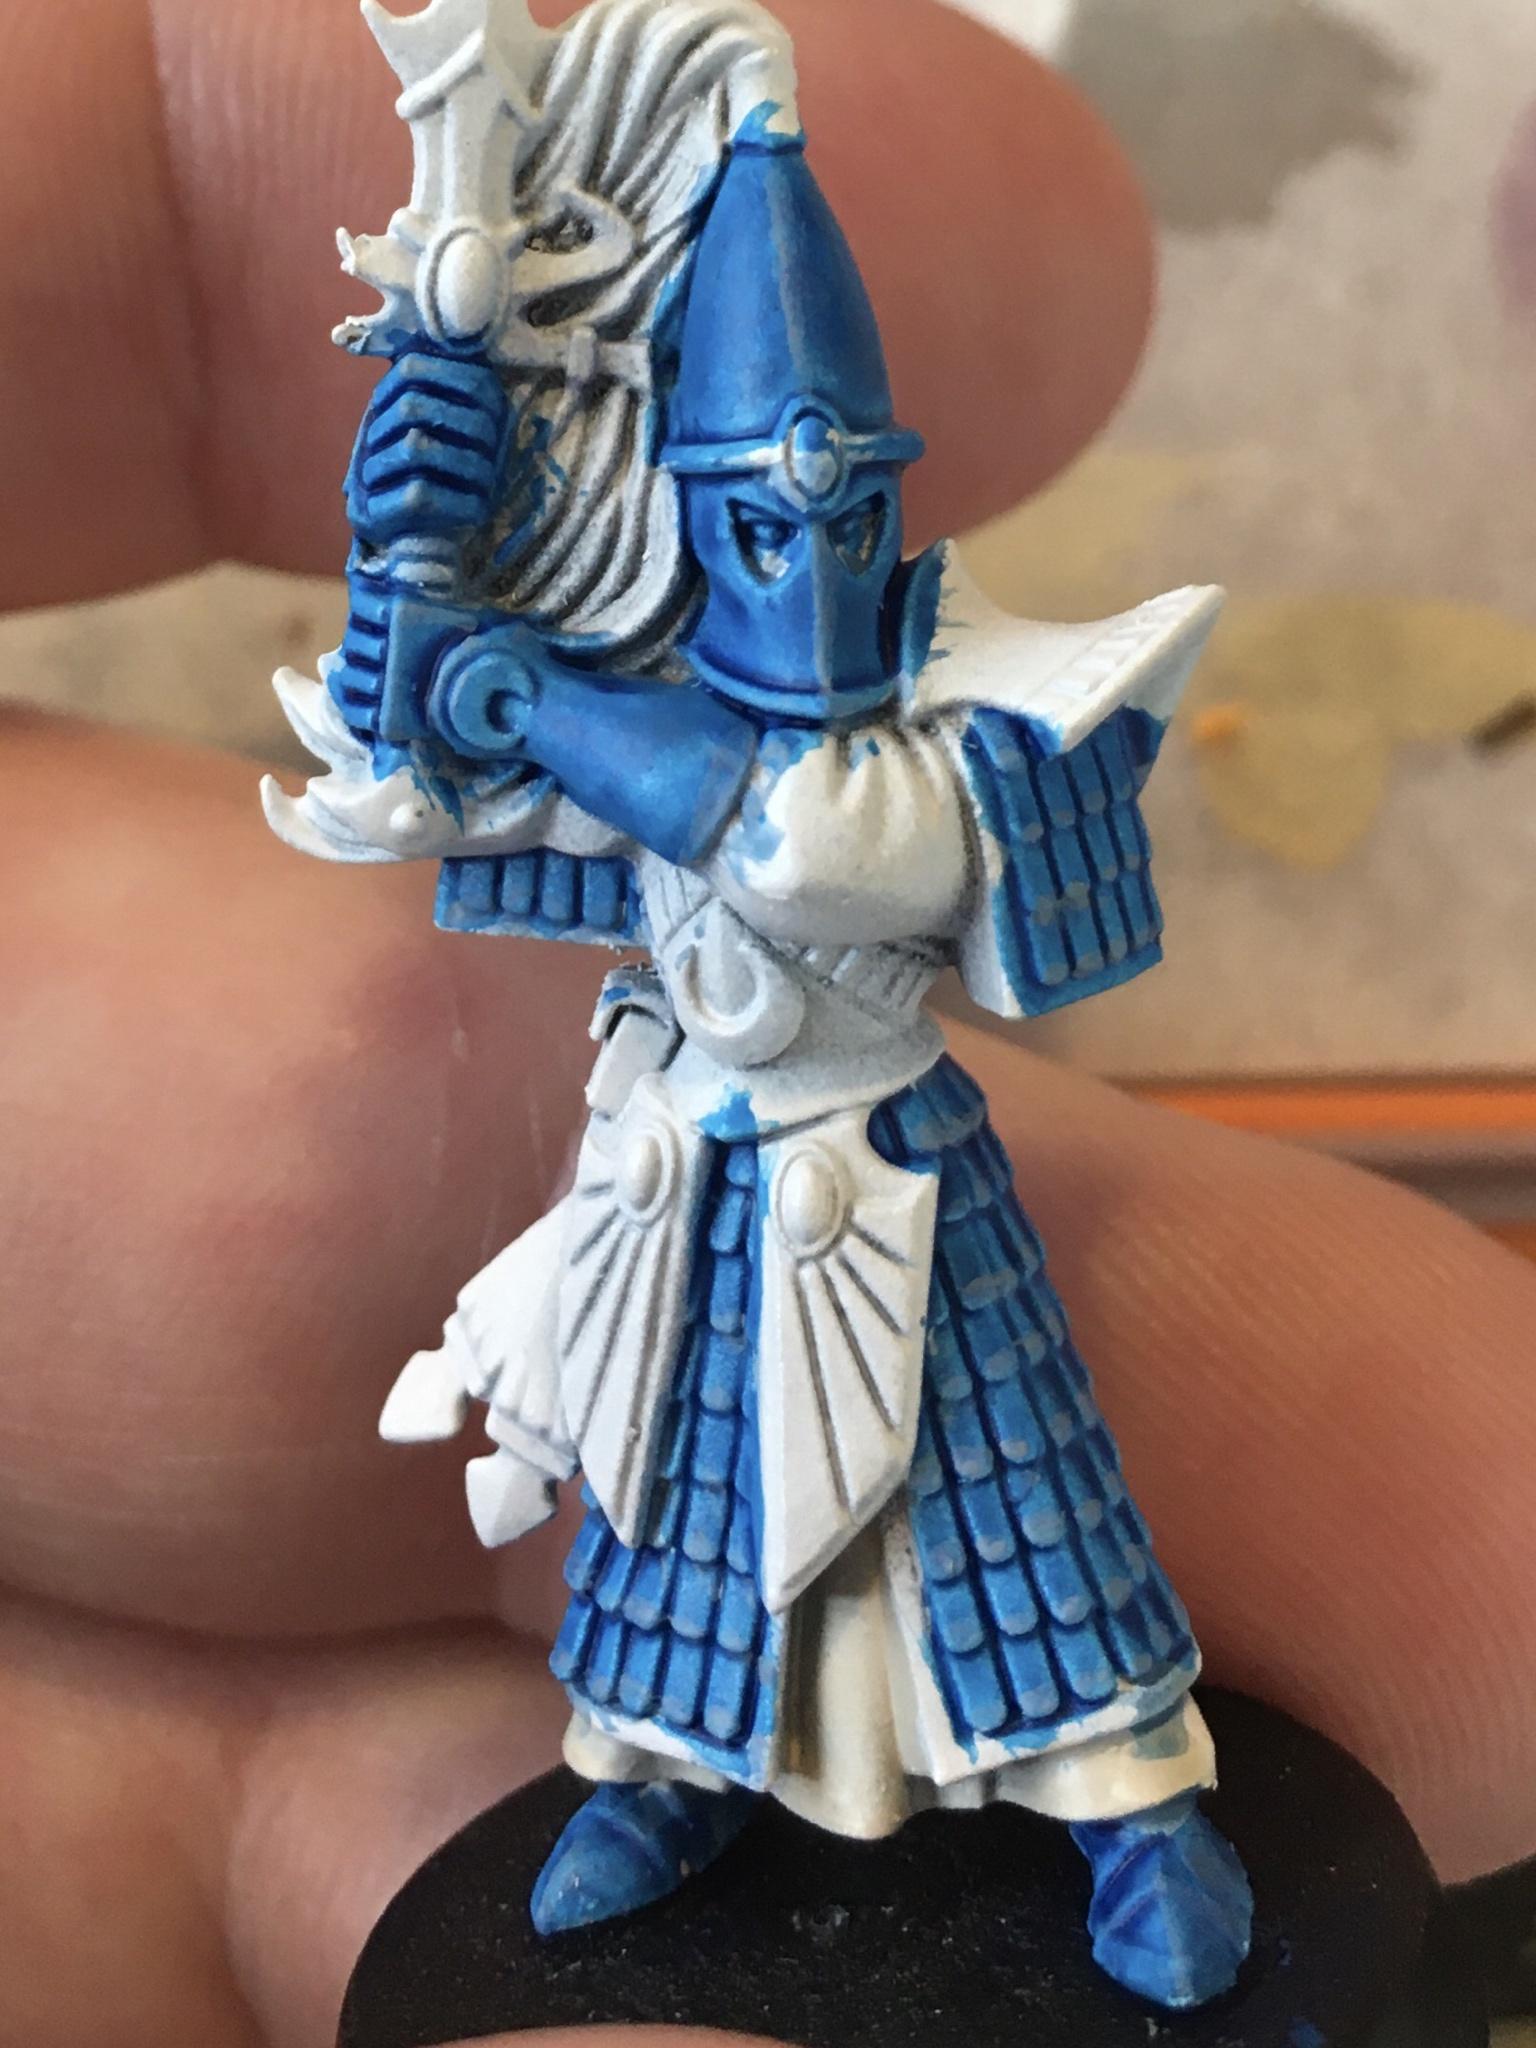
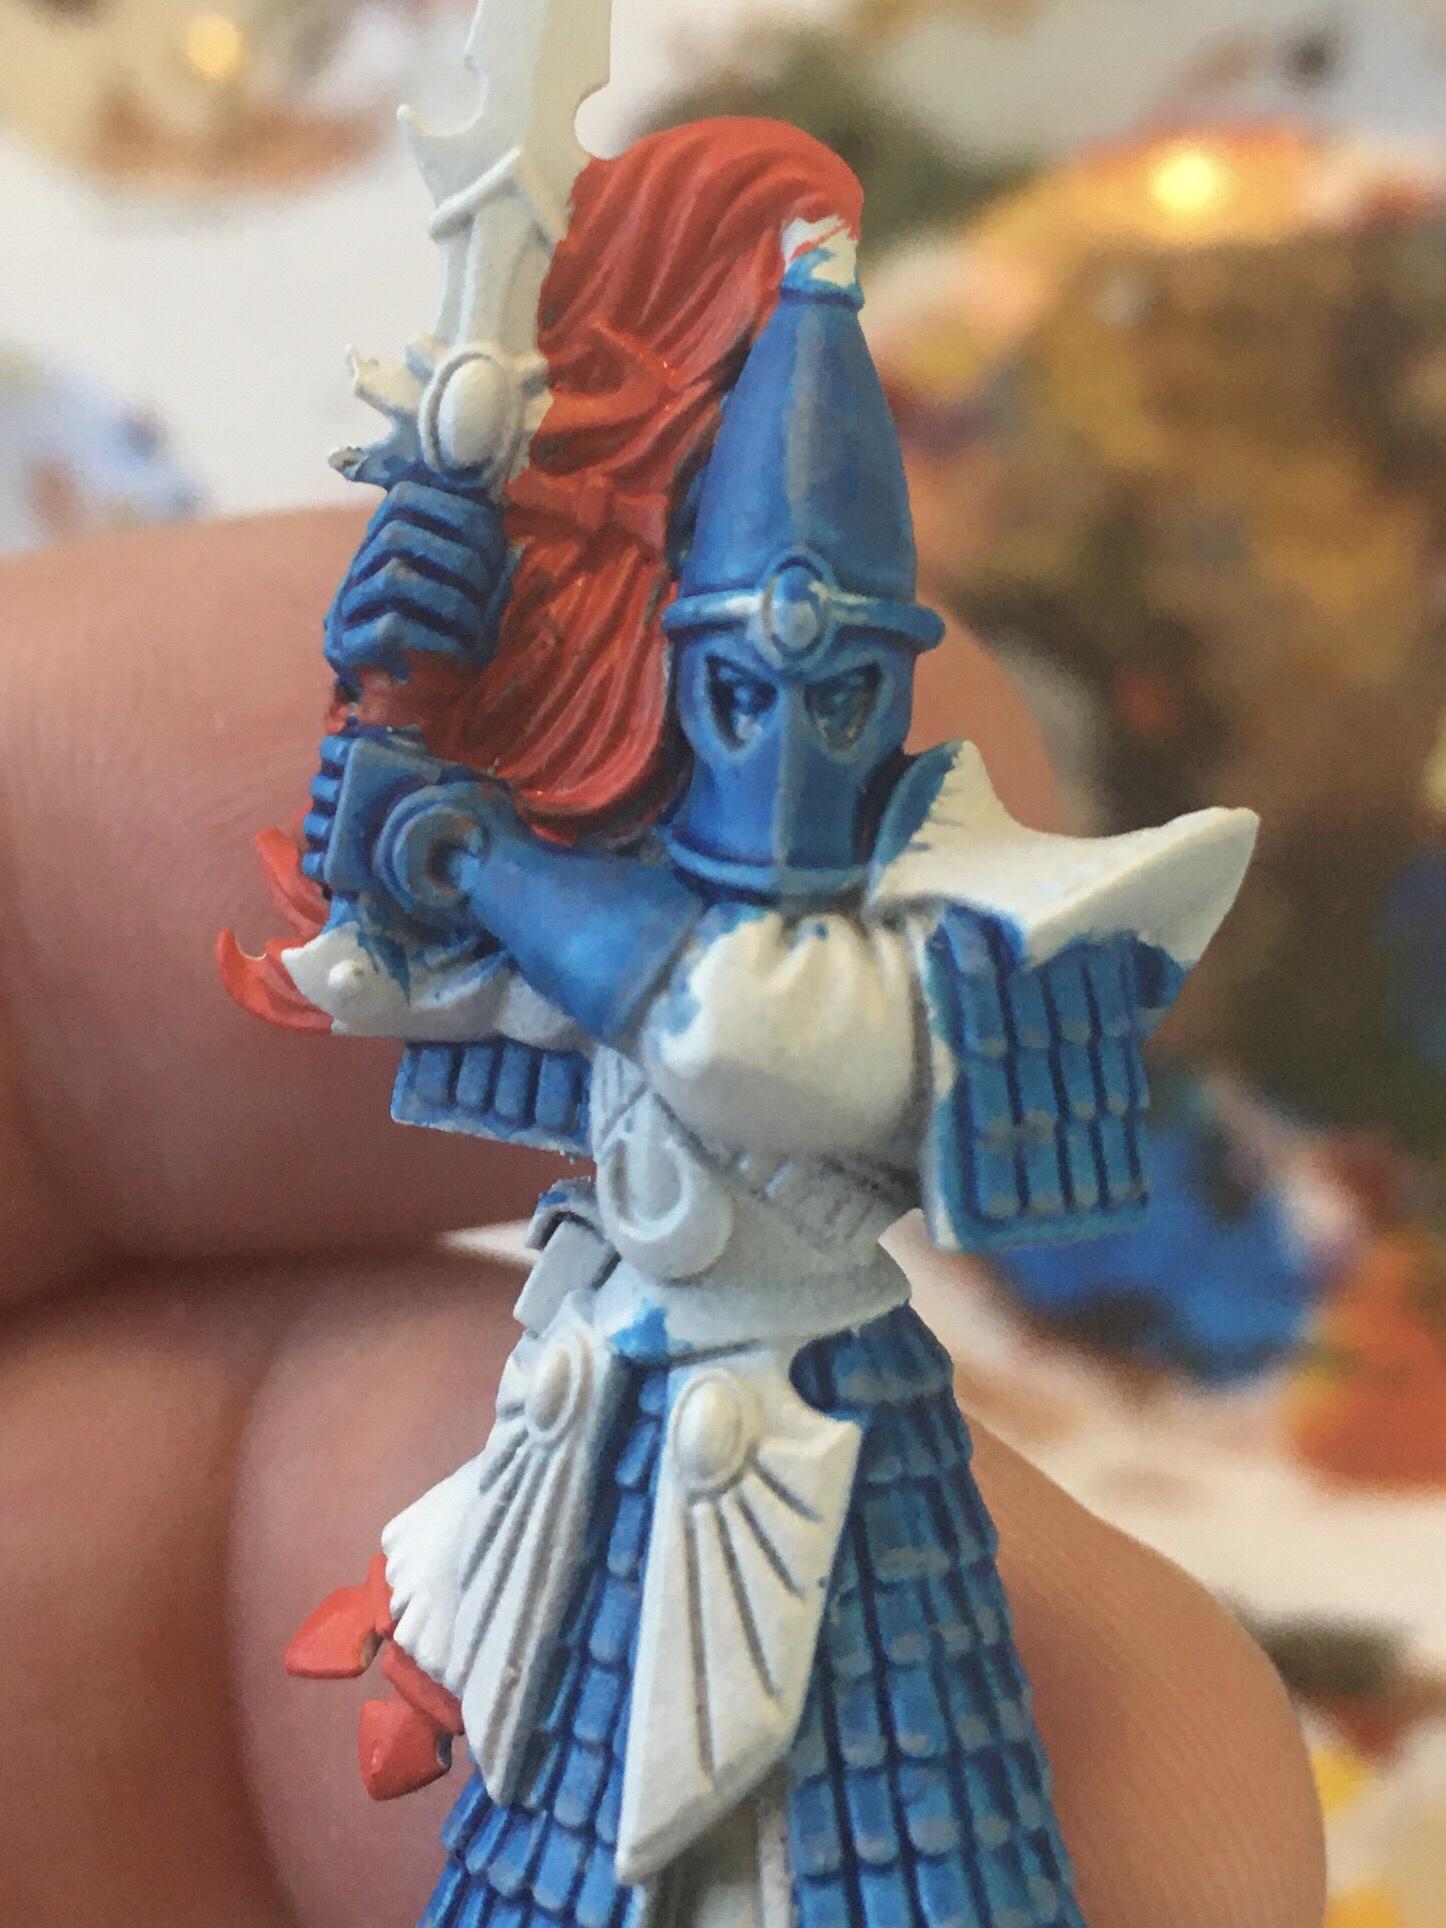
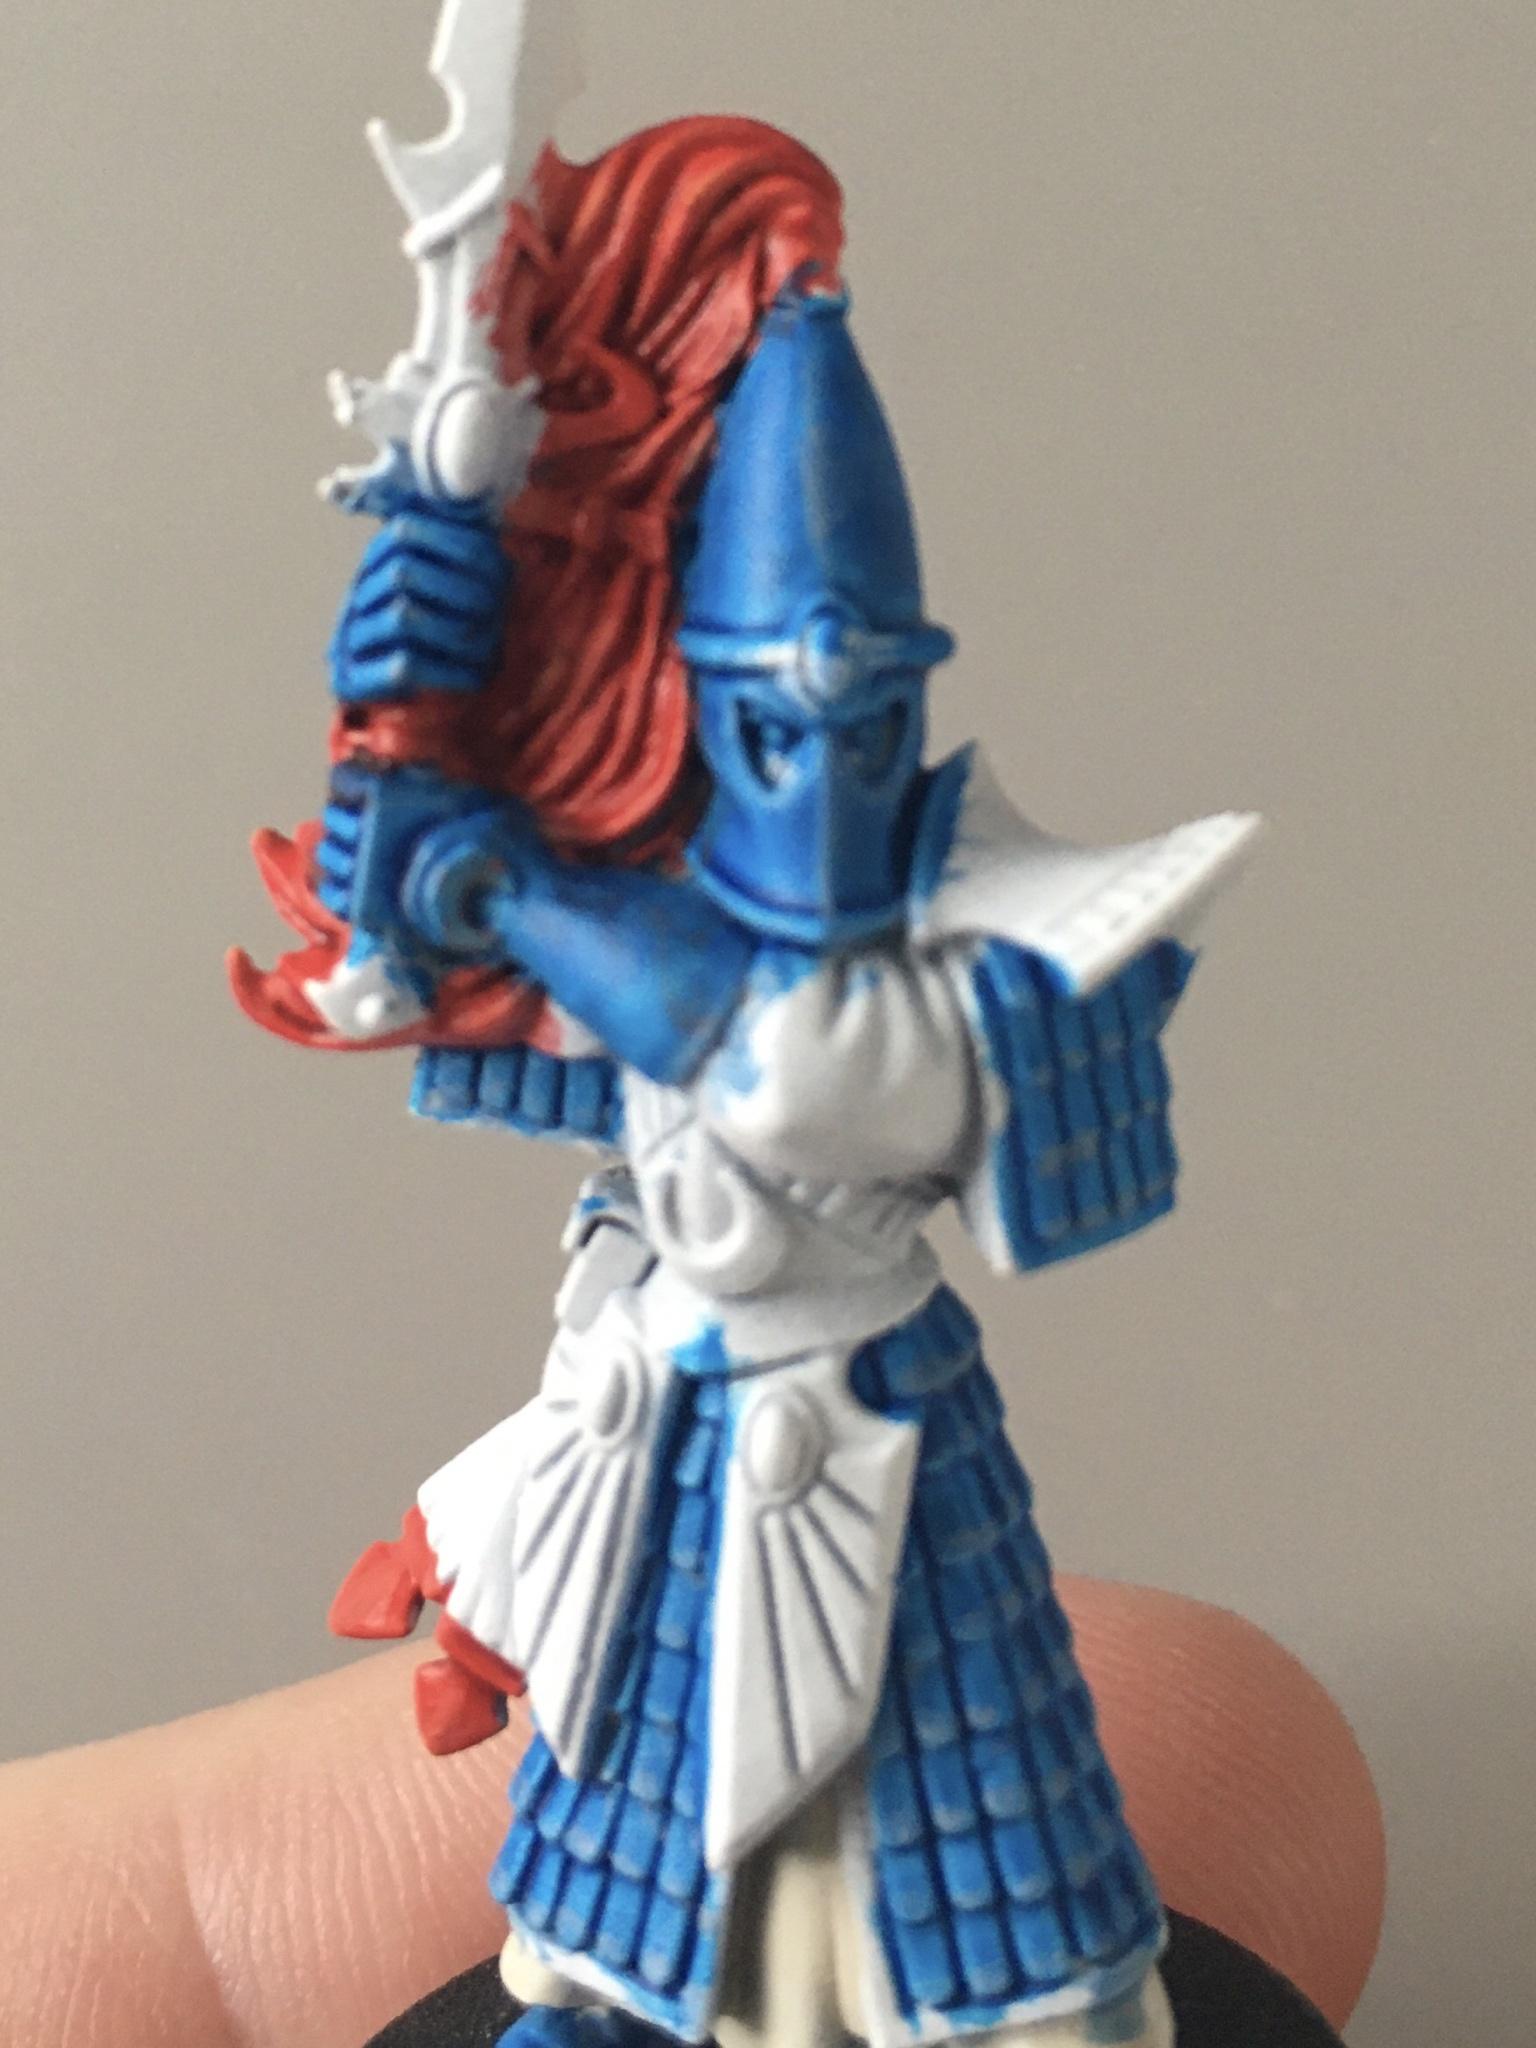
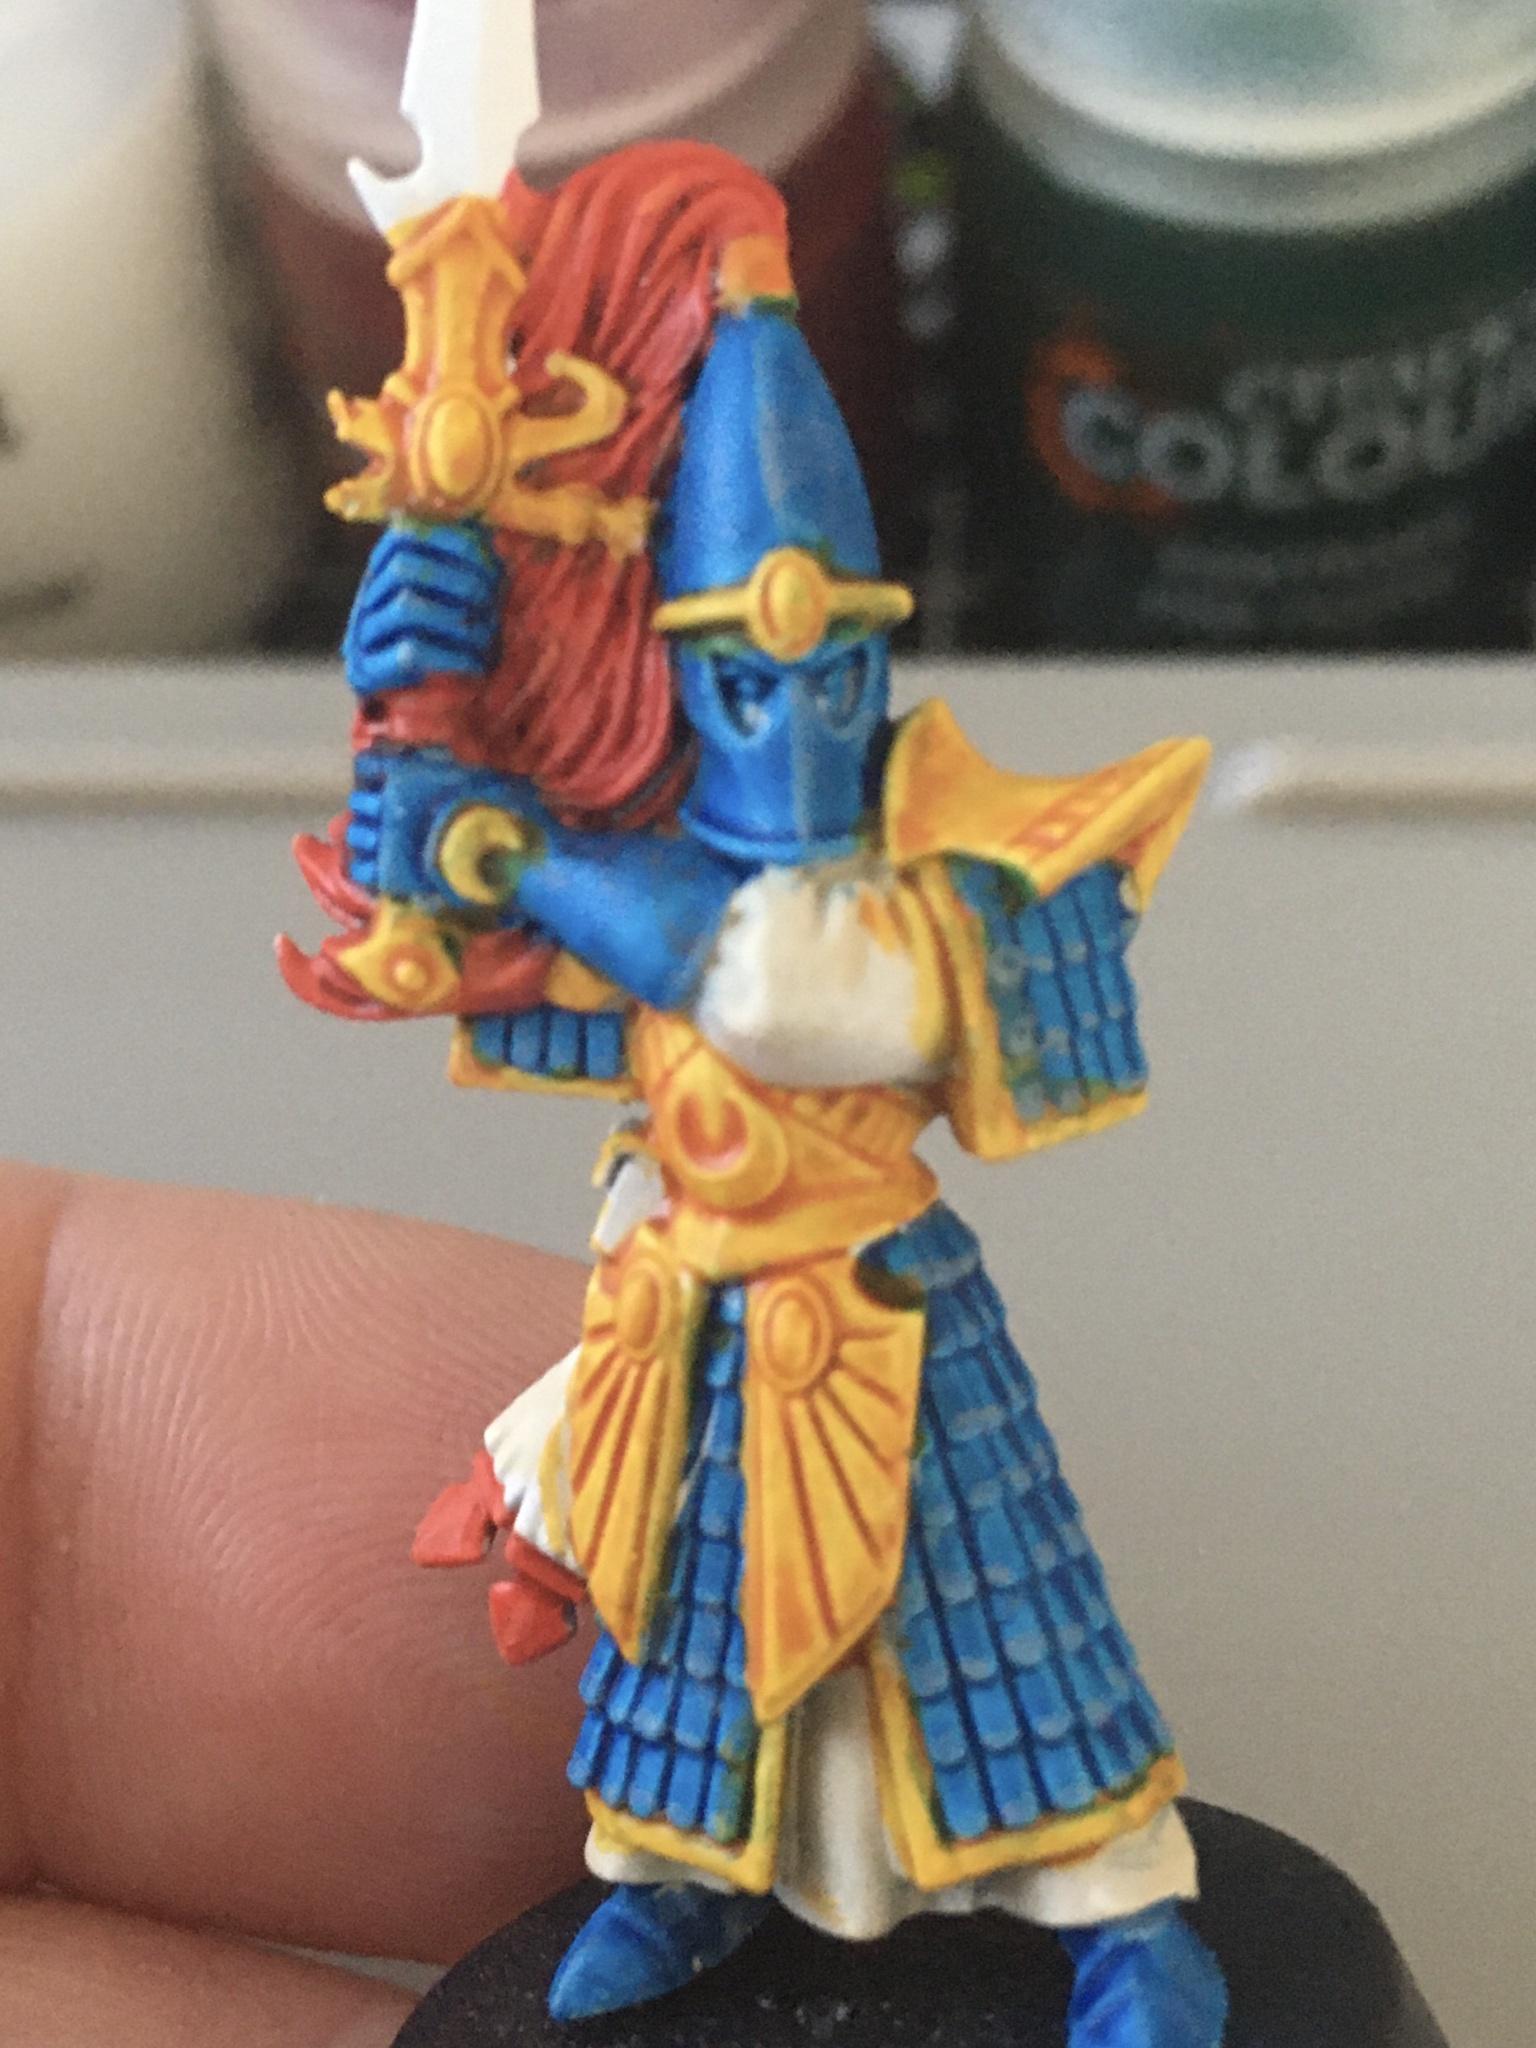
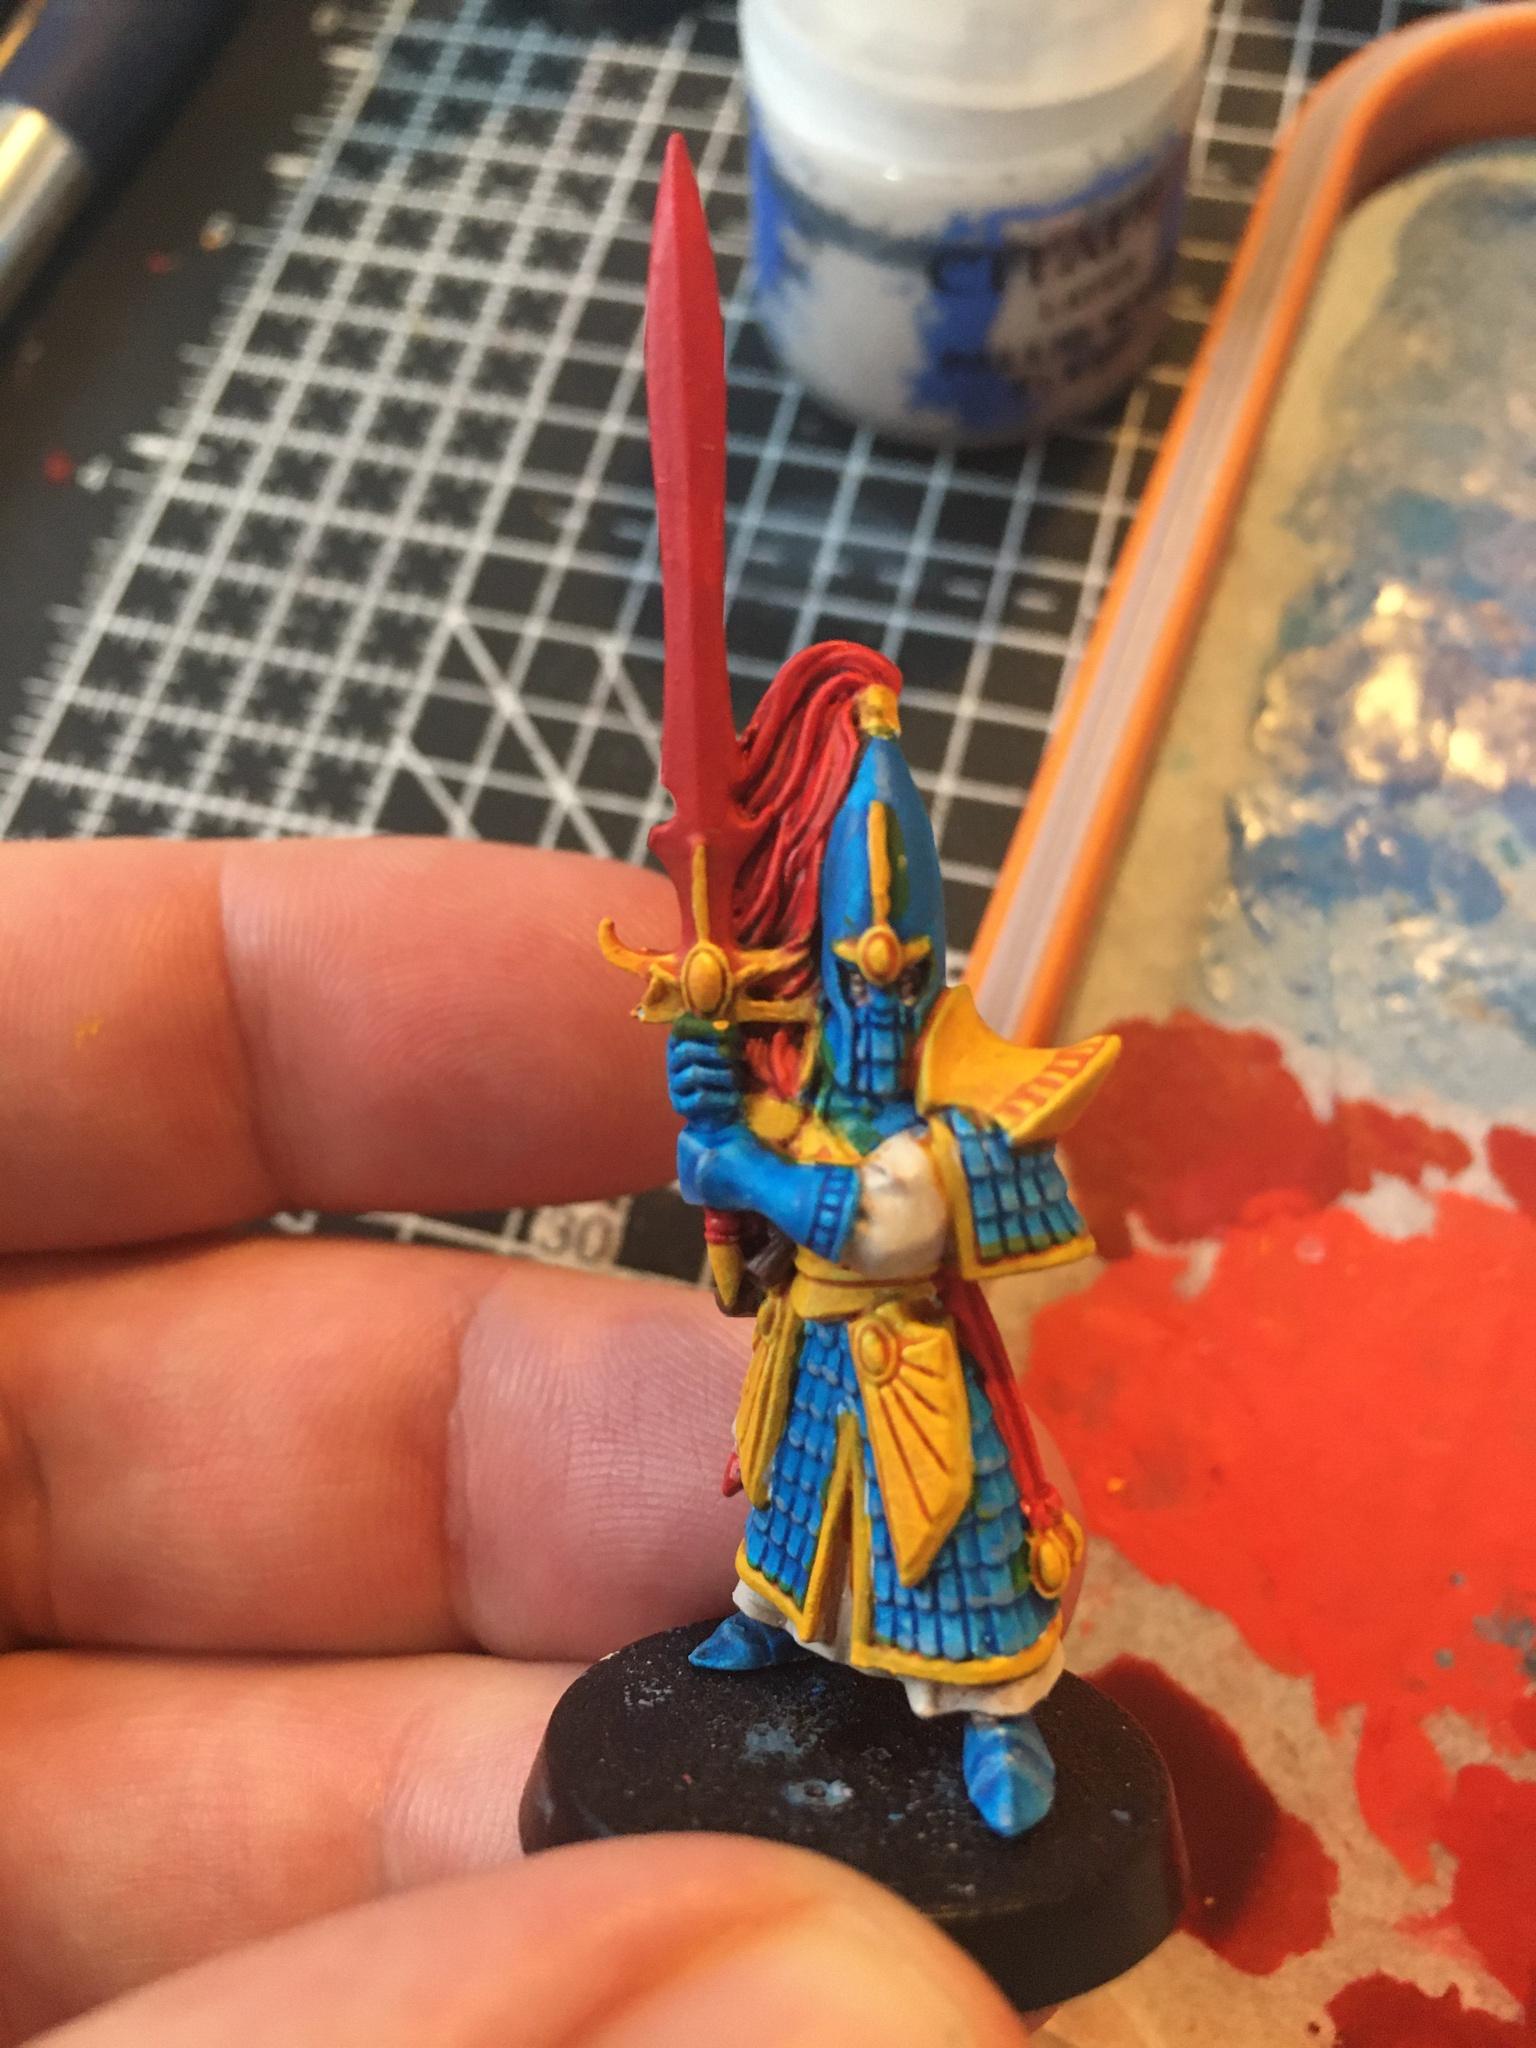
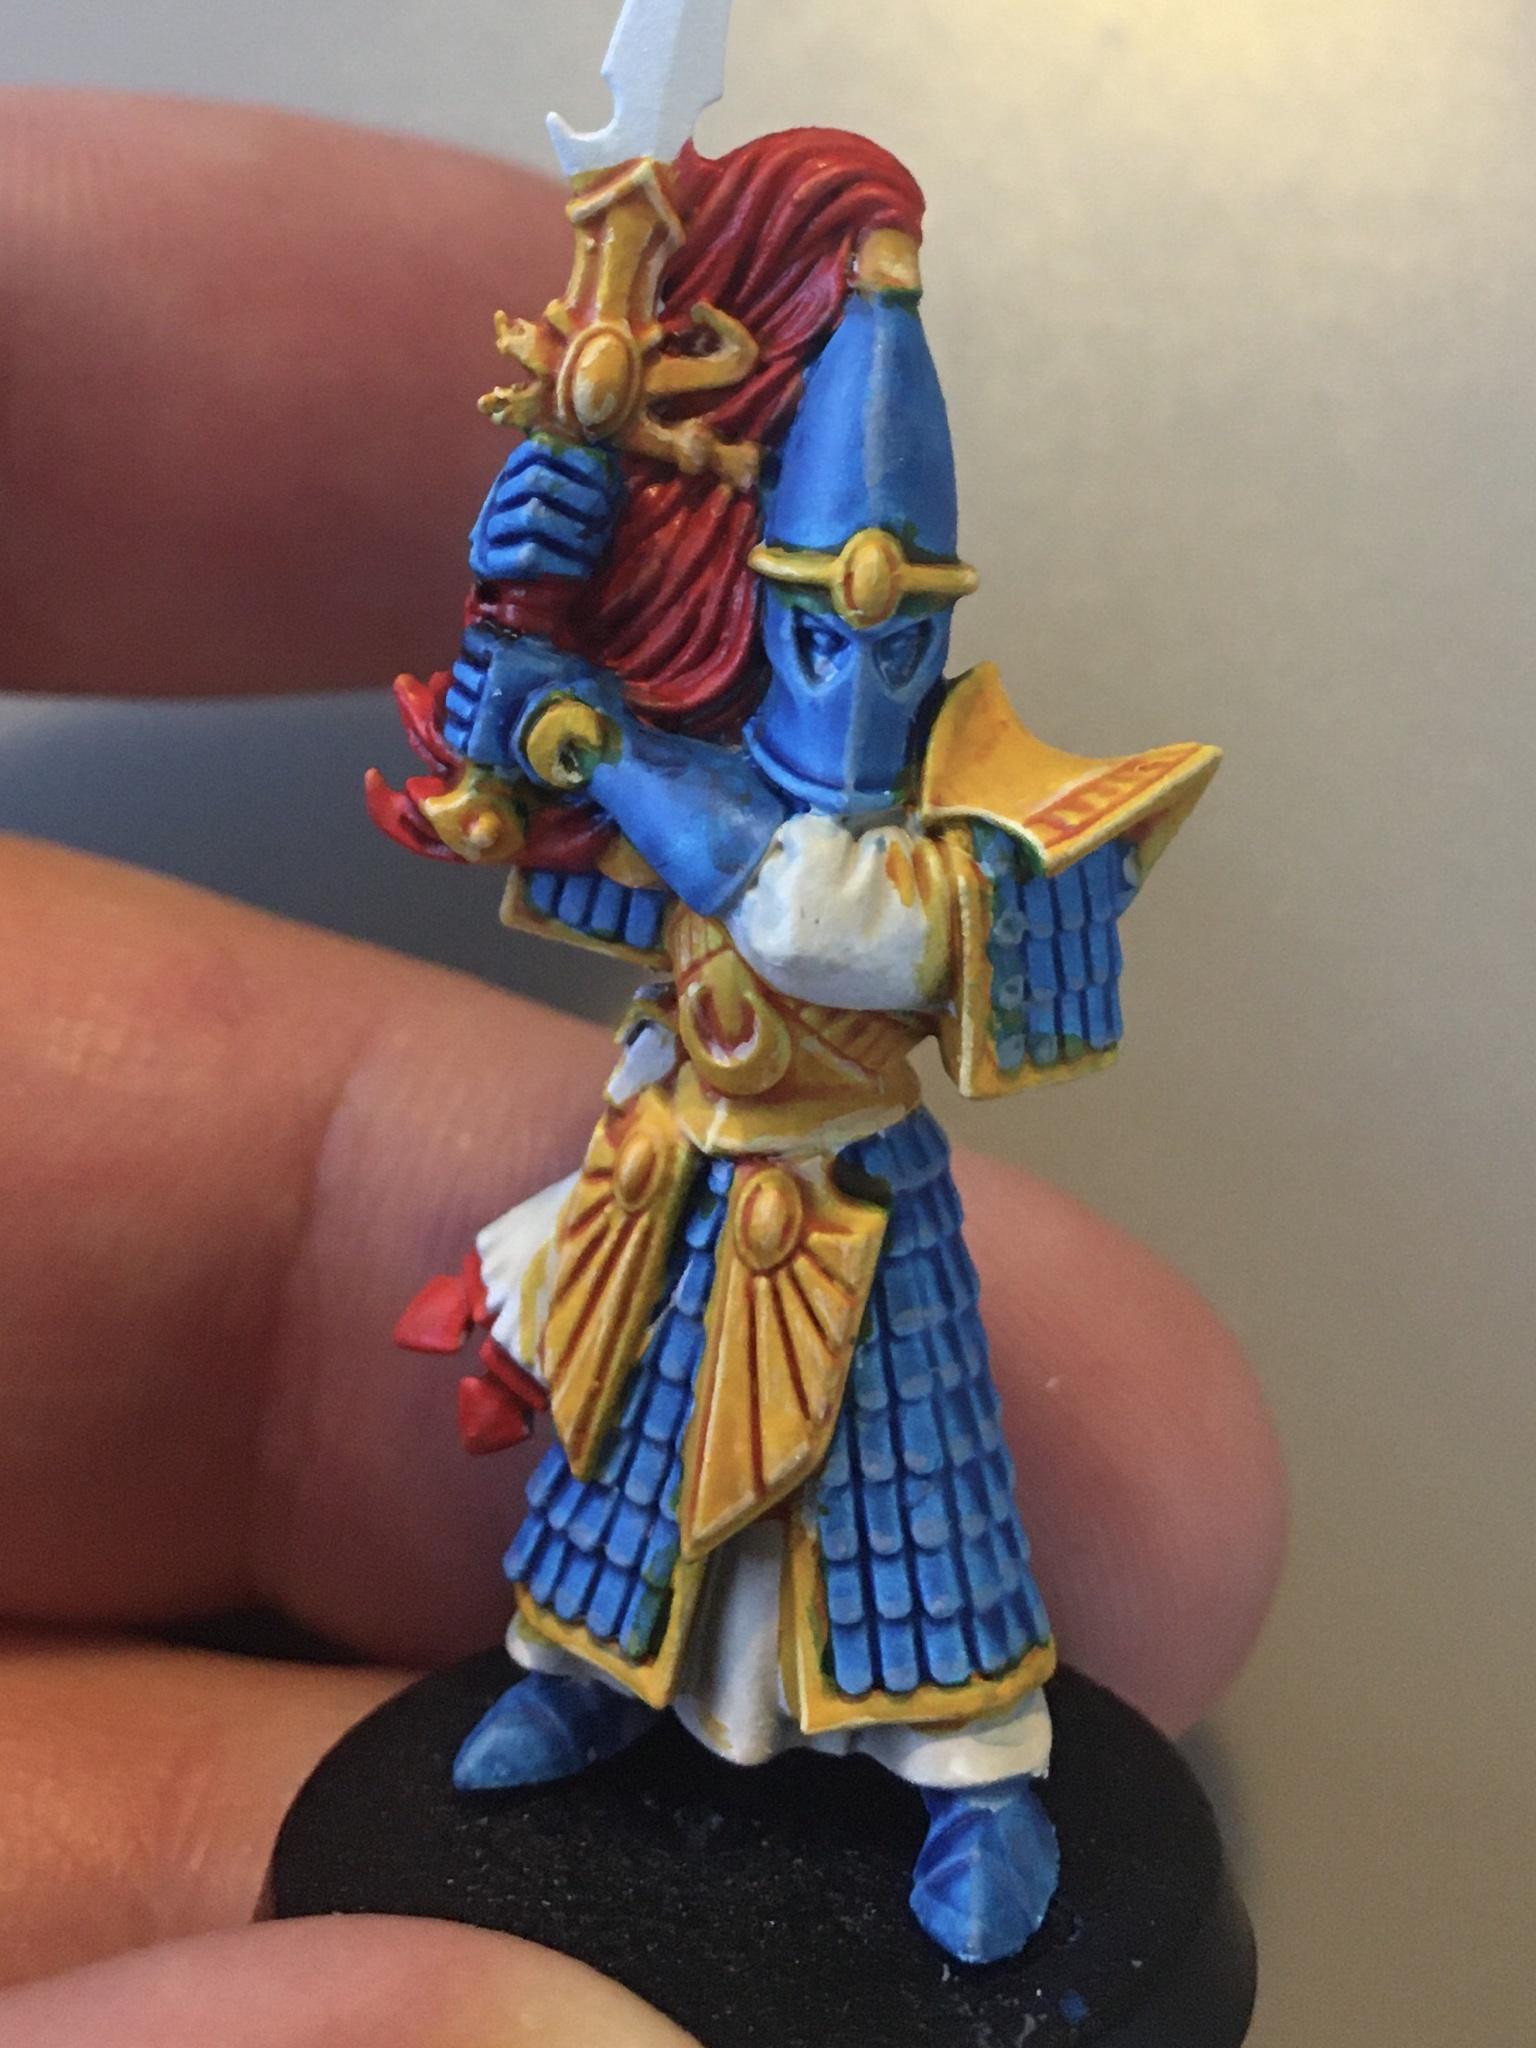
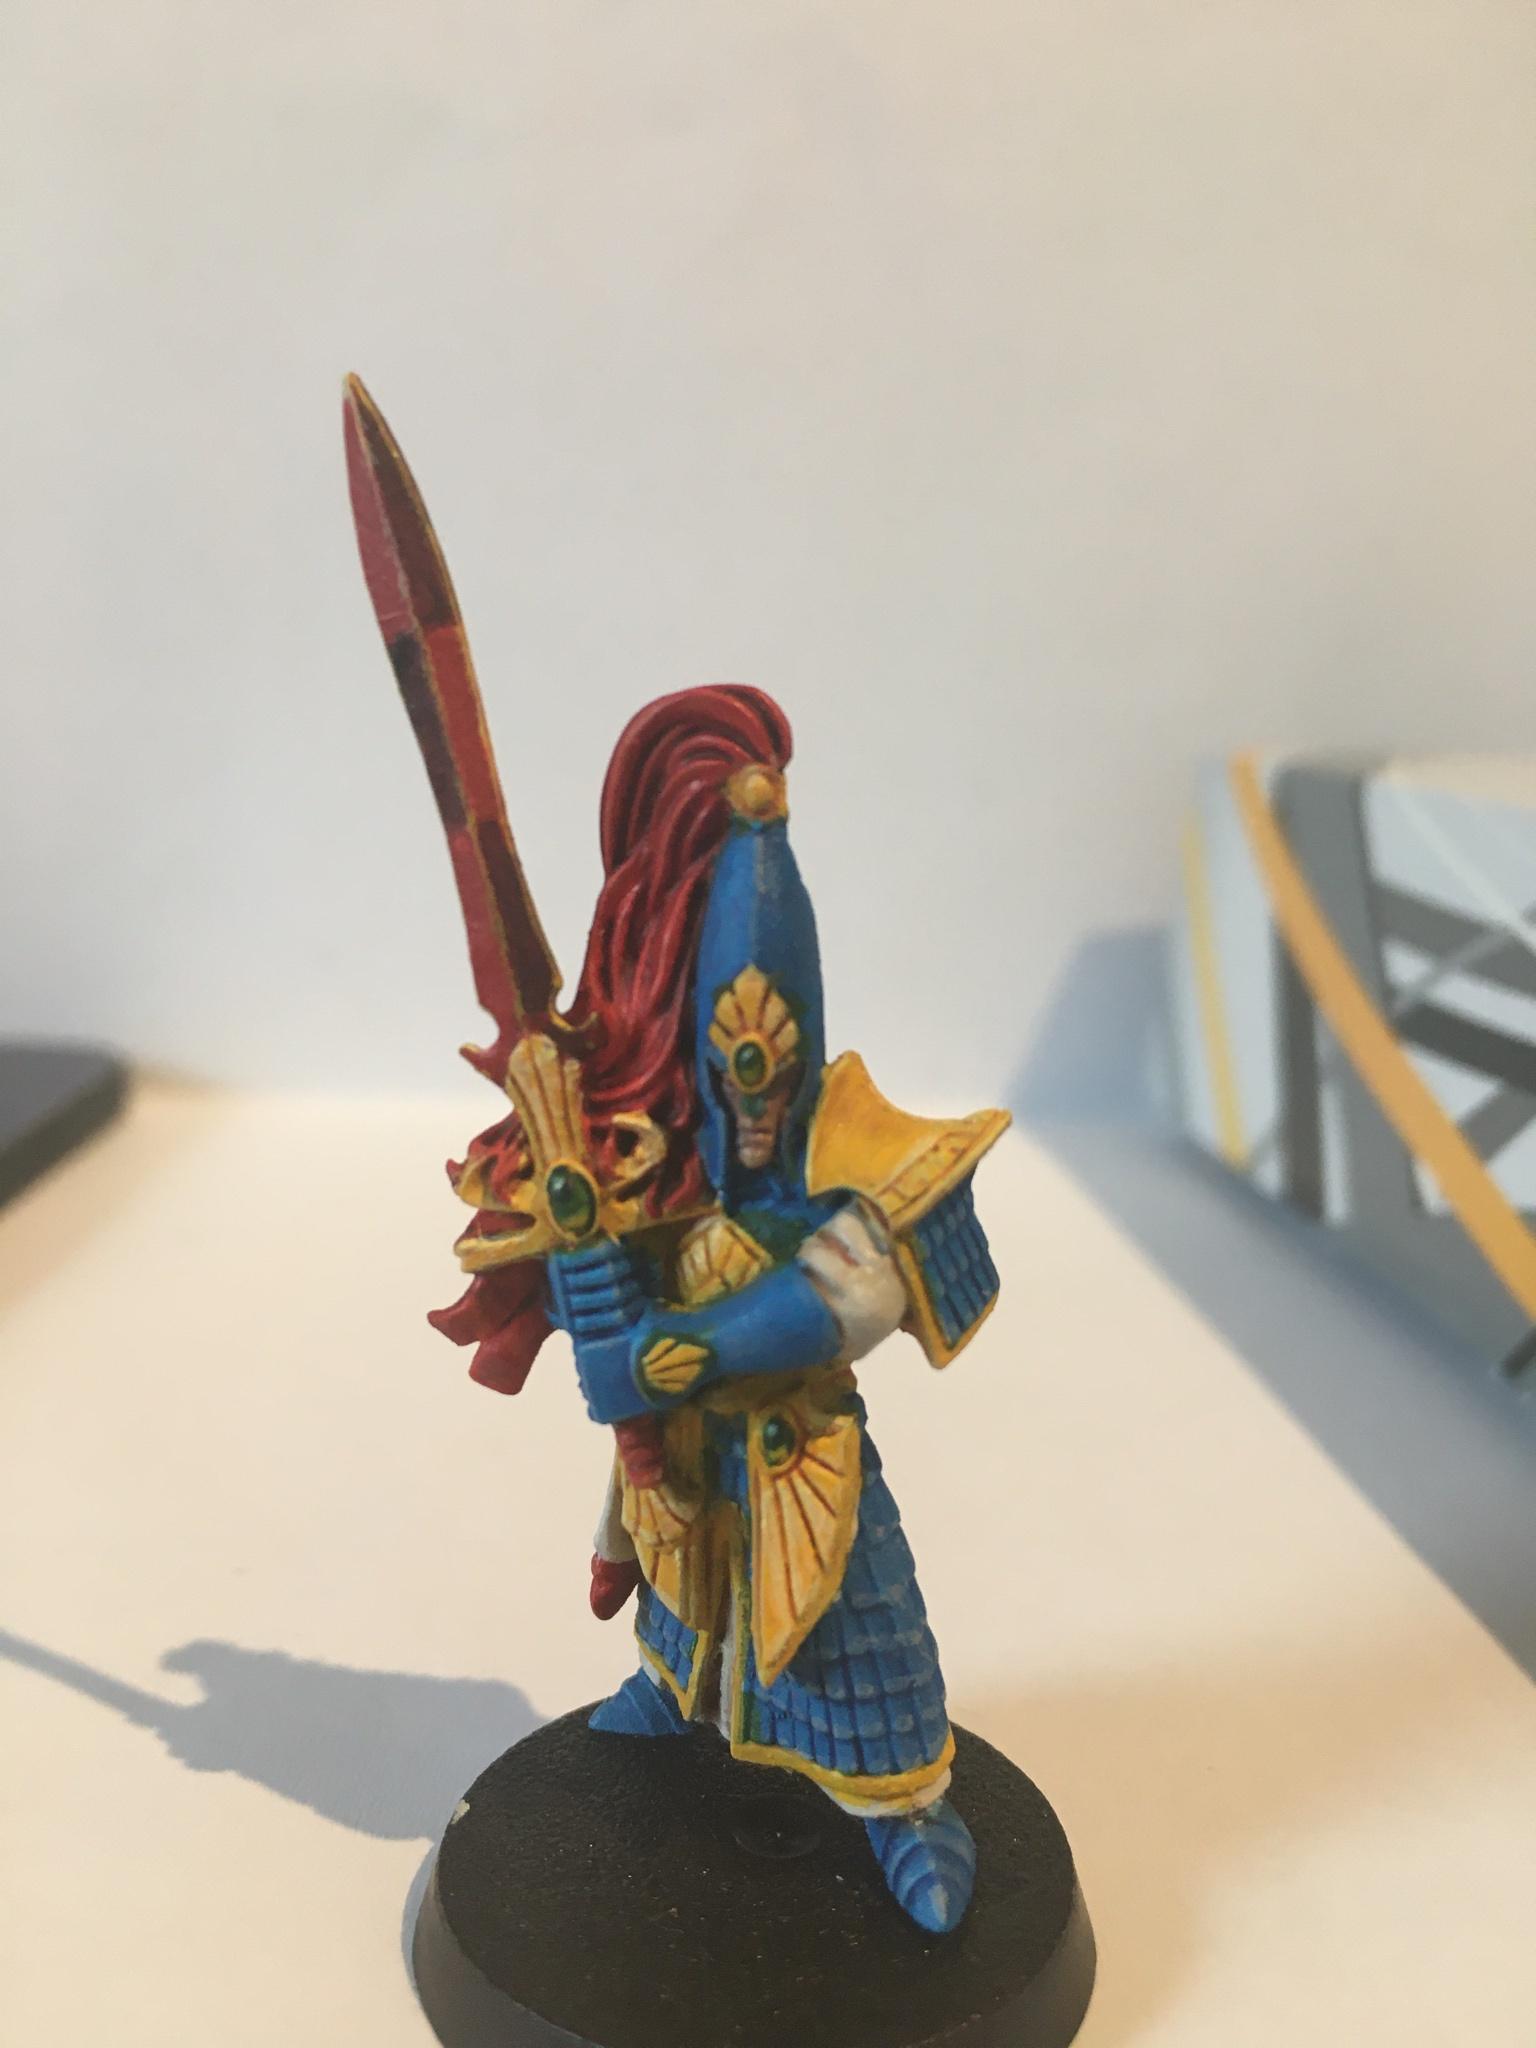
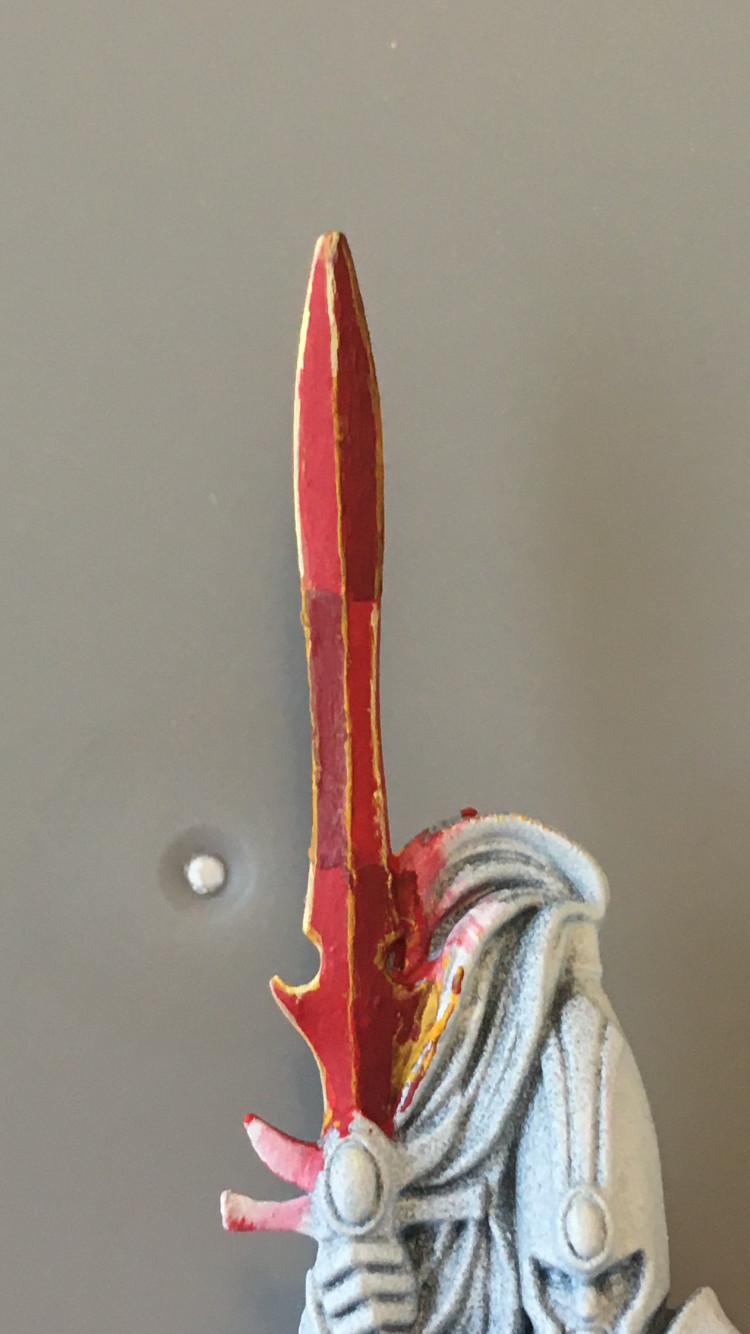
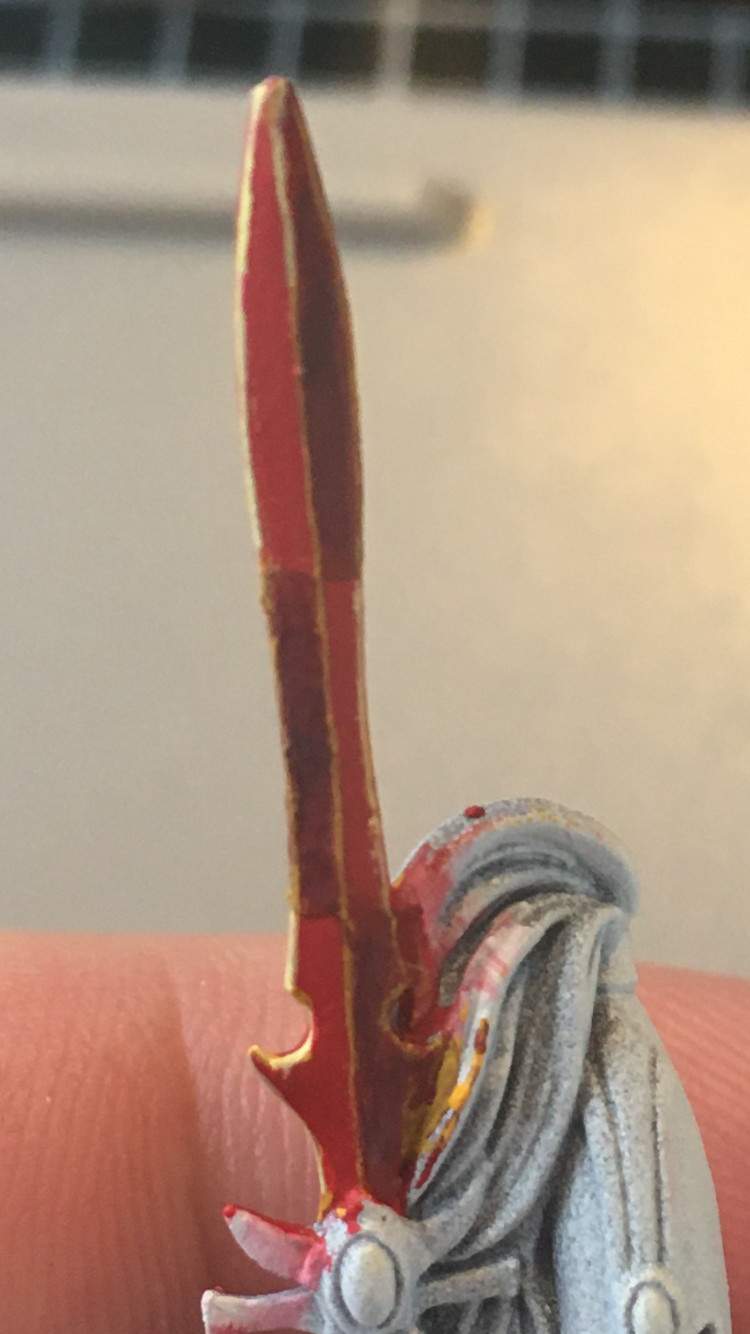
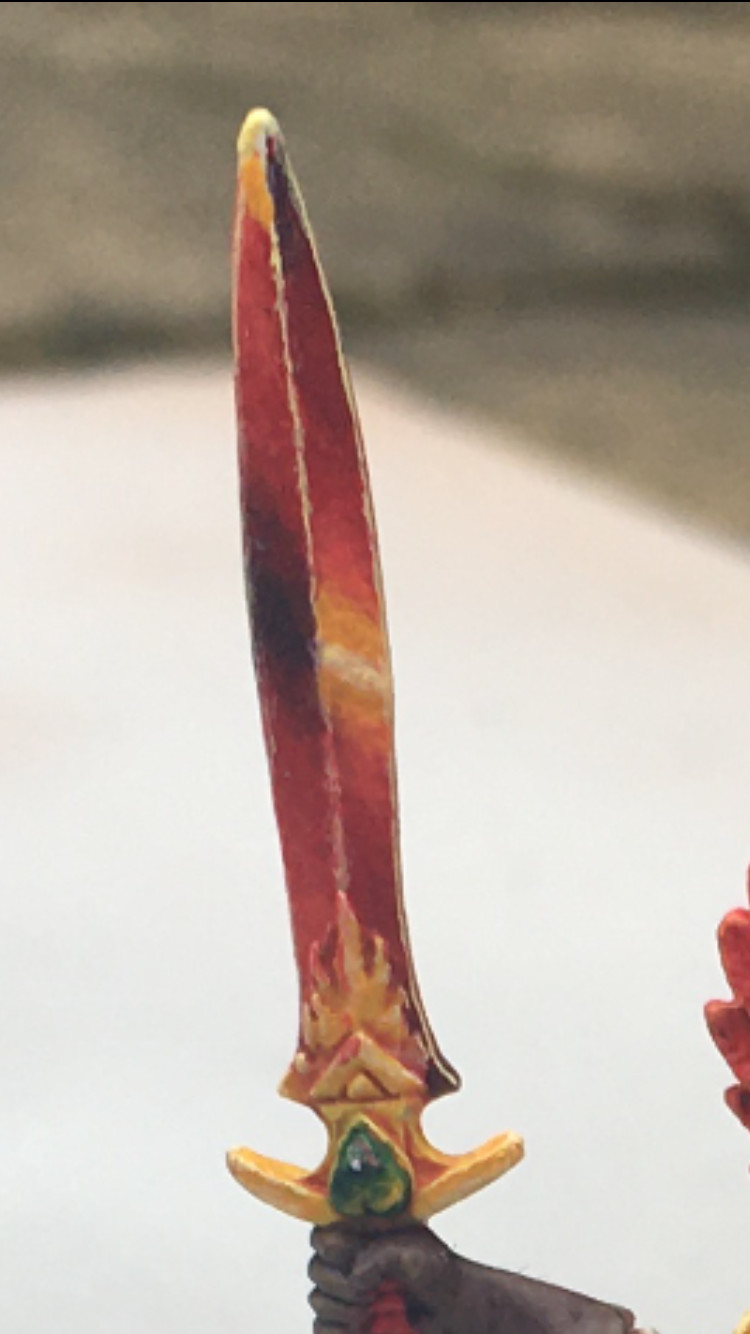
As a little taster here is my King:
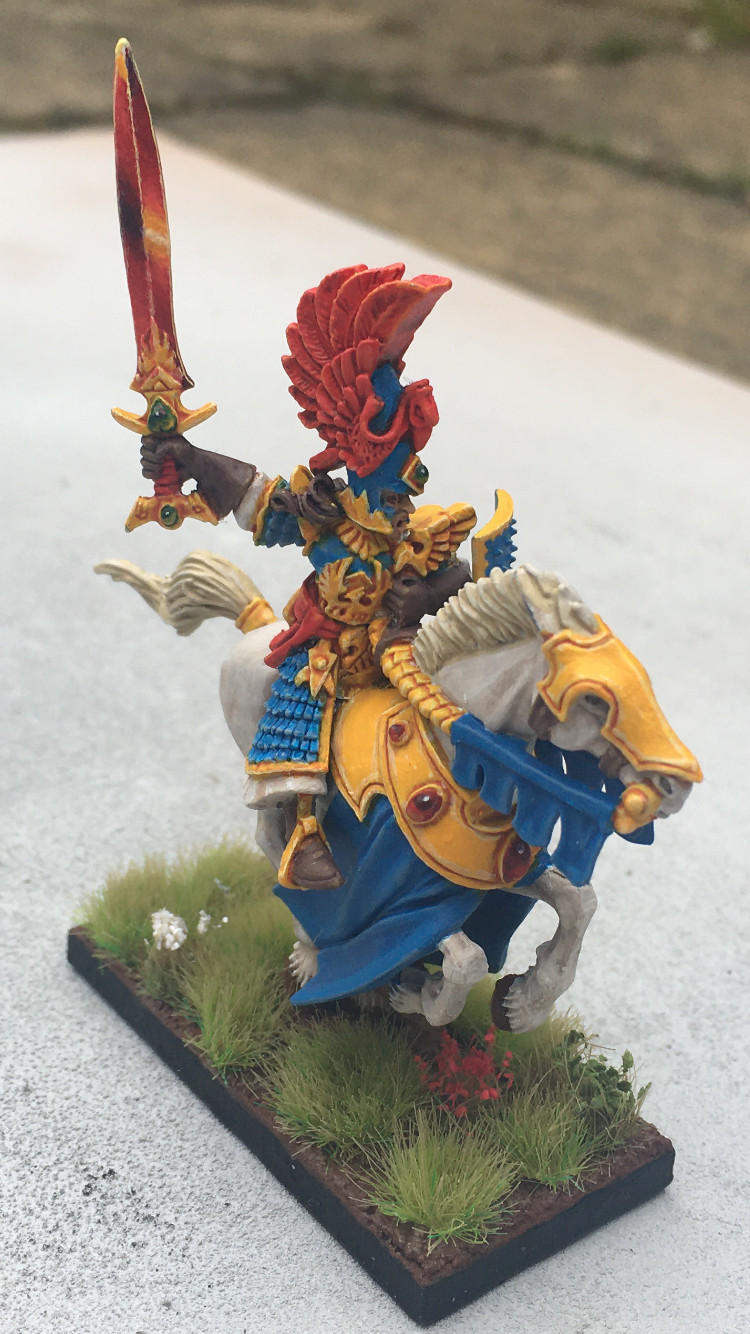
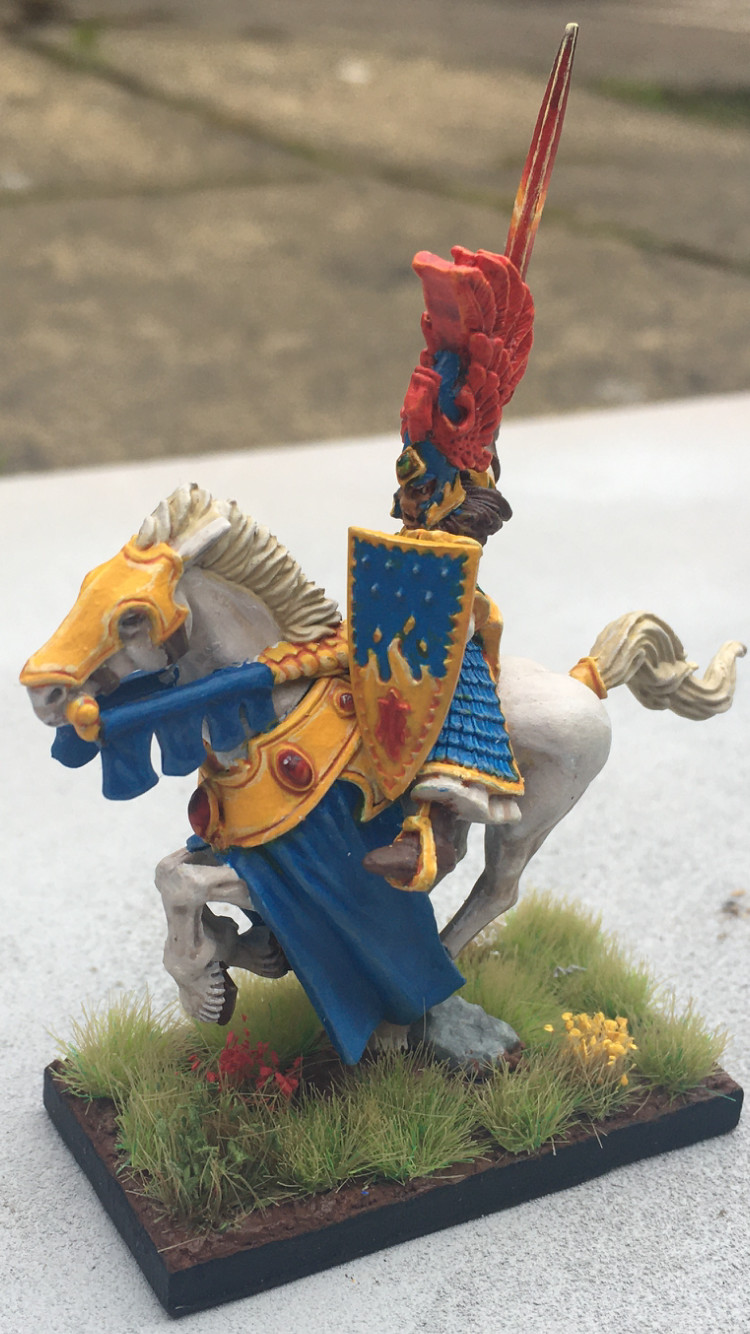
King Paweldran II
Eldest son of Varlil, ruler of Tor Bel-Valdar. A kind and gentle ruler skilled at trade and diplomacy. Bel-Valdar has flourished under its young ruler.
As ruler of Bel-Valdar Paweldran wields his ancestral sword Yahdra drawn from the flame of the Shrine of Raloris in moments of great peril. The blade allows the bearer to carry the flame with them into battle, inspiring the forces of Bel-Valdar and infusing the bearer with unerring accuracy and unleashing horrific damage on even the largest of foes.


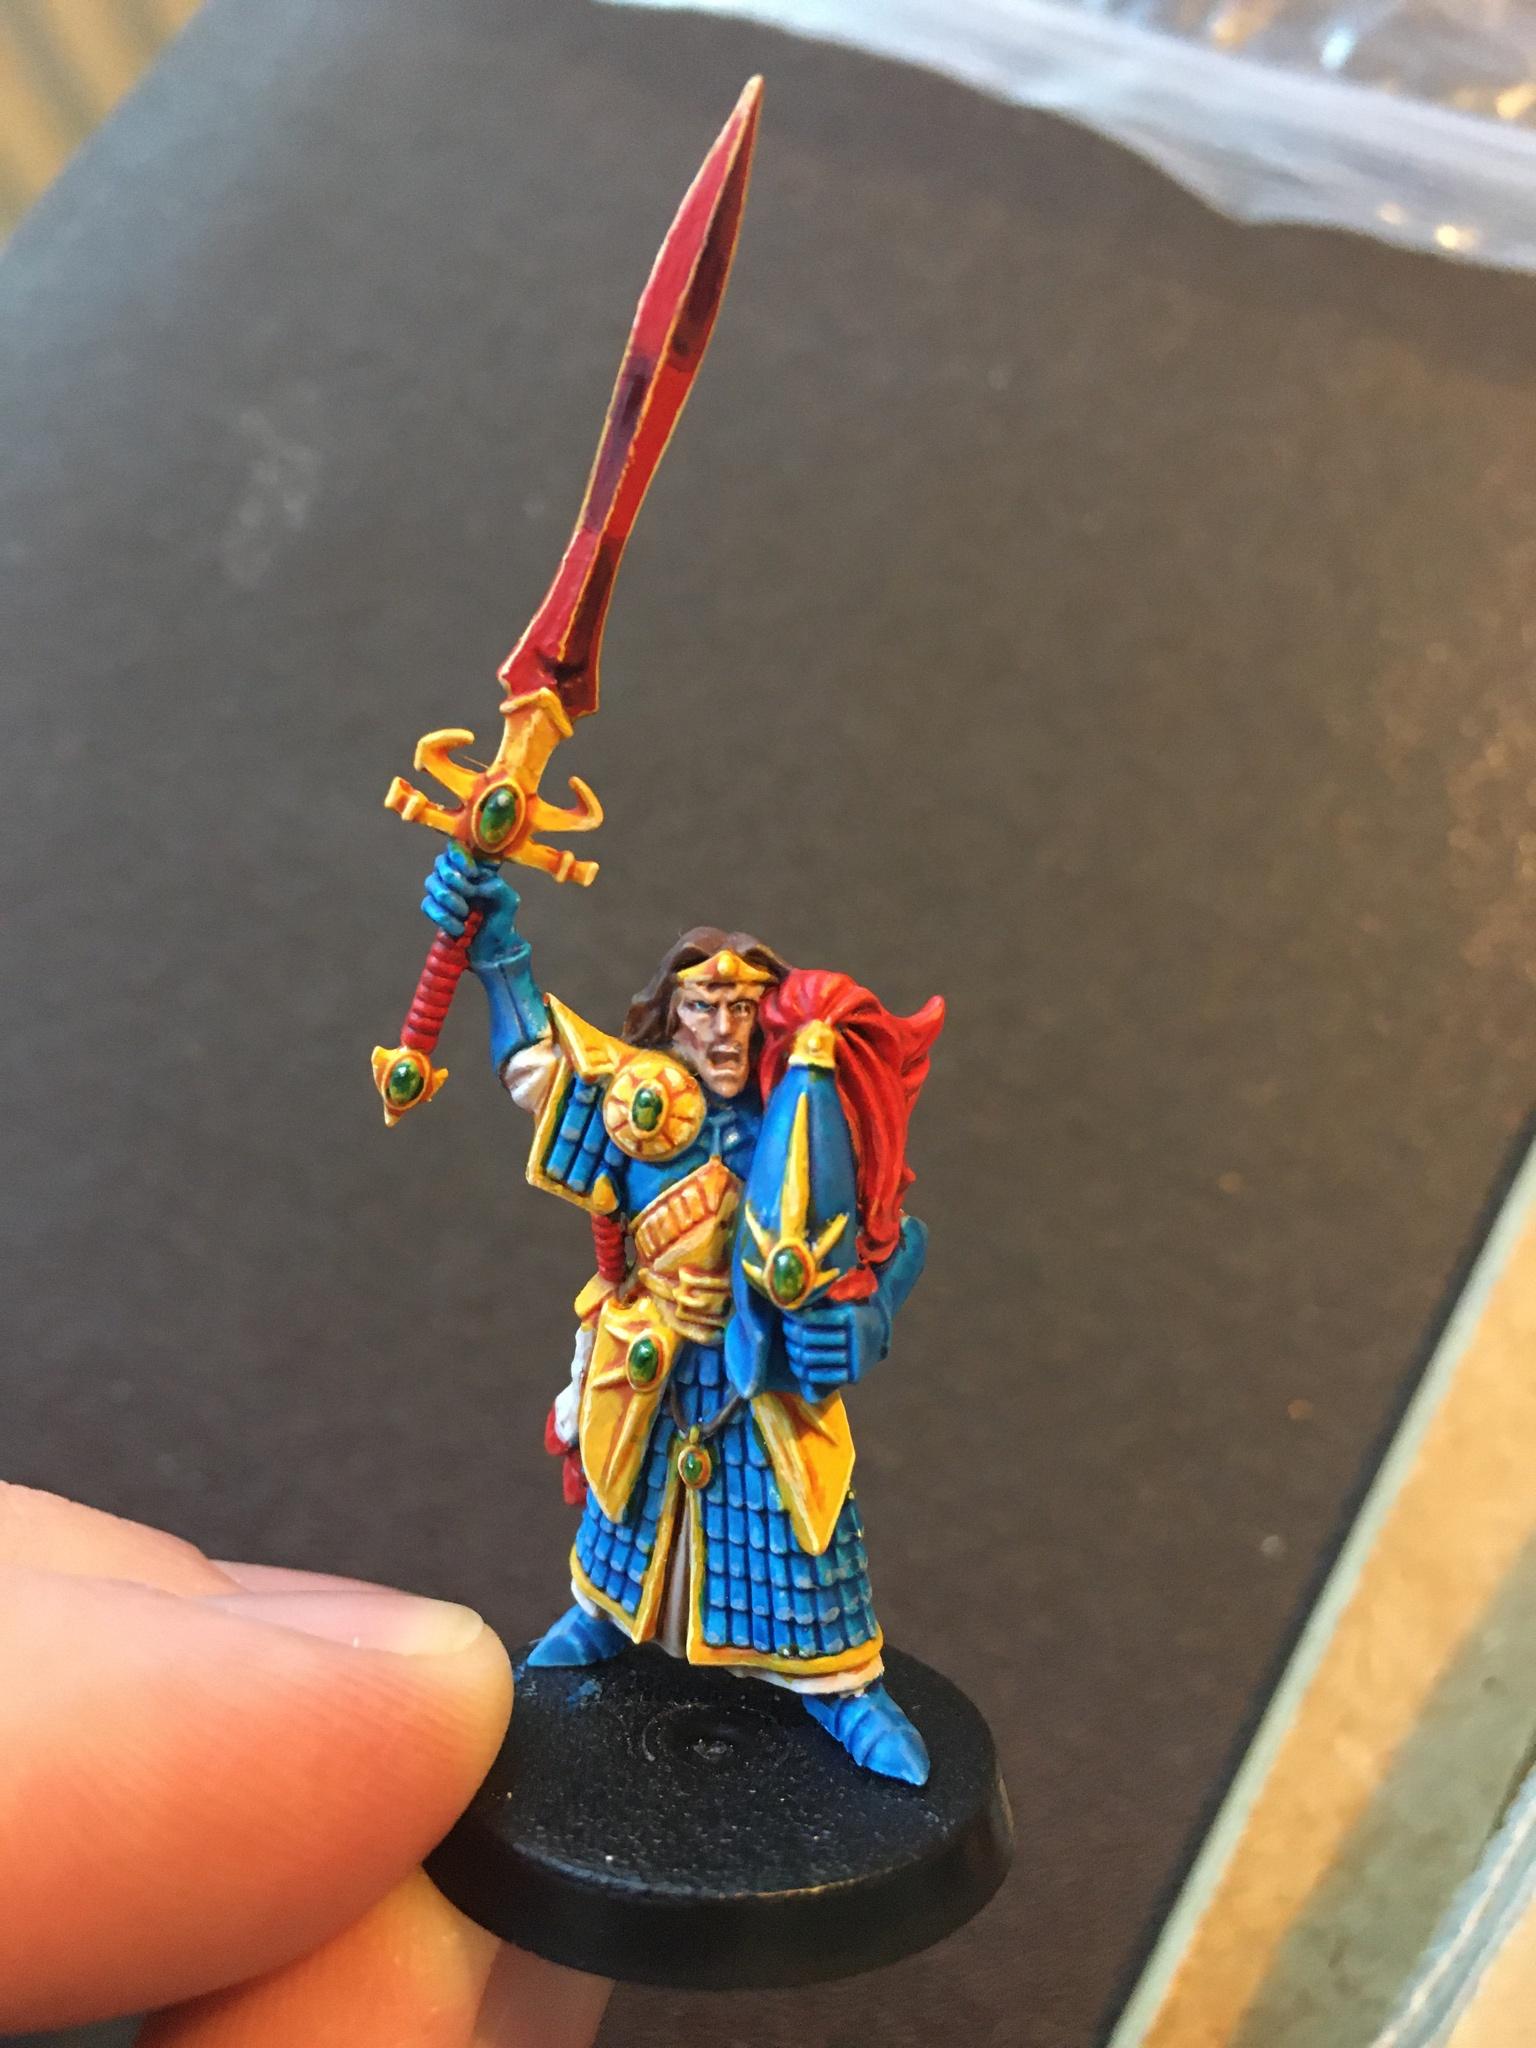

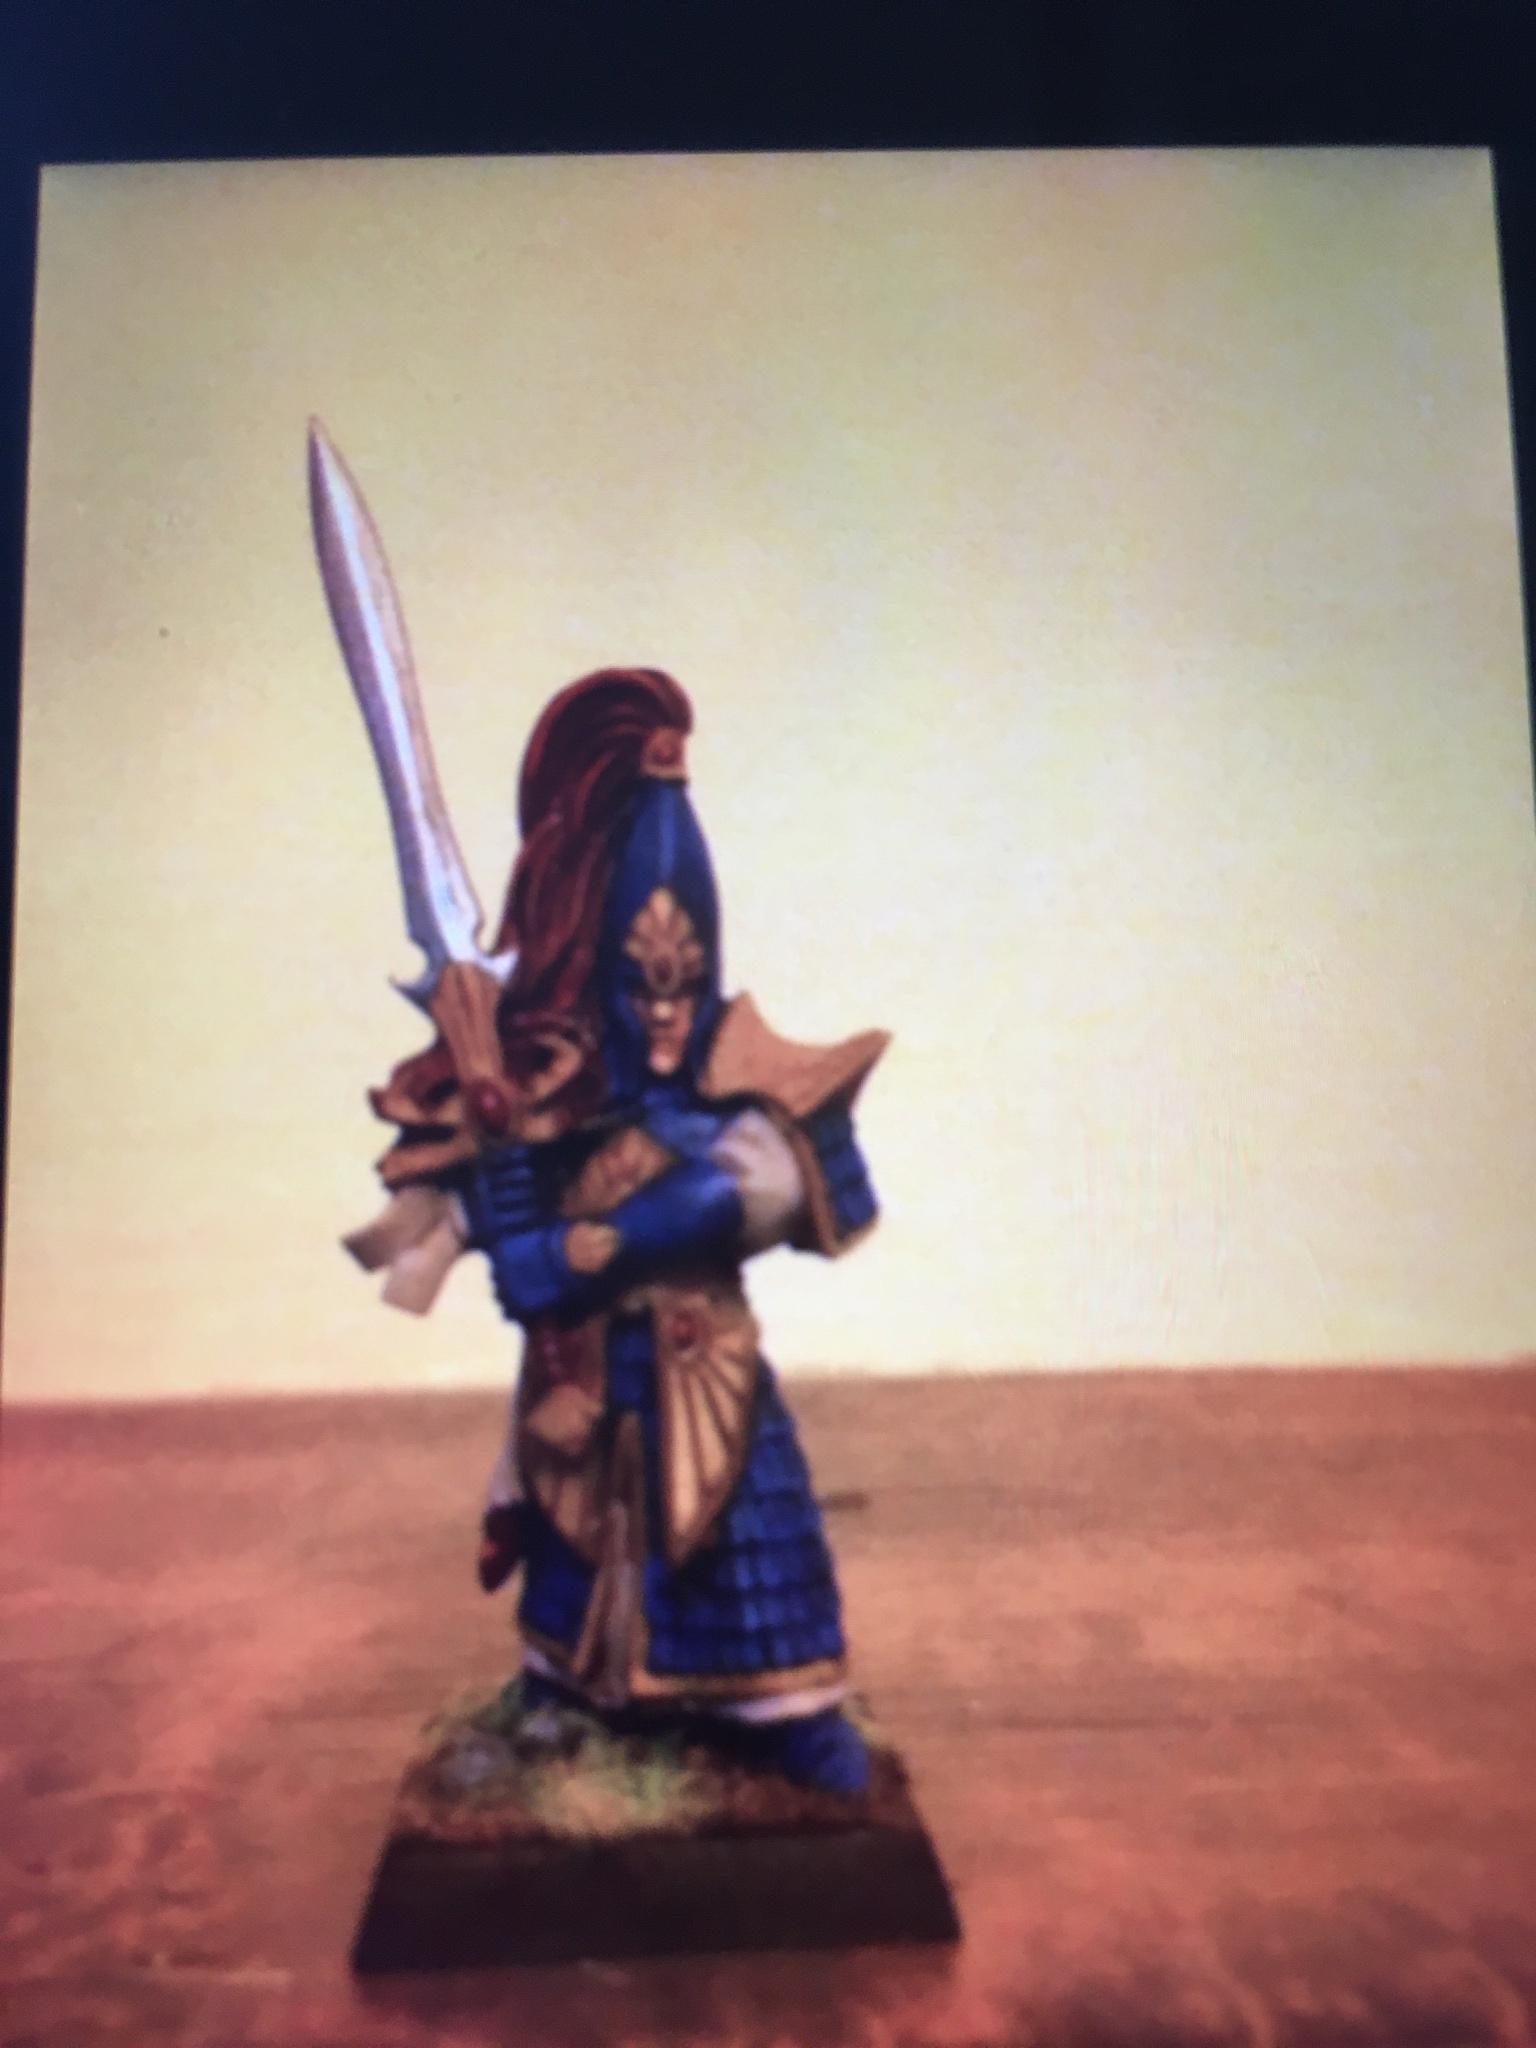
 great minds think alike