A buddy and I spent a rainy Sunday afternoon over an Armada game table with mugs of hot mulled wine, which is the best way to spend rainy Sunday afternoons. This would be our 2nd and 3rd games, respectively, of Armada.
Four ships would be reduced to wrecks, one of which would never sail again. But I’m getting ahead of myself.
My opponent had a fleet that looked suspiciously elvish but were actually Basileans in disguise (since we’re still waiting for Elves to be added to EasyArmy he ran them as proxies). 1 Abbess, 3 Elohi, 1 Gunbrig, 3 Sloops. All inexperienced (new campaign), and decked out with Aegis Shields.
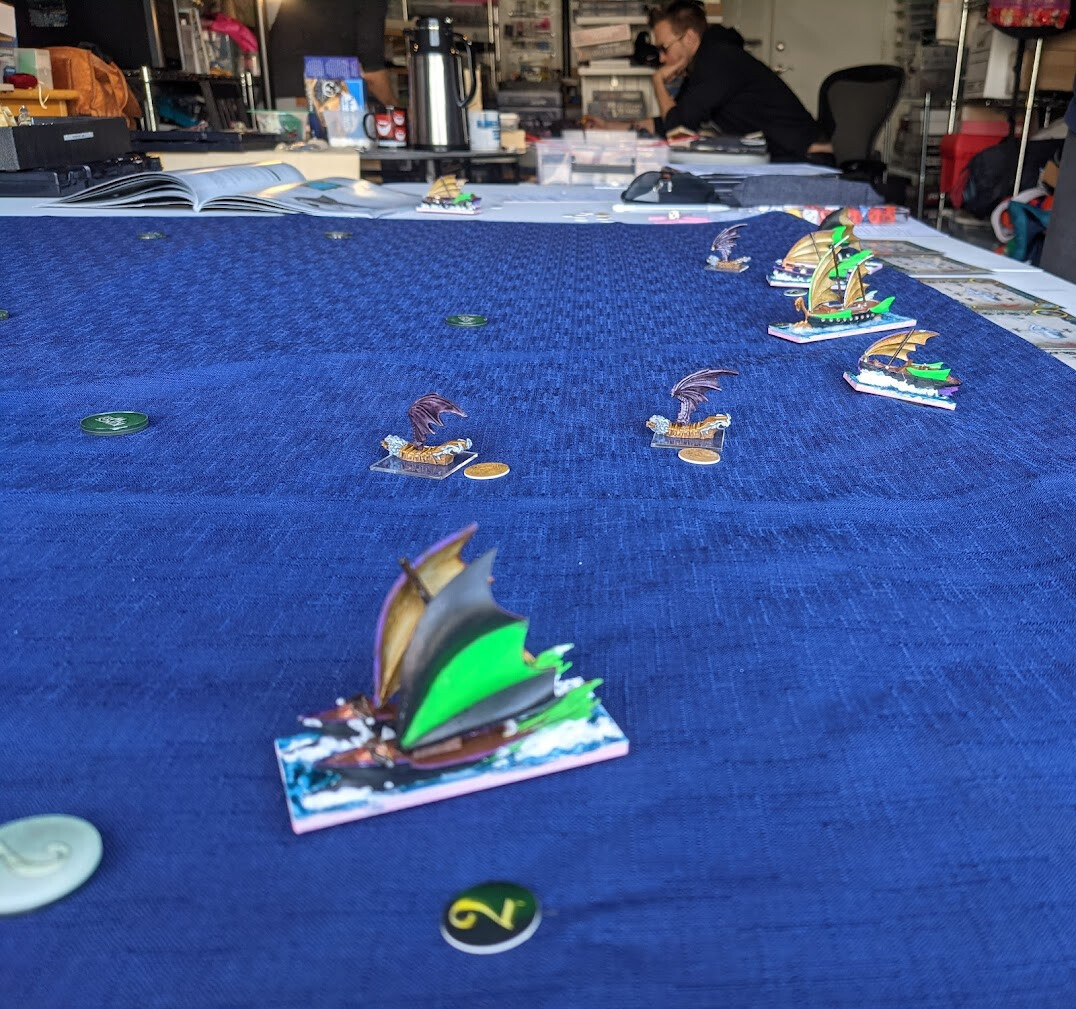
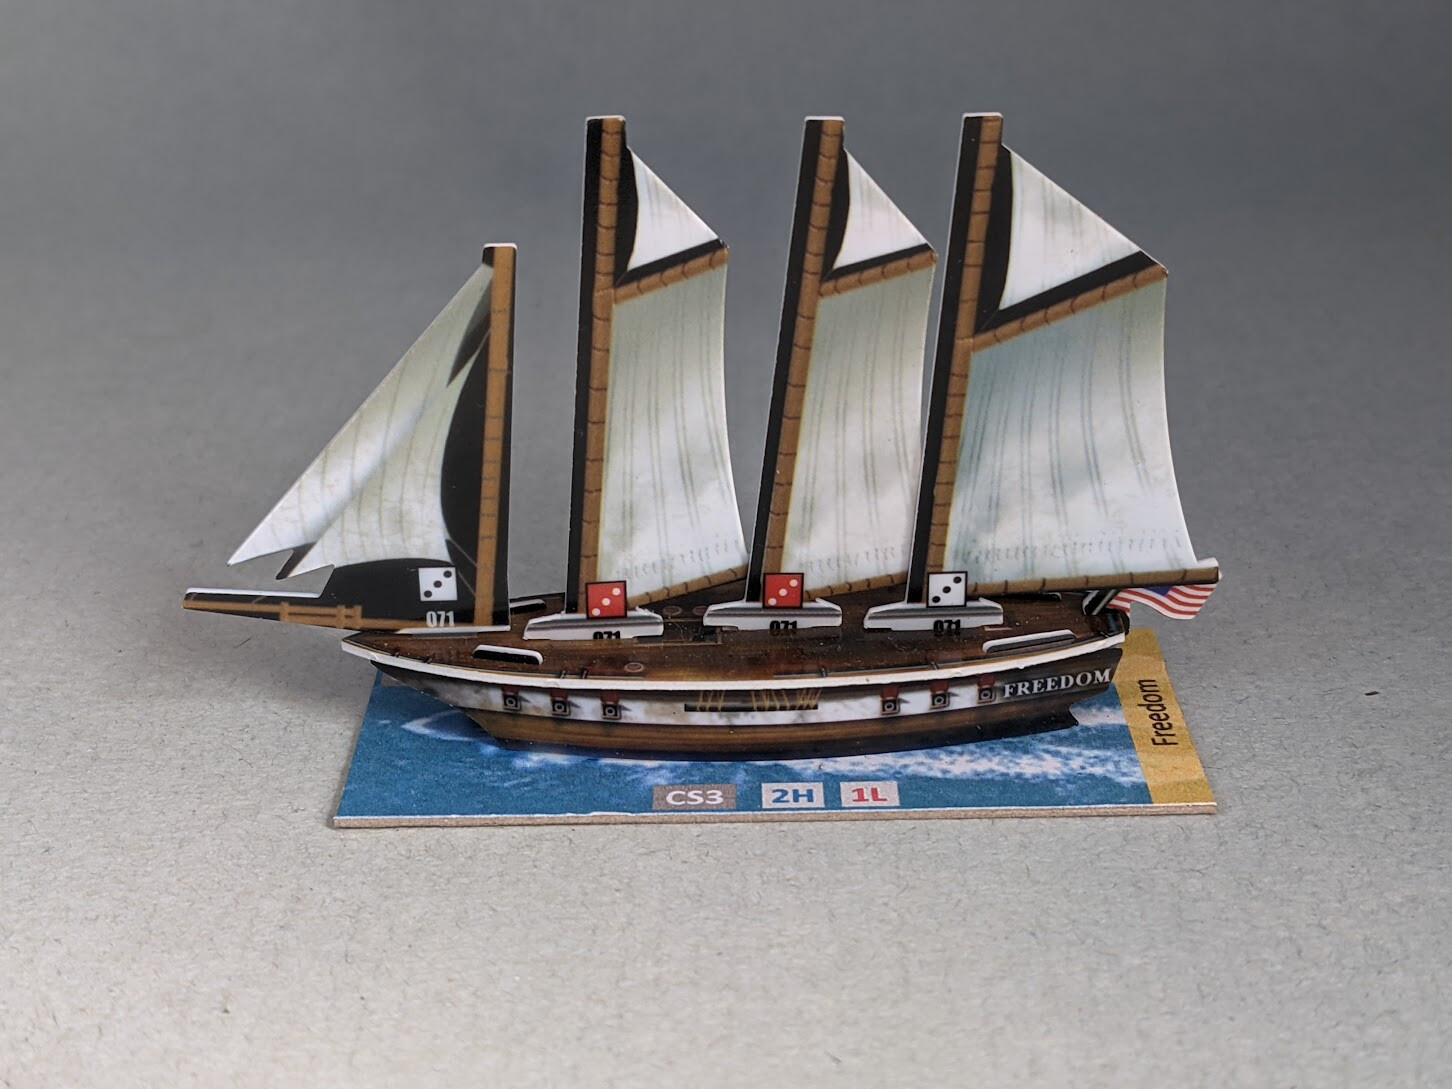
My fleet looked suspiciously like plasticard pirates, but were actually Kingdoms of Men (I do have a proper Dwarf fleet but don’t have enough for a campaign, so I am trying out Men). 2 Warmongers, 1 Instigator, 1 Frigate, and 2 Gunboats were deployed. The Warmongers were stripped down to Lightweight Weapons and given the Diadem of Evasion and the Sails of Honeymaze for extra speed and maneuverability.
The scenario was Flotsam and Jetsom, with no terrain, and simple wind rules. This was going to be a race, followed by a game of cat-and-mouse.
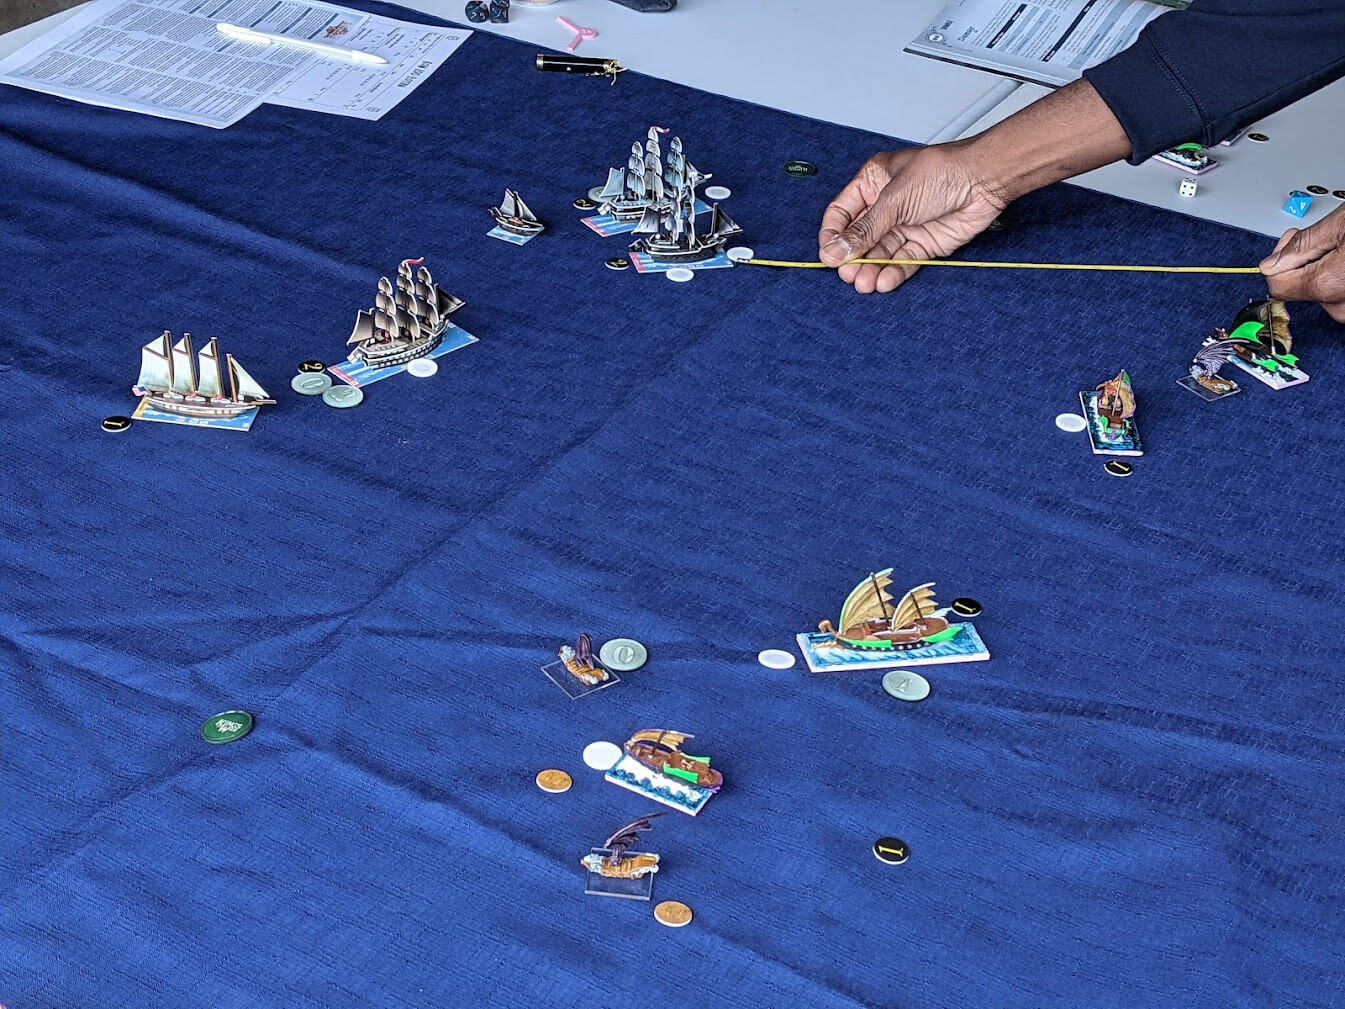
The wind blew from the East and the Basileans turned into the wind, snagging 4 VPs worth of objectives, and then planning on turning West with the wind behind them to pepper me from afar. My Men turned to the West, eventually claiming 4 VPs, and planning to destroy the Basilean delaying force and then cross the T of what I thought would be the relief force.
So it was to both our surprise that the wind shifted all the way over to the Southwest during the first several turns before shifting back to South on turn 7, constantly wrecking our initiative expectations!
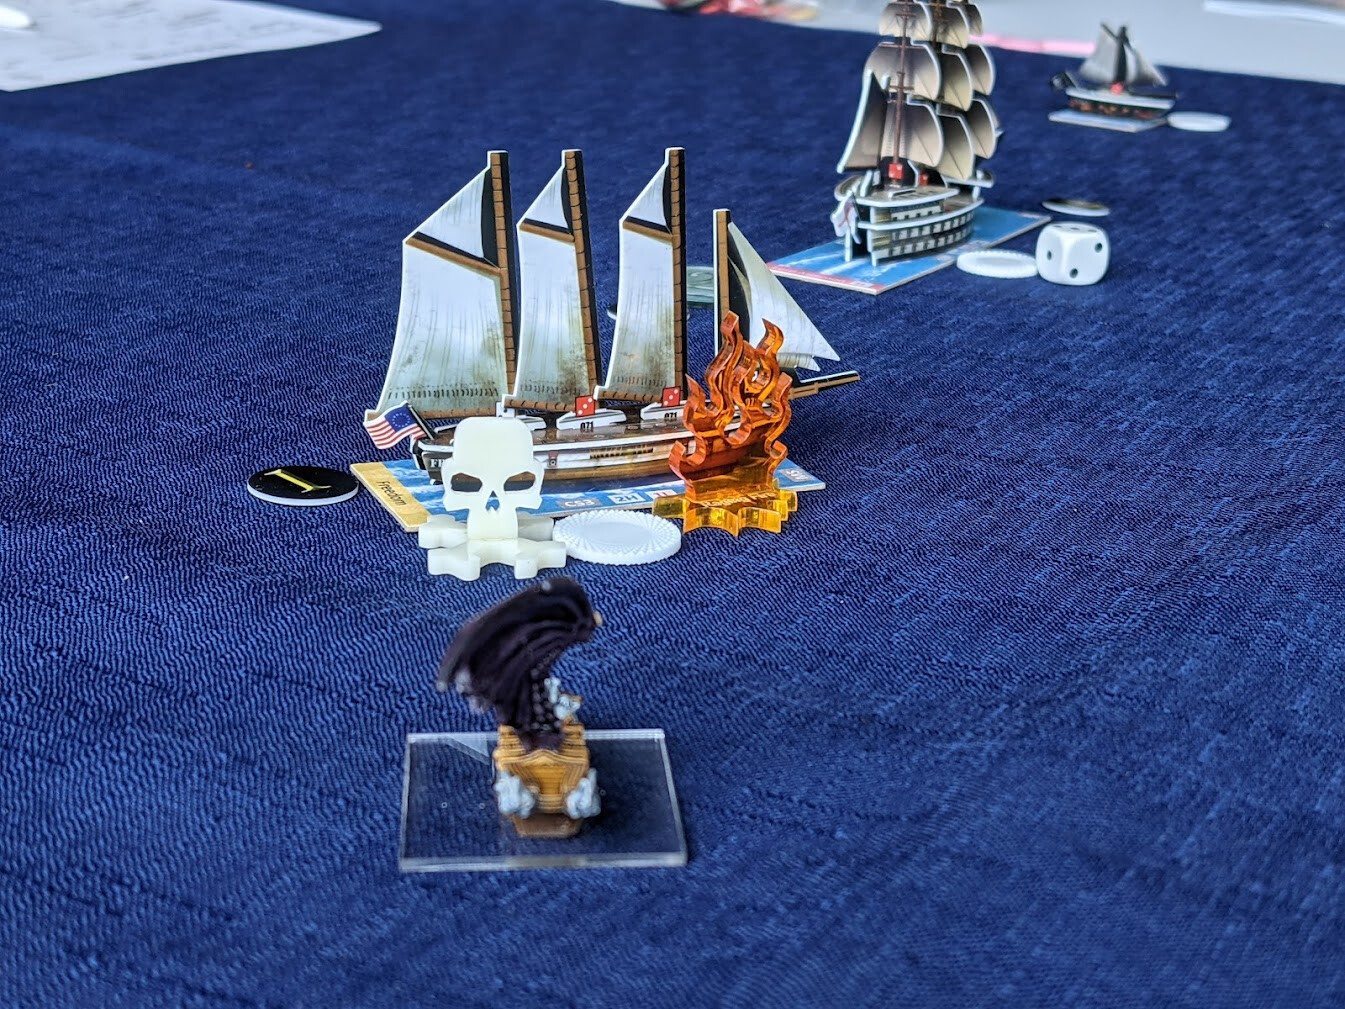
First blood went to the Basileans. A lucky shot from a Sloop set my Frigate aflame, and two more crits would finish it off. Something like 21 points were dealt in one turn, most needing at least 7s to hit. The Freedom was quickly destroyed.
On the other side of the table, my two Warmongers and the Instigator were able to wreck the two Elohi, but would collectively take 75 damage in the process. Thankfully, it was spread fairly evenly. There was definitely some tight confines/ edge-of-the-world weirdness where multiple ships played bumper cars (bumper boats?) and went off the map & respawned. But all in all the rules worked well. The Elohi definitely survived an extra turn thanks to the Aegis Shield damage reduction, that was impressive.
Finally at this stage we tried to chase each other’s most vulnerable VPs. I had one on a teeny tiny little Gunboat who got separated from the main fleet. That brave little bastard dodged volley after volley for three turns trying to get back to the safety of the big guns, but survived to the end of the game with just 2 structure points left!
In the process of trying to swat that little bugger, my opponent had to bring one of his VP-bearing ships into long range of my fleet. I anchored my ships and just fired away with everything for two turns. The very last roll with the very last ship on the very last turn was a lucky crit that sank the target and eked me out a victory!
However, in the post-game, we ended up about even. My opponent’s repair costs were negligible, but my Frigate, Freedom, would sink to the bottom with all hands. (Plays Taps)