Having read some of Jon Gunn’s excellent reports from his recent tournaments I thought I would do the same
Here’s a few thoughts about my first ever tournament and how it went.
First of all I want to thank the Kings of Herts crew for an excellent day. I really enjoyed myself and am already looking forward to my next outing. (Probably the Franticon doubles with my youngest).
I’d also like to thank all the players and especially my opponents for making me feel so welcome.
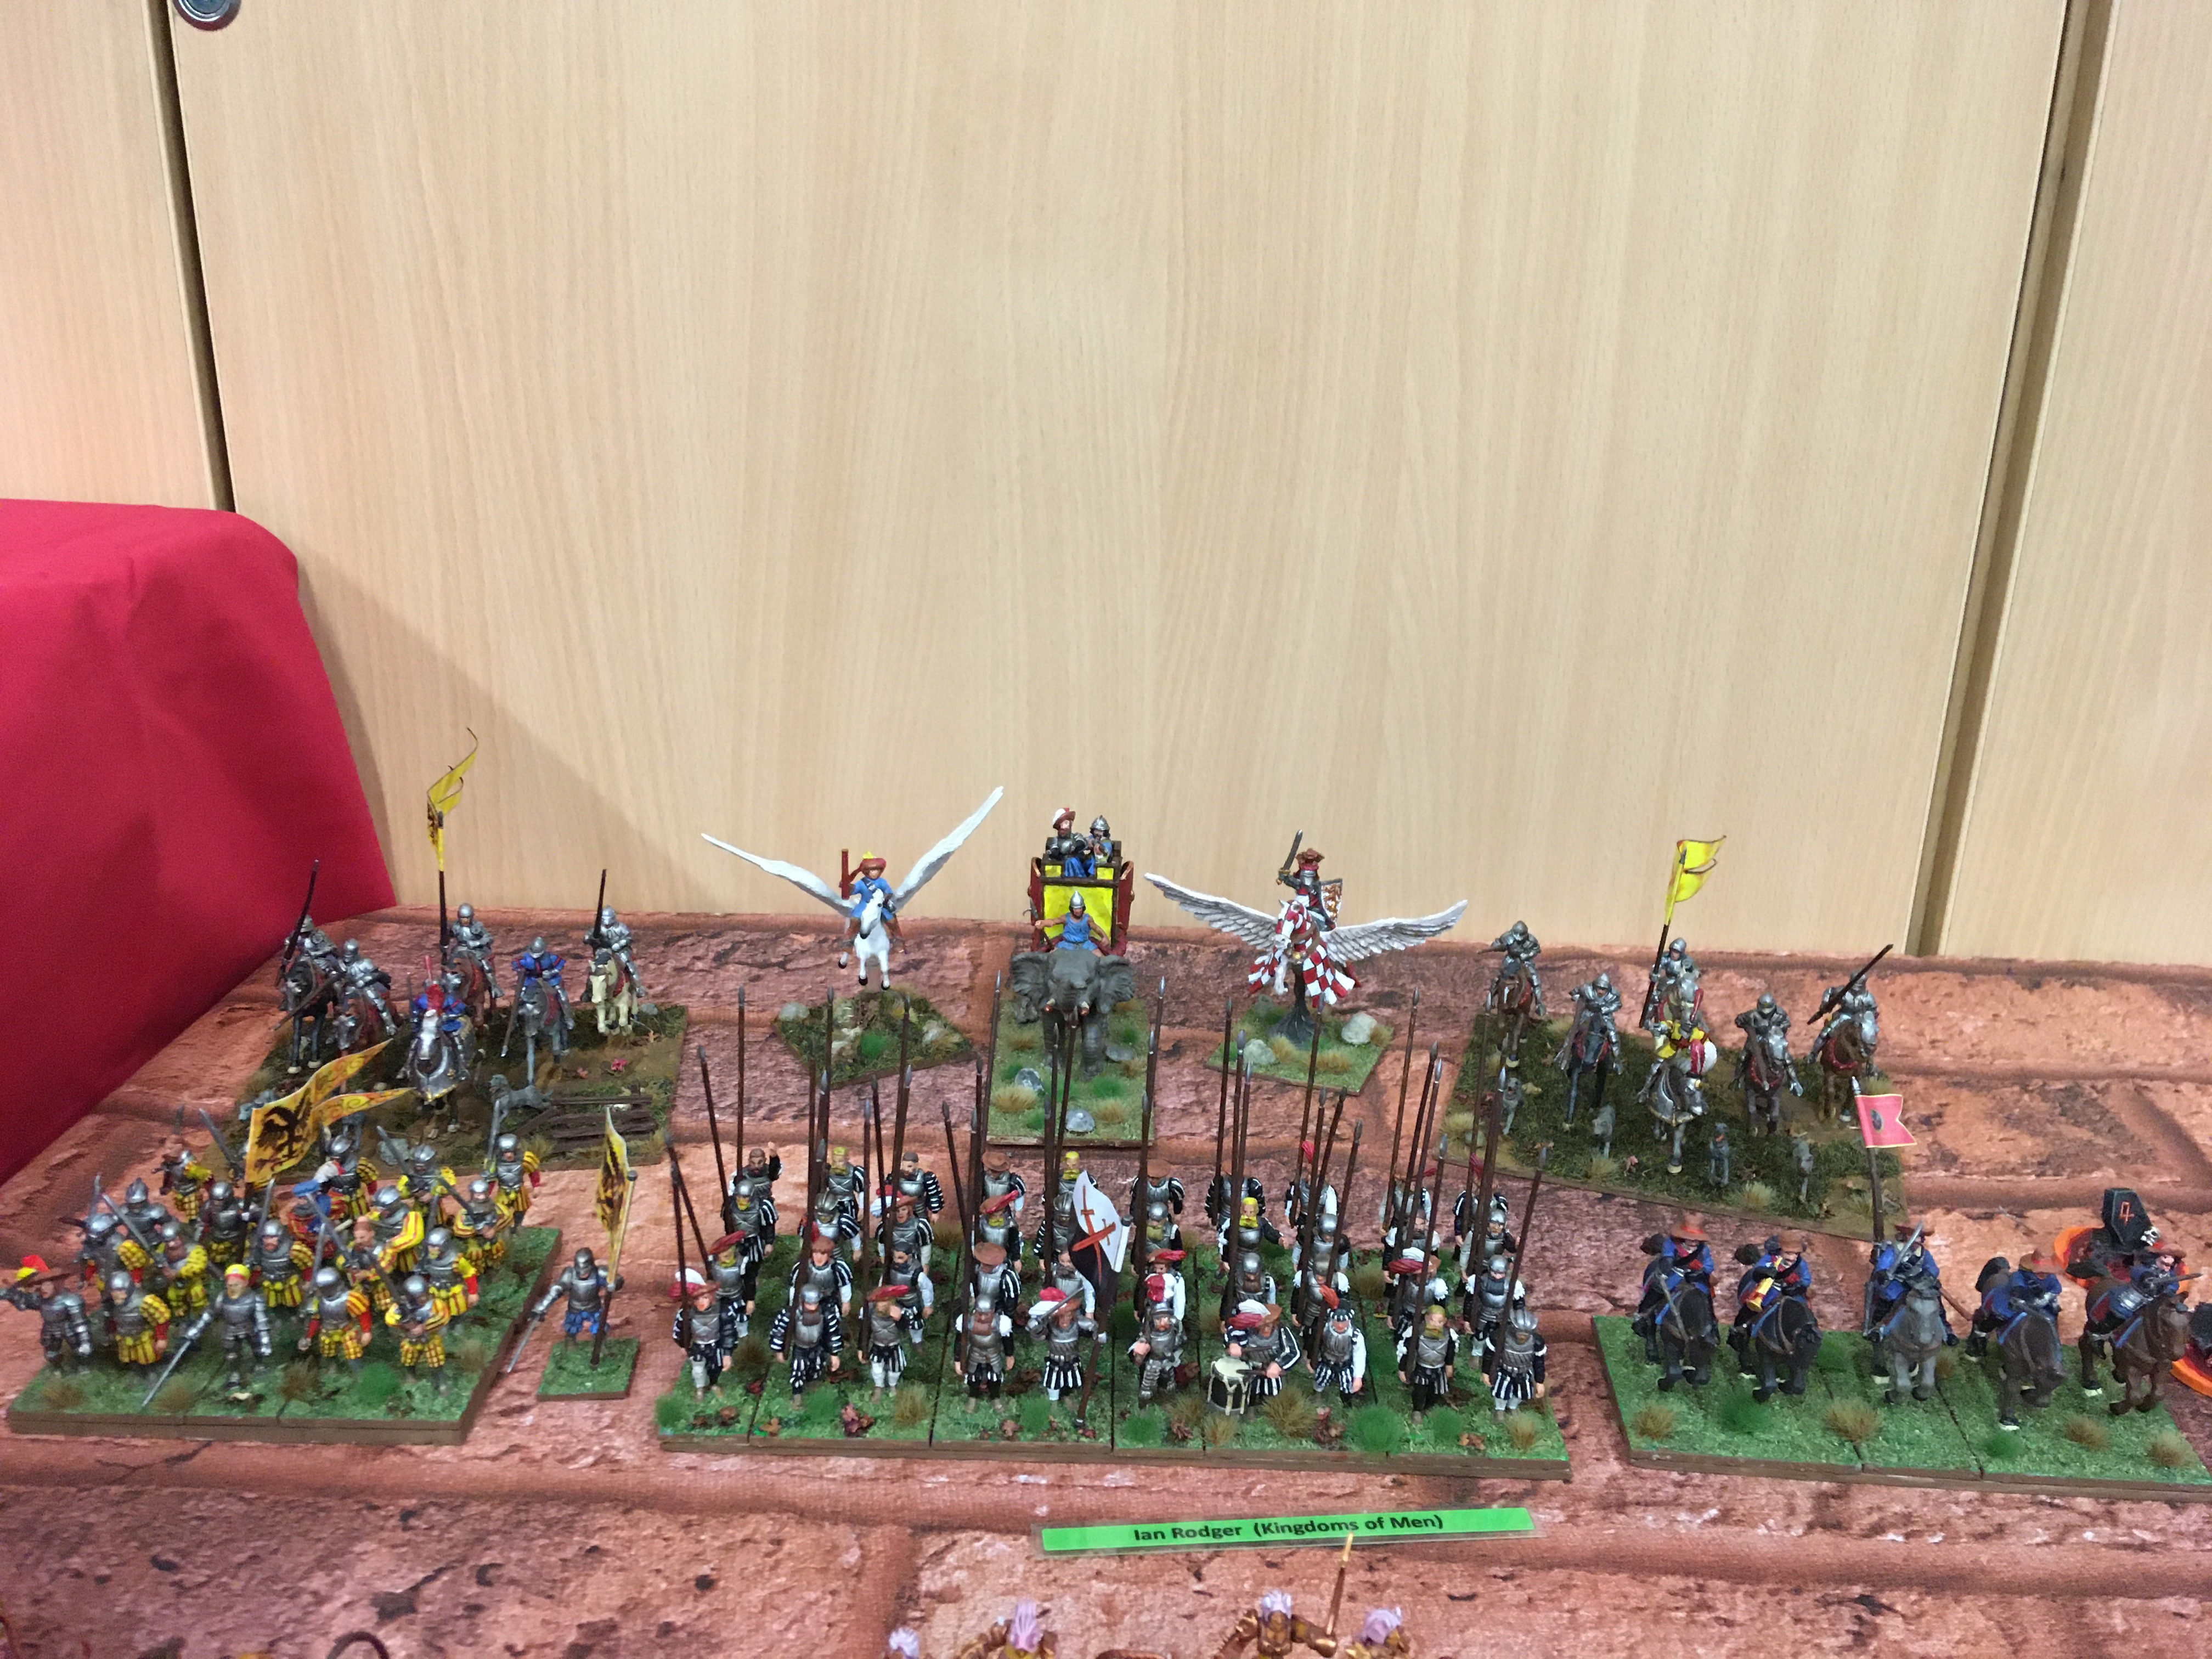
So it was a one day, 1000 point, 4 game tournament where we could play a single list, or two different lists but you had to use each list twice. I went for the later and here are the two lists I used.
Army A
Army: Kingdoms of Men
Points: 1000
Unit Strength: 13
230, Spear Phalanx Horde
– Pikes
195, Knight Regiment
105, Pole-Arms Block Regiment
220, Mammoth
90, Hero on Pegasus
105, Wizard
– Inspiring Talisman
– Pegasus
– Lightning Bolt (3) to replace Fireball
55, Army Standard Bearer
– War-Bow of Kaba
Army B
Army: Kingdoms of Men
Points: 1000
Unit Strength: 15
230, Spear Phalanx Horde
– Pikes
195, Knight Regiment
105, Pole-Arms Block Regiment
210, Knight Regiment
– Sir Jesse’s Boots of Striding
100, Mounted Sergeant Troop
105, Wizard
– Inspiring Talisman
– Pegasus
– Lightning Bolt (3) to replace Fireball
55, Army Standard Bearer
– War-Bow of Kaba
Before the tournament I’d only ever played against my two sons, who fight with Ogres and Forces of Nature, so I wasn’t sure how well my army would do against some of the less familiar l armies.
Game 1 was (loot I think!) against Ian Sturgess. As my first ever competitive opponent he was great, even down to rolling really badly just when I needed him to  .
.
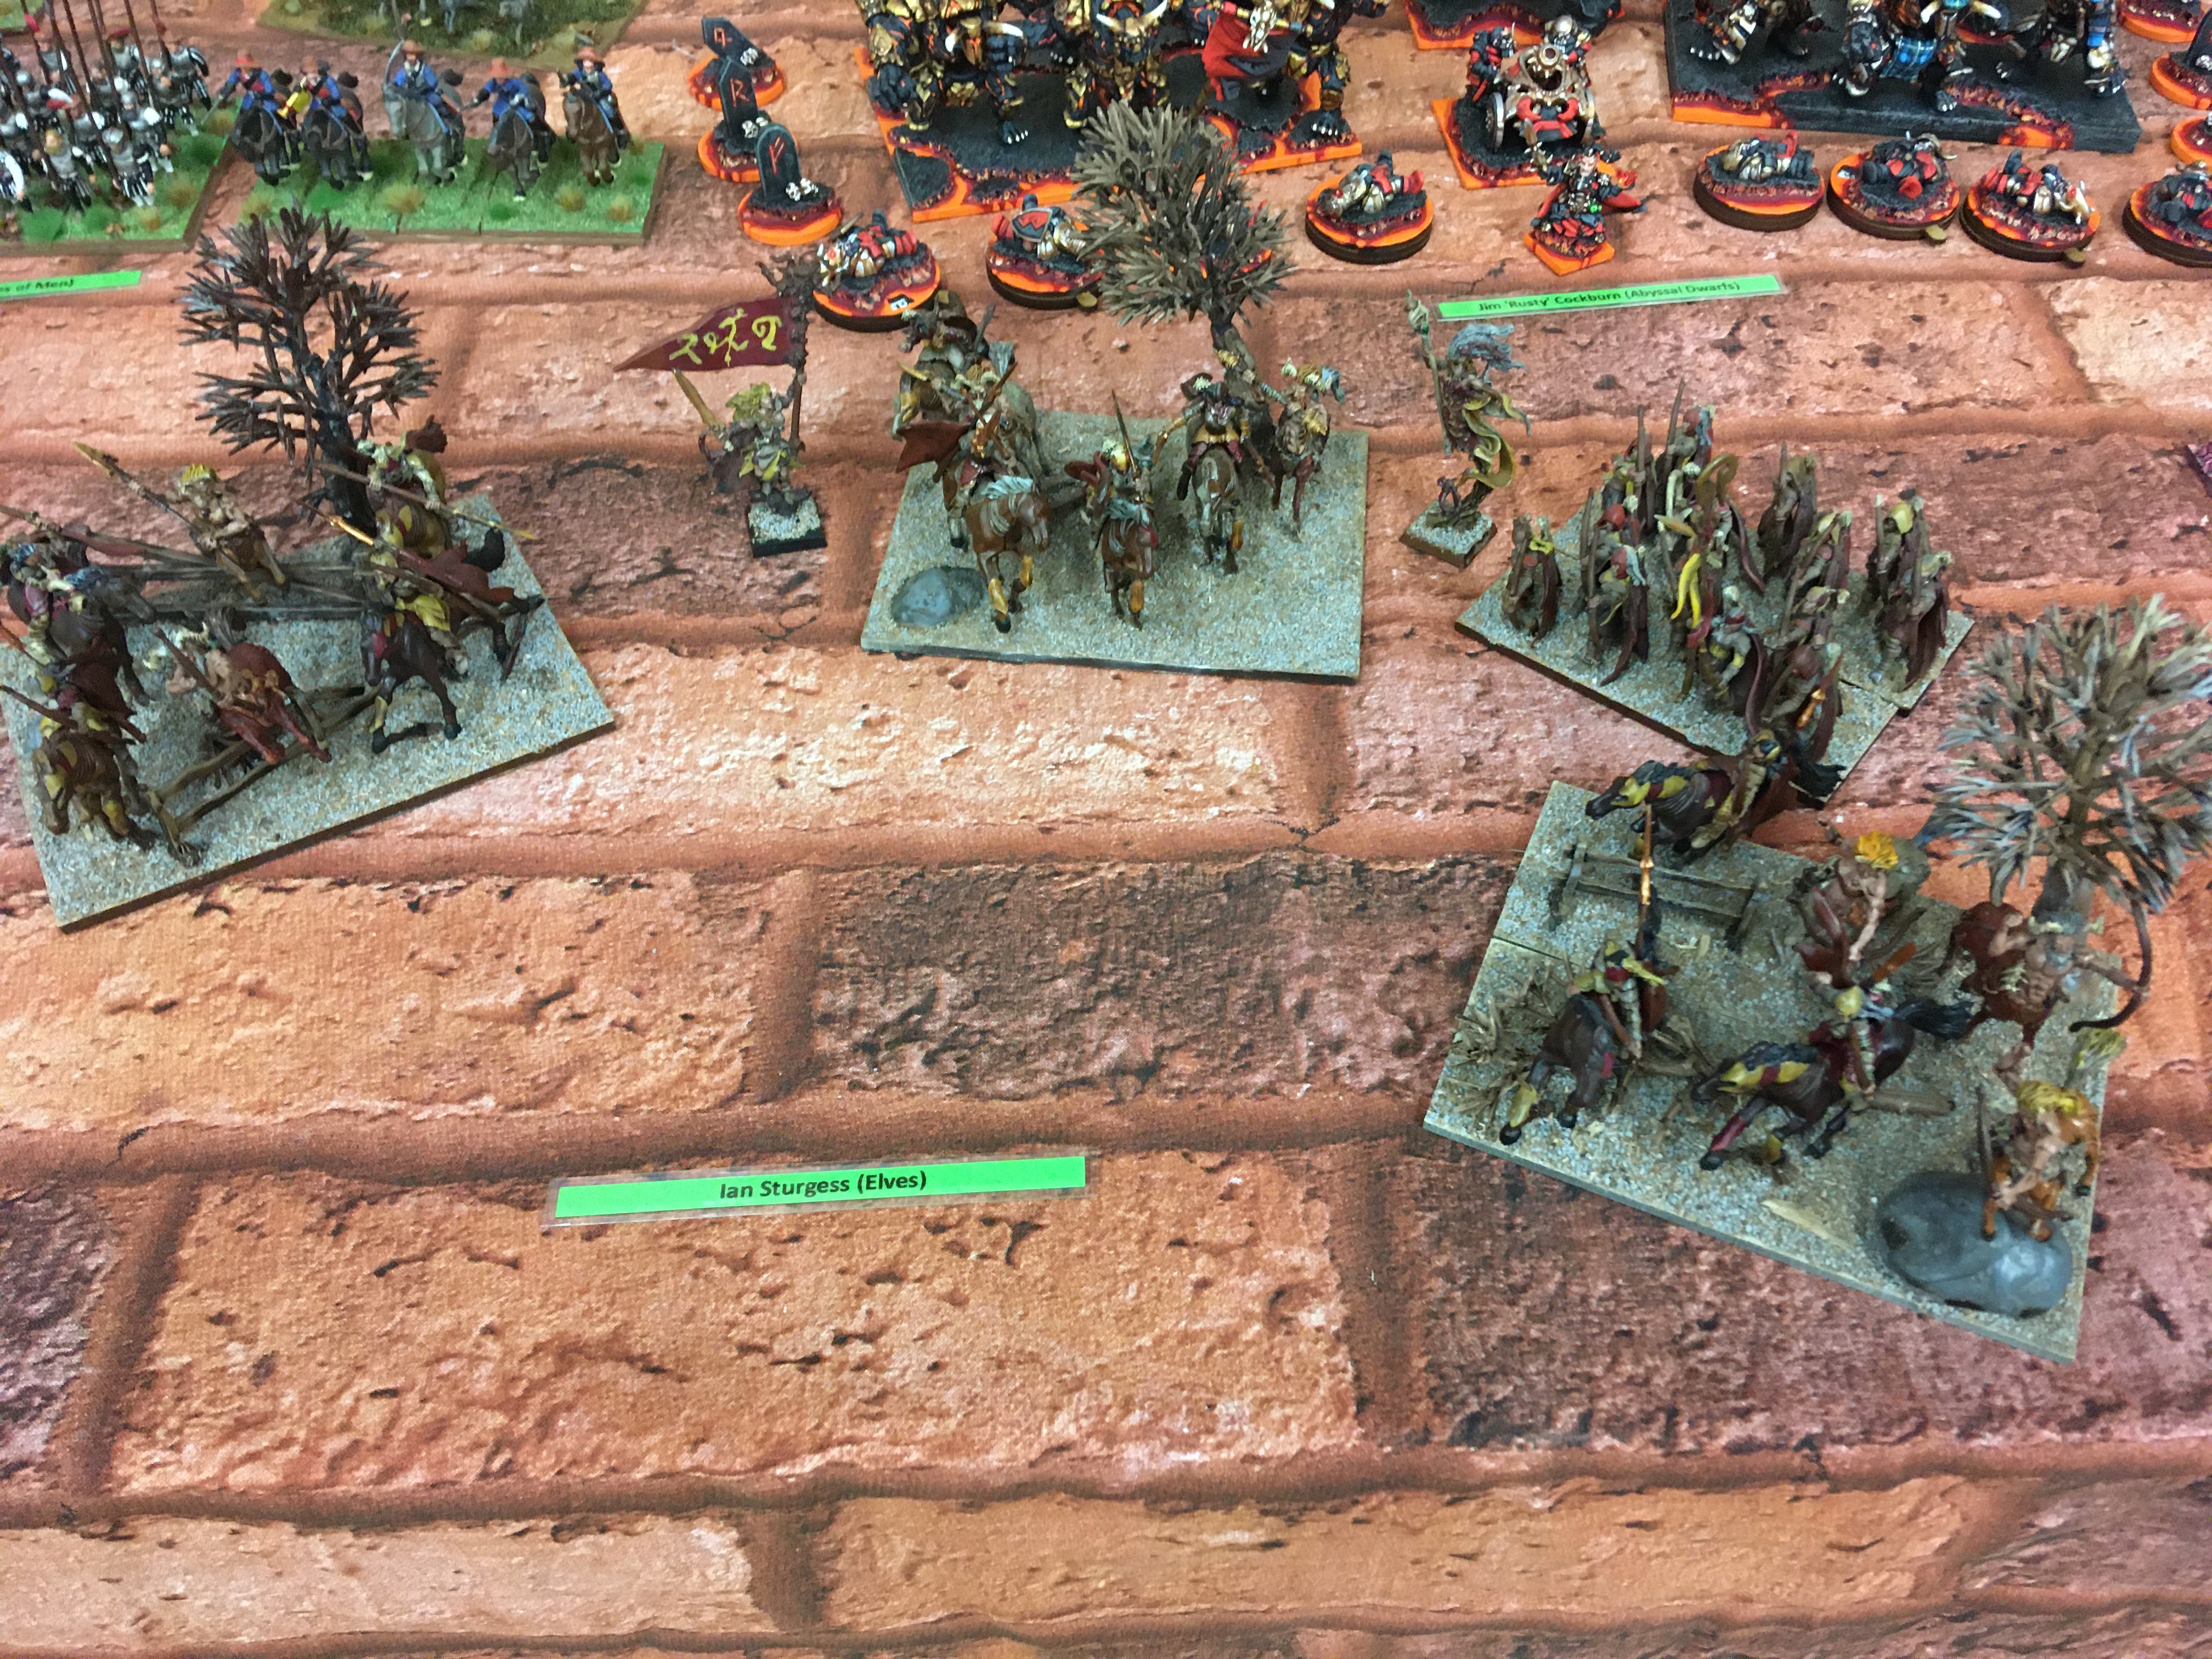
He chose to use his Cavalry elf list. With a Regiment of Stormwind, 2 Regiments of Silver Breeze, a Regiment of archers, and ASB with the lute (I think) and an archmage. I used list A with the Mammoth.
After the first turn I was really worried about all the damage I had taken from his shooting With the Pikes looking particularly vulnerable. However, pushing the Mammoth and the Knights forward tempted him into a charge which largely failed, even the double charge of Stormwind and Silverbreeze against the Mammoth!
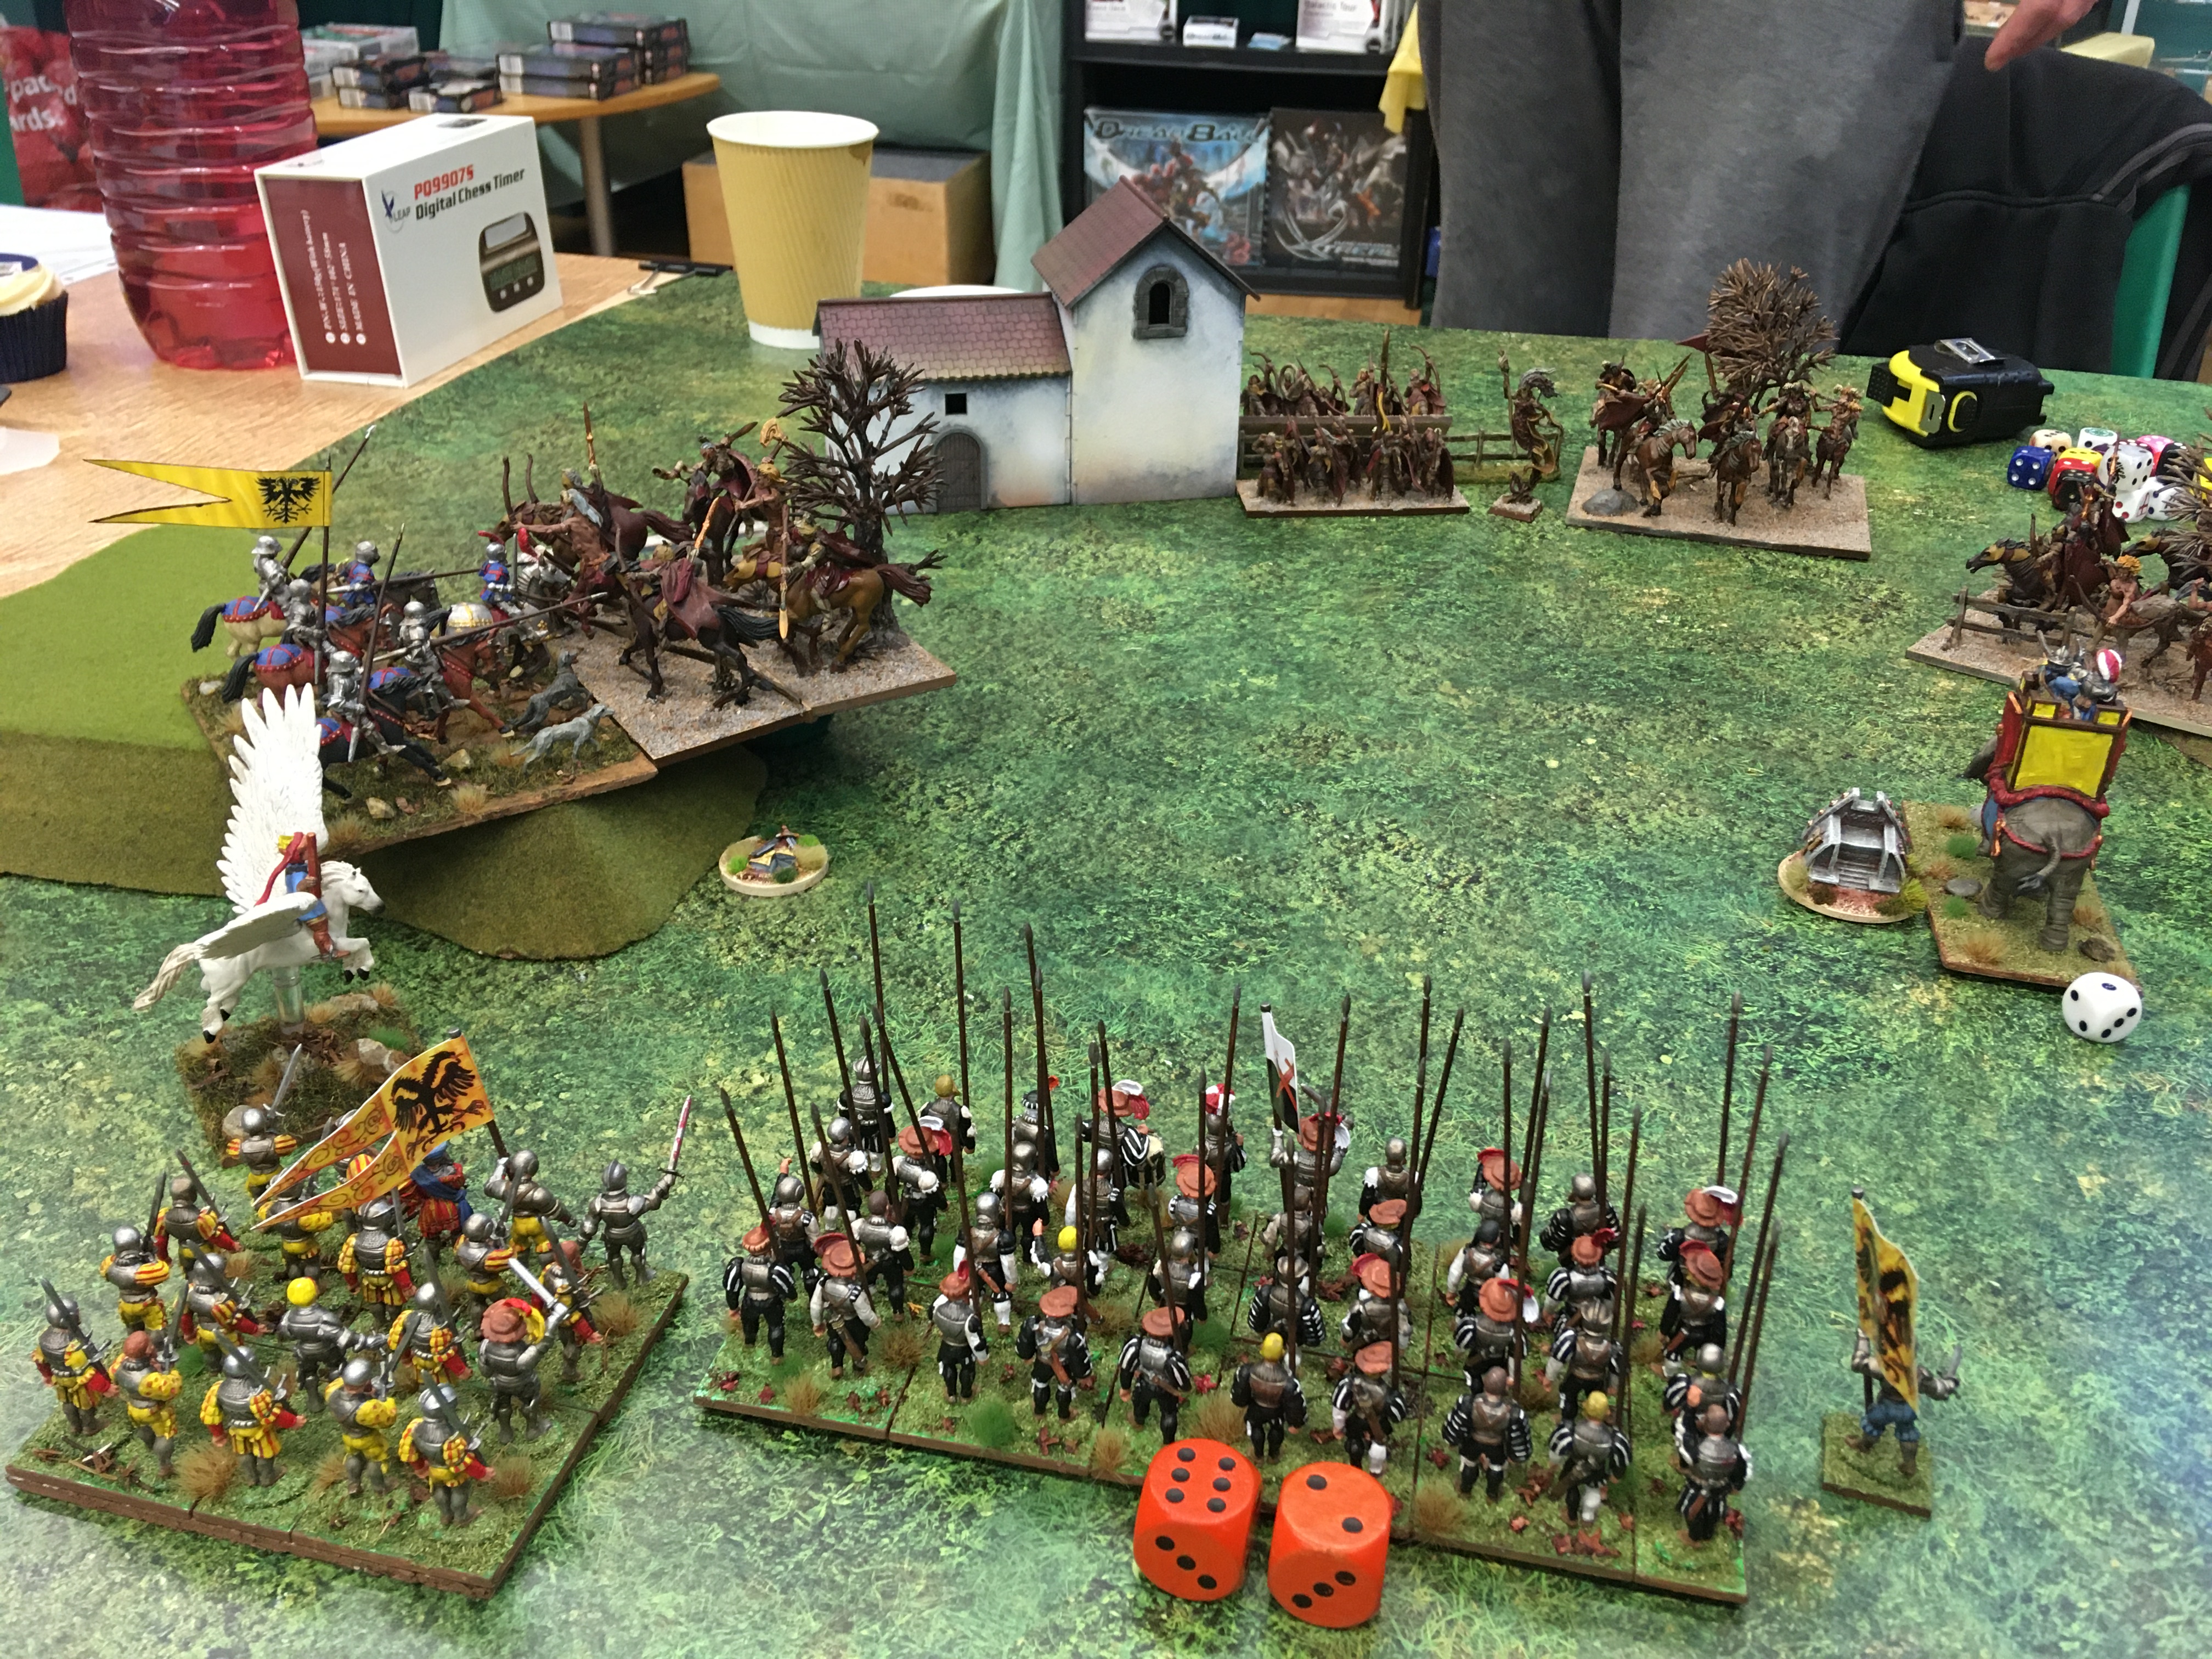
All my units Counter charged and two turns later he only had the Archers and heroes left. My Pegasus hero survived multiple lightning bolts before catching and killing the Archmage. And we ended up with just his ASB being chased around the table.
It ended up as a 6 - 0 victory (maximum score) and I only lost the mammoth. The dice gods were definitely with me at the key moments in this battle.
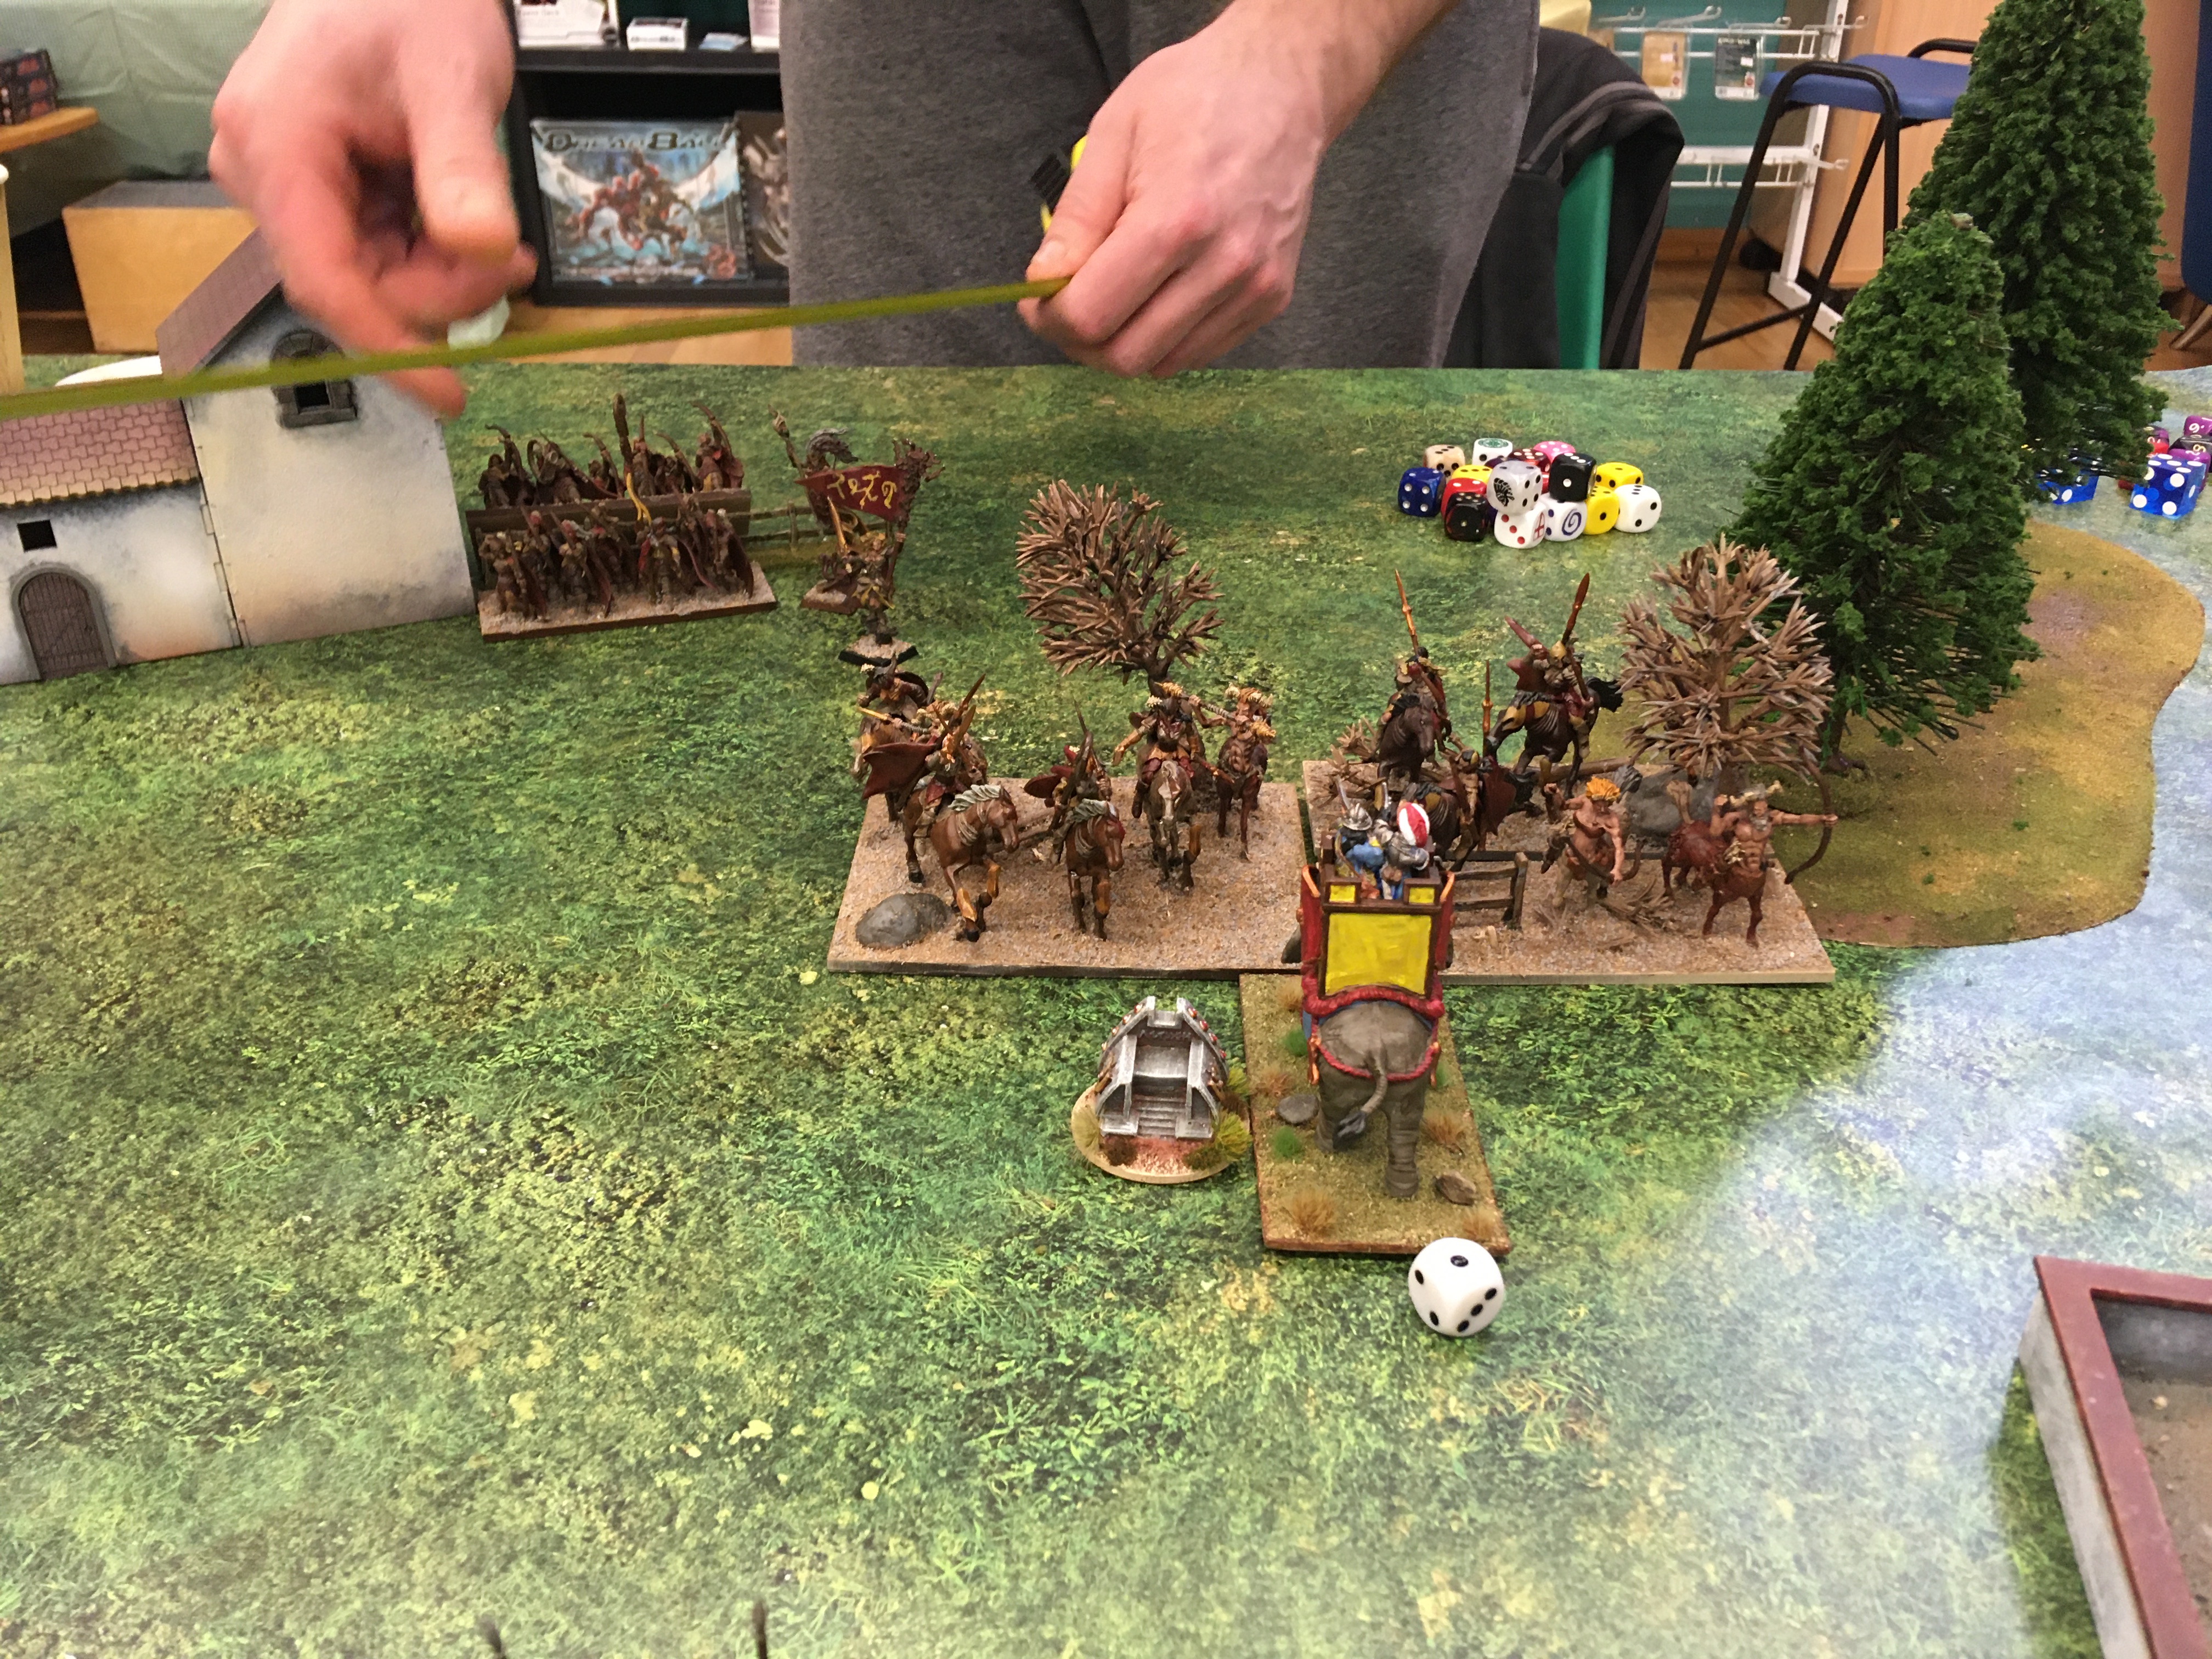
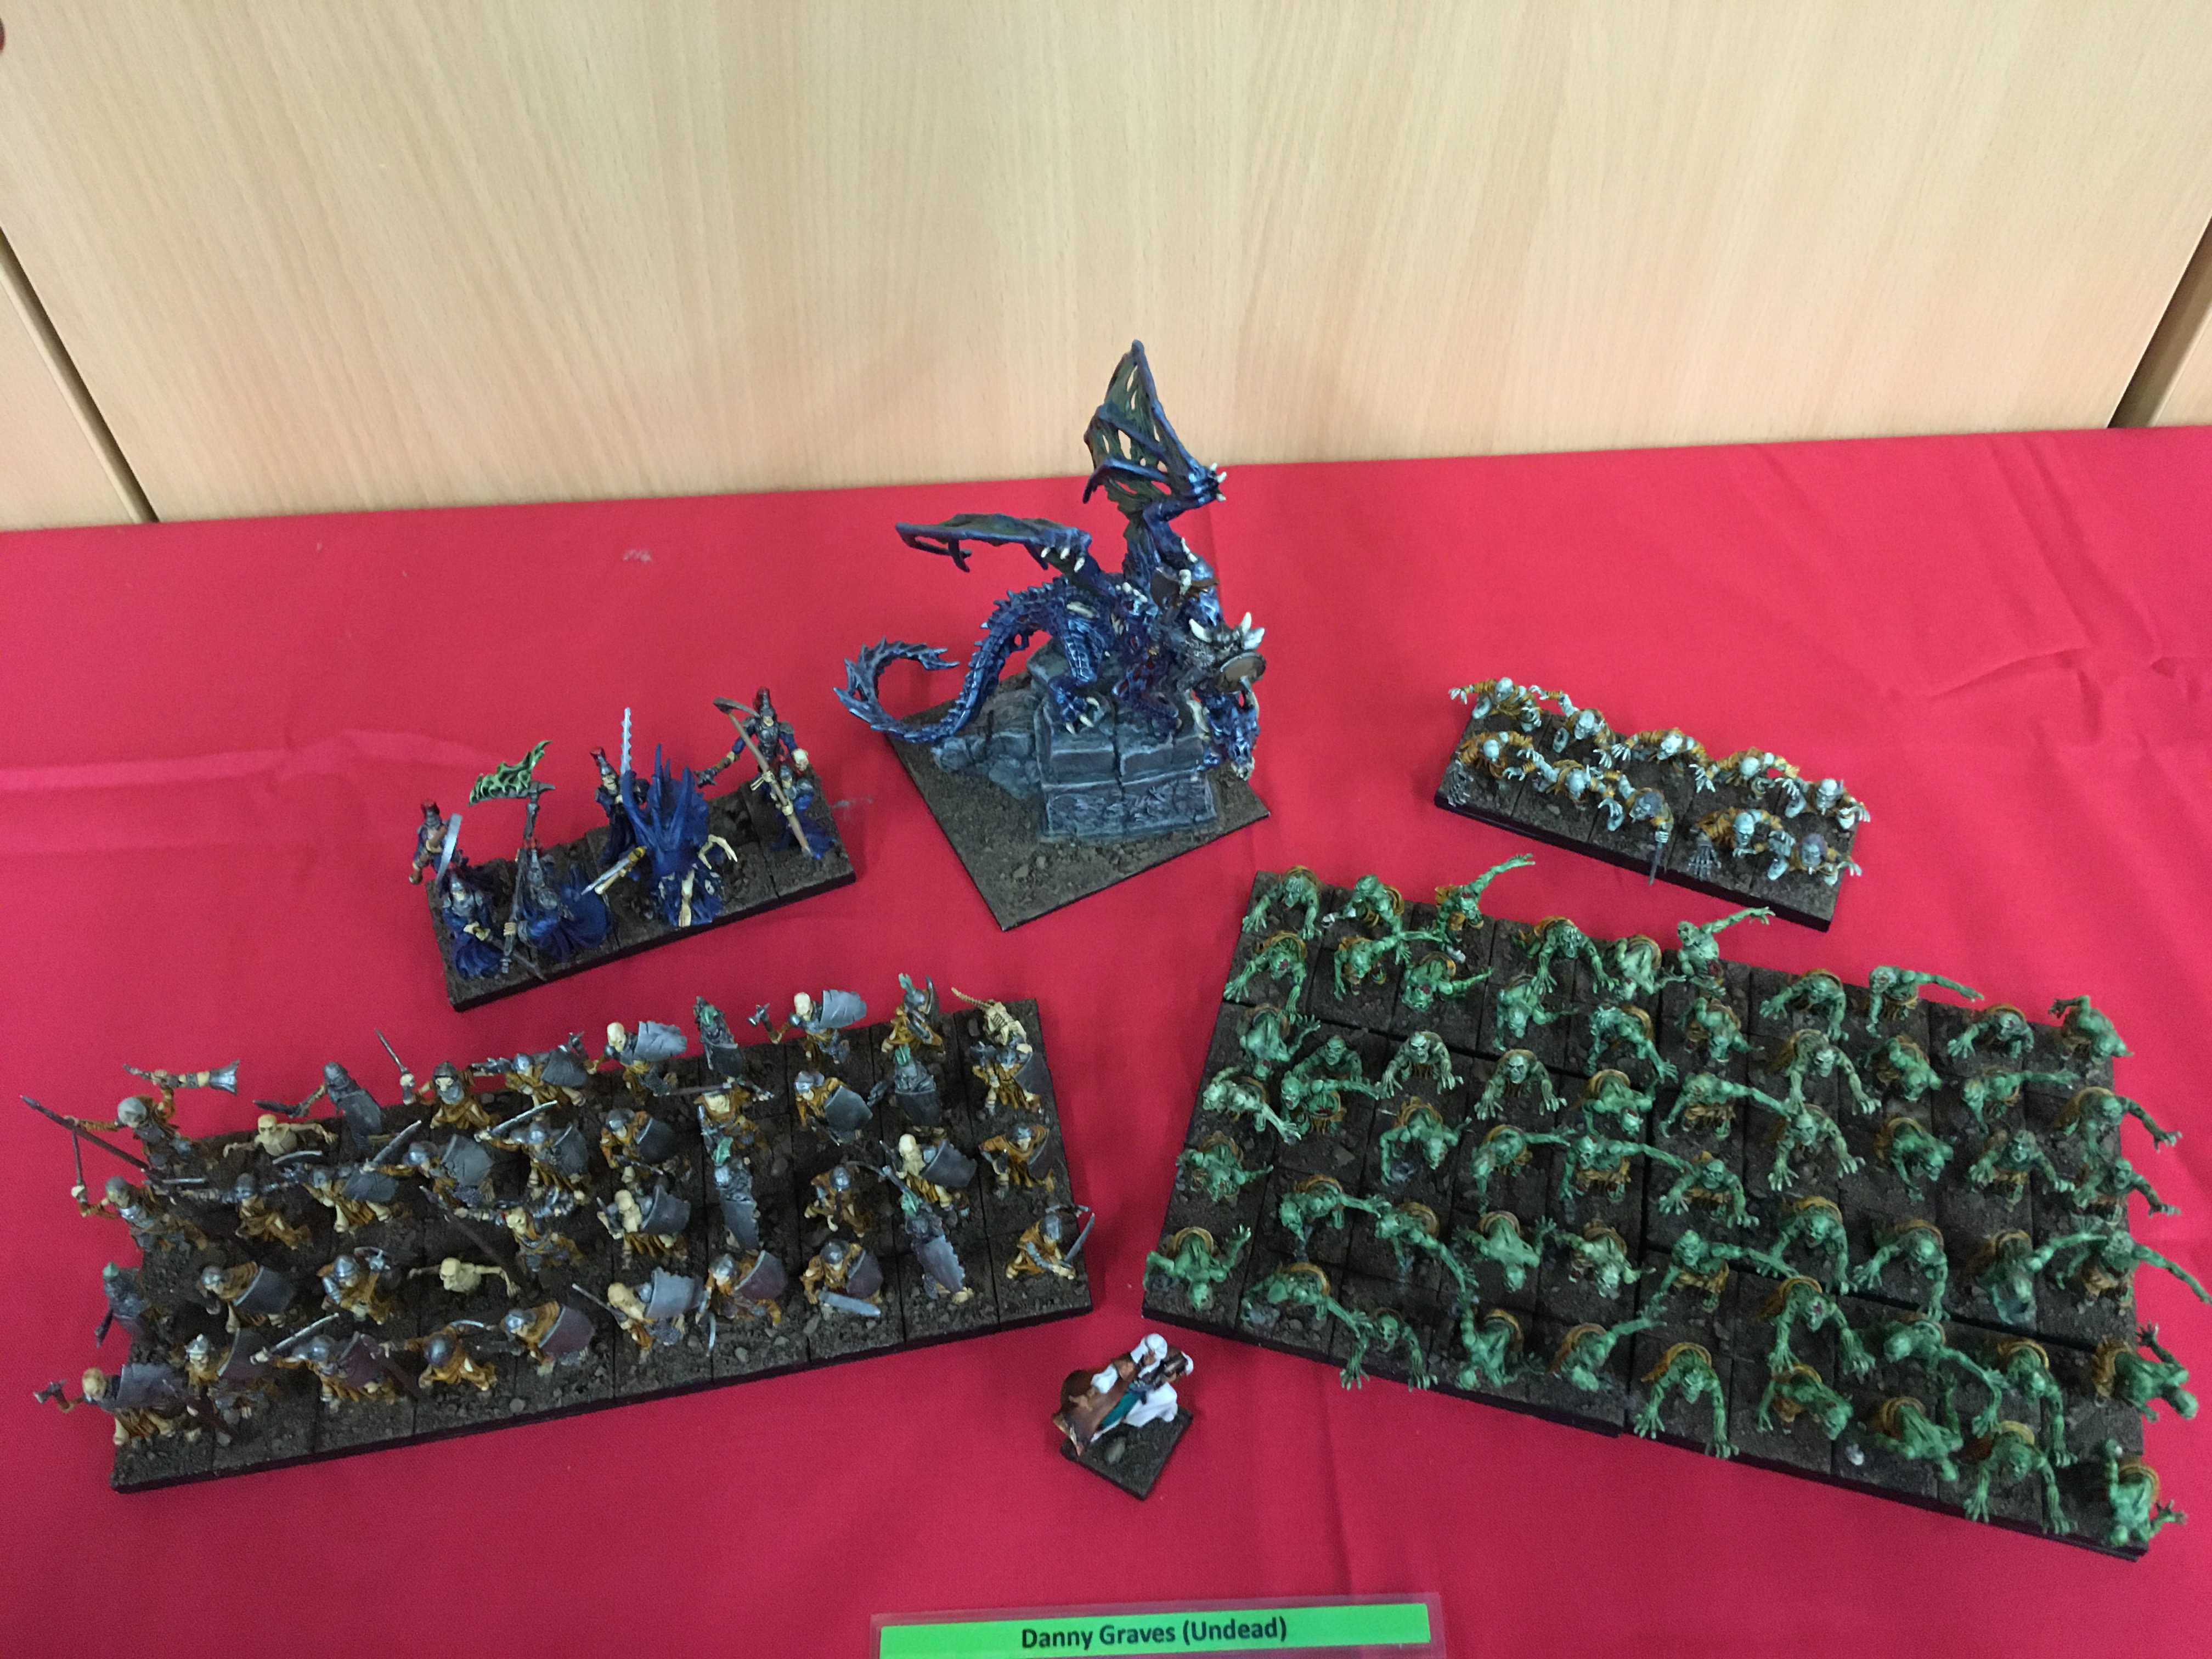
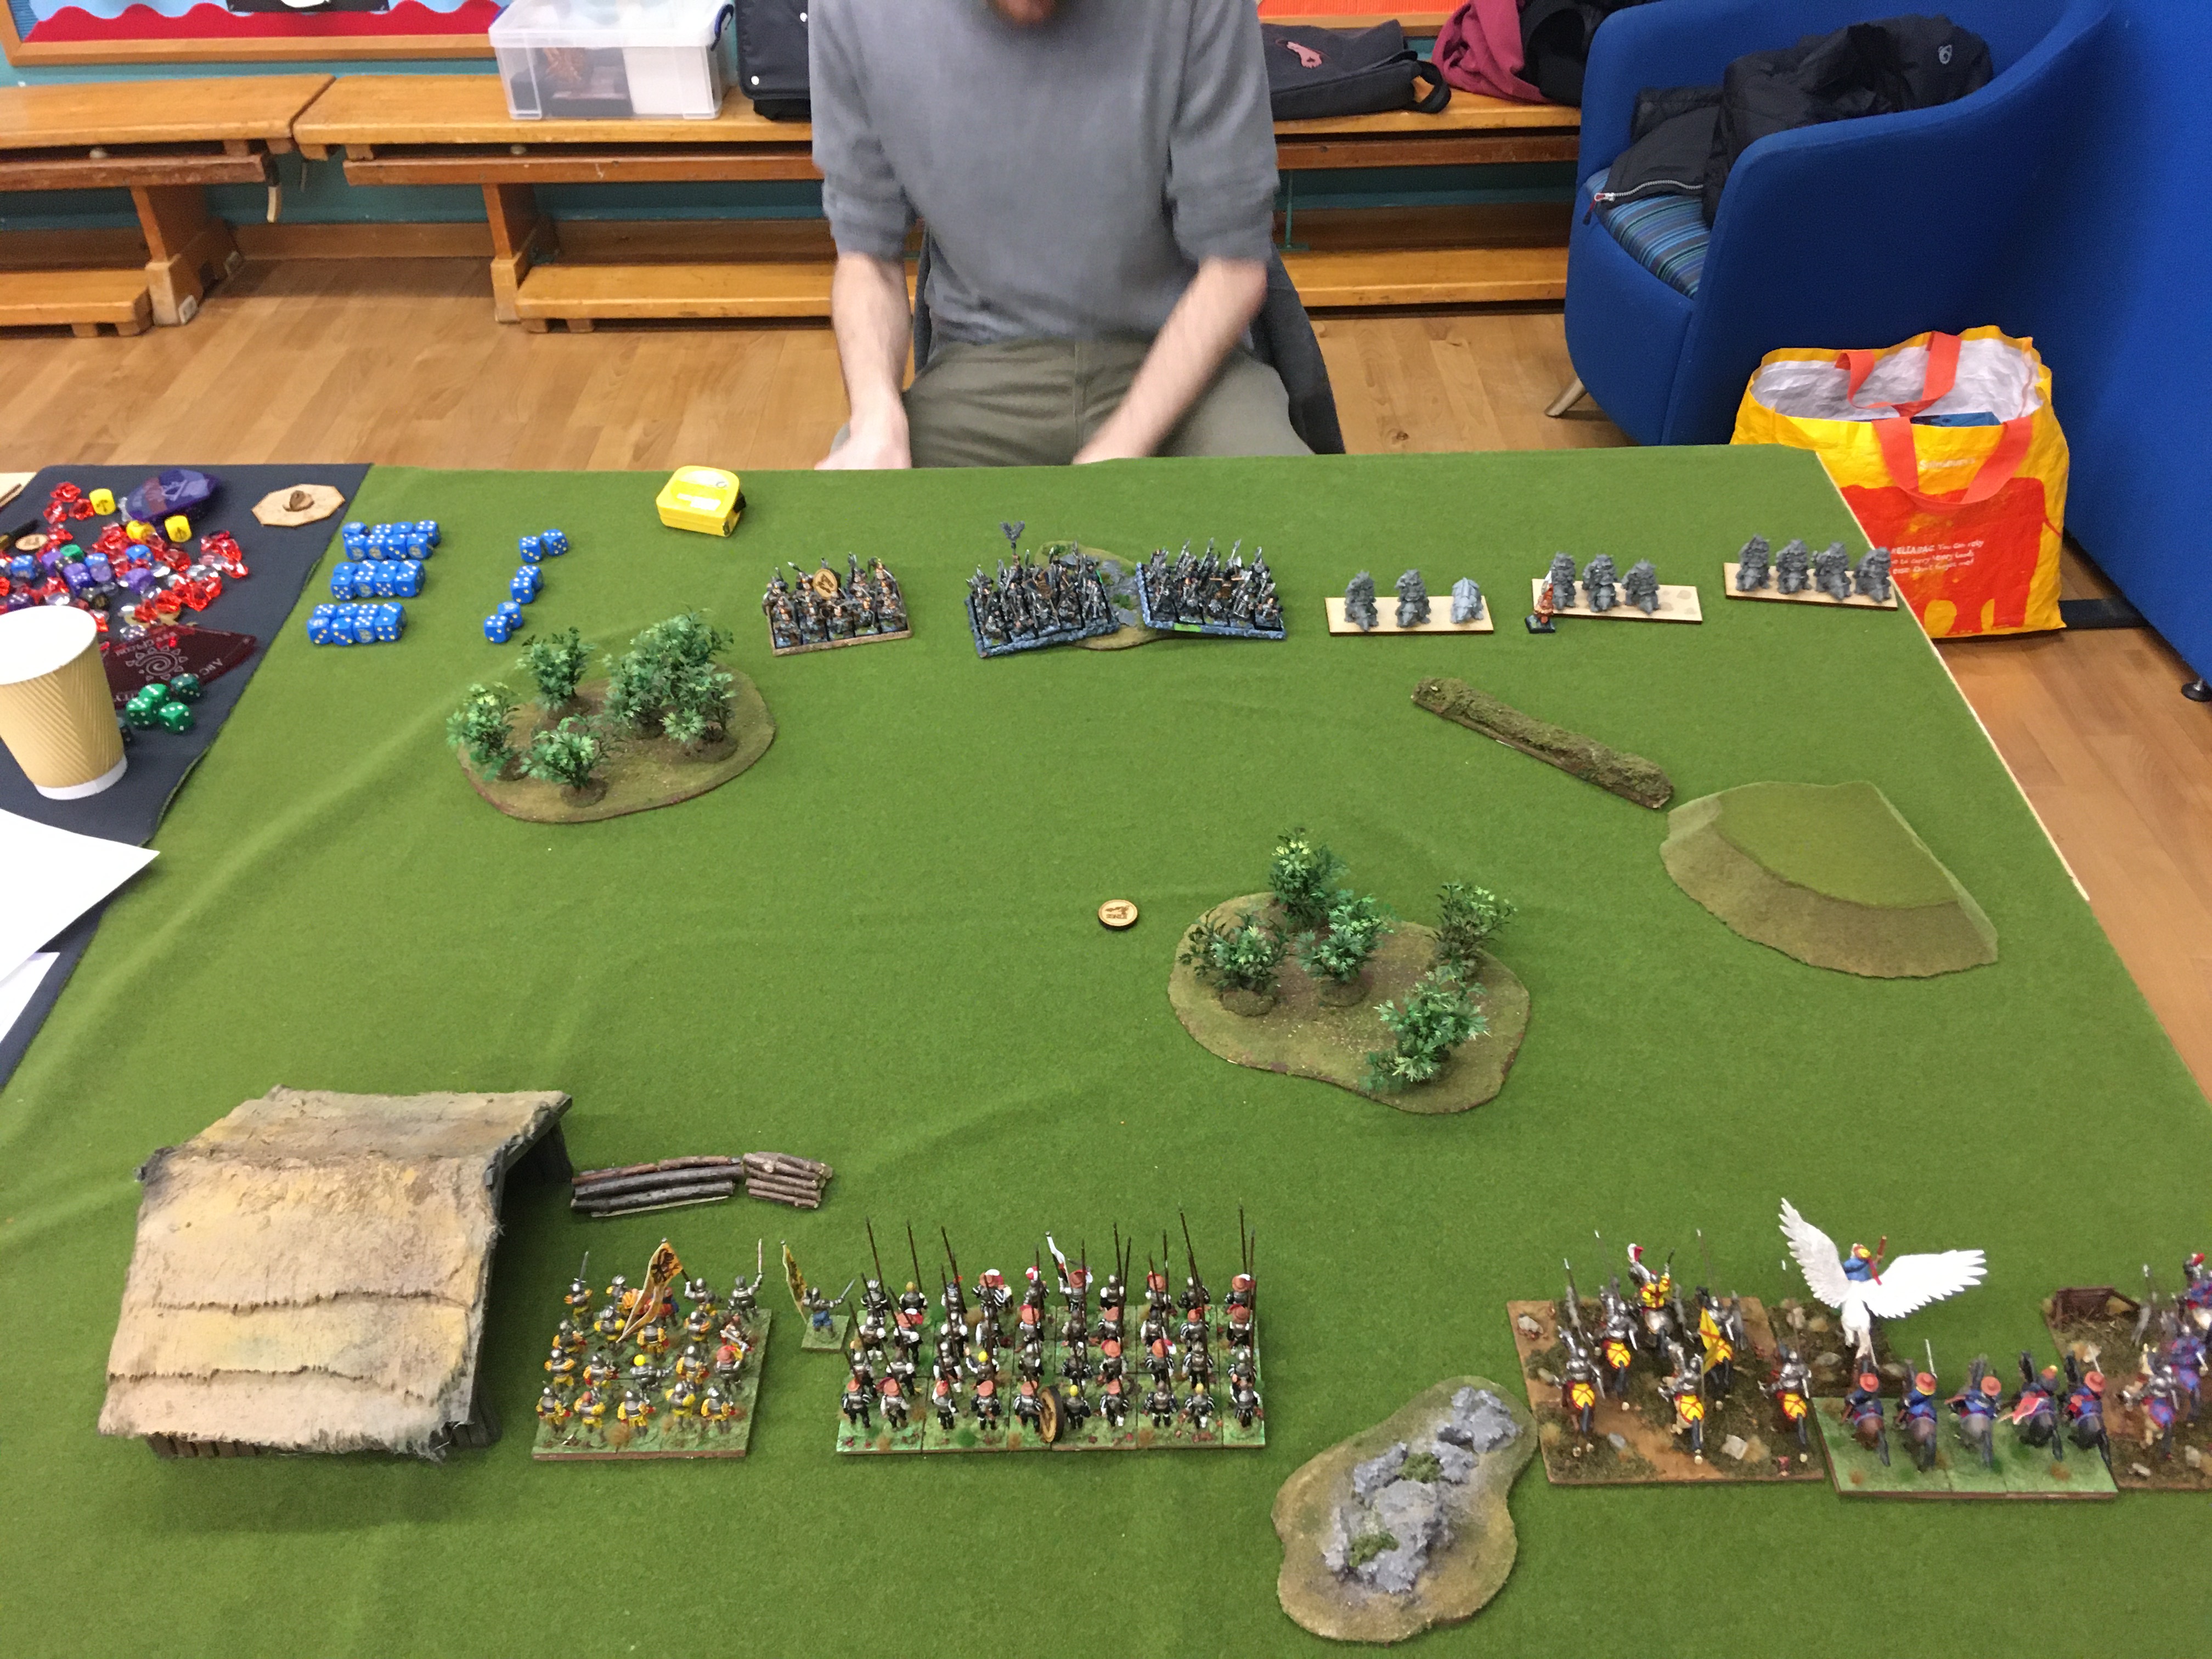
Game 2 was invade against Danny Graves Undead army with a Legion of Zombies, a horde of skeleton warriors, a troop of wights, a troop of ghouls, Jarvis and a scary revenant king on undead dragon. I’d been slightly concerned about how I would deal with a dragon before the tournament and my fears were well founded. It was also my first game against an army with surge and that caught me by surprise a little. (Actually quite a lot!). I used list B, my double Knight Regiment list.
It started well with my two Knight regiments charging and killing his skeletons after they moved too far forward on turn one. However, I then started chasing the dragon around with the pole arms Regiment which was never going to work🤦🏻♂️. I also managed to pin the Zombie Legion back on his side of the board using the Troop of Mounted Sergeants.

My plan then started to come unstuck when Jarvis surged the wights into the flank of one of the knight regiments, killing them and then while trying to avoid the same fate next turn the other knights got flanked by the dragon and killed. The Pole Arms regiment got in a flank charge against the Wights, but their efforts chasing the Dragon earlier had obviously tired them out and they only caused 1 wound! However the good news was the pike horde had crossed the table to avenge the mounted sergeants and kill the zombies, but I’d had to sacrifice the Pegasus wizard to the ghouls to prevent them rear charging the pikes. So at the end of turn 5 both my infantry units were on his side of the table but damaged and all my mobile units were dead. I was ahead in the scenario but down on units with punch and I was very aware of how fragile that lead was.
Turn 6 and the wights and dragon ganged up on the Polearms and they died. However the Ghouls made little impression on the Pike horde (thank you ensnare) so victory was in my grasp. But wait, there’s a turn 7; bugger!
Luckily for me Danny faced an awful choice. If he attacked the pikes with the dragon he would almost certainly kill them, but that would mean brining all his units back onto his side of the table and it would be a draw, or he could fly the dragon to where it would score and hope the wights we’re enough. He chose the second option and the pikes survived, again thanks to ensnare leaving my army very battered but with a 4:1 victory. I felt for Danny, he had out fought me and I’d made a ton of mistakes but I’d been saved by the staying power of the Pike Horde.
Game 3 was against Rid and his Ratkin. My apologies I was too busy being slaughtered to take any photos of this fight ( and it’s not at all because I deleted the humiliating evidence!).
This was another army I’d never fought before and this time my luck wasn’t enough to save me from poor decision making. Rid’s army had a Broodmother, regiment of shock troops, regiment of tunnel runners, a troop of claw shots, a horde of Nightmares, a Swarm regiment and a wizard. What I failed to appreciate was how much shooting this army had and it cost me dear. I used Army A again.
An early attempt to get the Pegasus Hero round the back of his line and into the flank of the claw shots failed miserably as he fell to a barrage of Nightmare shots which also put a lot of wounds on my Pole Arms Regiment. I moved forward rapidly to try and get into combat and nullify his ranged advantage but the dice gods, who had been so good to me on the earlier games, now abandoned me and a double charge of the mammoth and Pole-arms only did 2 wounds on his shock troops! To add insult to injury his Tunnel Runners then charged the pike horde, and despite ensnare, did a huge amount of damage. Rid then rolled the required 11 to remove them from the table and there was no inspirational hero to save them as the claw shots had removed the Army Standard Bearer earlier in the turn! I was now in big trouble, my right flank was stalled, my centre gone and my Pegasus wizard was talking ages to kill the swarm sitting on a objective in his backfield.
I then threw the Knights Regiment off a hill into the tunnel runners and they bounced and were killed in the counter charge the following turn. The dice gods were definitely not with me in this fight! On my right flank the shock troops killed the Pole arms and although they were avenged by the Mammoth she was now awfully alone on that side of the battlefield. The wizard eventually killed the swarm but too late to do much more than fly off to claim an objective. The mammoth made a last ditch attempt to salvage the game, charging past the Nightmares and tunnel runners killing the claw shots and claiming that objective. At the end of turn 6 despite all my mistakes we each held 2 objectives and it would be a draw. Unfortunately there was a turn 7 and the mammoth succumbed to a barrage of shooting leaving Rid with a well deserved 3:1 victory.
The final game was push against Robert Hudson’s dwarfs consisting of 3 regiments of Shield Breakers all with throwing mastiffs, 3 troops of Brook Riders, and ASB with the Lute and a Berserker Lord on foot with the Blade of the Beast Slayer. I used list B
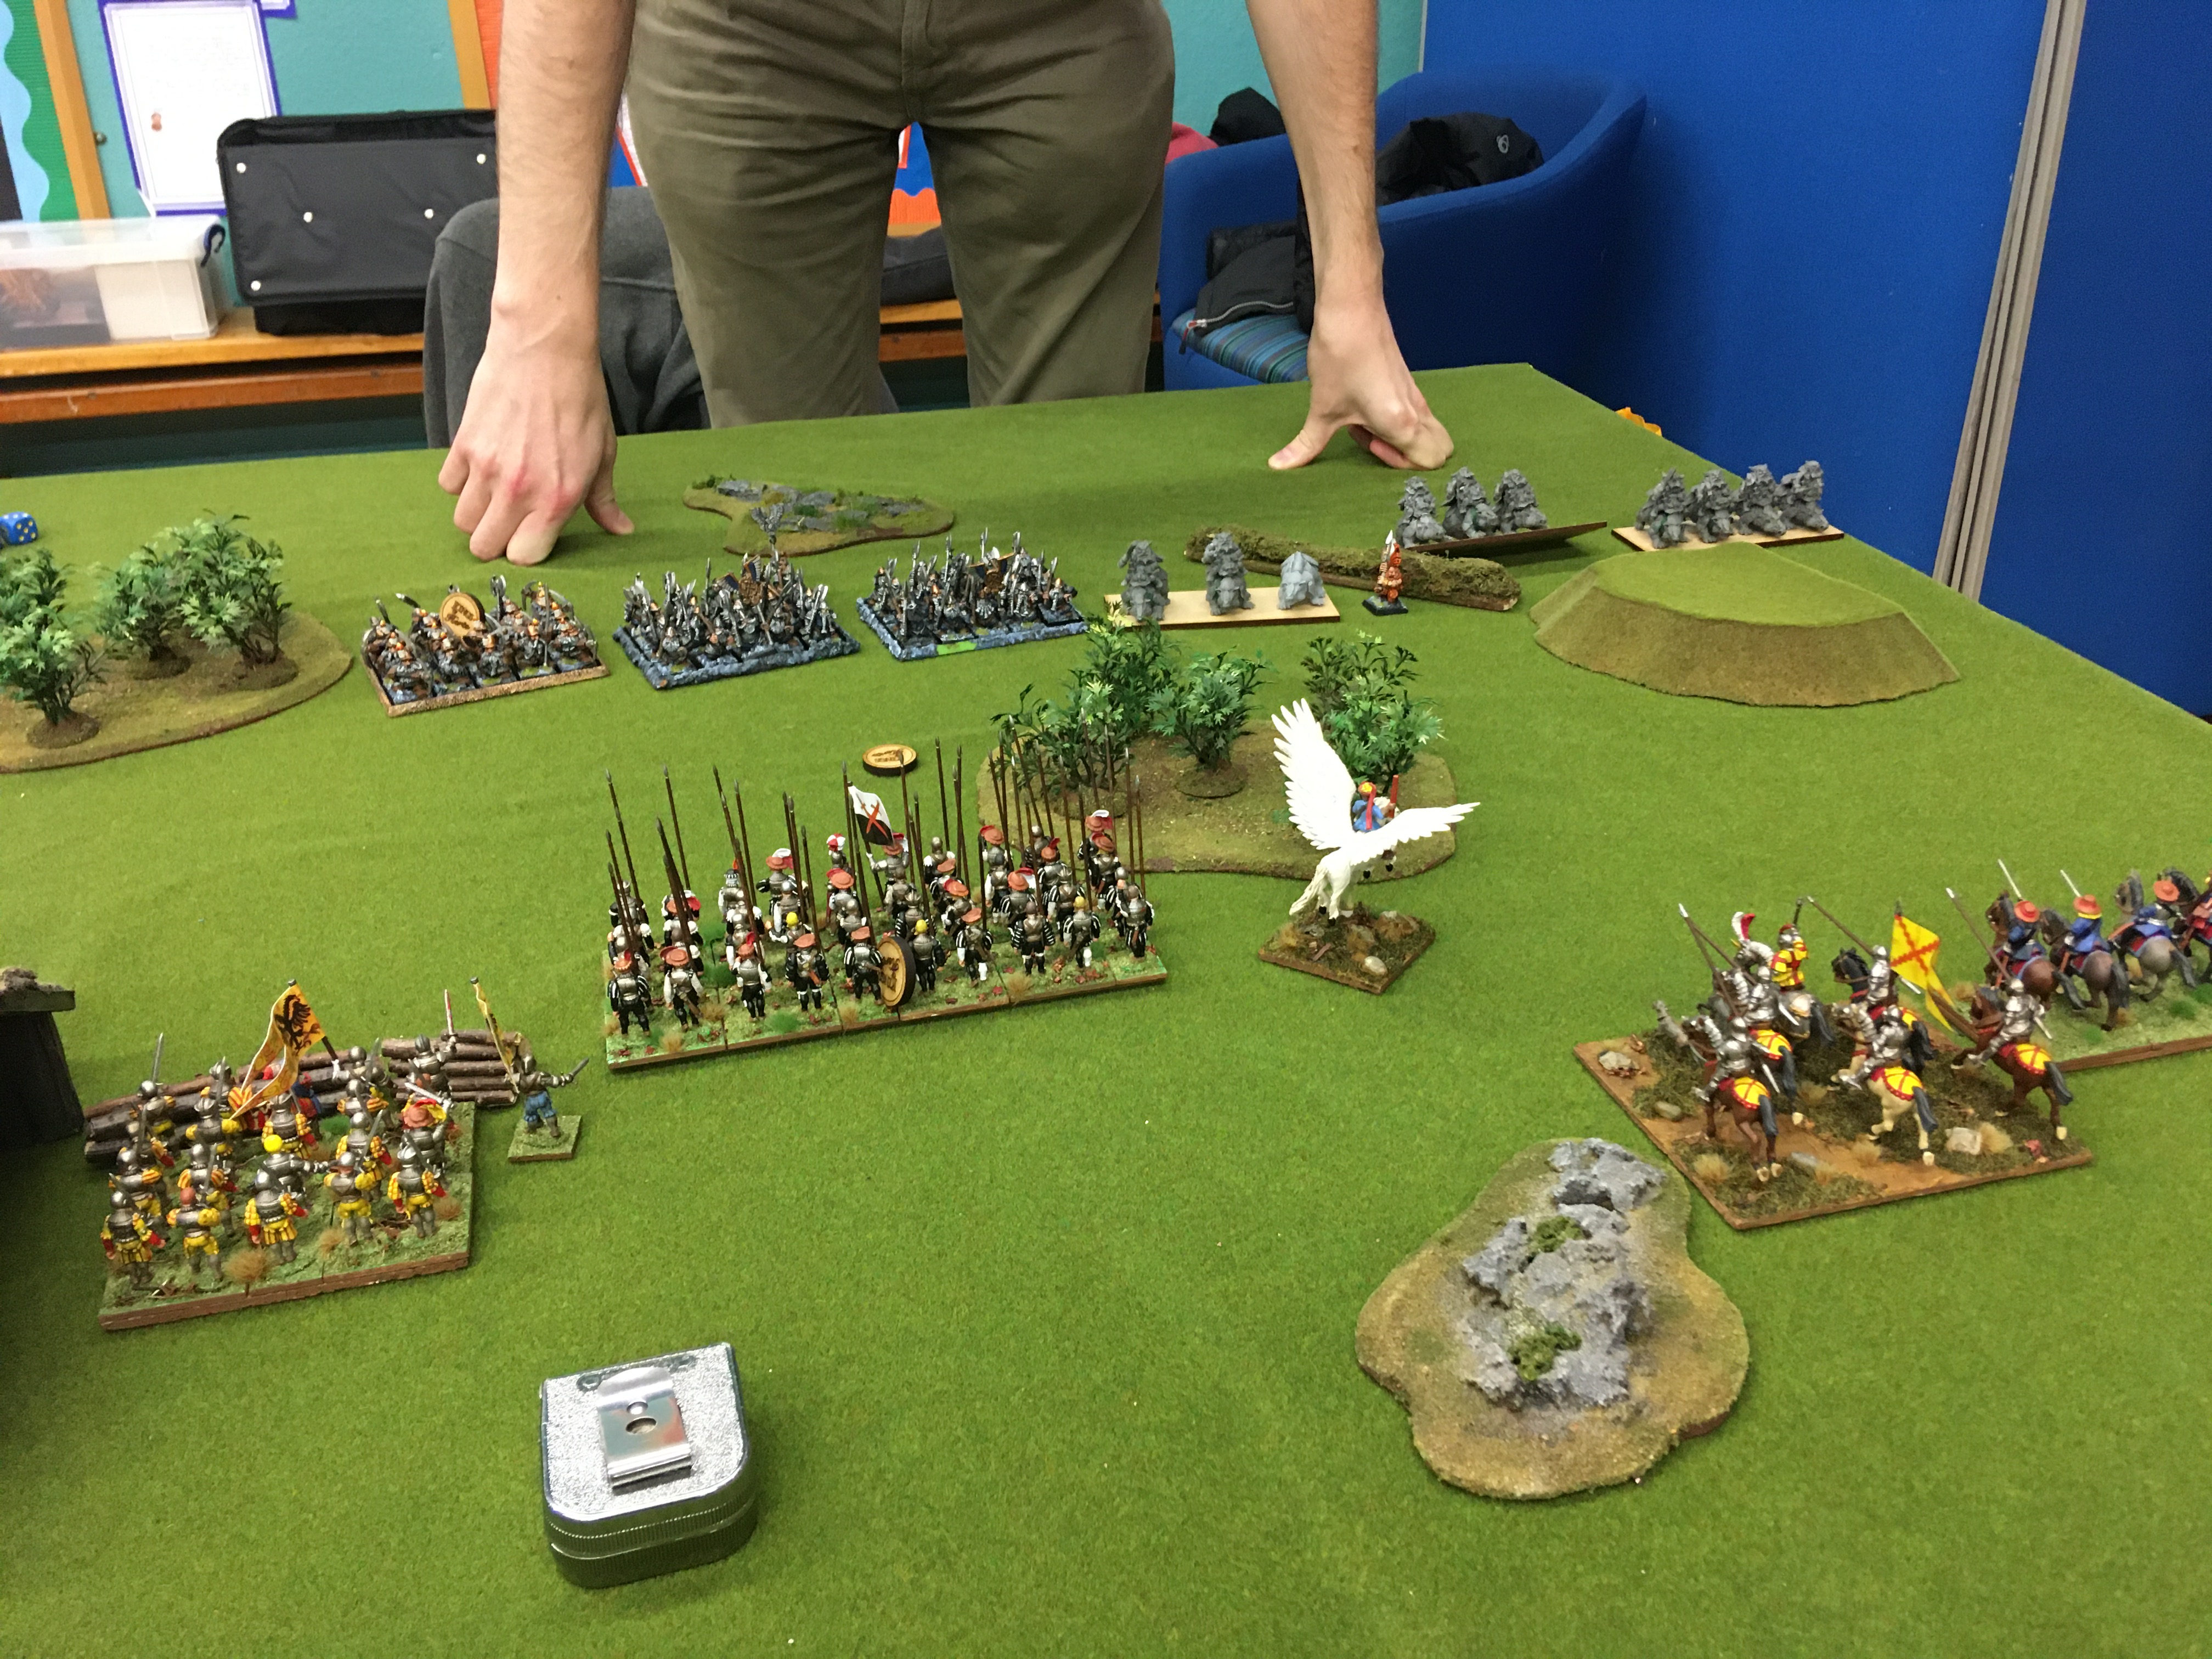
It was a very cagey start by us both with my cavalry facing off against his berserkers and the infantry carrying the tokens advancing slowly towards each other. Whoever got the first cavalry charge would have a huge advantage. I pushed my infantry forward, confident I had a better charge range than his Shield Breakers. He unleashed all his mastiffs against the Pike Horde but the damage wasn’t too bad. I then used the mounted sergeants to block his Brocks. They died, but this allowed my knights to charge the next turn killing 2 of his Brock troops. His third Brock troop had little alternative but to charge the pike horde, but a it was an hindered charge into phalanx and ensnare and the result was predictable with no wounds. The pikes killed the Brocks on the counter charge and the Pole arms Regiment made up for their poor showing in some of the previous fights by killing one of the Shieldbreaker Regiments in a single attack! To add insult to injury his berserker lord failed to kill my Pegasus Wizard despite the Blade of the Beast Slayer. So by the end of turn 3 Robert only had 2 regiments of Shieldbreakers and his heroes left. He did the only thing possible and charged my Pike horde with them both, killing them and gaining control of all 3 loot tokens and reforming back to back for a heroic last stand.
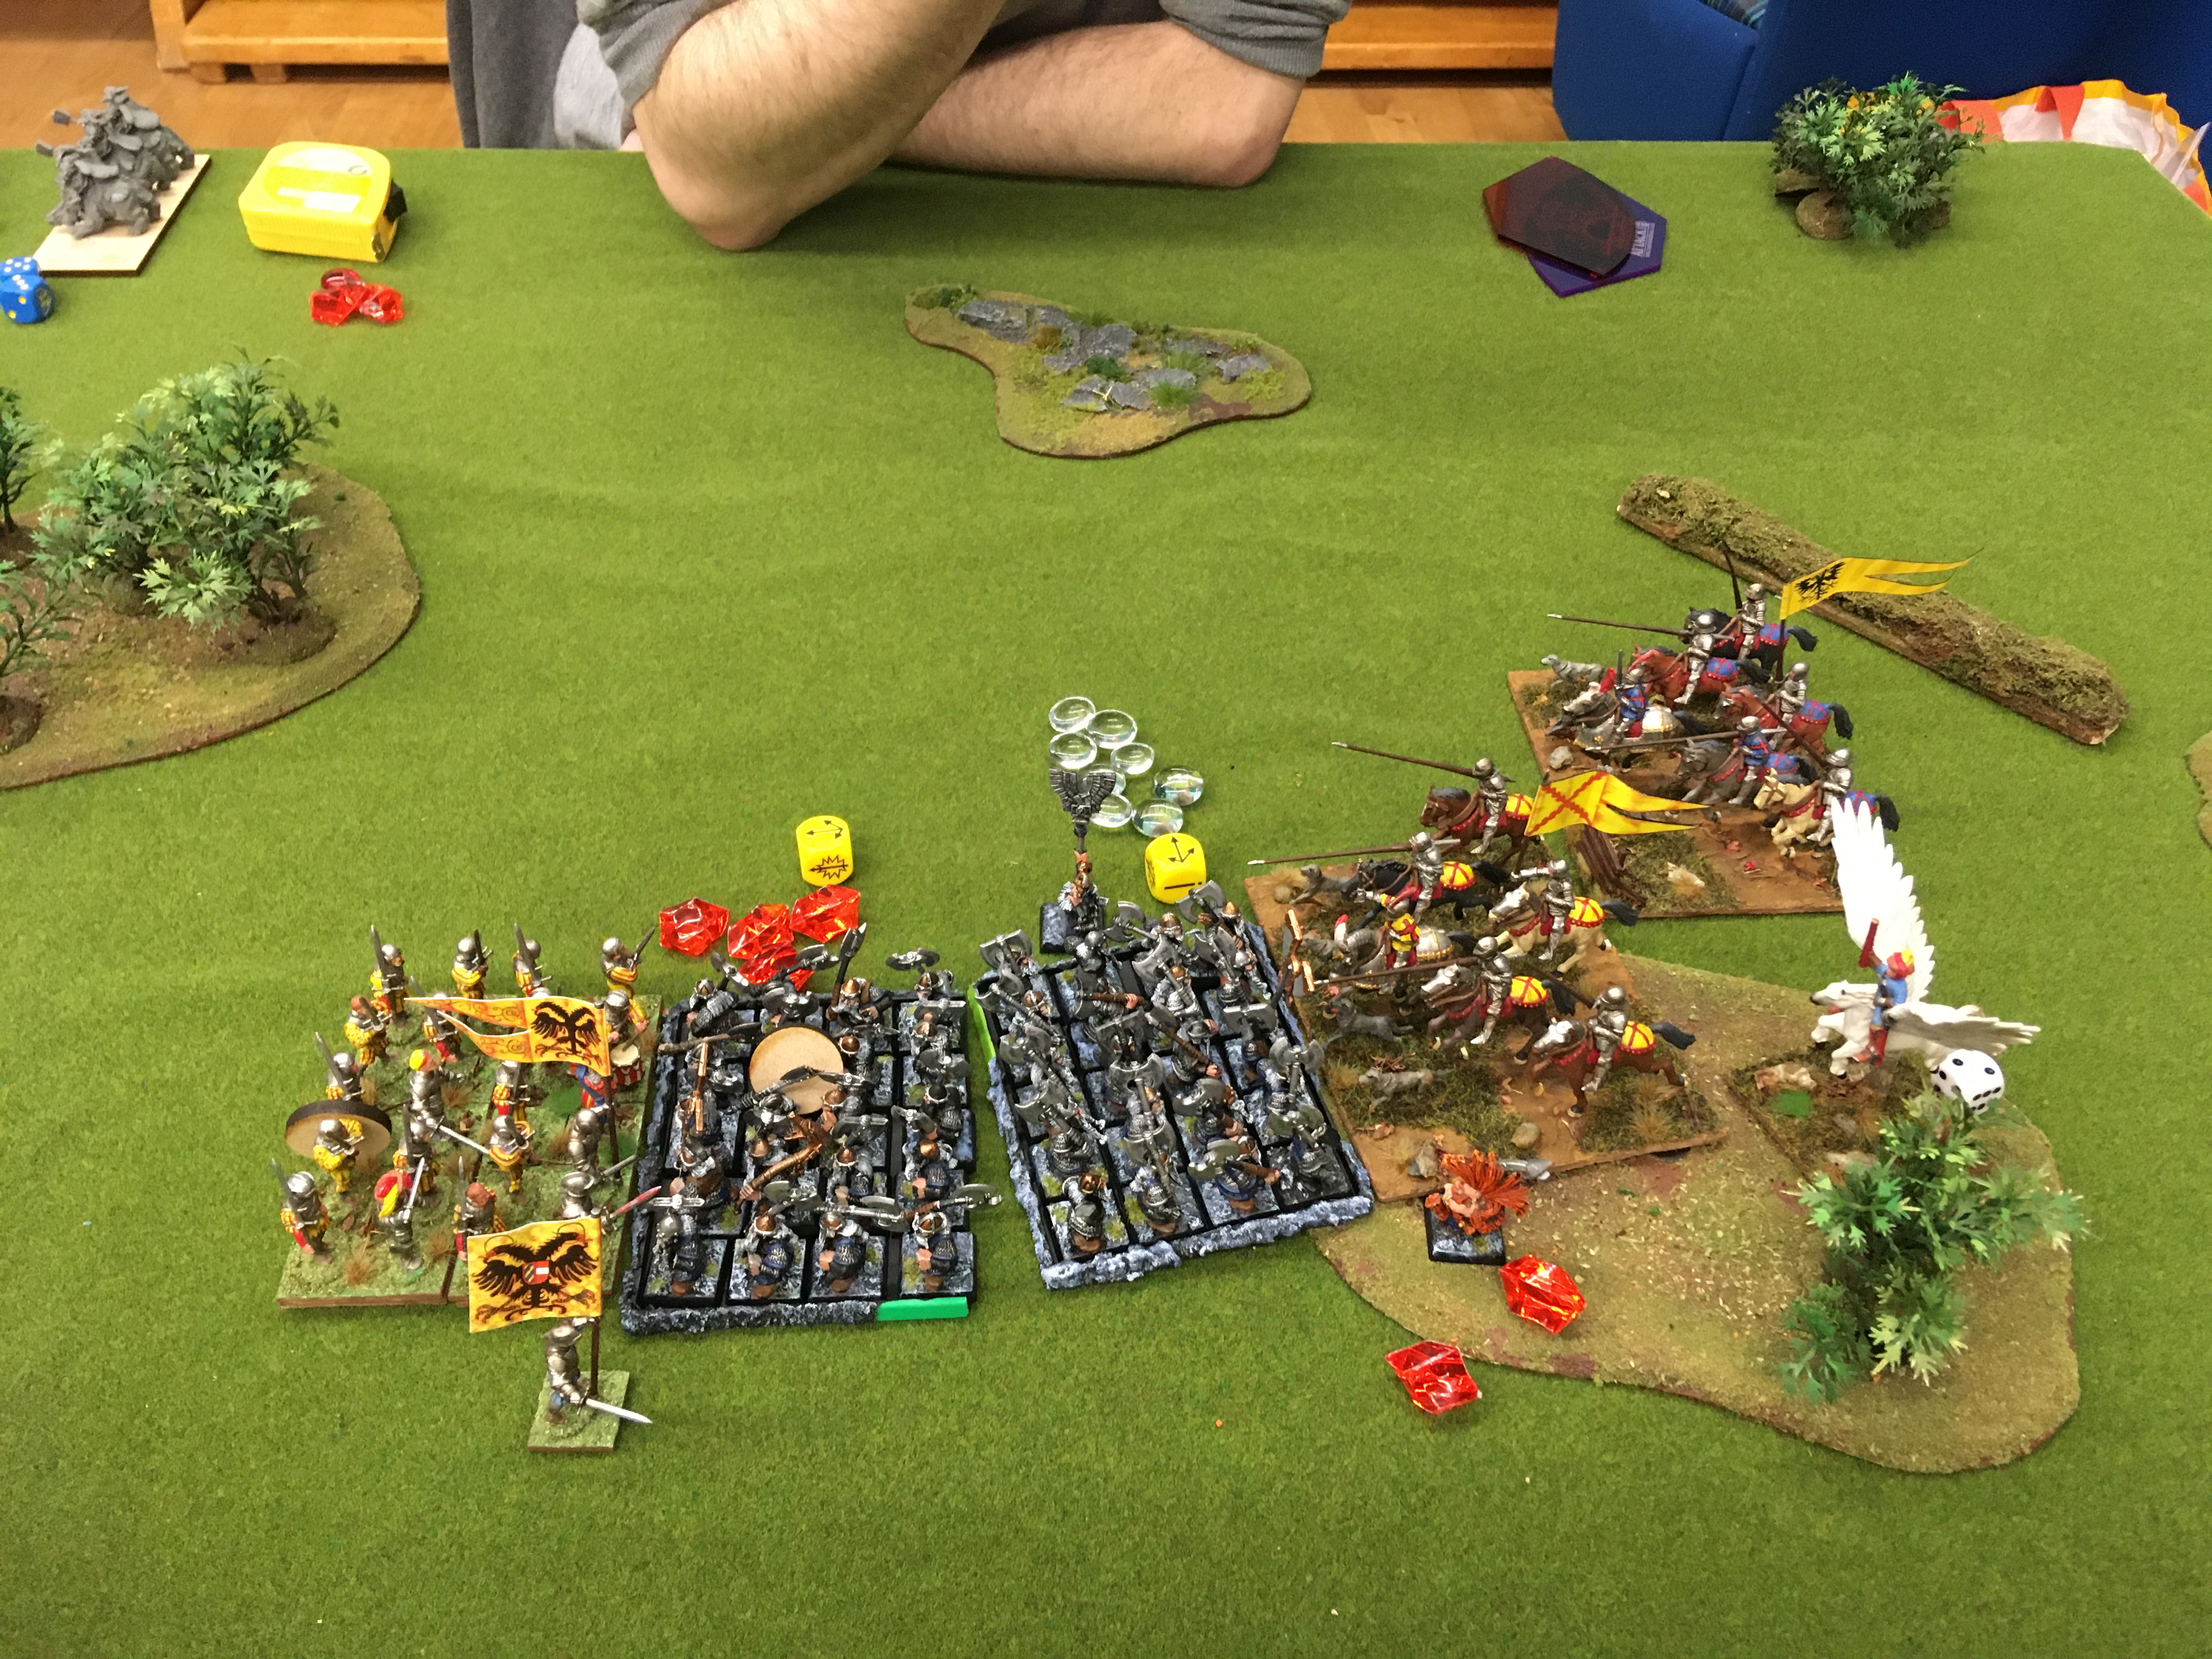
However, he couldn’t survive the combined attention of the cavalry regiments and Pole Arms and despite some heroic efforts by his Berserker Lord I gained all three tokens and killed everything but his Heroes, although I lost the Pole arms and one of the Cavalry Regiments in the process giving me another 6:0 victory.
So after all that I ended up with 3 victories, 2 of them big enough to put me in third place! Some definite beginners luck there!
So final thoughts.
Everyone was brilliant, even those who were facing some of my extremely lucky dice rolls.
The tournament was very well run and easy to follow even as a complete novice. Thanks to all the Kings of Herts crew for an excellent day.
1000 points is a fun size to play and the fights were quick, allowing 4 fights in a day without feeling rushed. However, it’s also very swingy; once you lose a unit you often don’t have the reserves to fill the gap so an early loss can be very difficult to come back from.
All the armies were fantastically painted. One of my favourite bits was the painting judging over lunchtime.
It was a great day and I’ll define back for more soon.

 . What army(s) are the MMC bringing to the fight?