Share your favourite ways to make unit bases, include pictures and/or a step by step if you want. 
1 Like
Most of my stuff is on 2mn plasticard cut to size.
Cheap poundland tile grout and sand, foam to get a bit of height.
Latterly have been building the bases first, then sorting the armies. Find some scenery bits to make it stand out, or just little vignettes to give a unit something different
3 Likes
Poundland pollyfiller, pva glue, sand and bits of cork or small stones all in a mix. If I want a certain colour I’ll take some PVA out and chuck in some poundland paints. Then just drybrush on top and add some flock/static grass clumps.
Here are a few projects I’ve done. I guess this is more of an ideas post as the how to. It isn’t that extensive, but in collection turns out to be a lot to read. I did take pictures as I went, and each time I tried different concepts, each one working on cutting costs and improving effects and use of colors and landscapes.
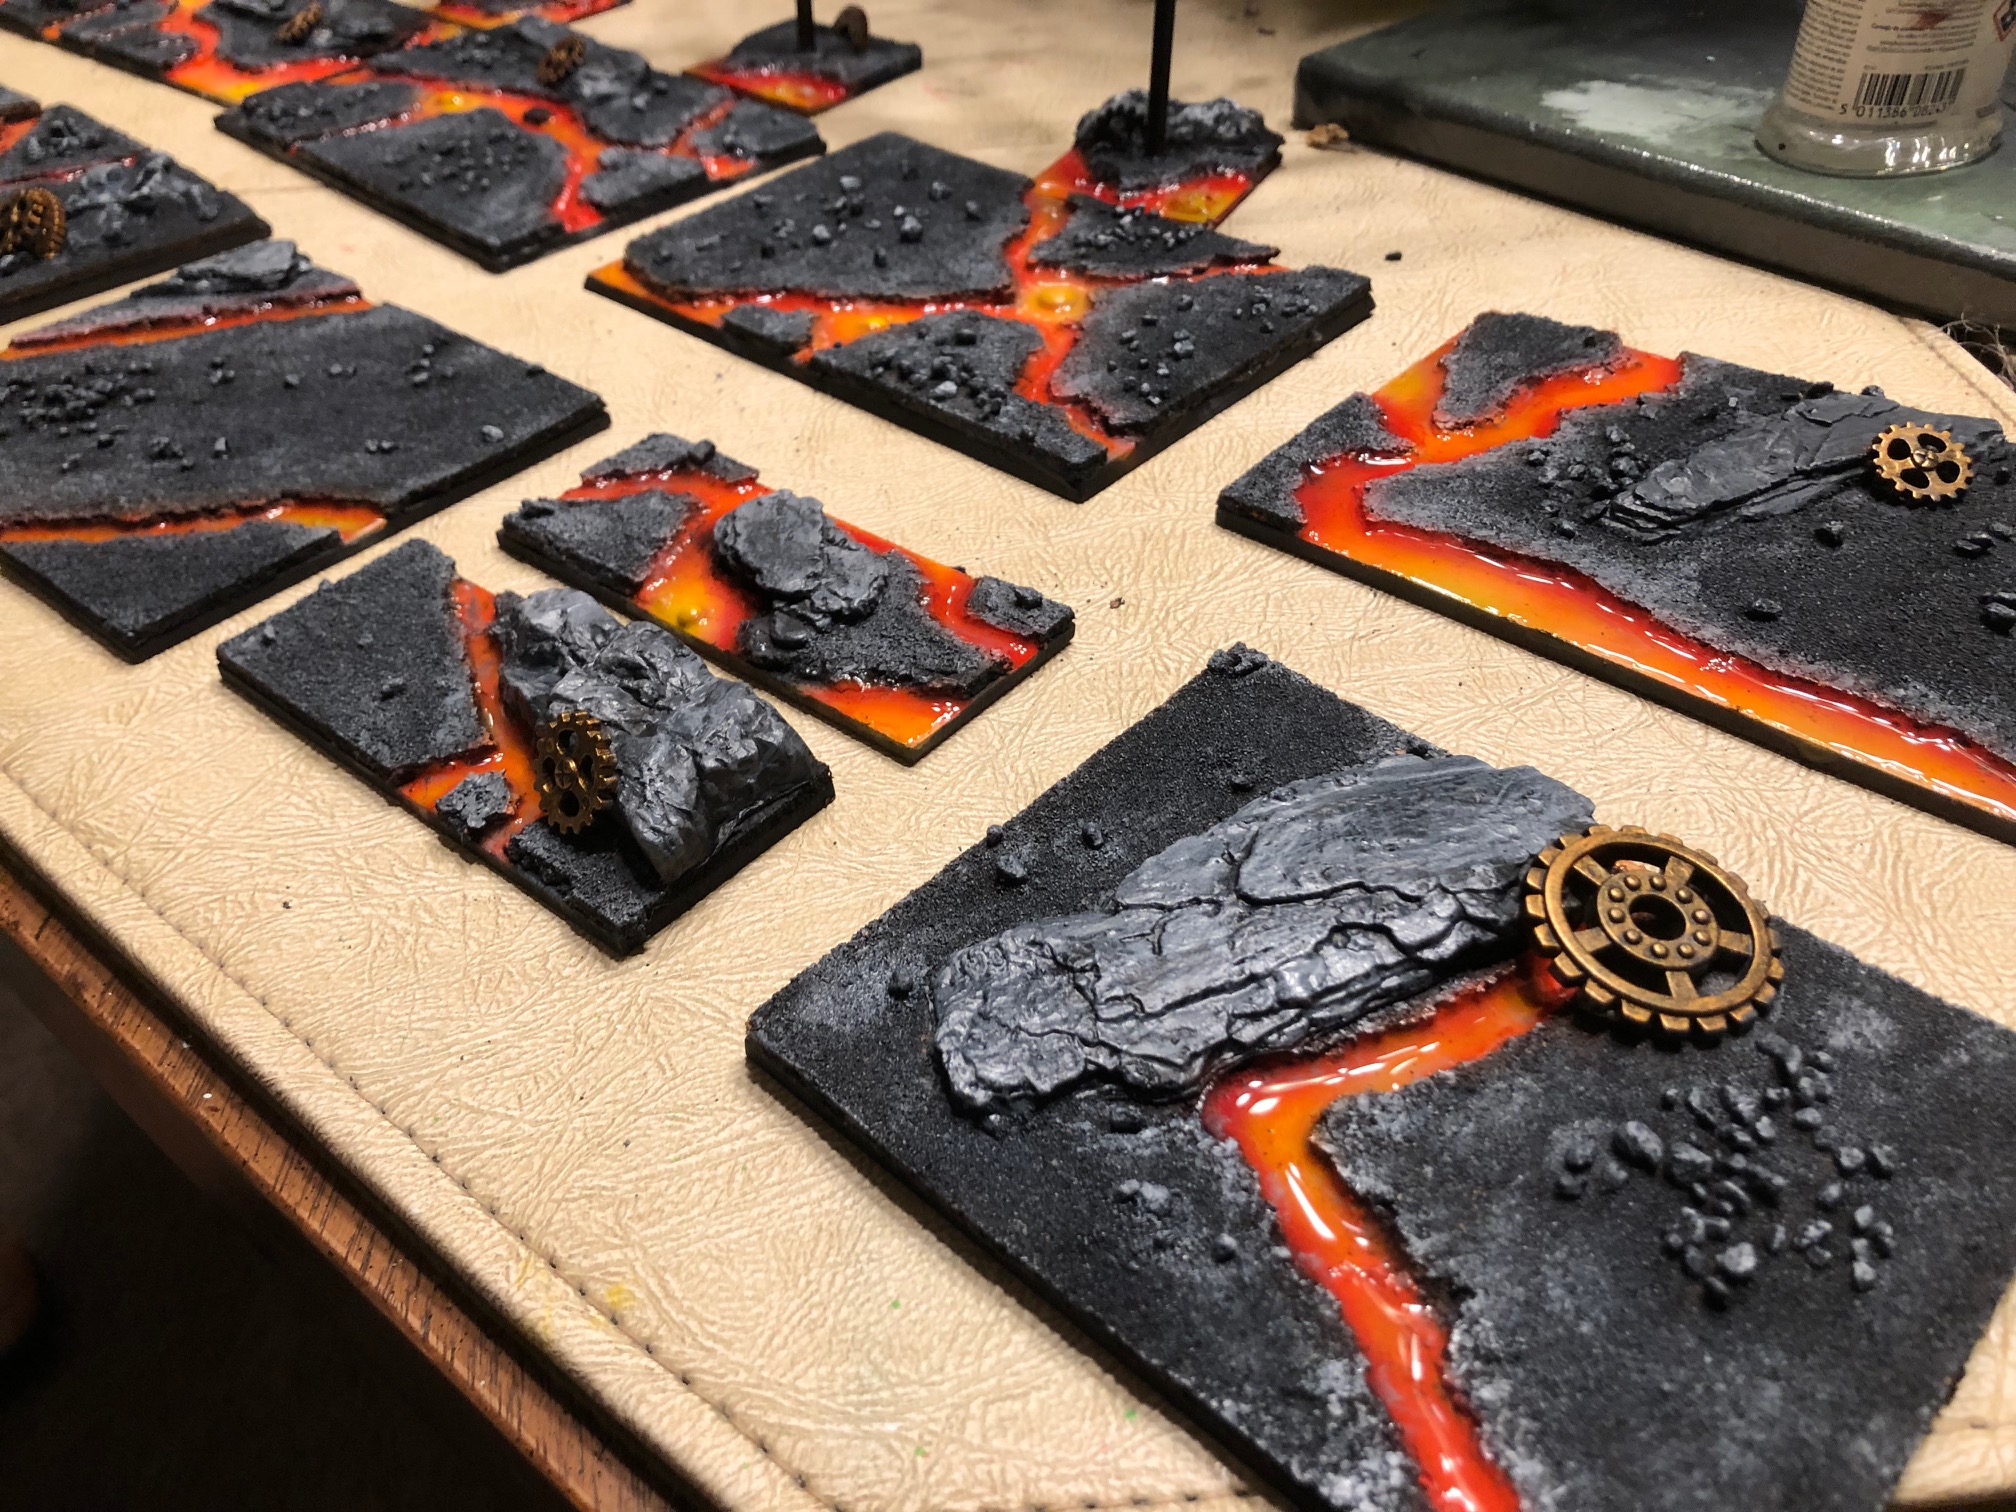
Lava I found really easy. The key to the that one is reversing the thinking on the lava color. Light colors are in the center of the lava. I used water effects to get the fluid appearance. I feel like this is one of the easier ones. At then dry brush the black surface it add any details like I added the gears.
Lava theme
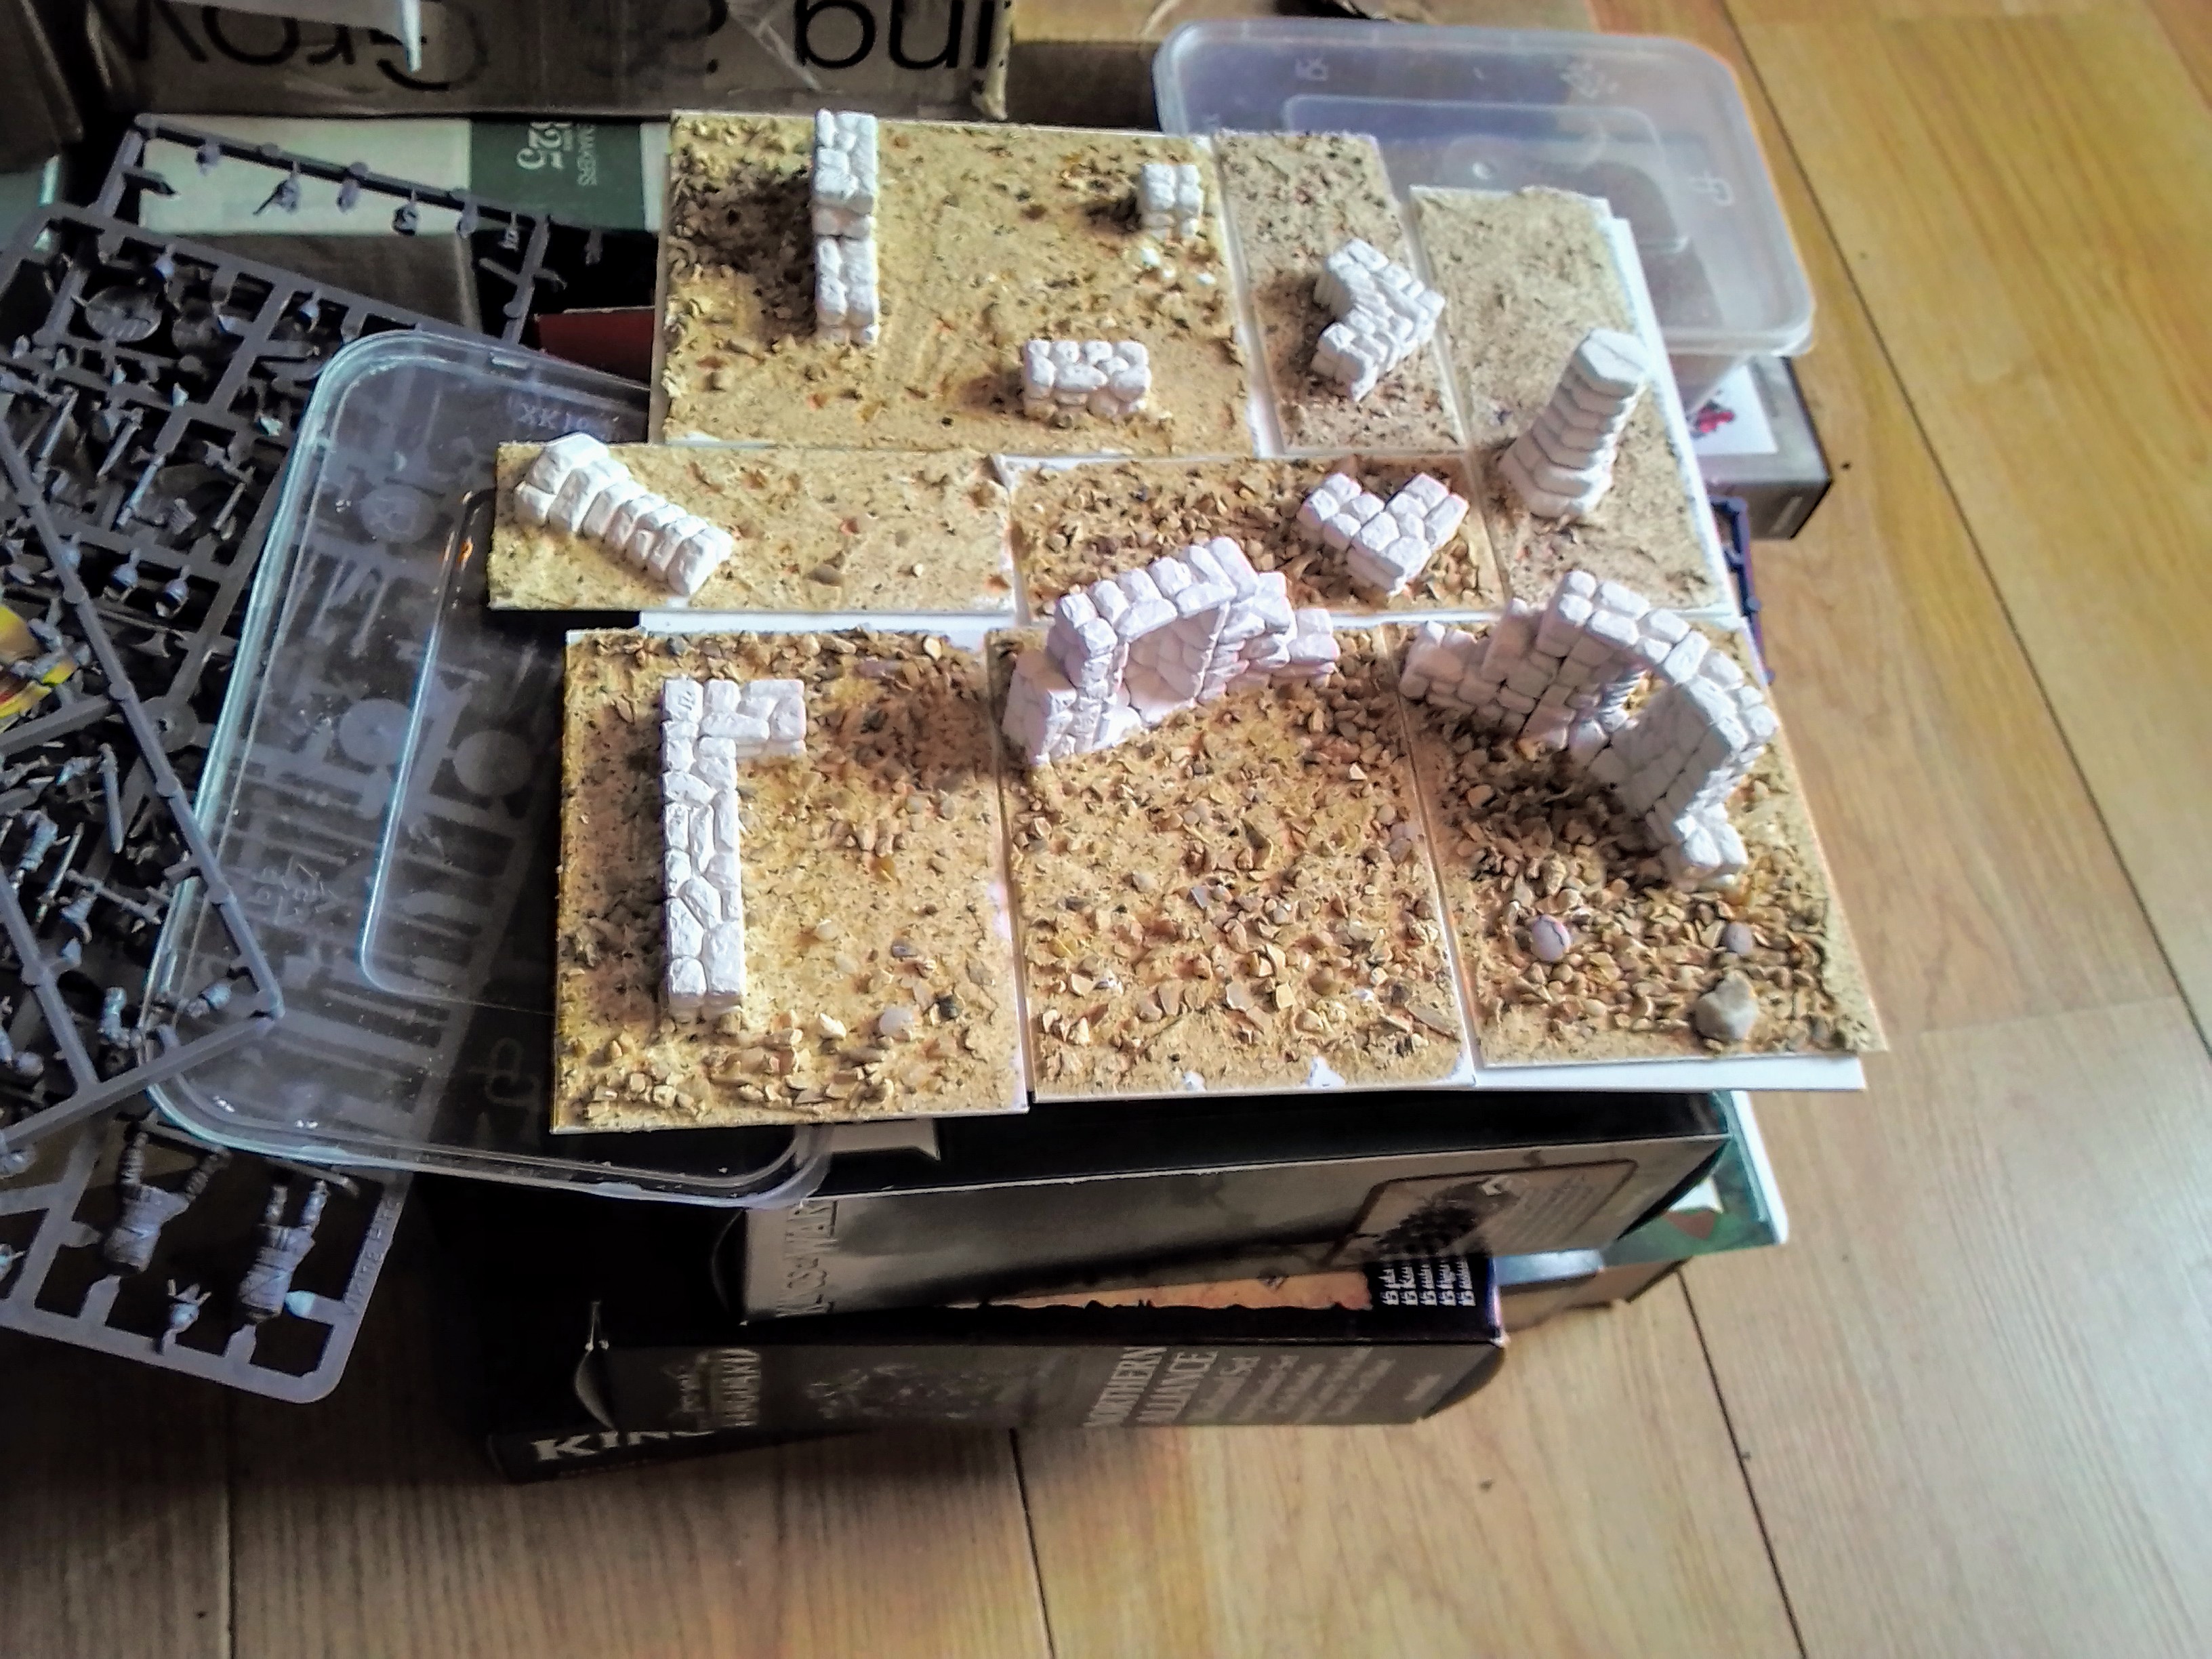
The Grasslands was my most recent I did last week. there is a post on here for that. This was a self test on how effienent and effect I could use my time to make a presentable based army. In this case, I dont even have the models. It is for an existing army list. So I suppose I could do these quite quickly now had the need or interest arise. Pricing - Very affordable. For sure under the materials are under 40 USD. And I would expect most if it is reusable. Then comes time planning and patience.
Grasslands

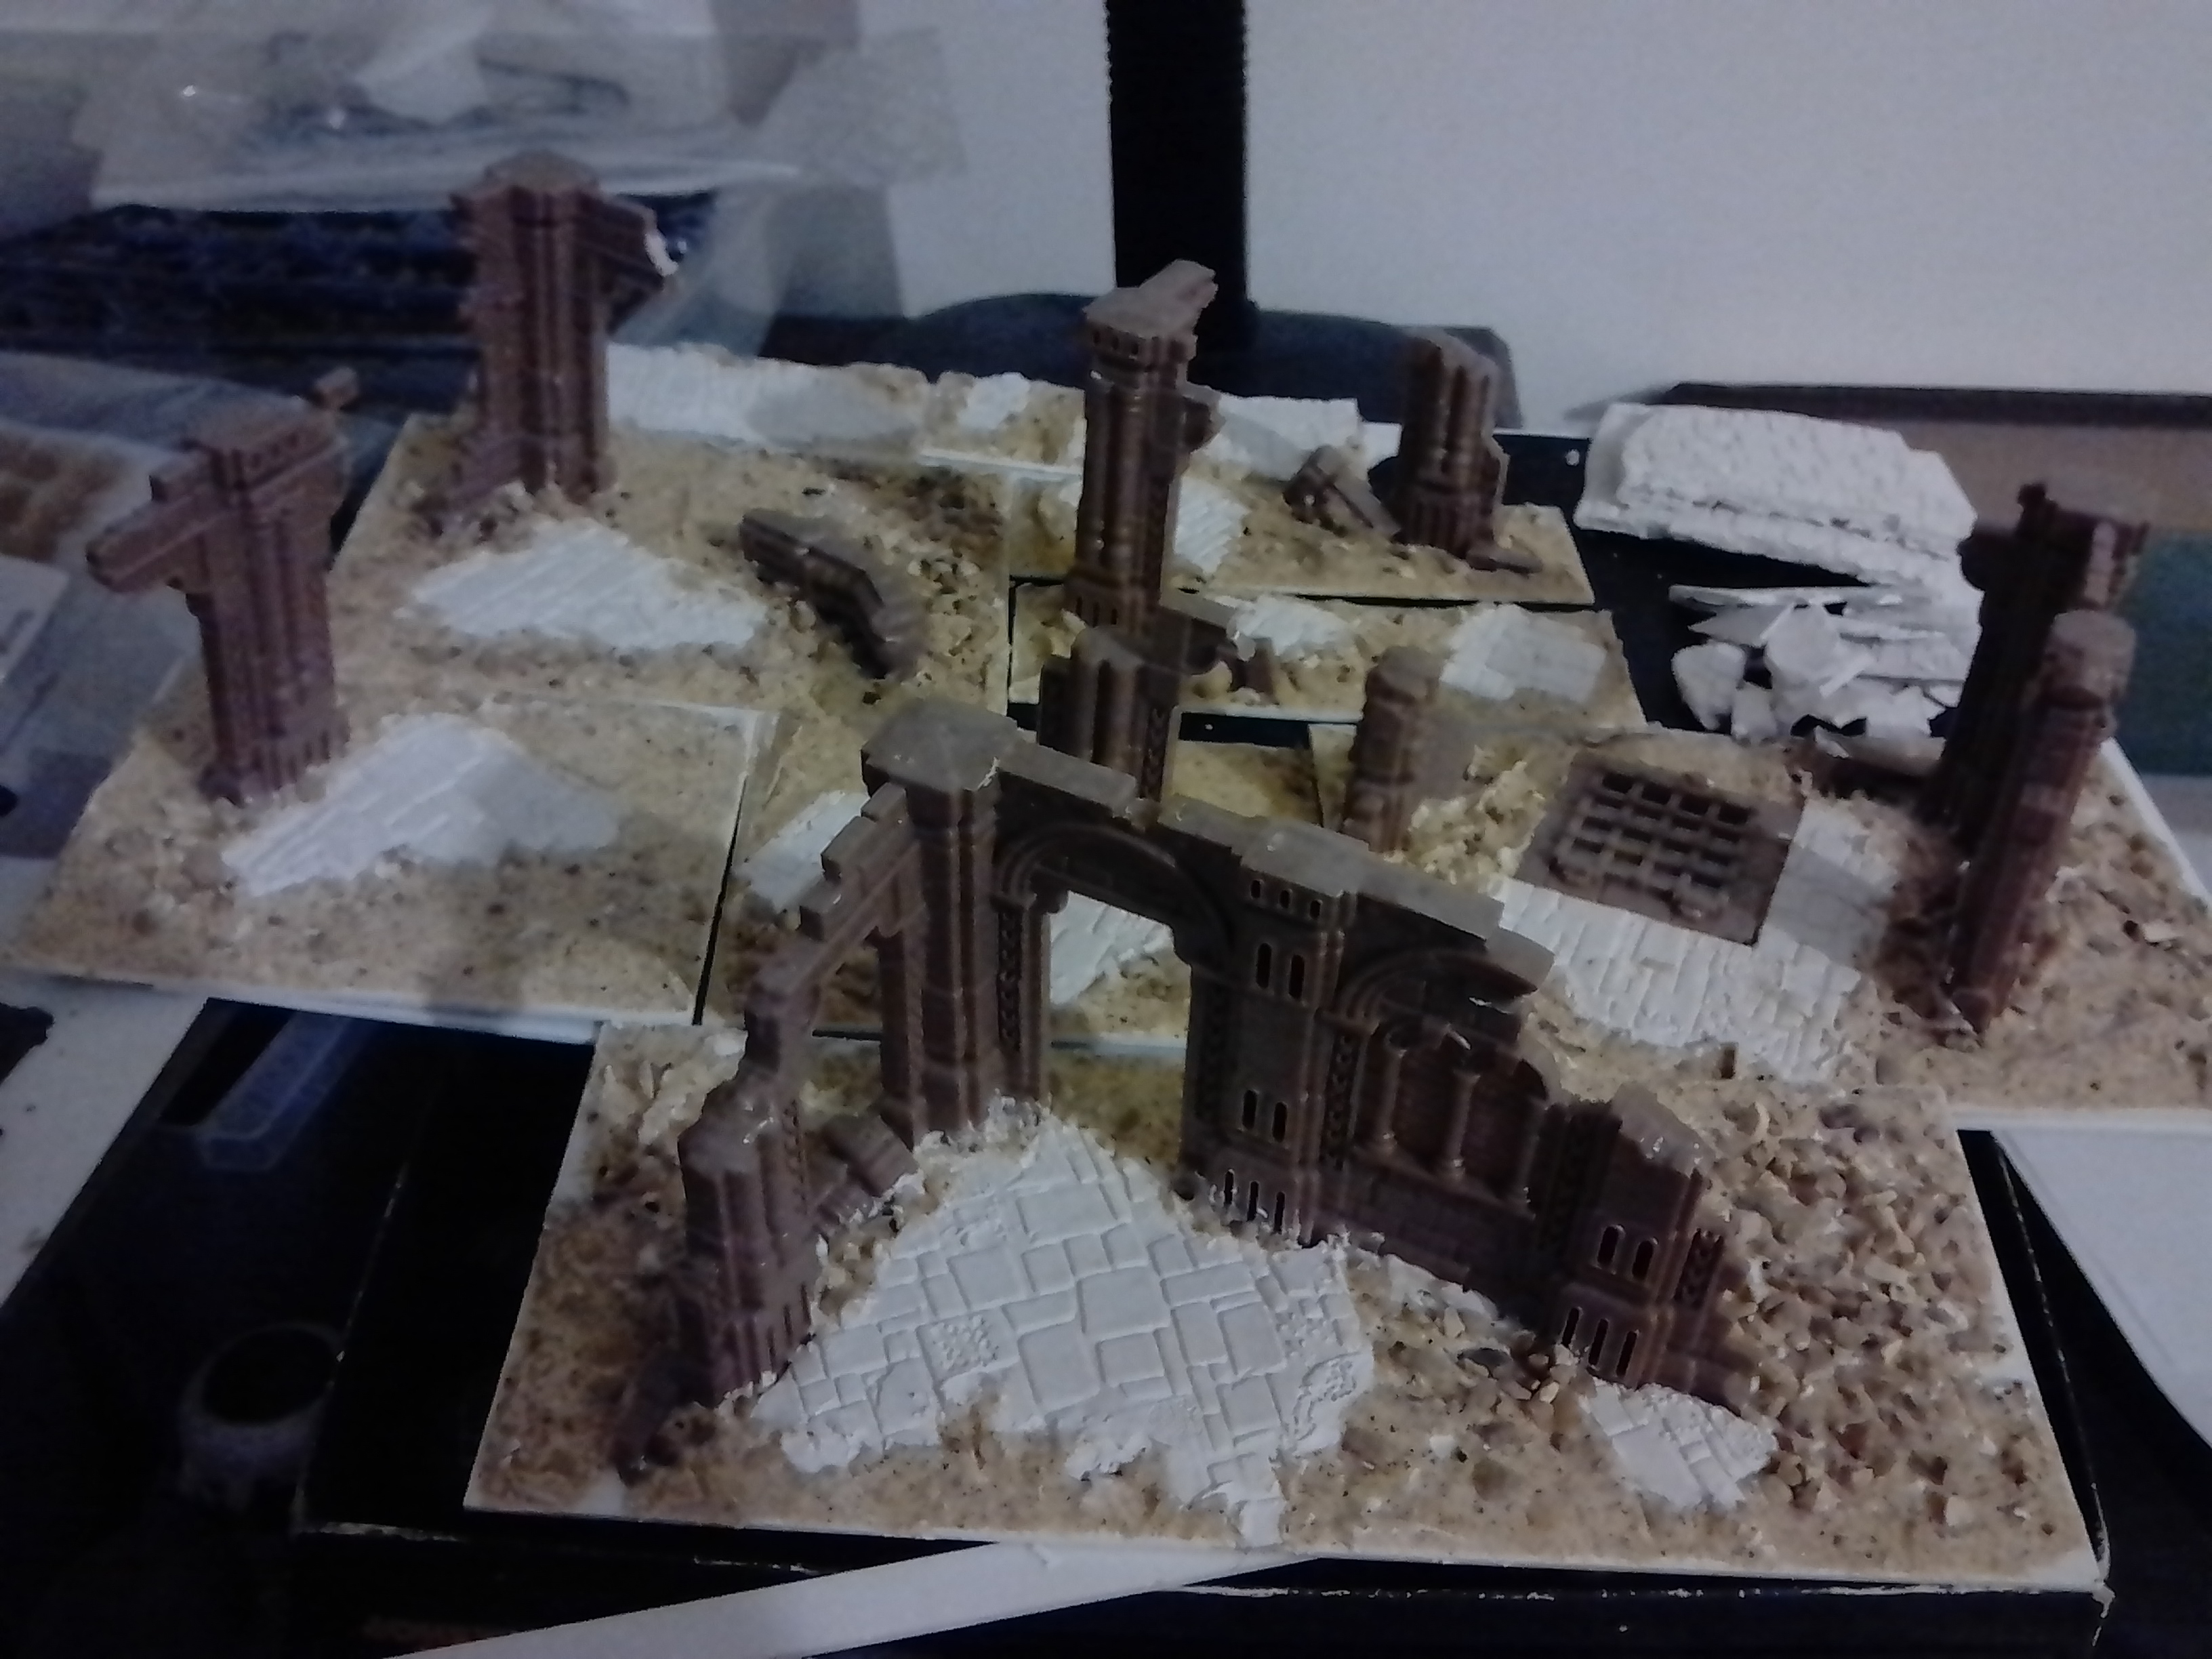
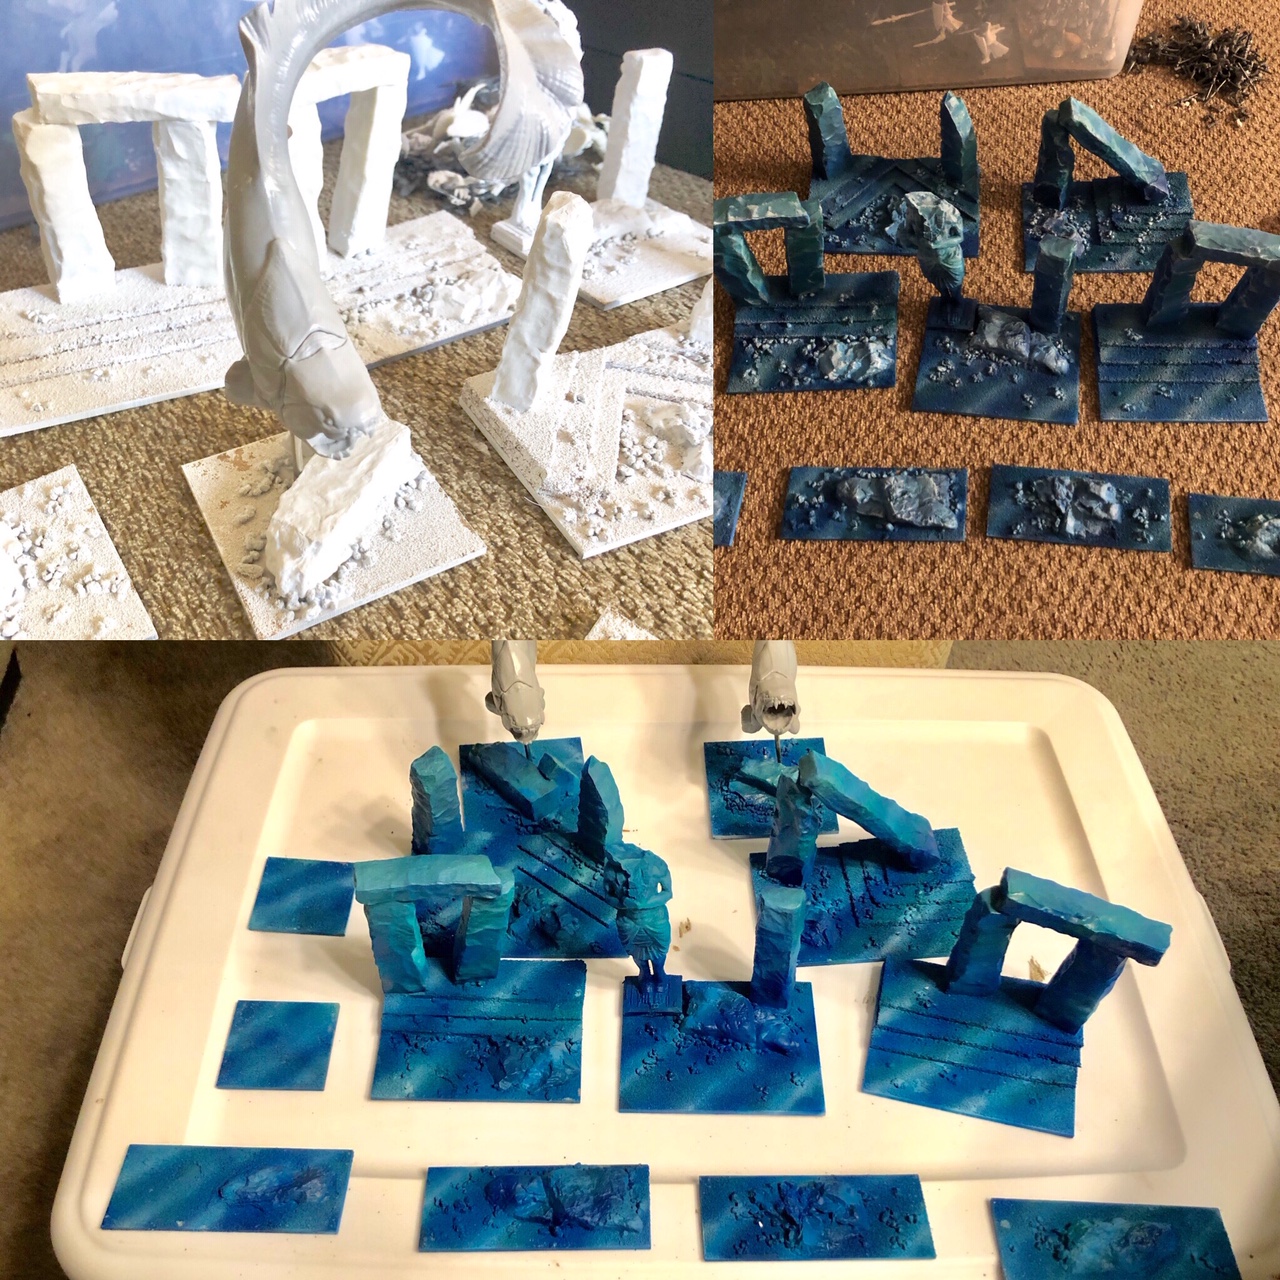
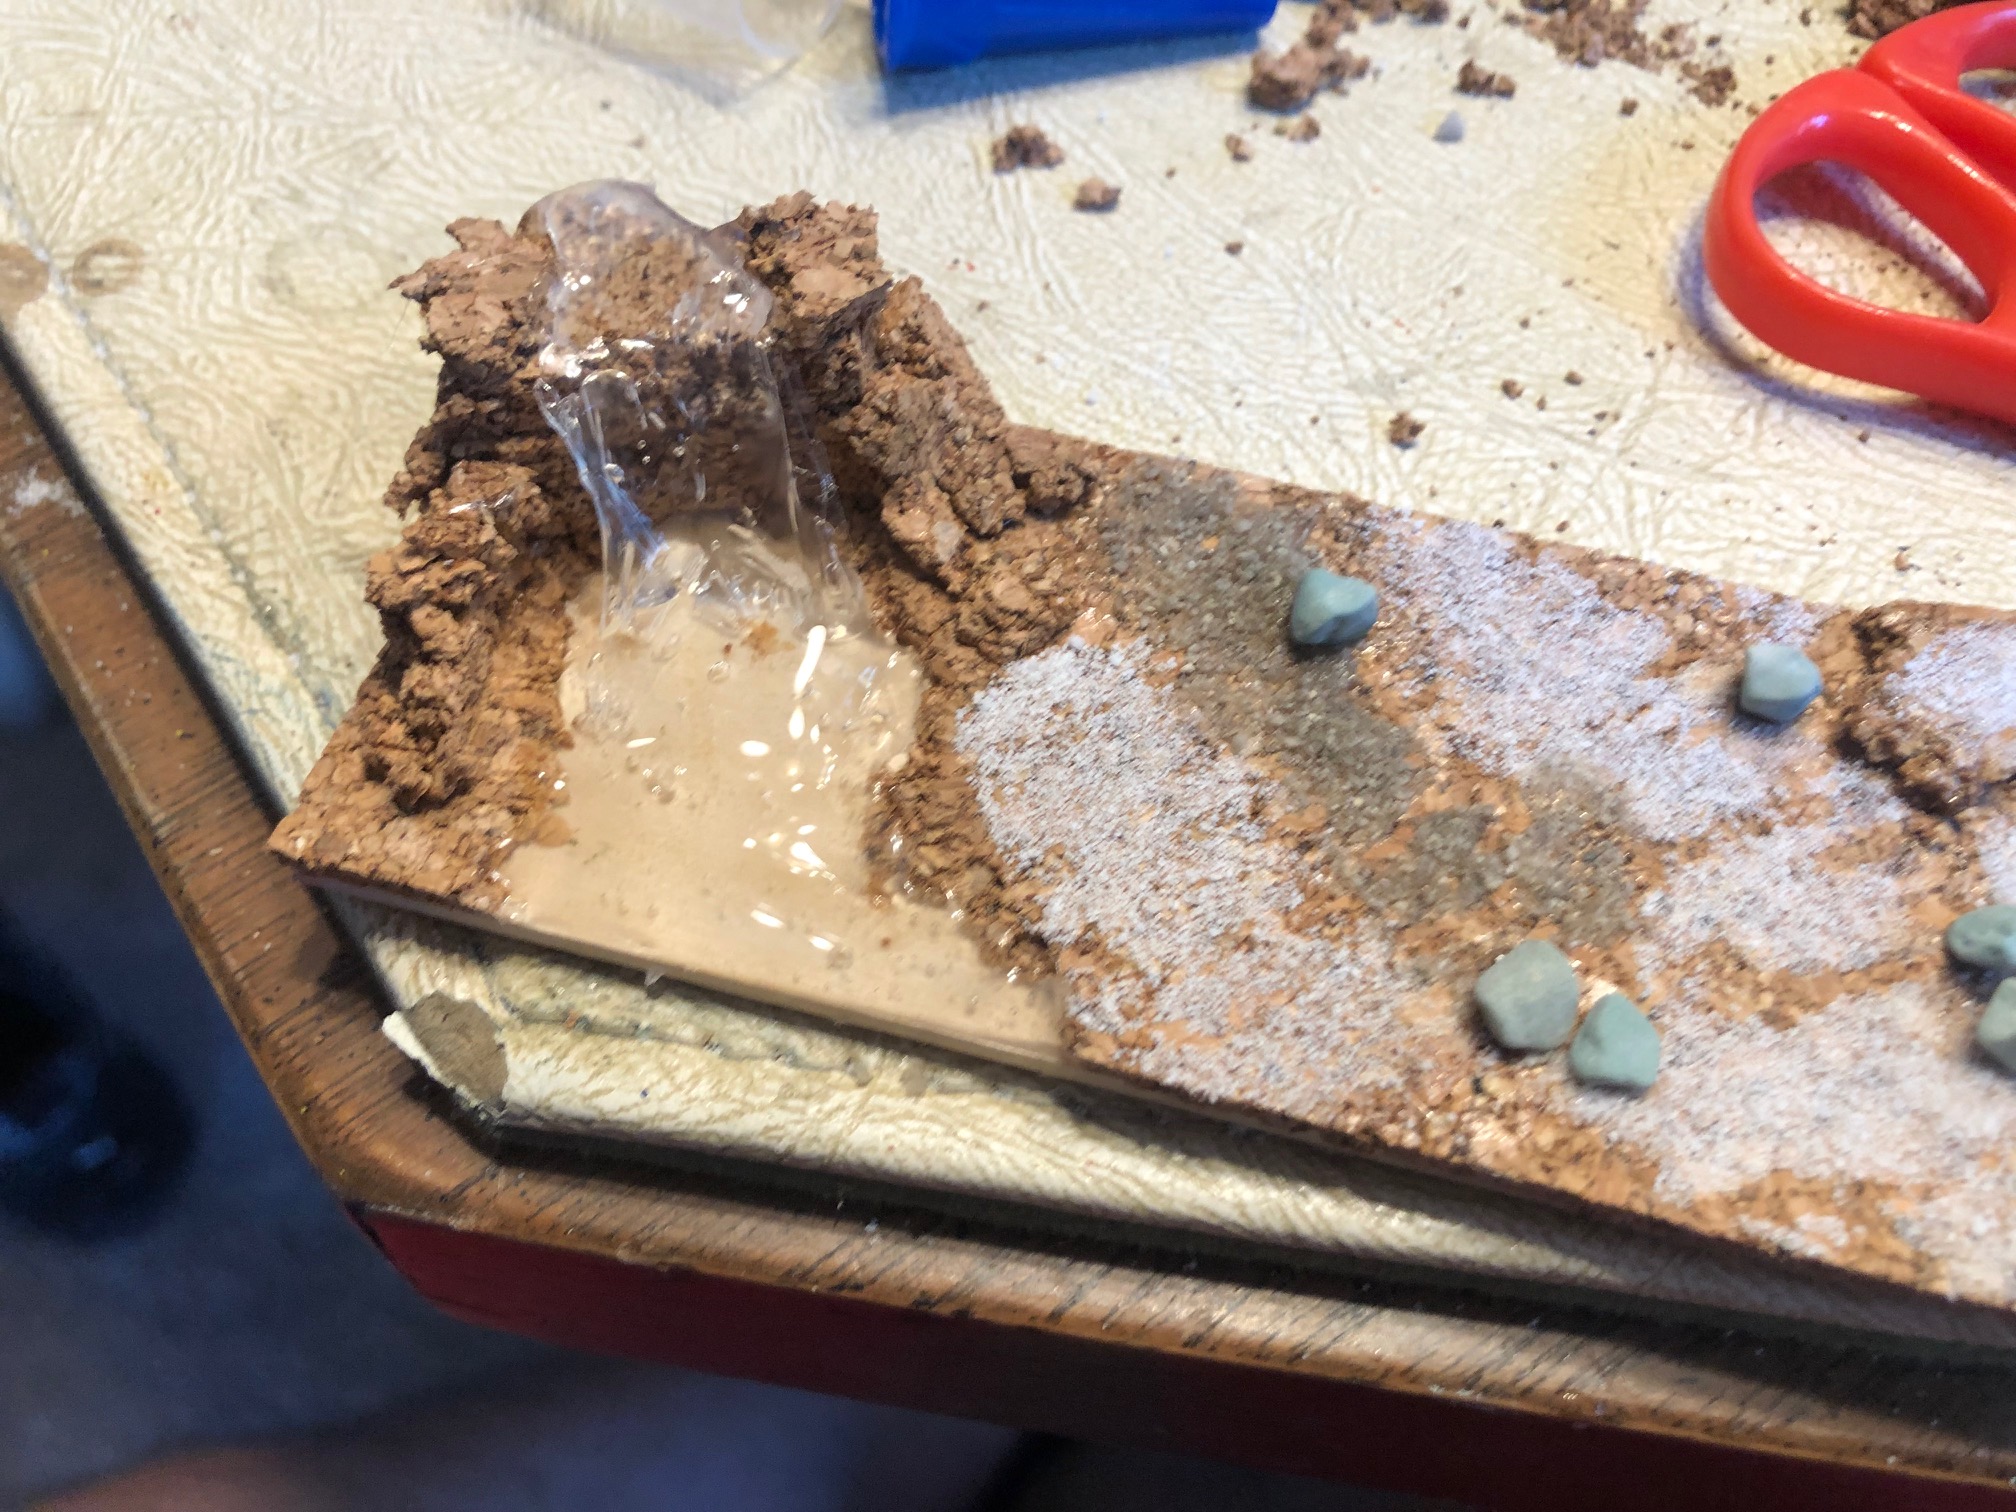
Undersea Sunken Ruins
This was a fun one. I used some 3d printed stuff , woodland Scenics rocks, and some things like Ruins from Reaper Bones. Added cork for the steps and used fine sand for the sea floor. got the layout I wanted and learned that I prefer the woodland scenics glue over other kinds of surface glue.
I used blue colors to get he idea that the water surface wasnt that far. I wanted it show surface ripples. I used Airbrush to apply the blue, but the surface shadows are hand done with diffent colors but mixing white with the blue would be fine, but more challenging to repeat. I used Tourquiose to lighten it up and it was a color I knew would match.
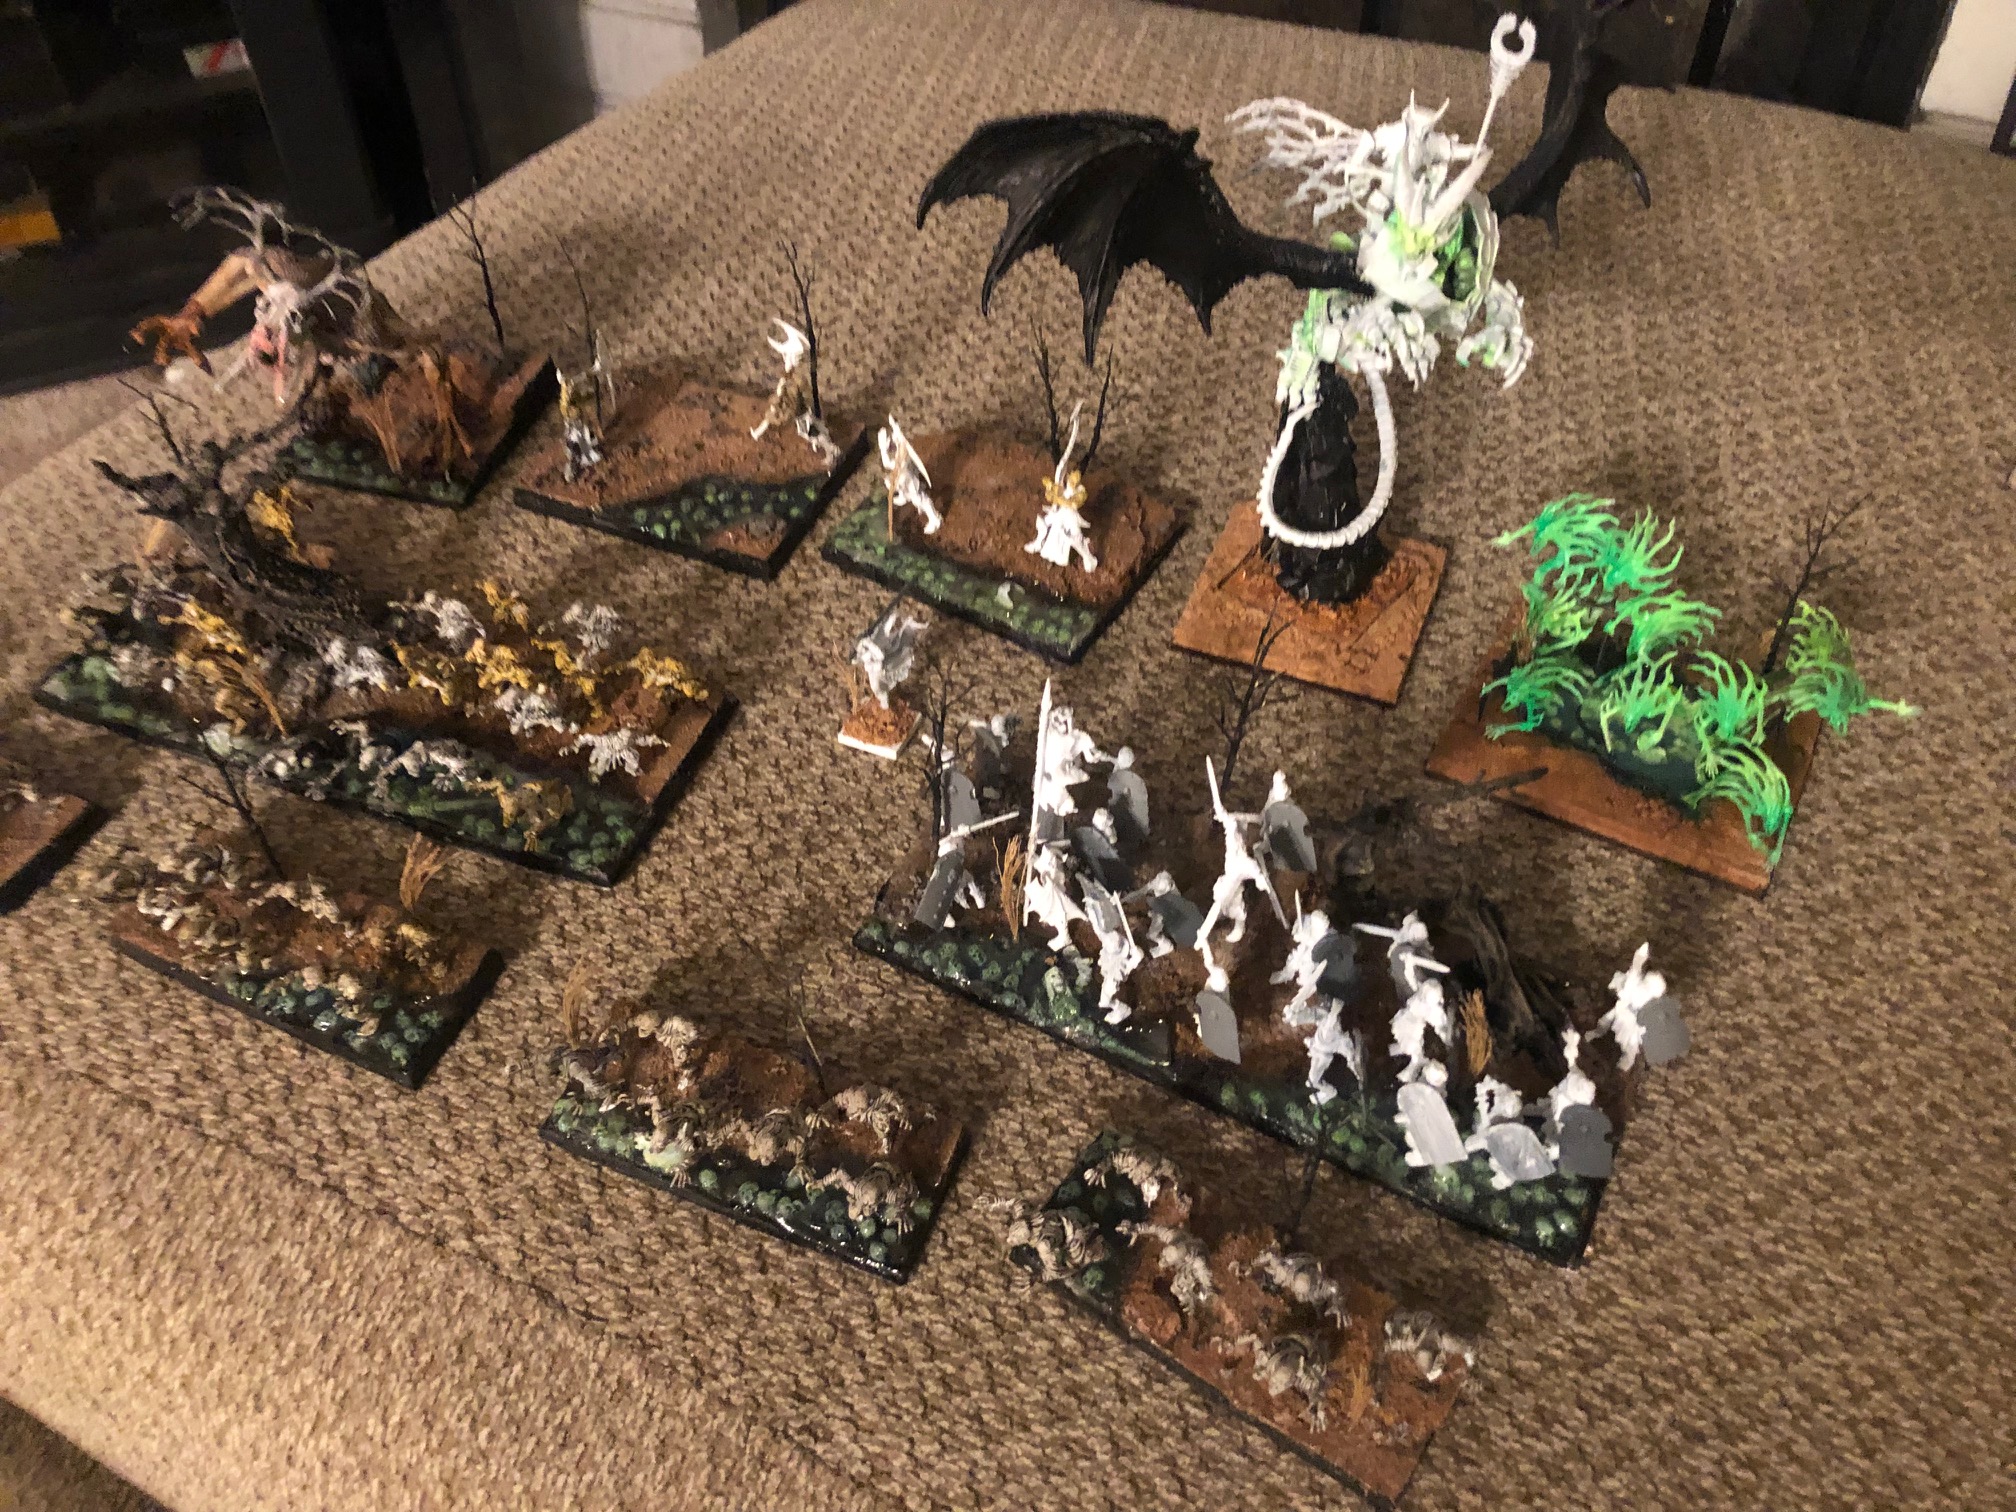
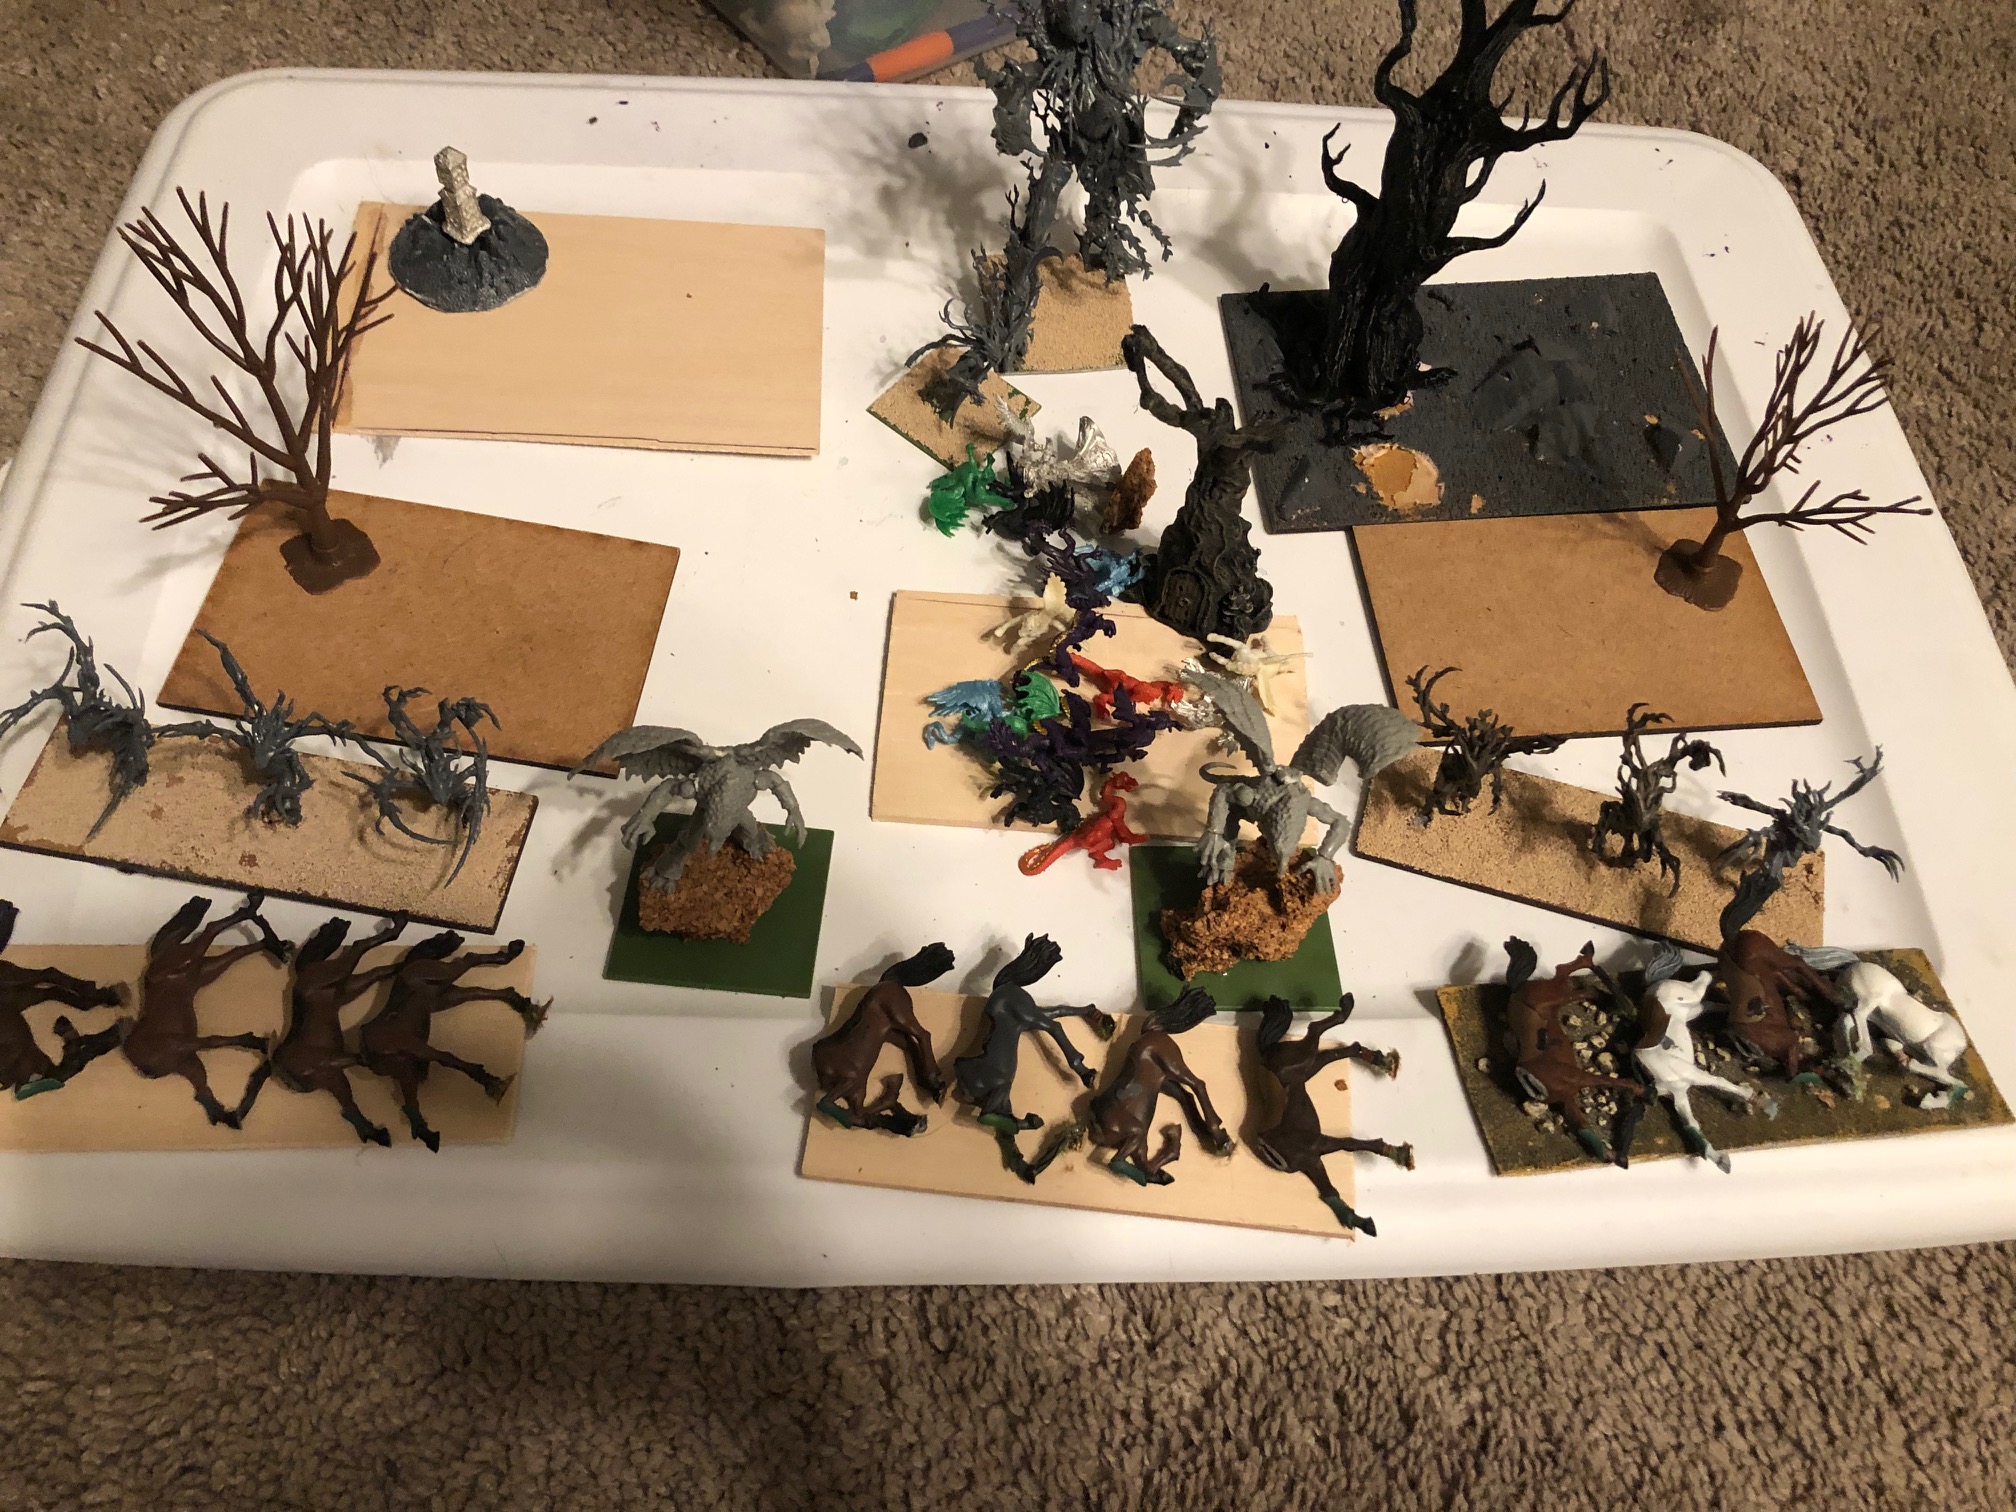
Dead Marshes
This was an idea I had to use water effects I really tried a few diffenent techniques on fluids and how cork was going to work with the water effect. I learned a great deal for next time for what kinds of materials to use and how I would do it again. I do like the results and Im sure I could do it again even better.

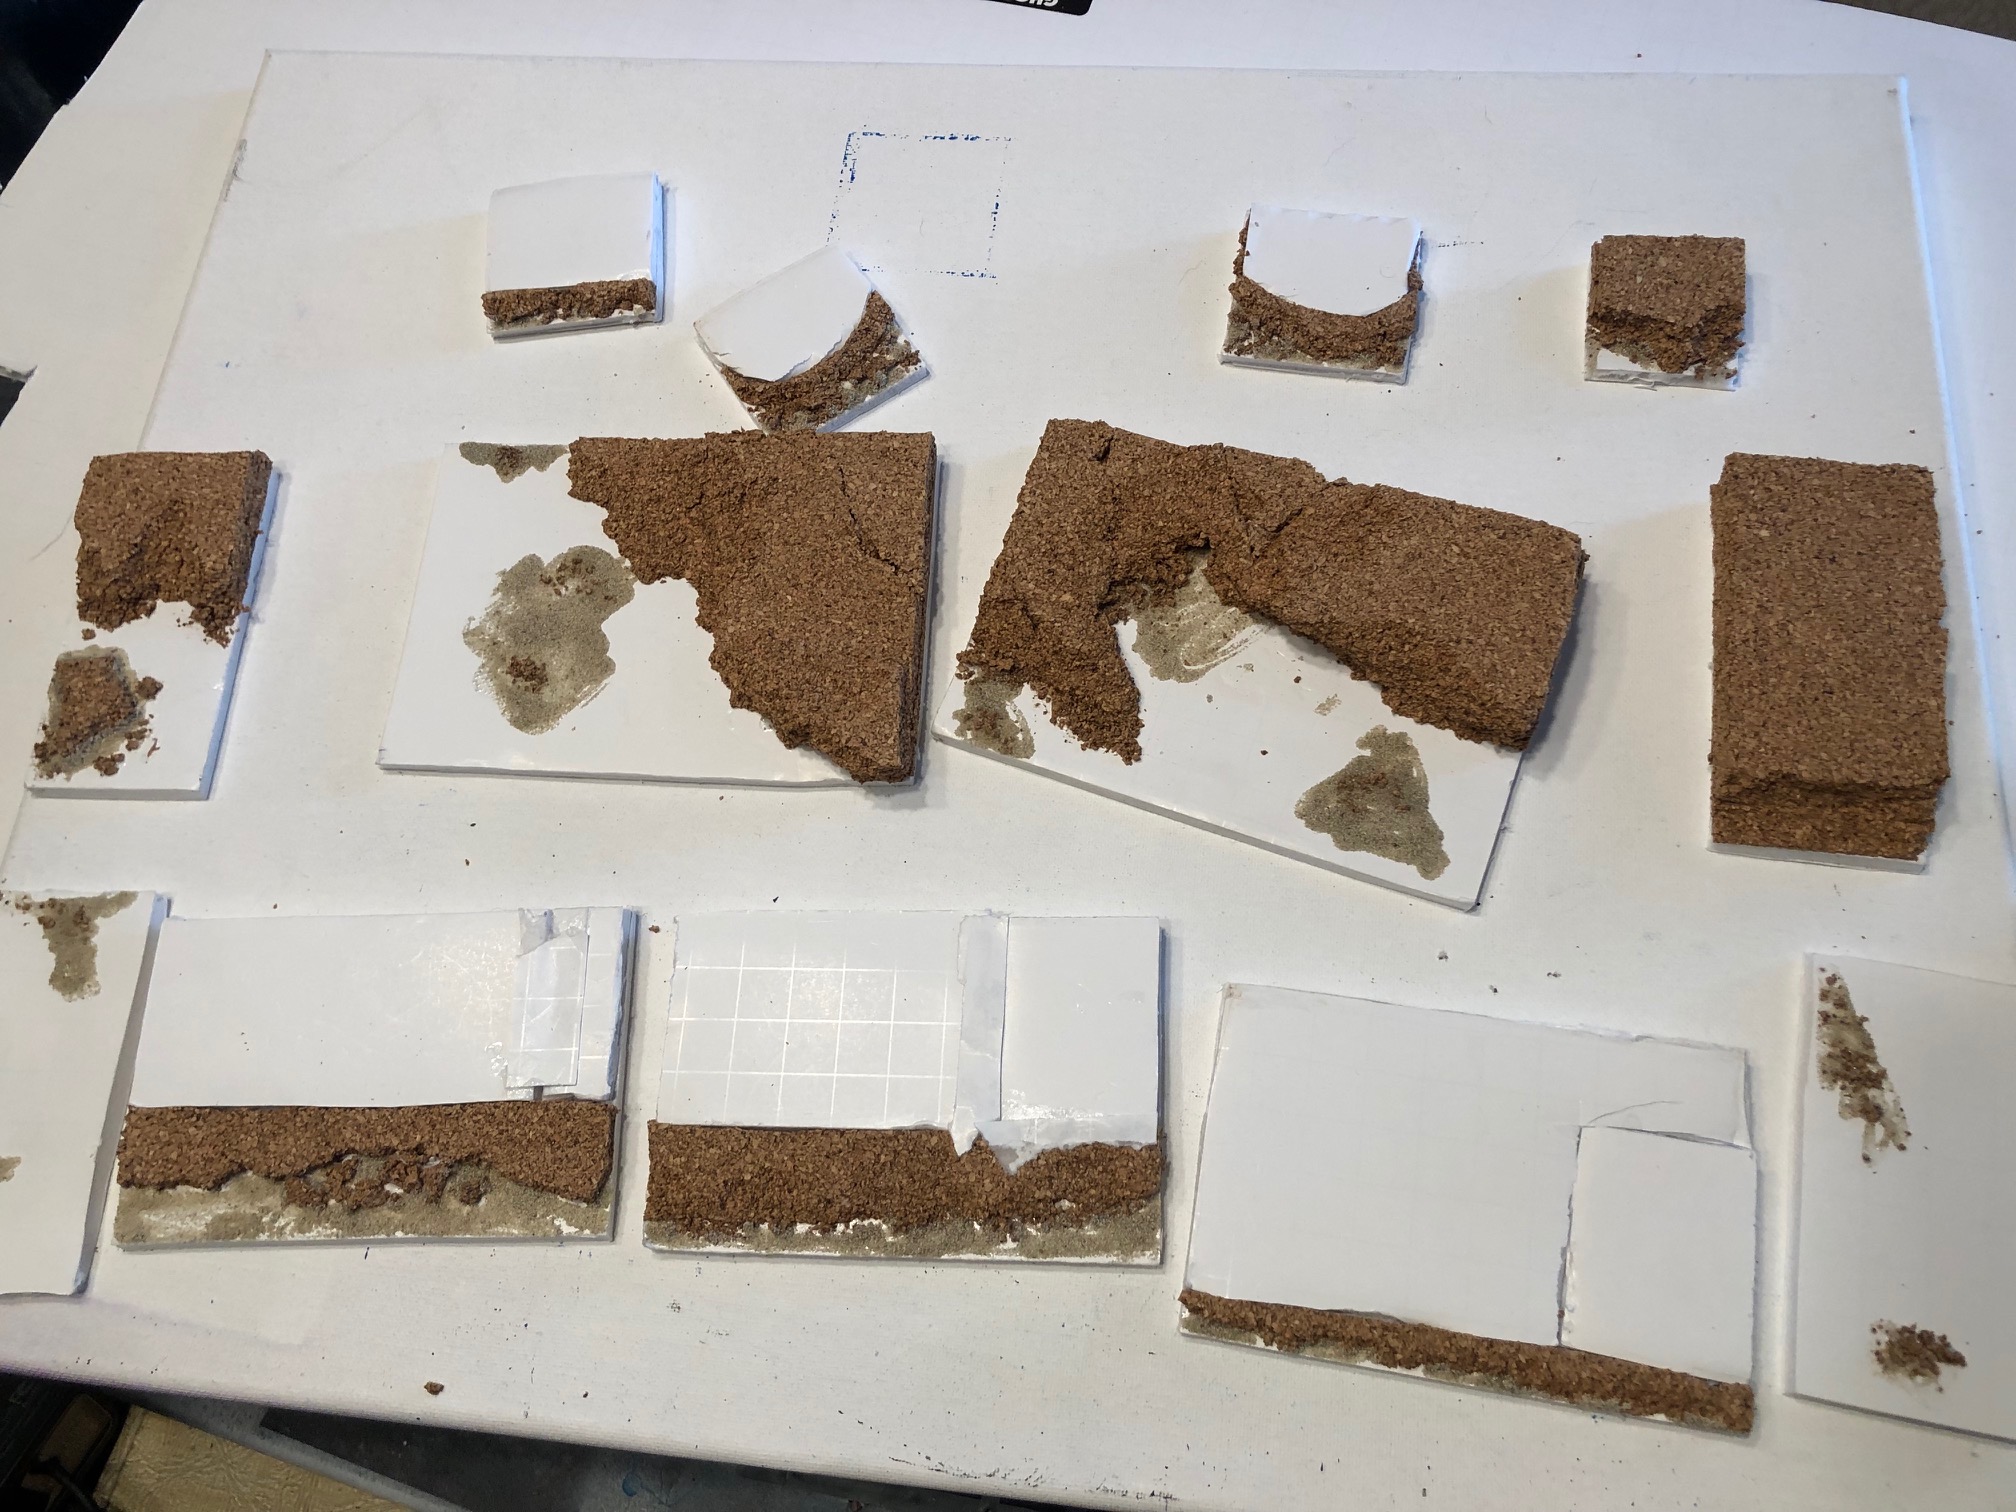
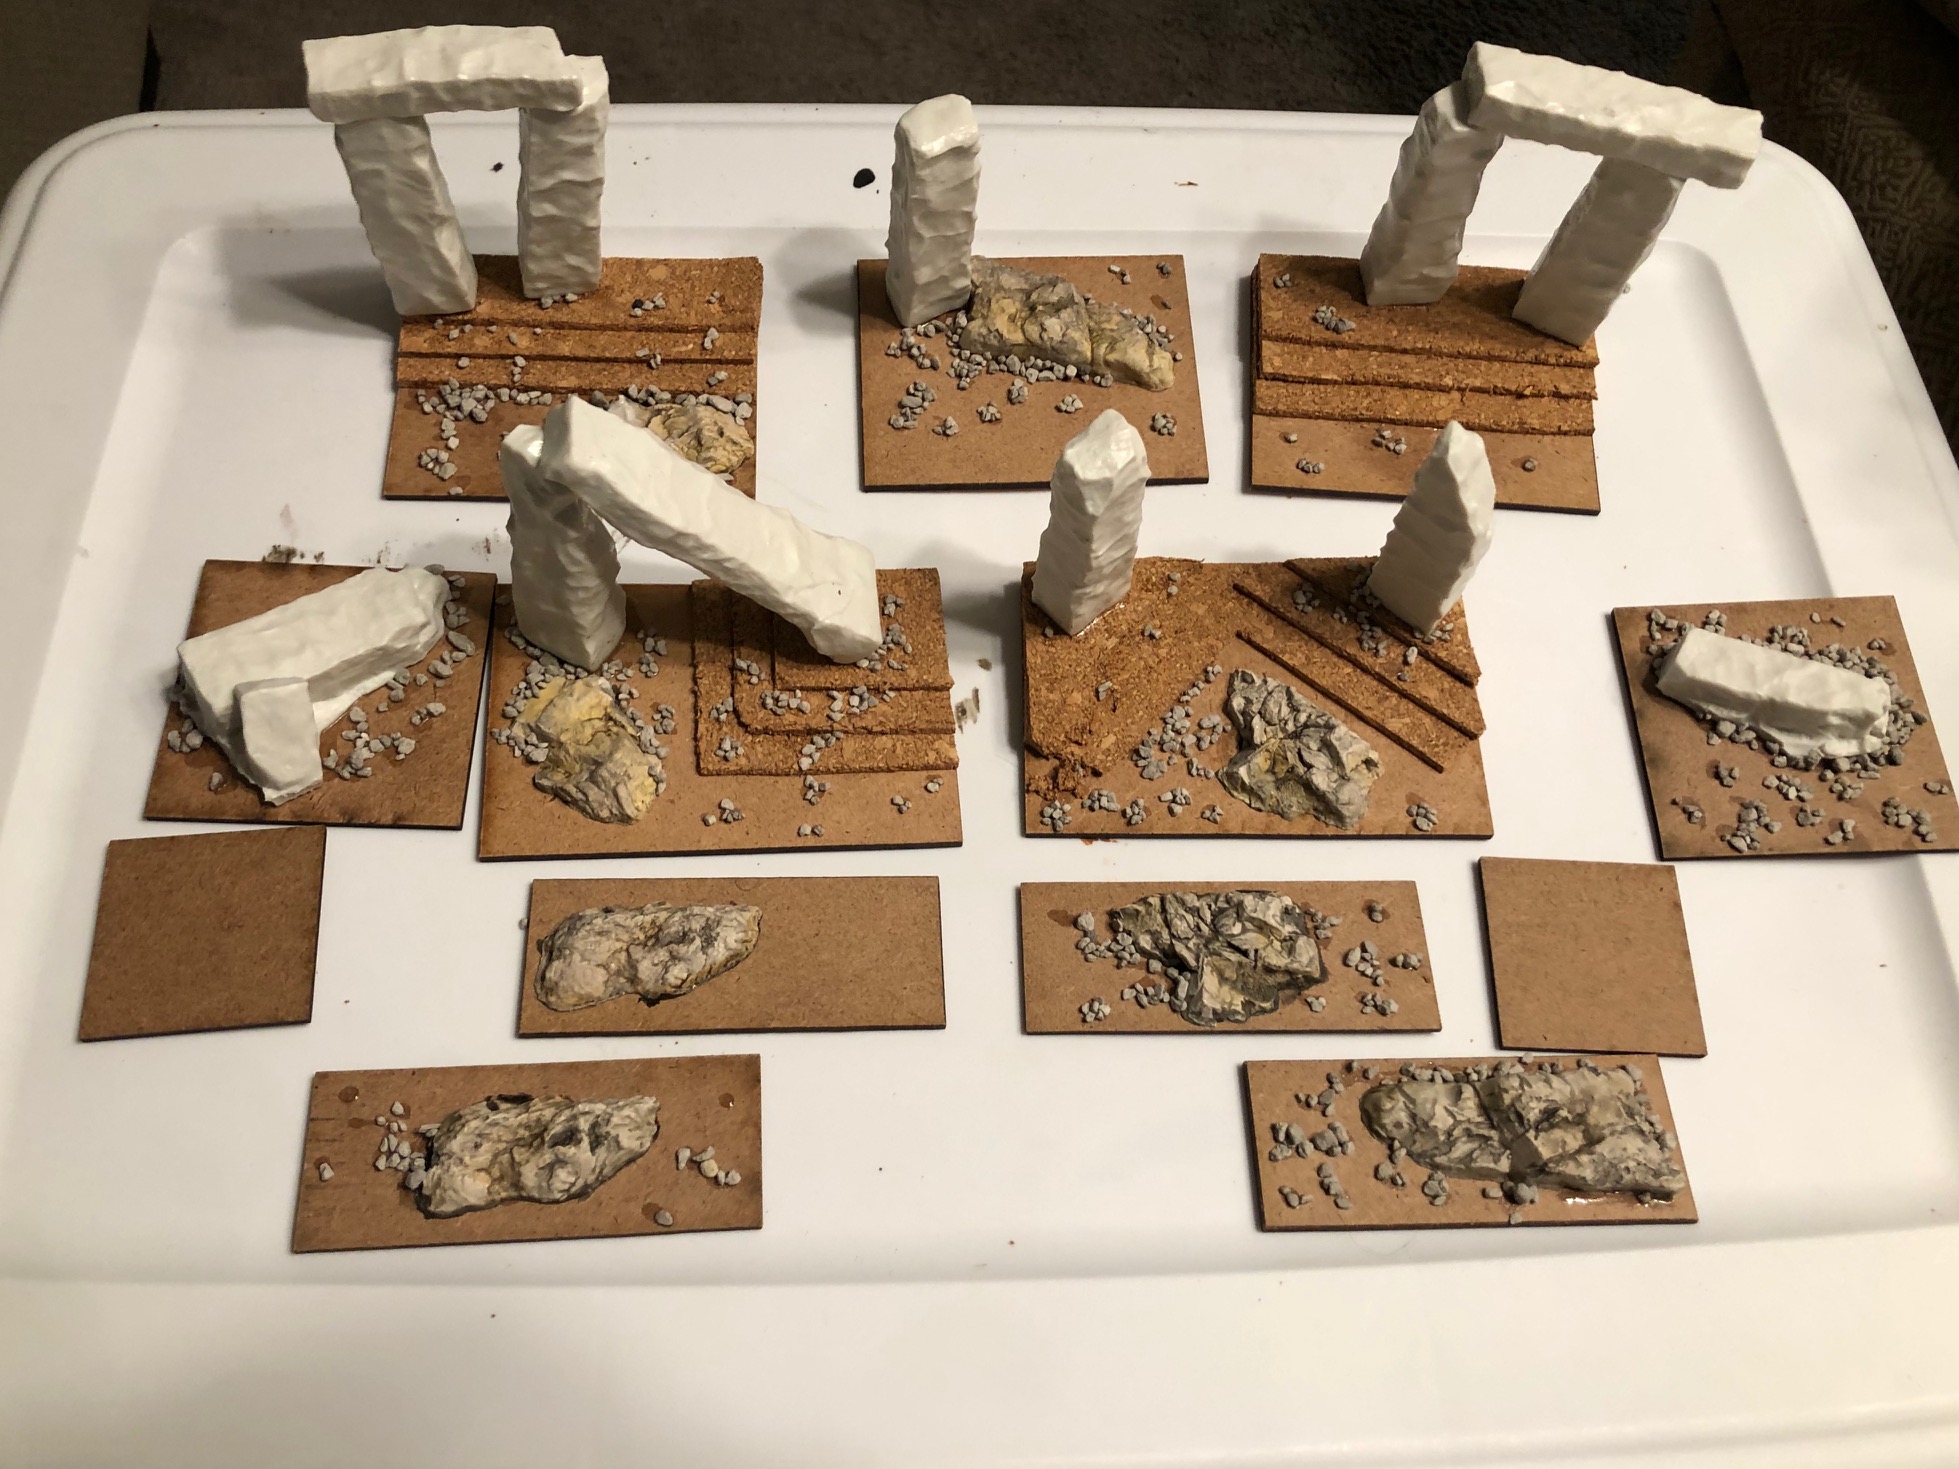
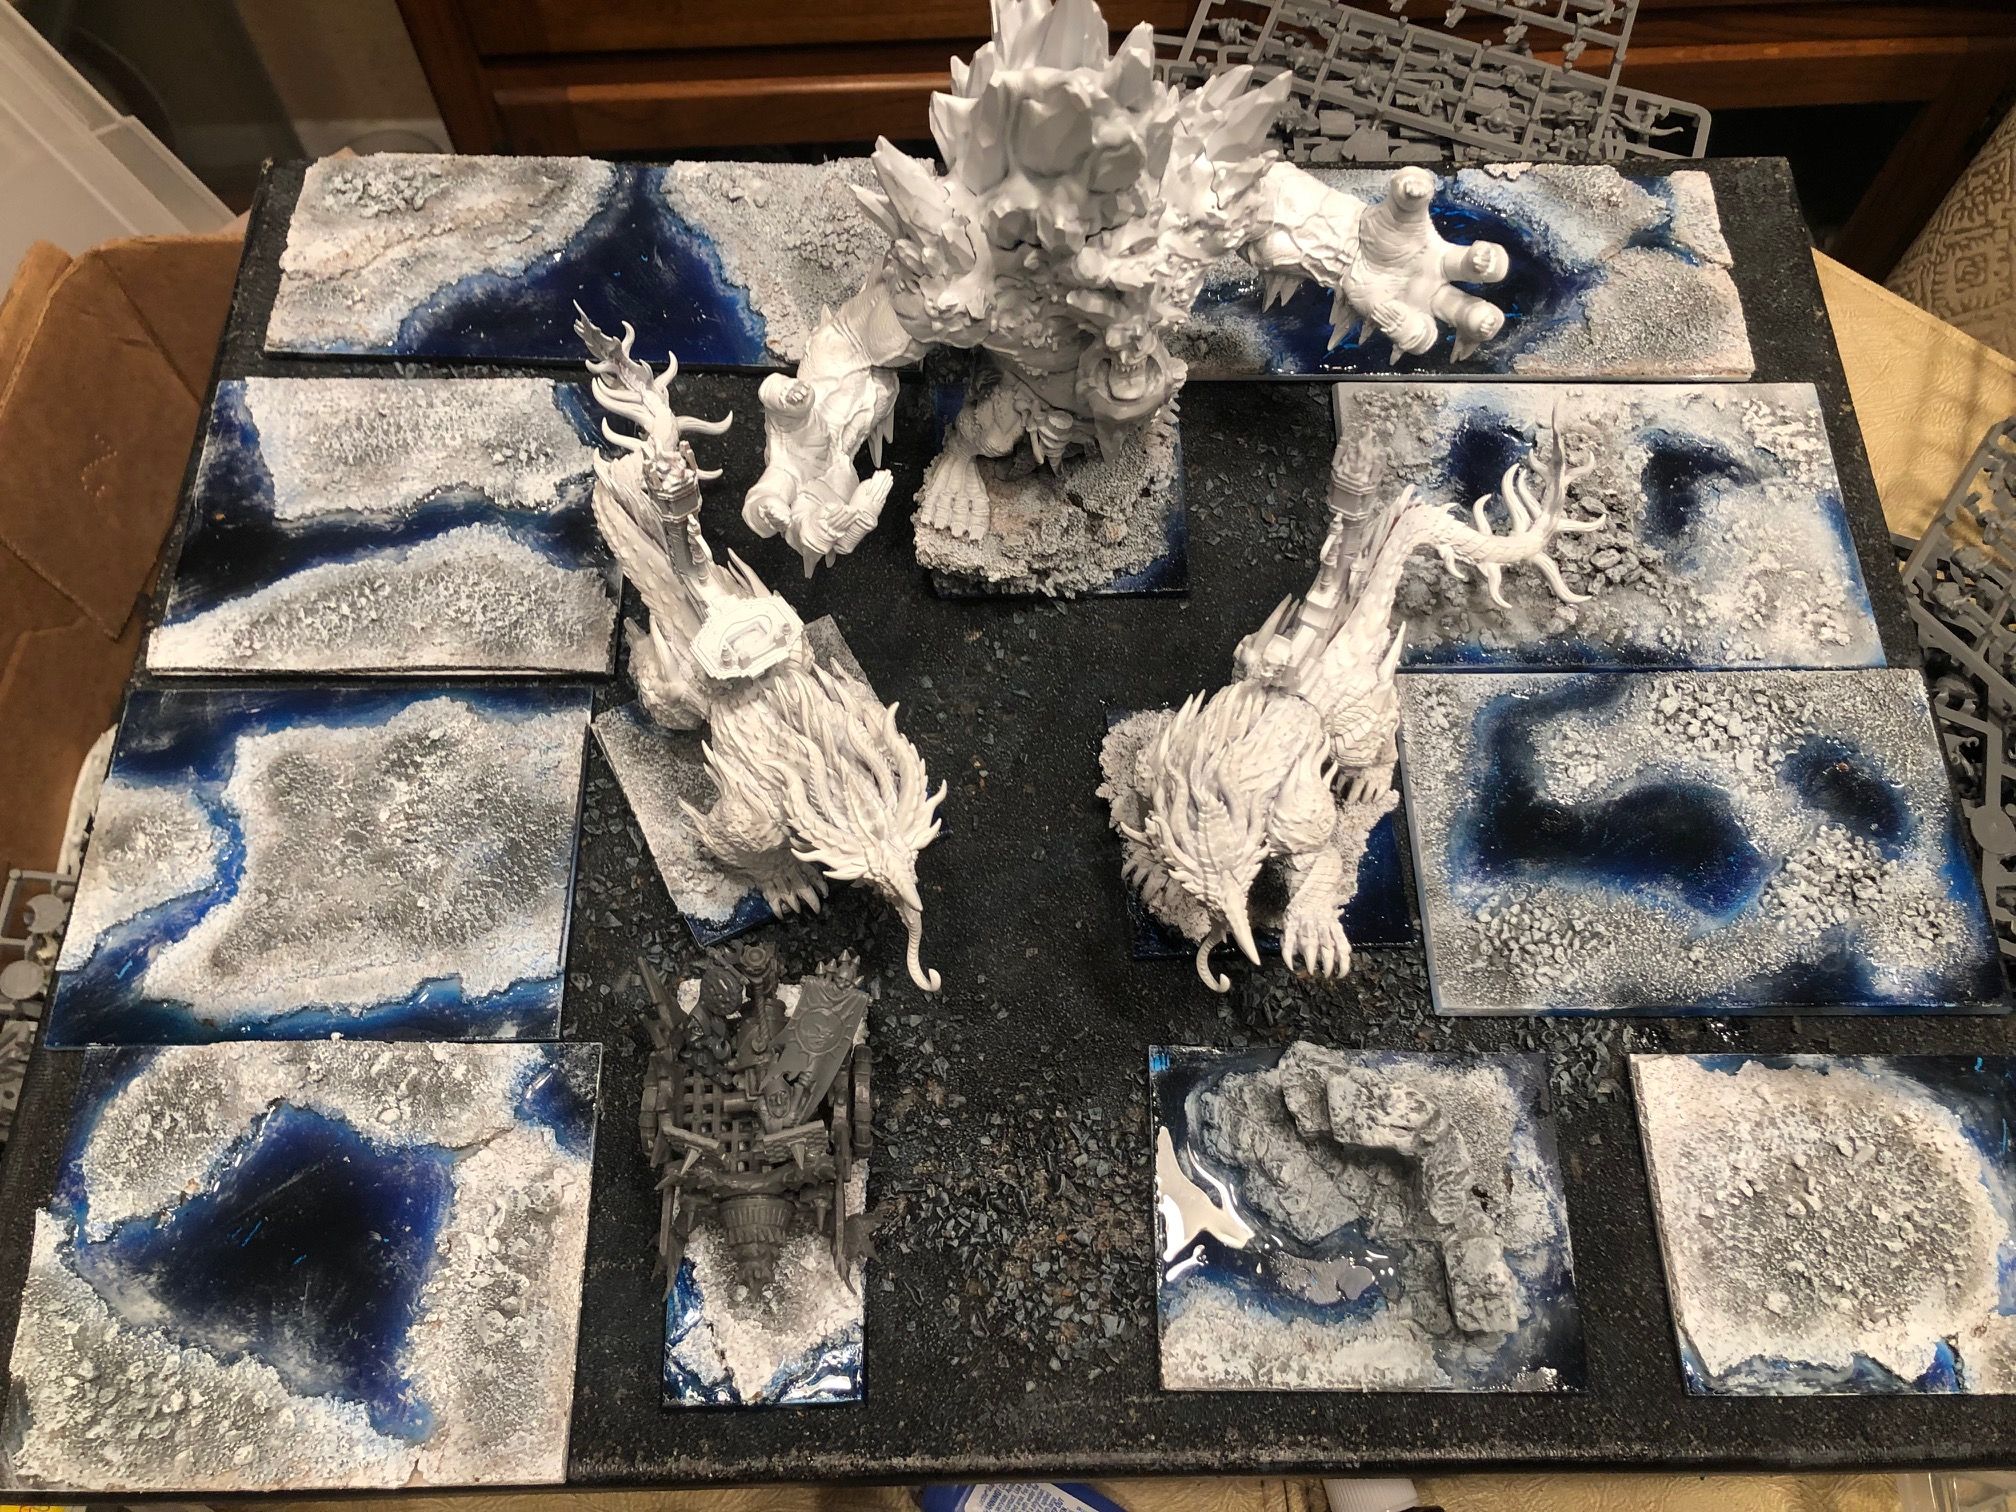
Arctic / Tundra
This one again, I thought came really easy to me. I had some ideas what I thought what frozen snowcovered arctic would be, even when the sun was breaking through. I started with MDF and added sand , corkboard and rocks. Left space for open areas where I would use water effect. I then base coated the whole thing, Airbrushed the locations where the water was, then added layers of colors till I got the disired effect. Started with dark colors on tthe bases and airbrushed gray until I got the color I wanted, then drybrushed white. Finlly added Snow flock with my glue of choice. then drybrushed and added detail to the water. Really, I think this goes quicker than one would exect when everything is right there in front of you. I always complete one thing on all the bases, so if there are 5 stages, I would guess I could get it all done in abou 5-8 hours ( shrug) Didnt actually count. I could have a baseball game on and not even notice the time going by.
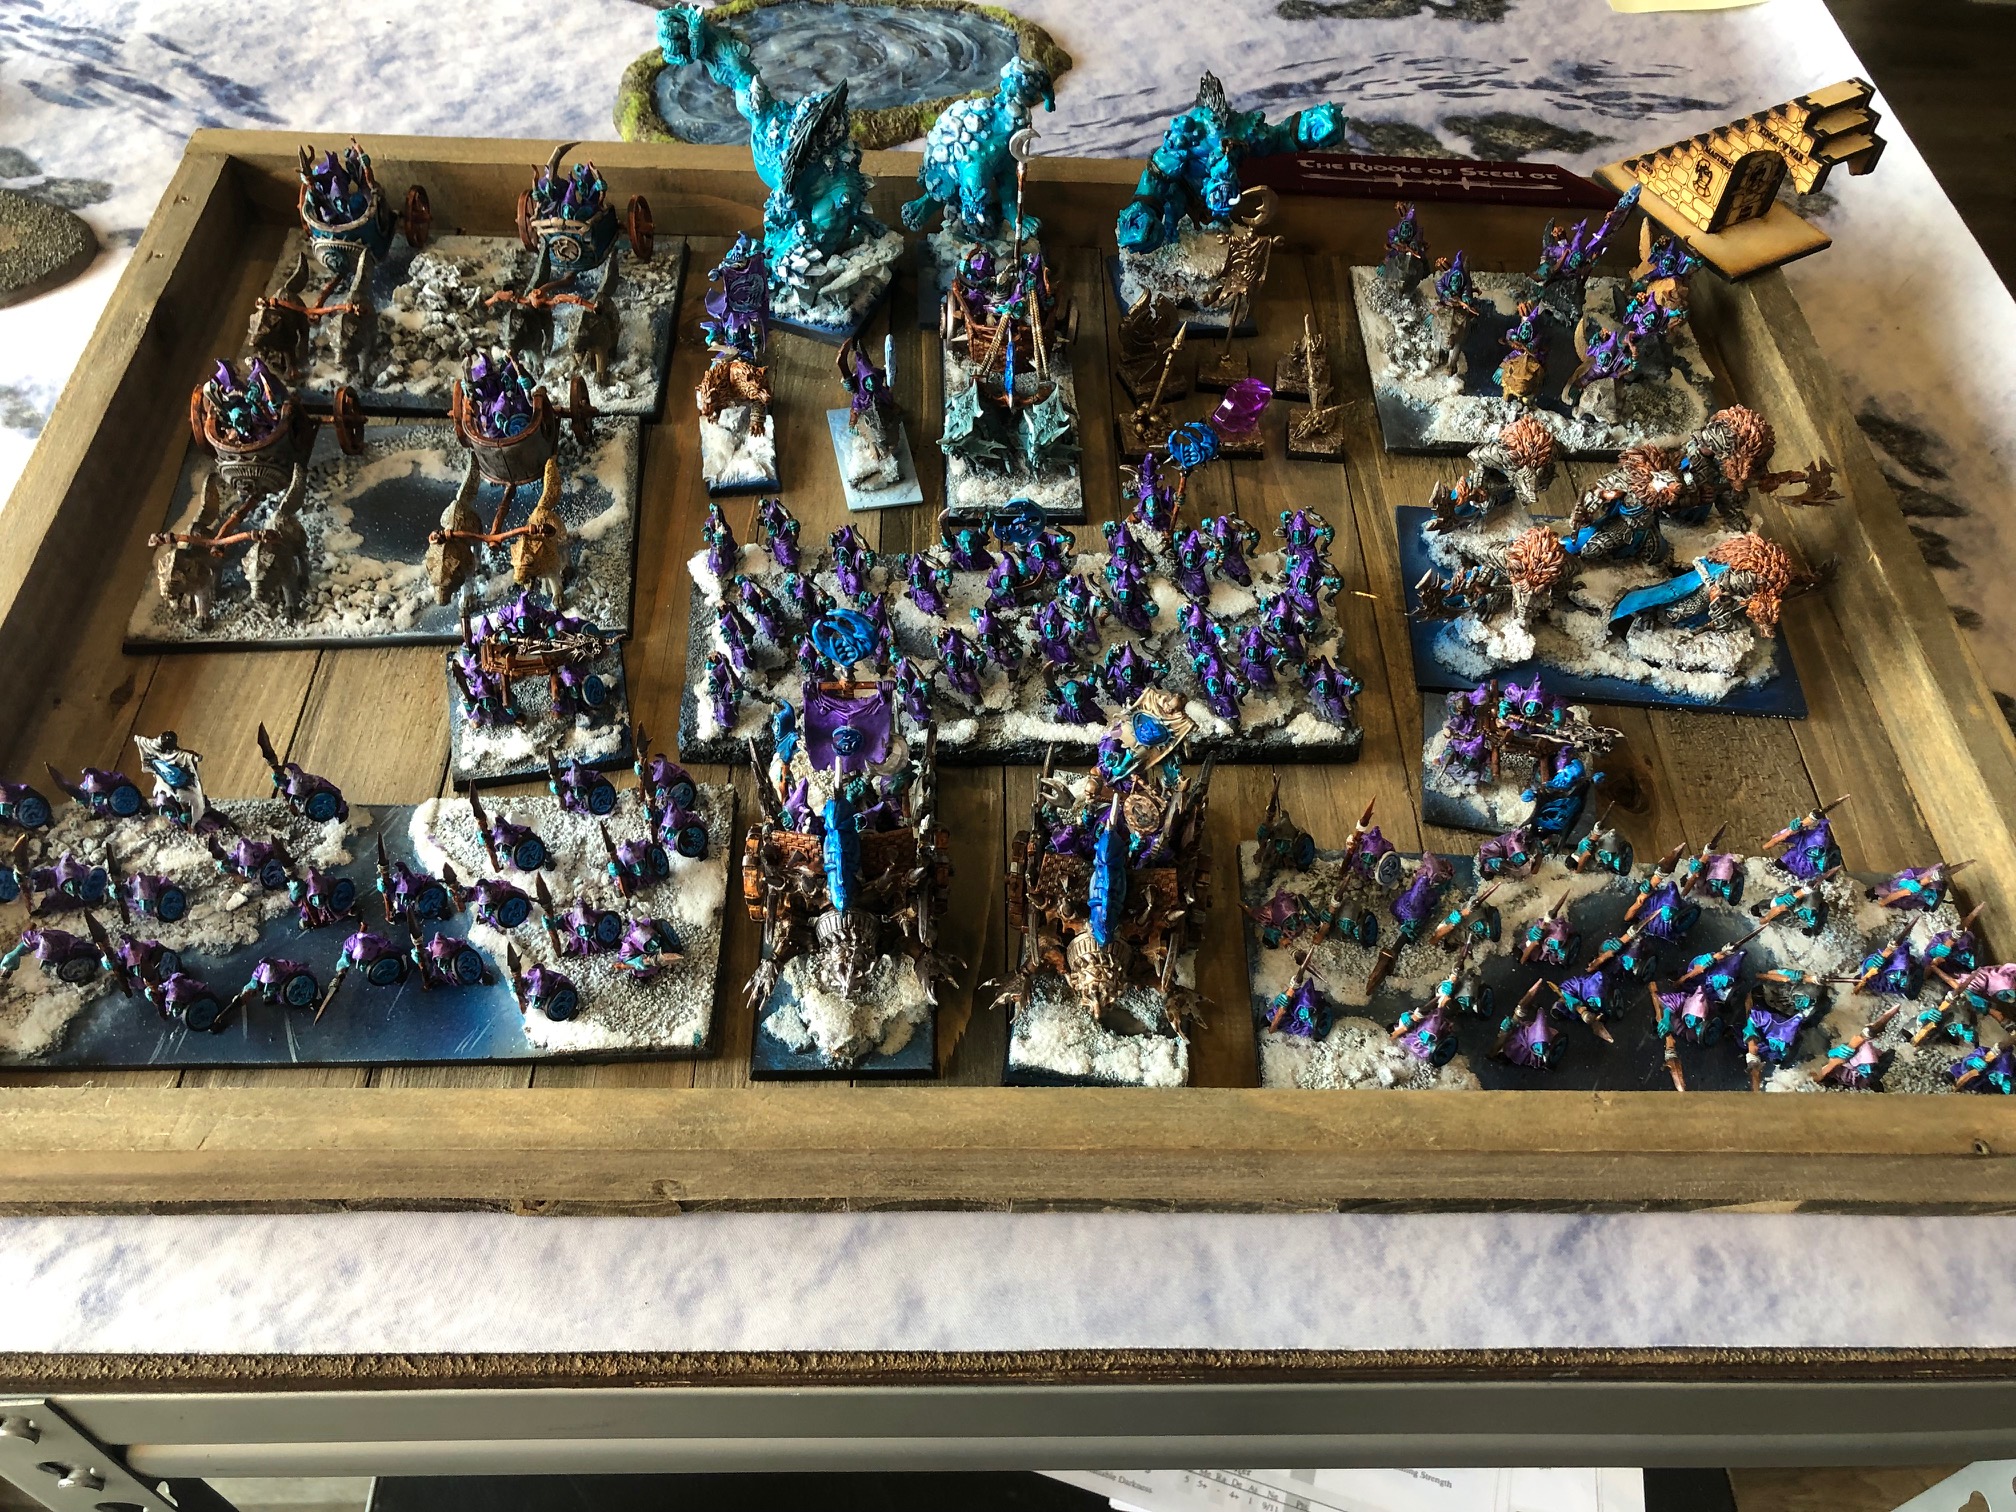
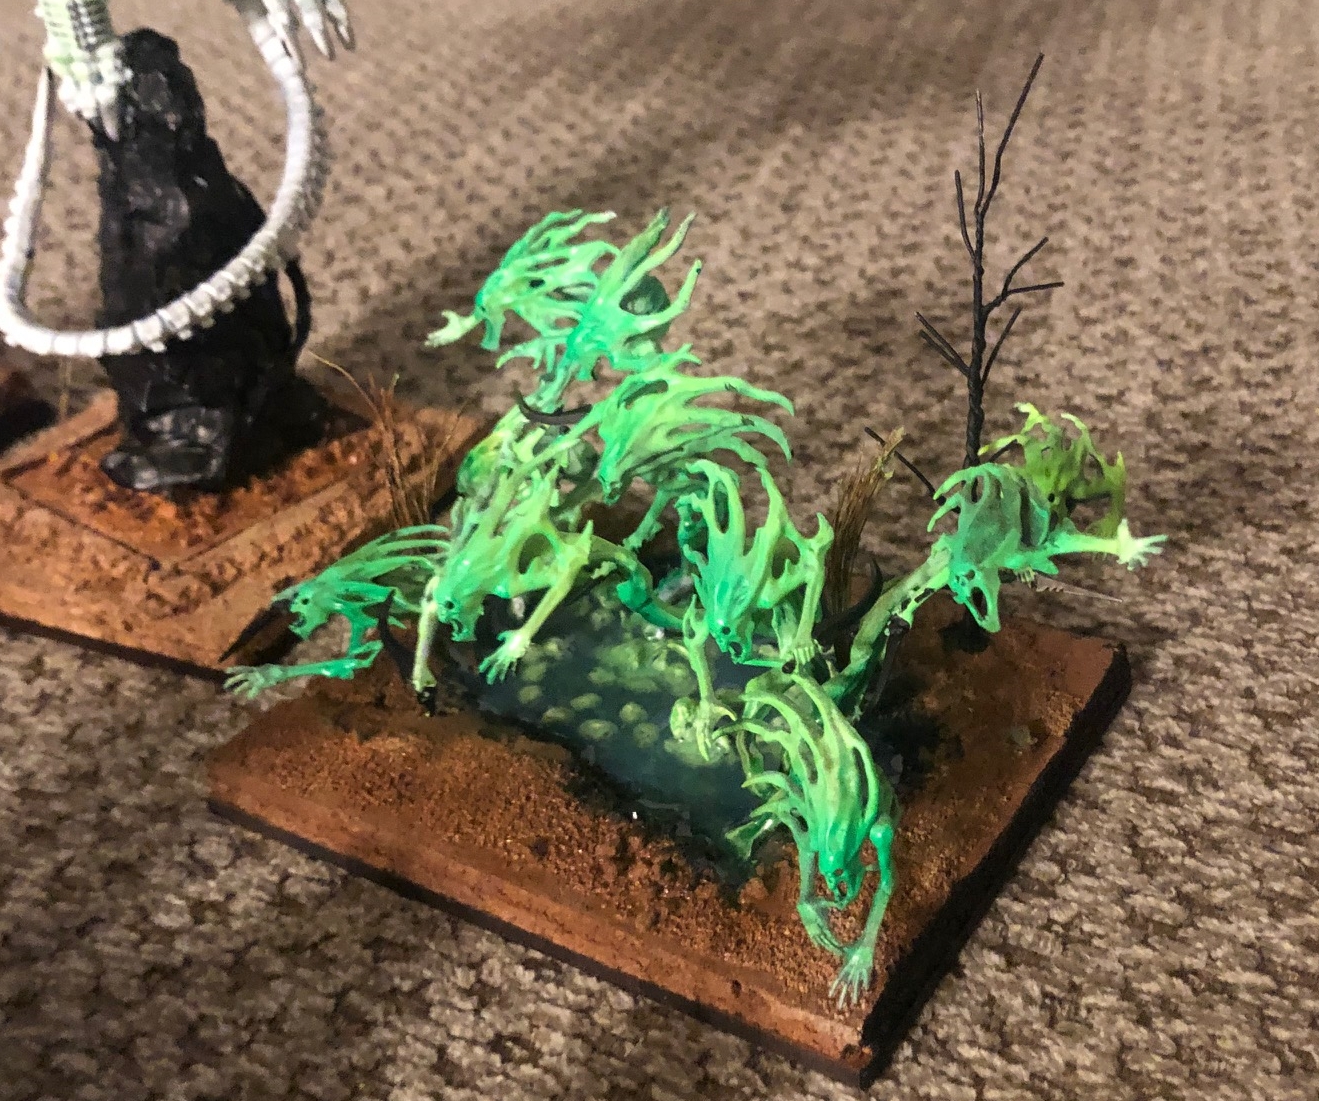
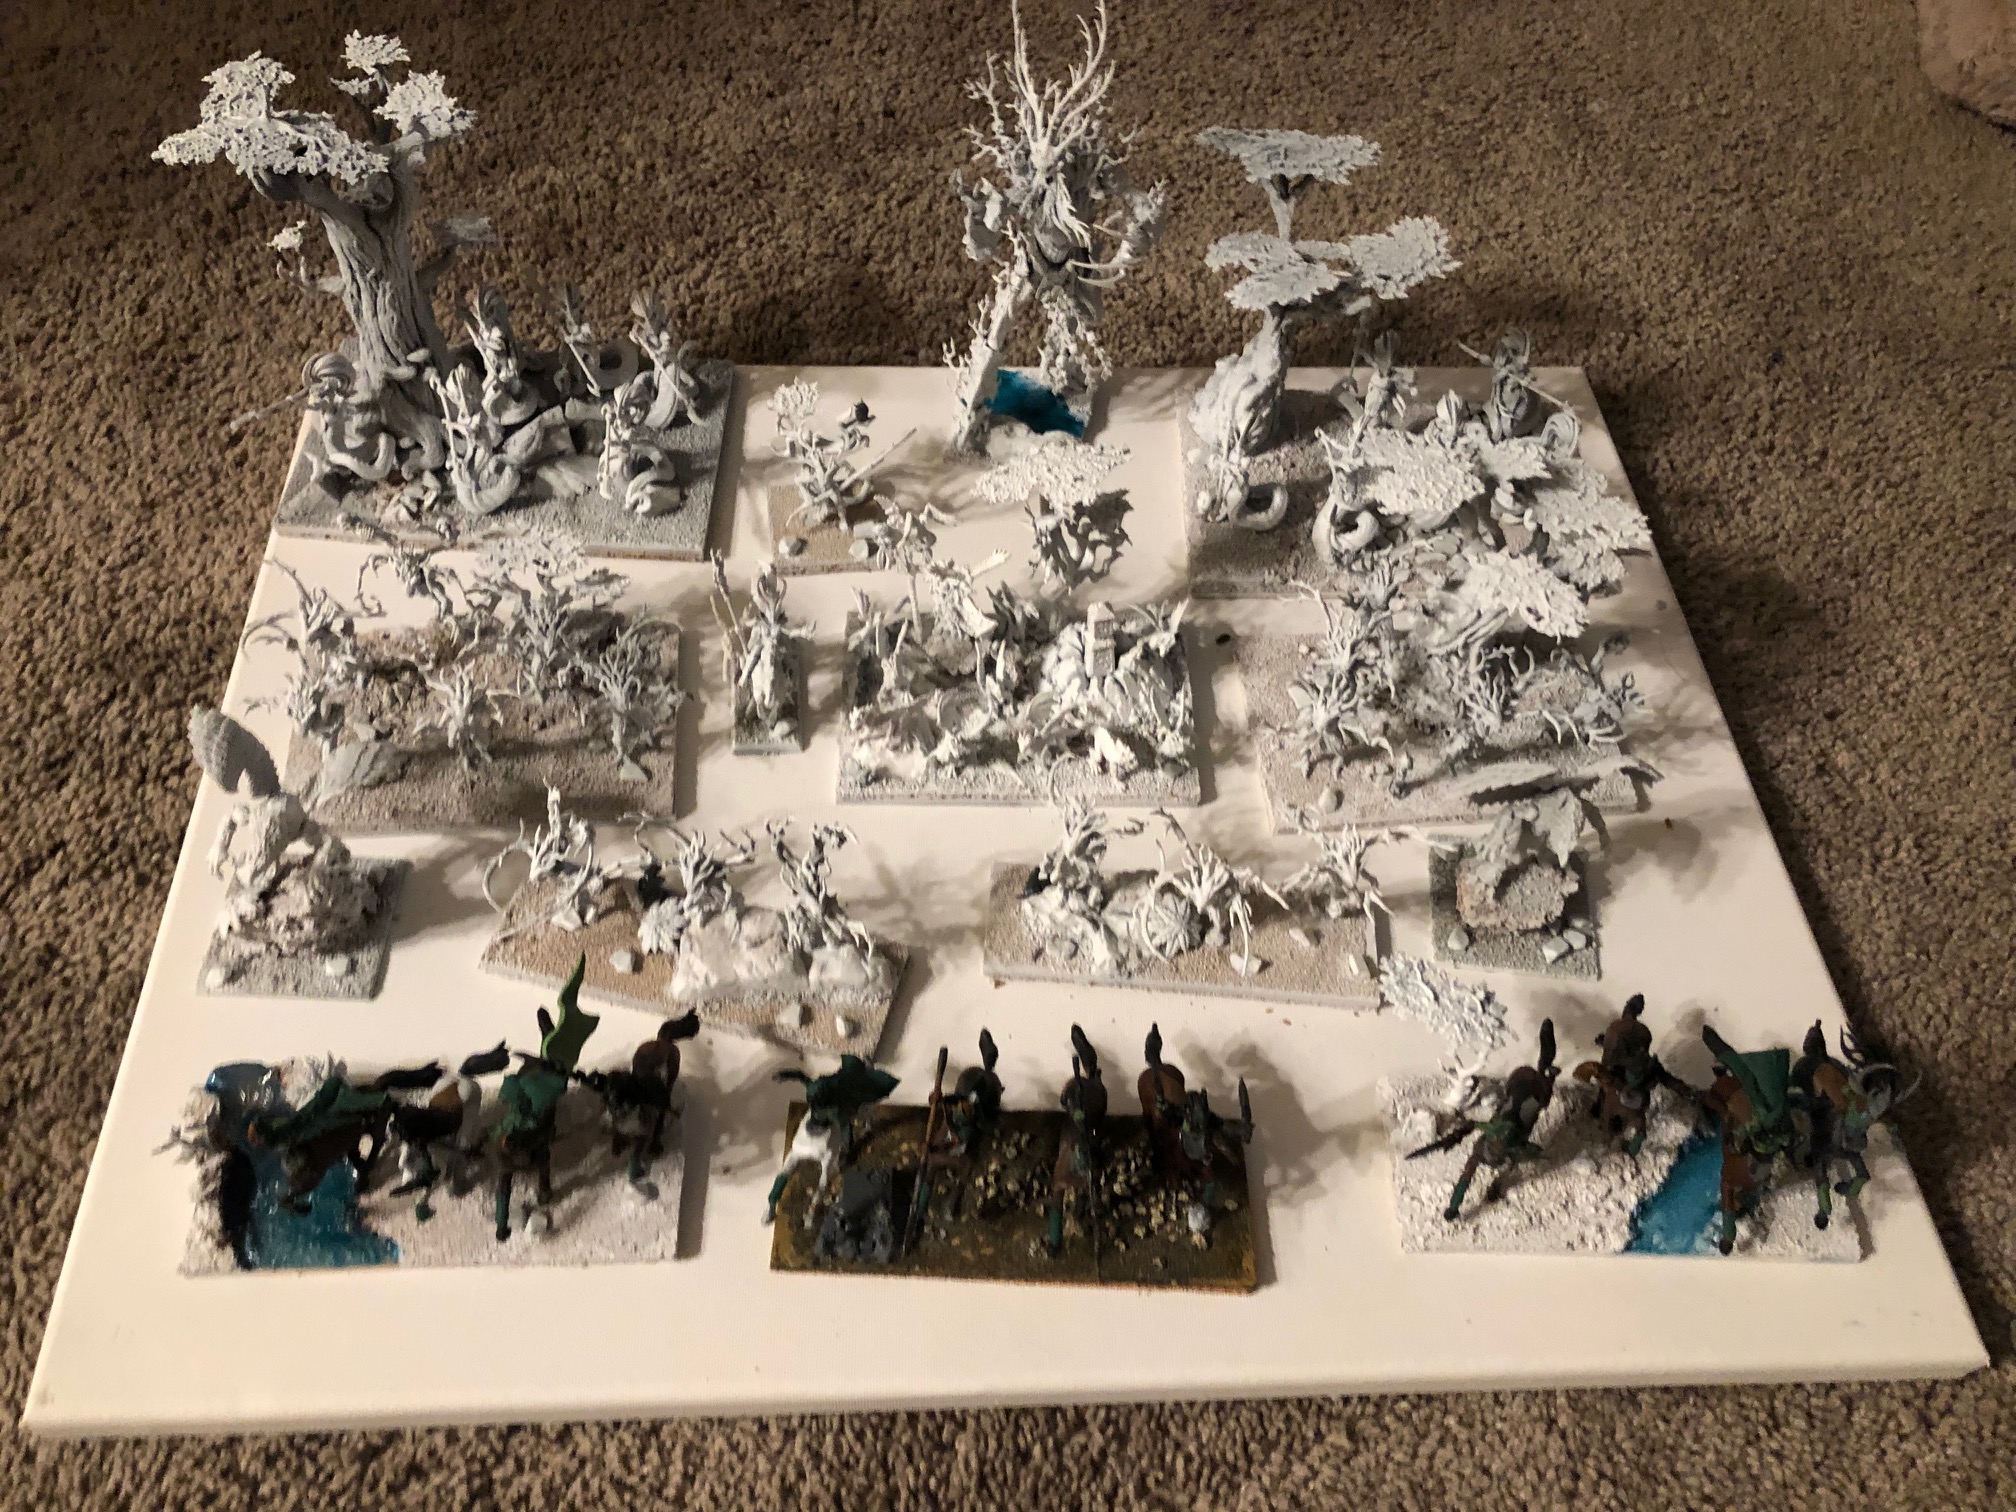
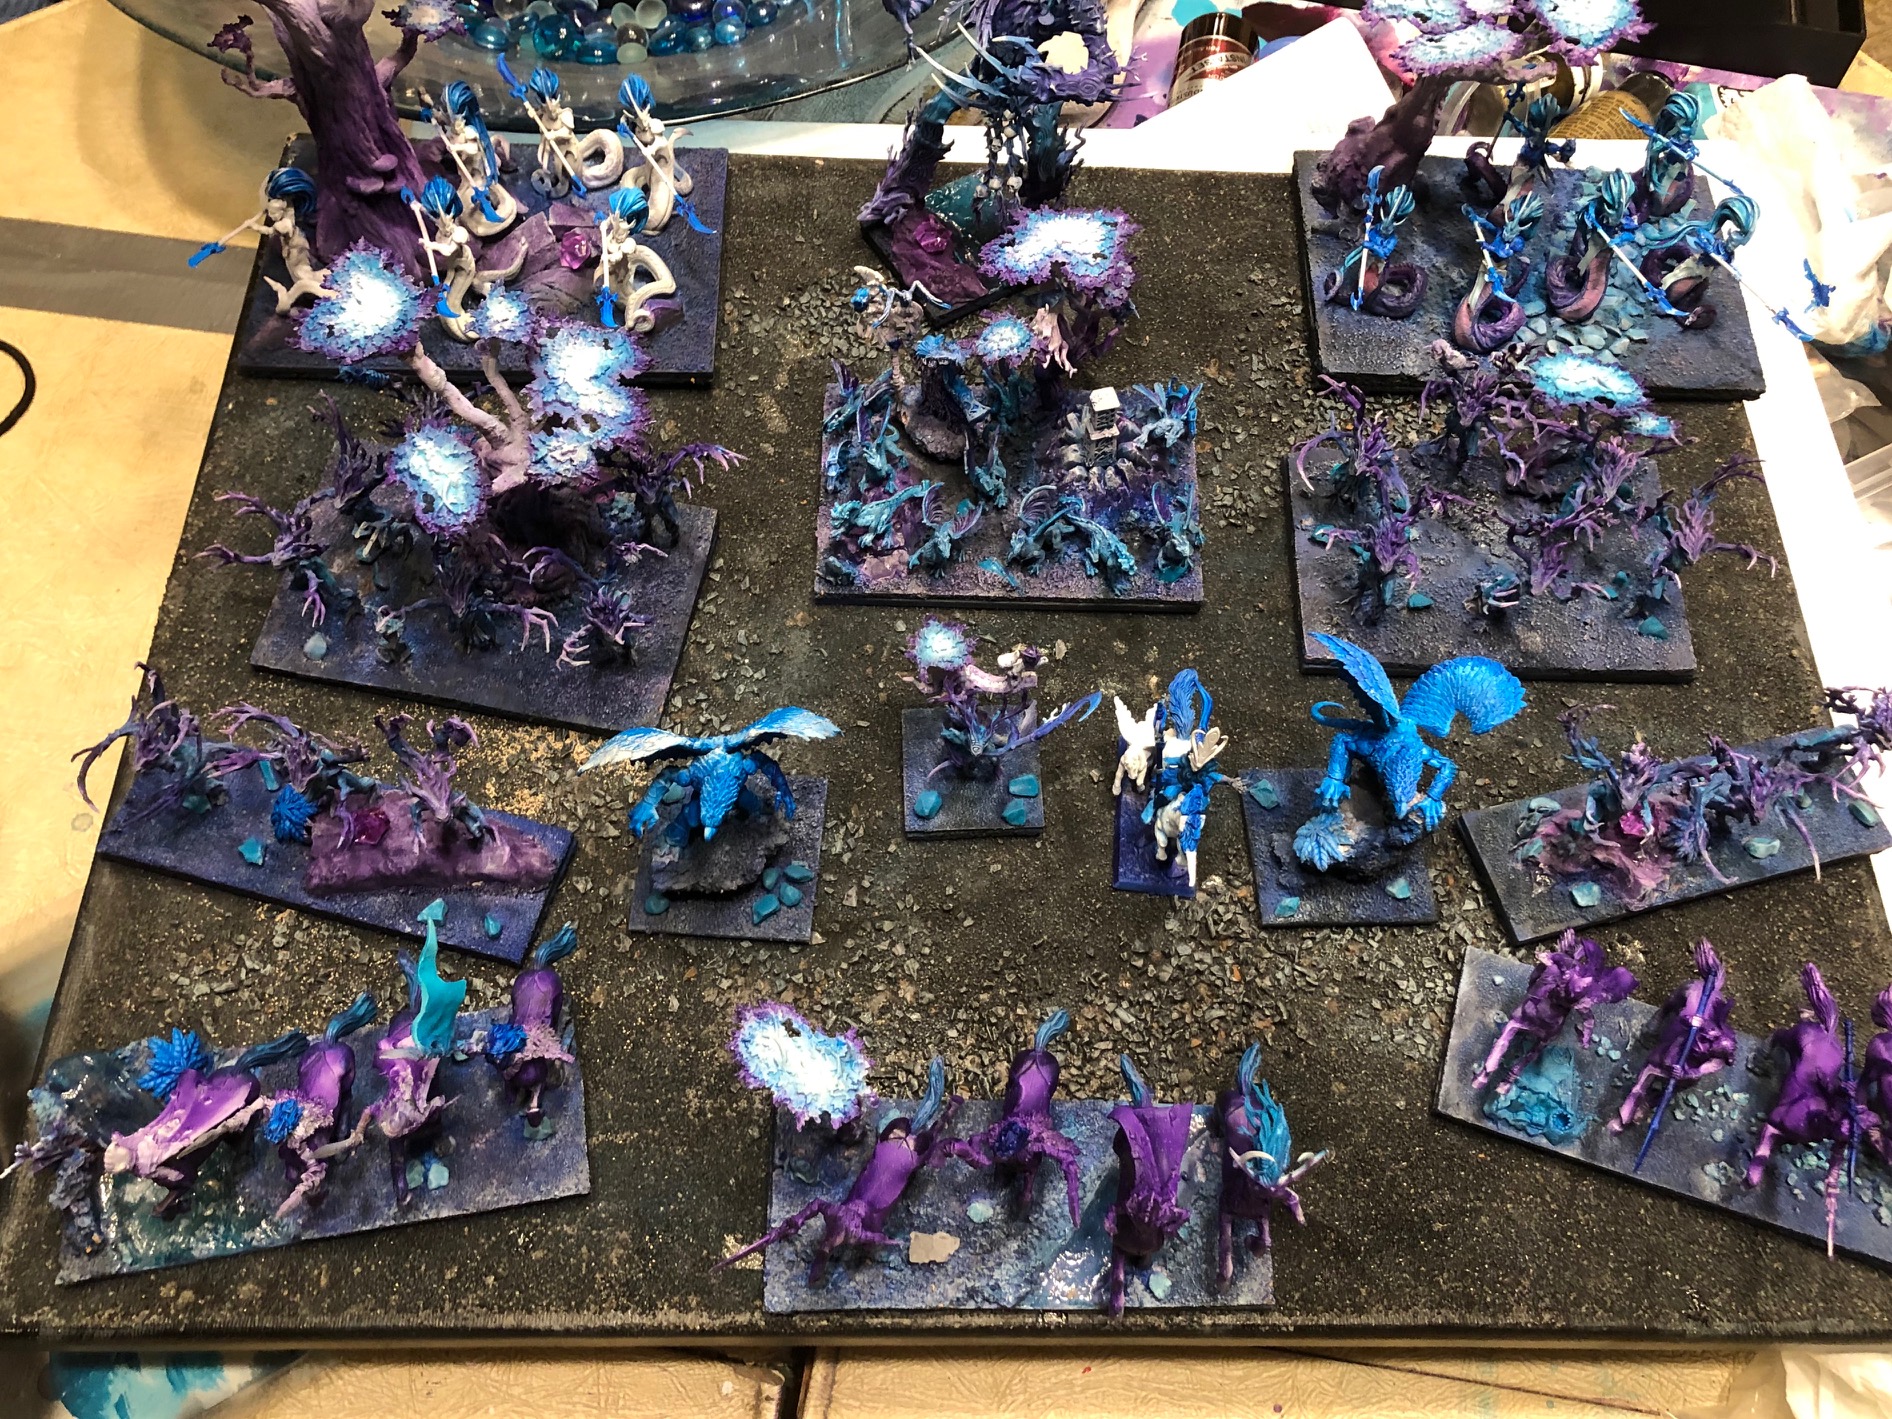
I forgot my CrystalSong forest project. … Oops.
This one is much more of a challenge as far as painting. I had the idea I wanted from WoW crystalsong forest. But I bumped up my game and limited my self to 3 colors and shades. Purple, Blue and turquois(white/Black). No metalics, reds, yellows, greens, browns.
Trees are 3d printed. I have a waterfall there which was fun and super easy!
13 Likes
I think you and I are going to be forum buddies, MikeGrant. I dig your work. Looks like I will have to start sharing some of mine…
1 Like
i’ve been thinking on basing, since i’ll need to base my vikings and honestly, i have limited experience in basing beyond “just paint the base green”. so i’ve thought up and rejected a number of interesting visual themes for lack of skill.
i found this one recently that seem like it would be simple but give a neat visual;
using faux fur to create the impression of tall grass in a field.
even if sawing off the blob-base from my metal figures would be a pain.
2 Likes
If I could go back in time and give myself tips on hobbying, one of those things would have been “buy a lot more basing materials”.
Like, I would happily buy another expensive box of models that I was never going to paint, but when it came to flock, tufts, talus, bits, etc. I’d be really stingy. Which is daft.
My basing game has improved dramatically in the past couple years just by having more materials on hand, and using more variety in my bases.
2 Likes
Epic post MG 
This weekend I’m trying out baking some textured clay and then breaking it into pieces to simulate what cork does but without using cork - I don’t love the material and I find it doesn’t wear well, tending to break off at the edges and expose the corky color beneath. Using some stuff from Xenite’s old post here >> https://xenite.wordpress.com/modeling-painting-and-hobby-articles/making-scenic-bases-for-miniatures/
My Fire Elementals were based with GSW textured rolling pins on SuperSculpey, was simple and worked for what I wanted. Interested in dialing it up from there.
1 Like
I have found some things like rocks come off my cork bases from time to time. I feel ya. I find the cork is the easiest to shape and holds its form well. I also like that it is light weight. I bought some base coat paint from Homedepot which seems to keep the cork together well ever since. I not fond of “wasting” cork as there are cork conservations. It is renewable resource and biodegradable which helps with the environment and harvesting. Anyway. There you go.
I have tried skulpting and I go back to corkboard when Im going for faster results. I do feel like more scenic backgrounds would gain from using plaster/type hillsides for example.
That is a great idea. I was going to do the standard bits of slate for rock out crops, all purpose filler as mud, and scatter flock here and there.
Having seen this, I may have be tempted to do some nice long grass multibases.
1 Like
It’s of course a bit late, but still:
Horde of skeletons:
I even made a tutorial some time ago:
This goblin horde was inspired by Bob the Bobish’ undead quagmire (link here)
2 Likes
Those look fantastic Vince.
keep it up !
1 Like