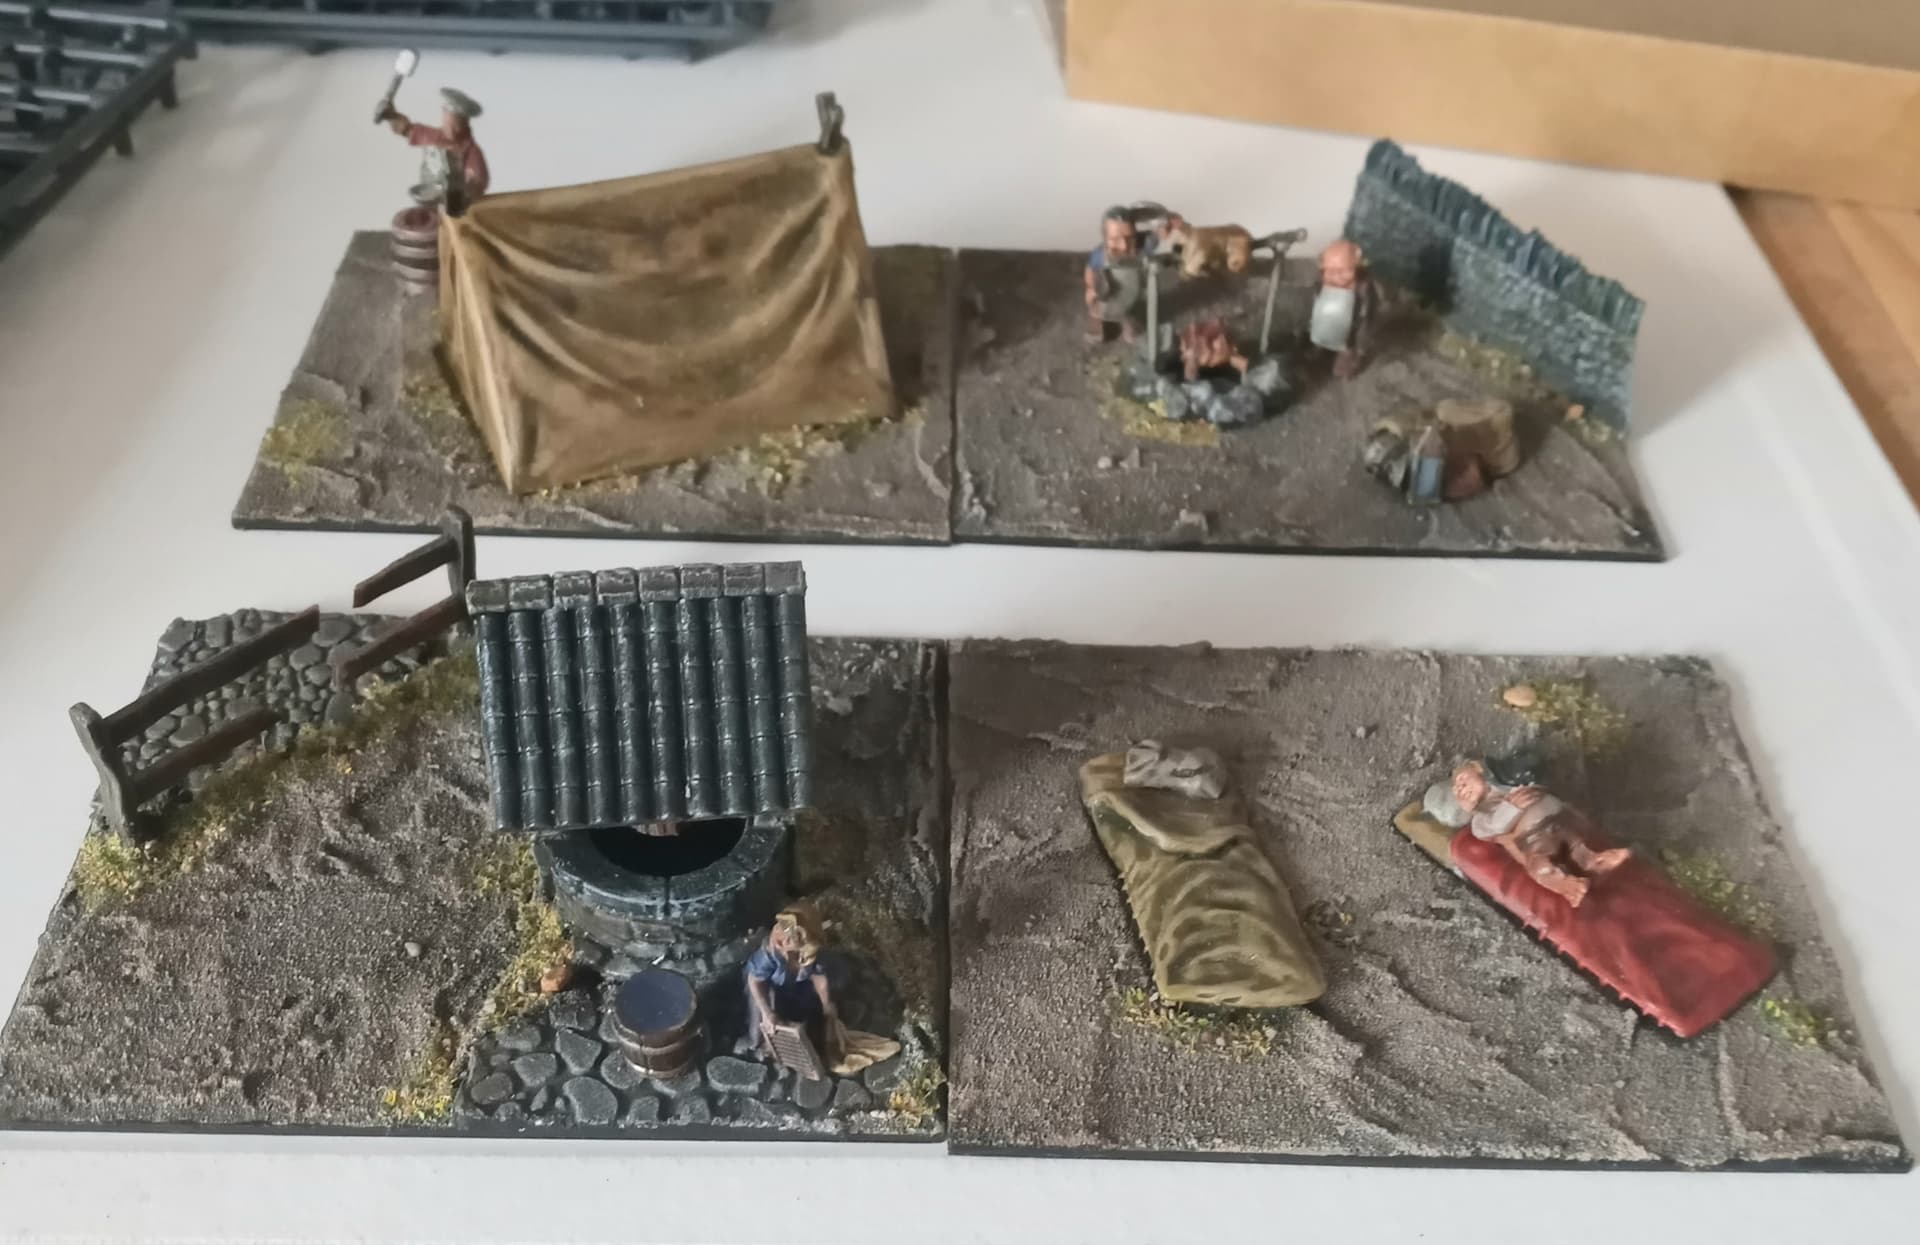
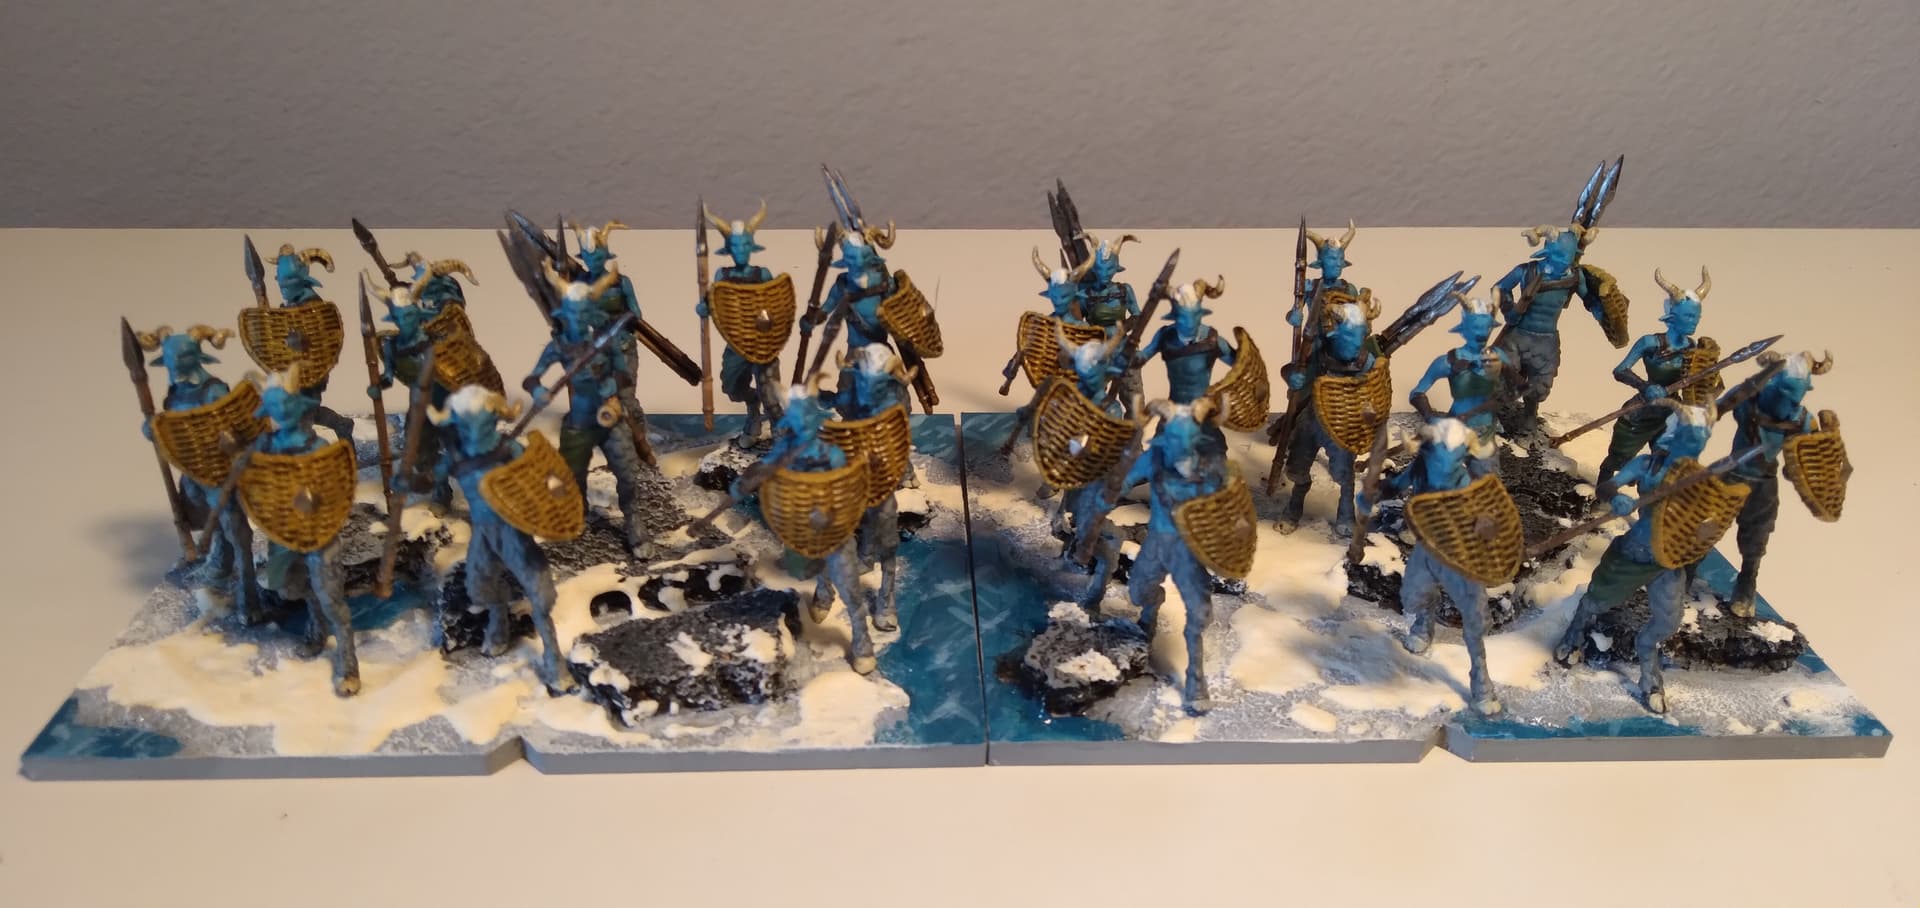
I follow your general approach, painting up the mini and then moving over to the basing. For “newer” miniatures that just have feet as the points of contact, it’s pretty easy to do up the bases and minis separately, and just super-glue things together at the end. That’s the case with these Tribal Spearmen from my Herd.
However, models with stands can definitely be a pain. While the stands can be clipped or filed or sanded away, that can be a bit of a pain too, as it can be a lot of work!
I work a lot with models with stands, and with basing pastes. The big things for me have been recognizing that this is a slow process, and then planning around that, and using ranks whenever I can for these multi-bases.
Before priming the mini, I’ll add some paste to the stand, and then that “ground” on the stand gets whatever basing color I am working with, and the rest of the model is painted up regularly. Once the model is done, I then work from the inside-out for the base, working slowly.
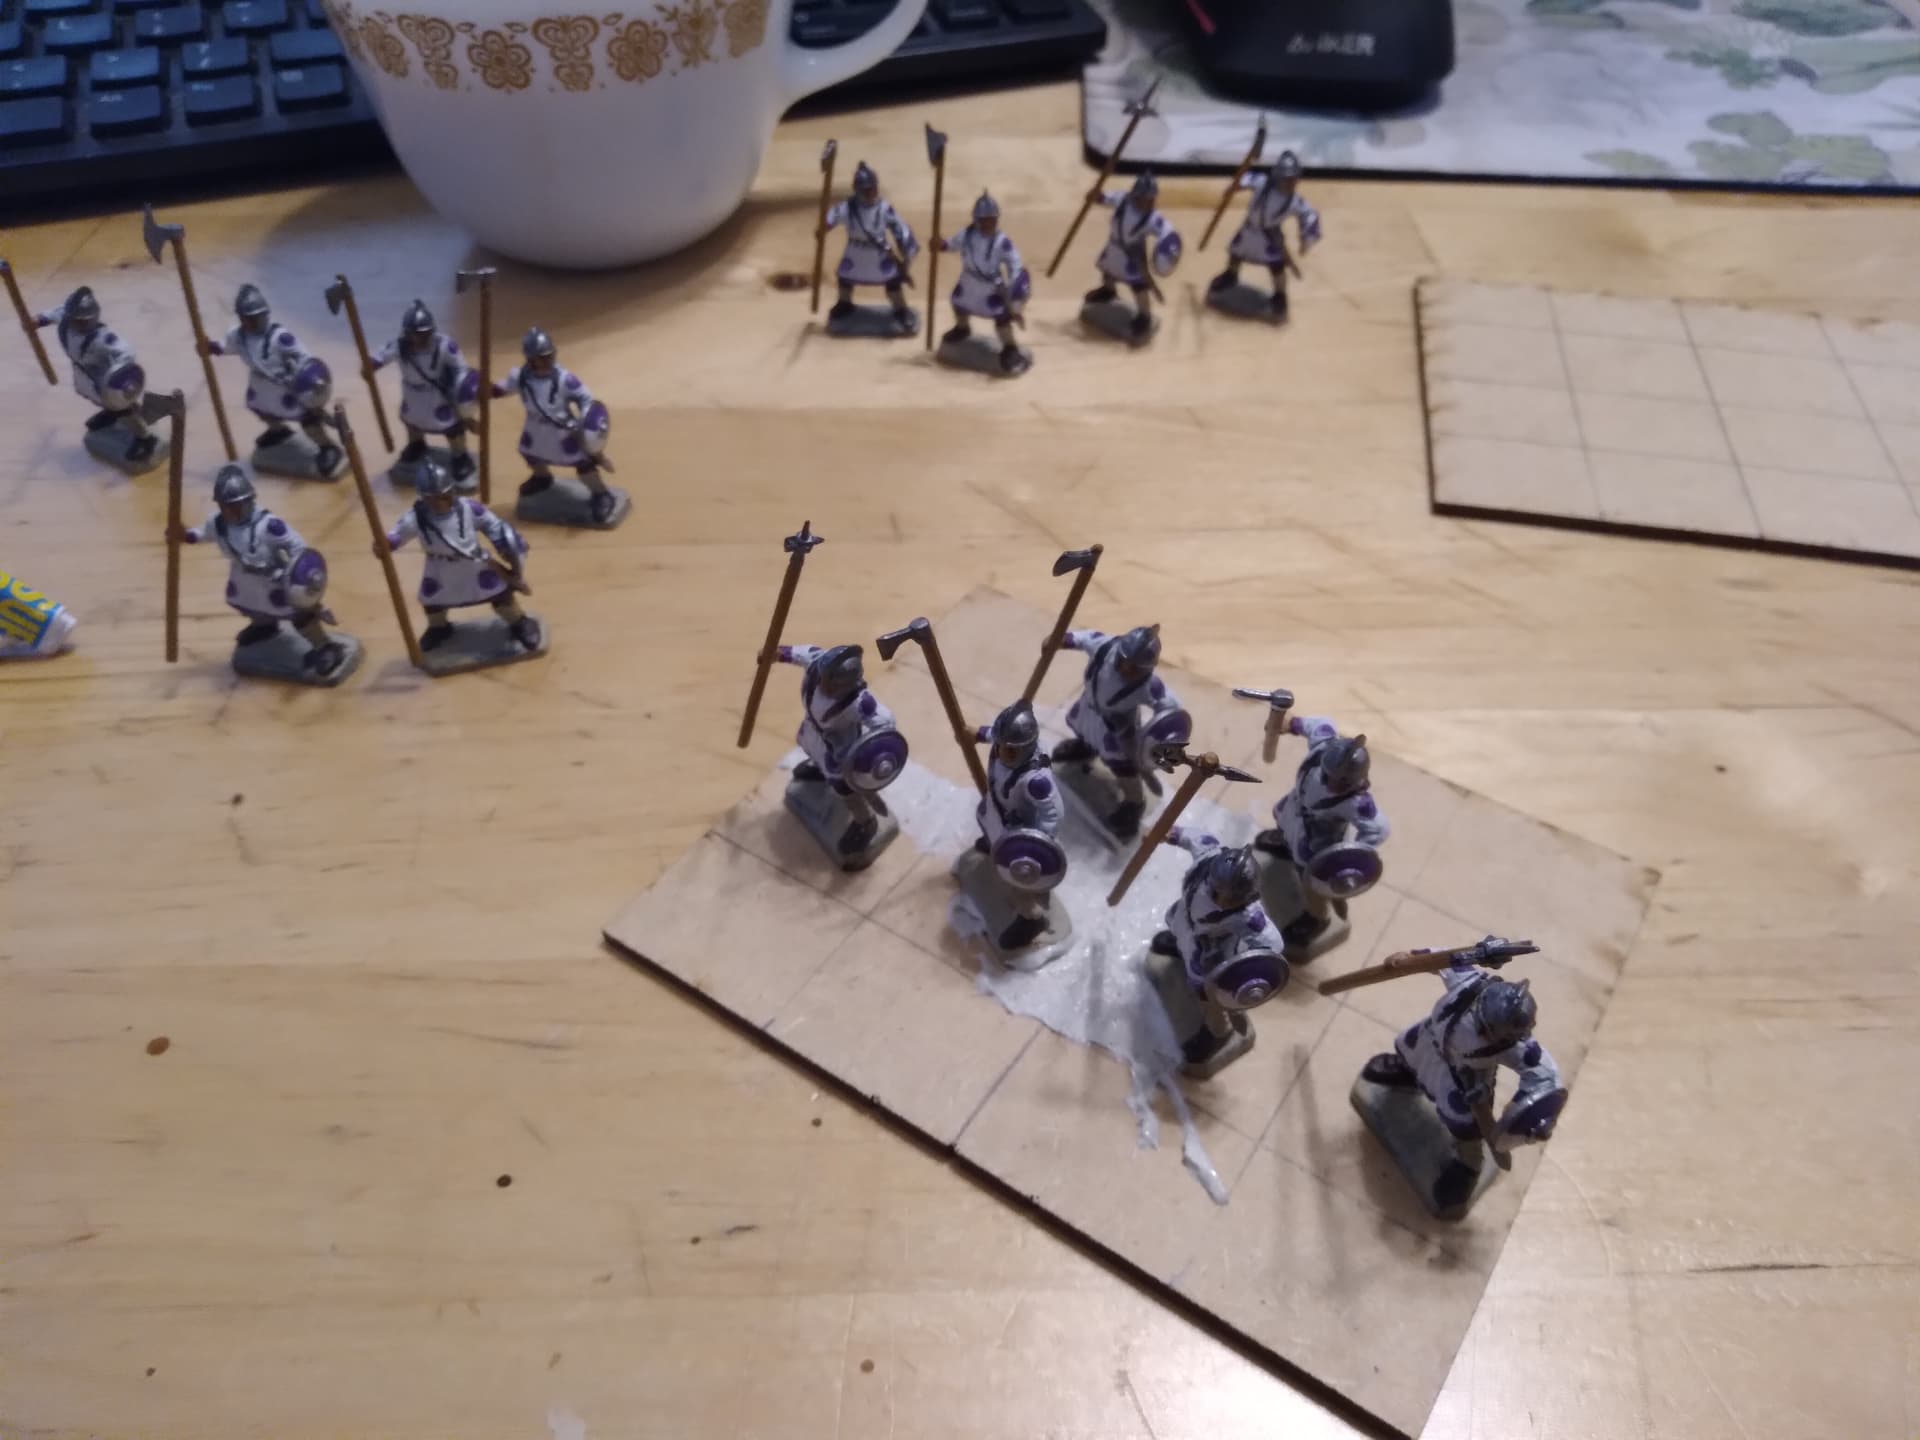
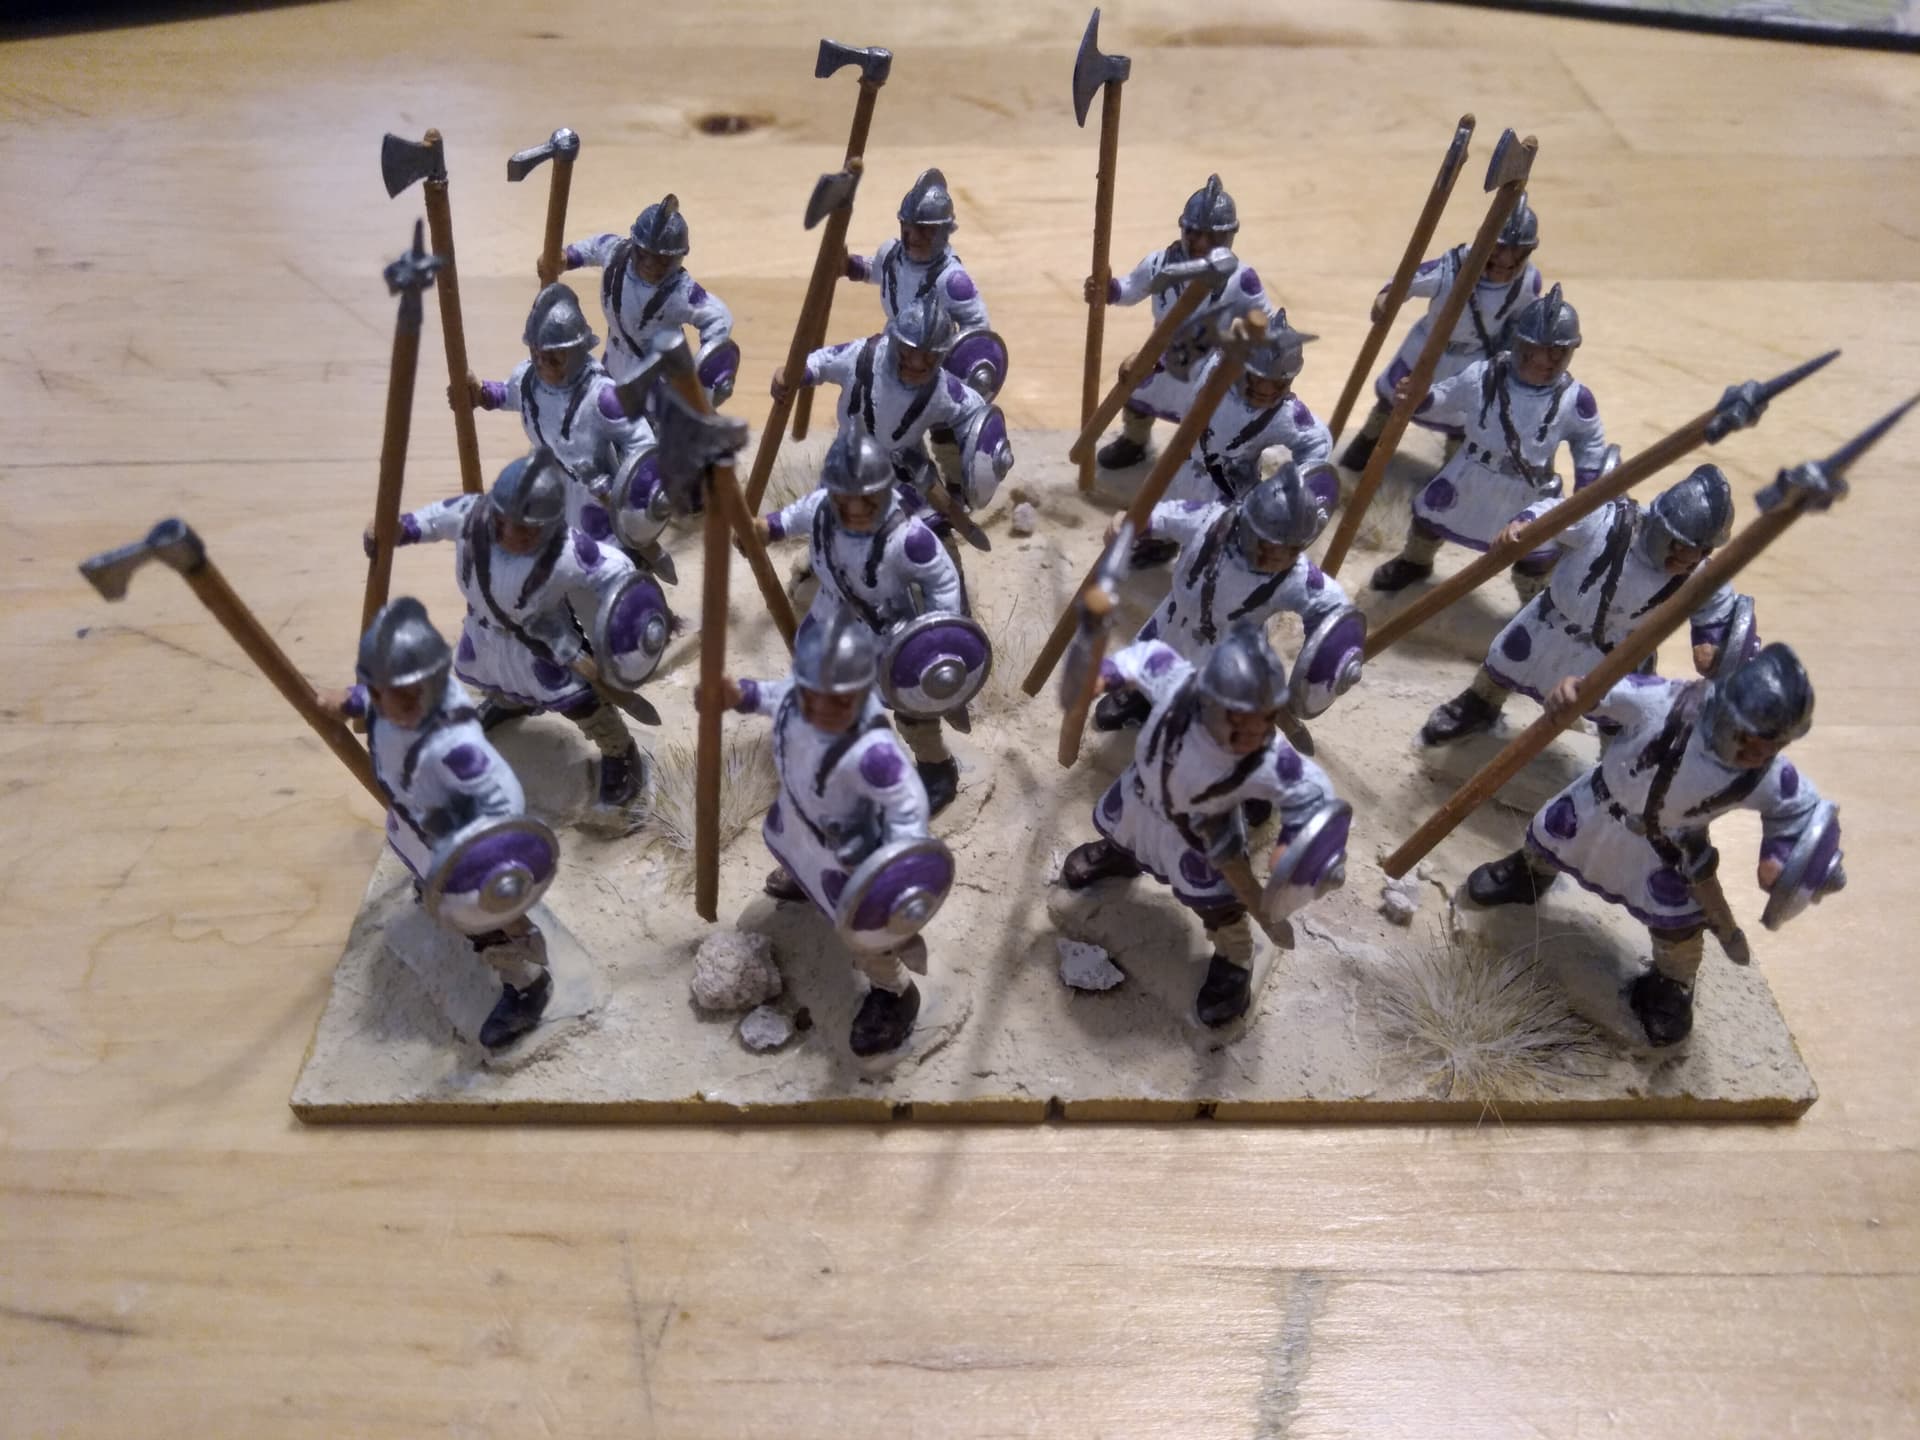
The inner-most models in the unit are glued down, and paste applied around the stands. Color can be added to the pastes to save time and brush strokes, but I’d recommend cheaper crafting paints, if you want to go that route. If space is super-tight, I wait for this to dry, and hit it with the base color before adding more units and repeating. It can help to rank things up (giving your brush good lanes to move around in), and it can help to leave bulky bits like shields unattached whenever possible. Here, the bottoms of the Pole-Arms were long and unwieldy, so we were going very slowly.
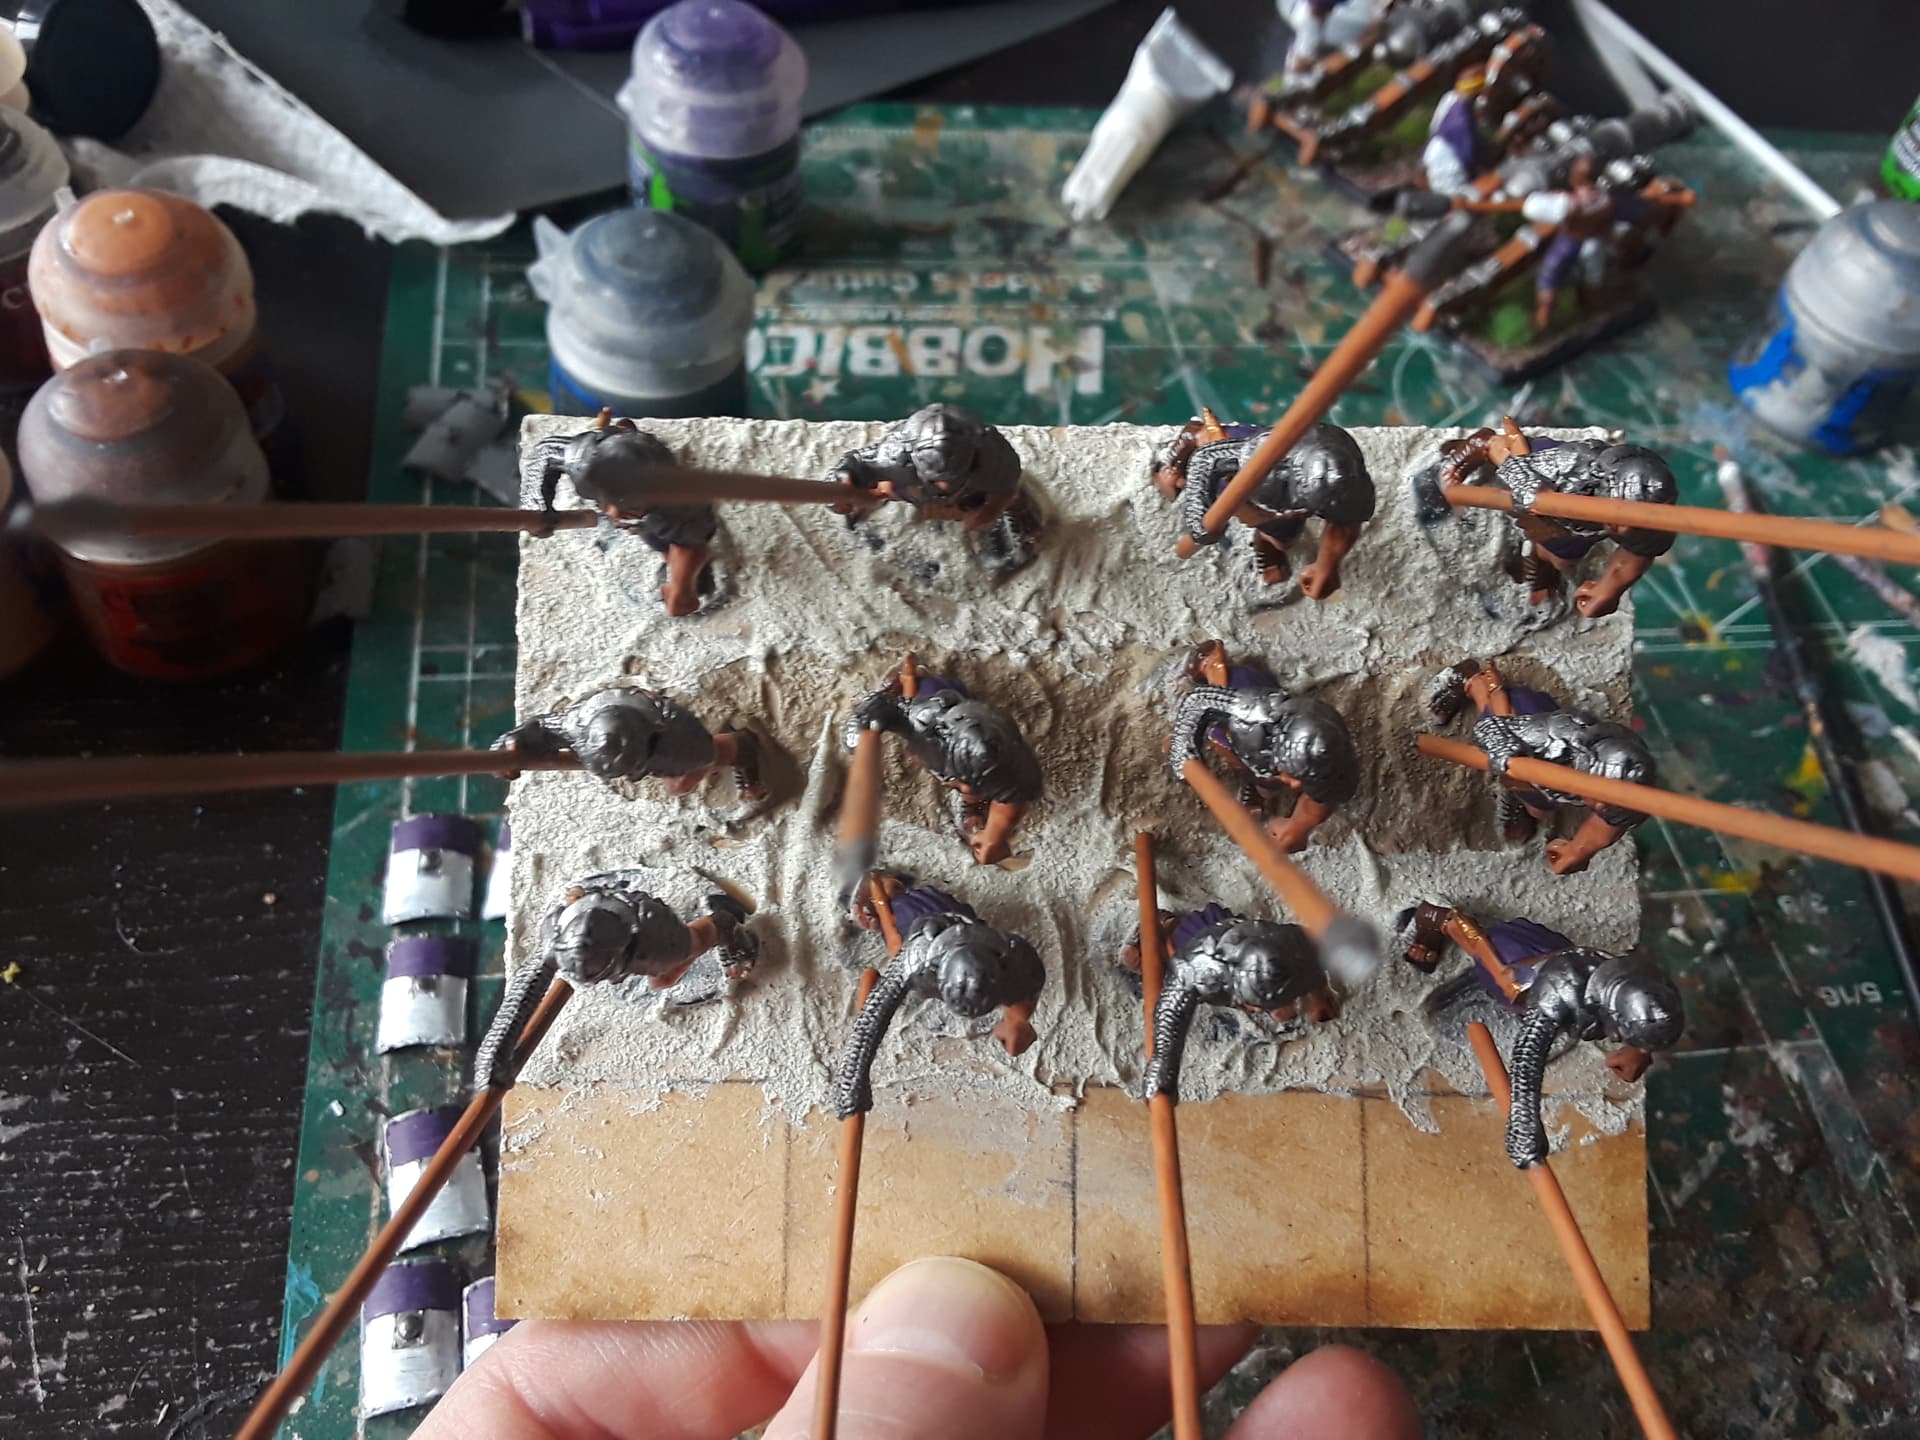
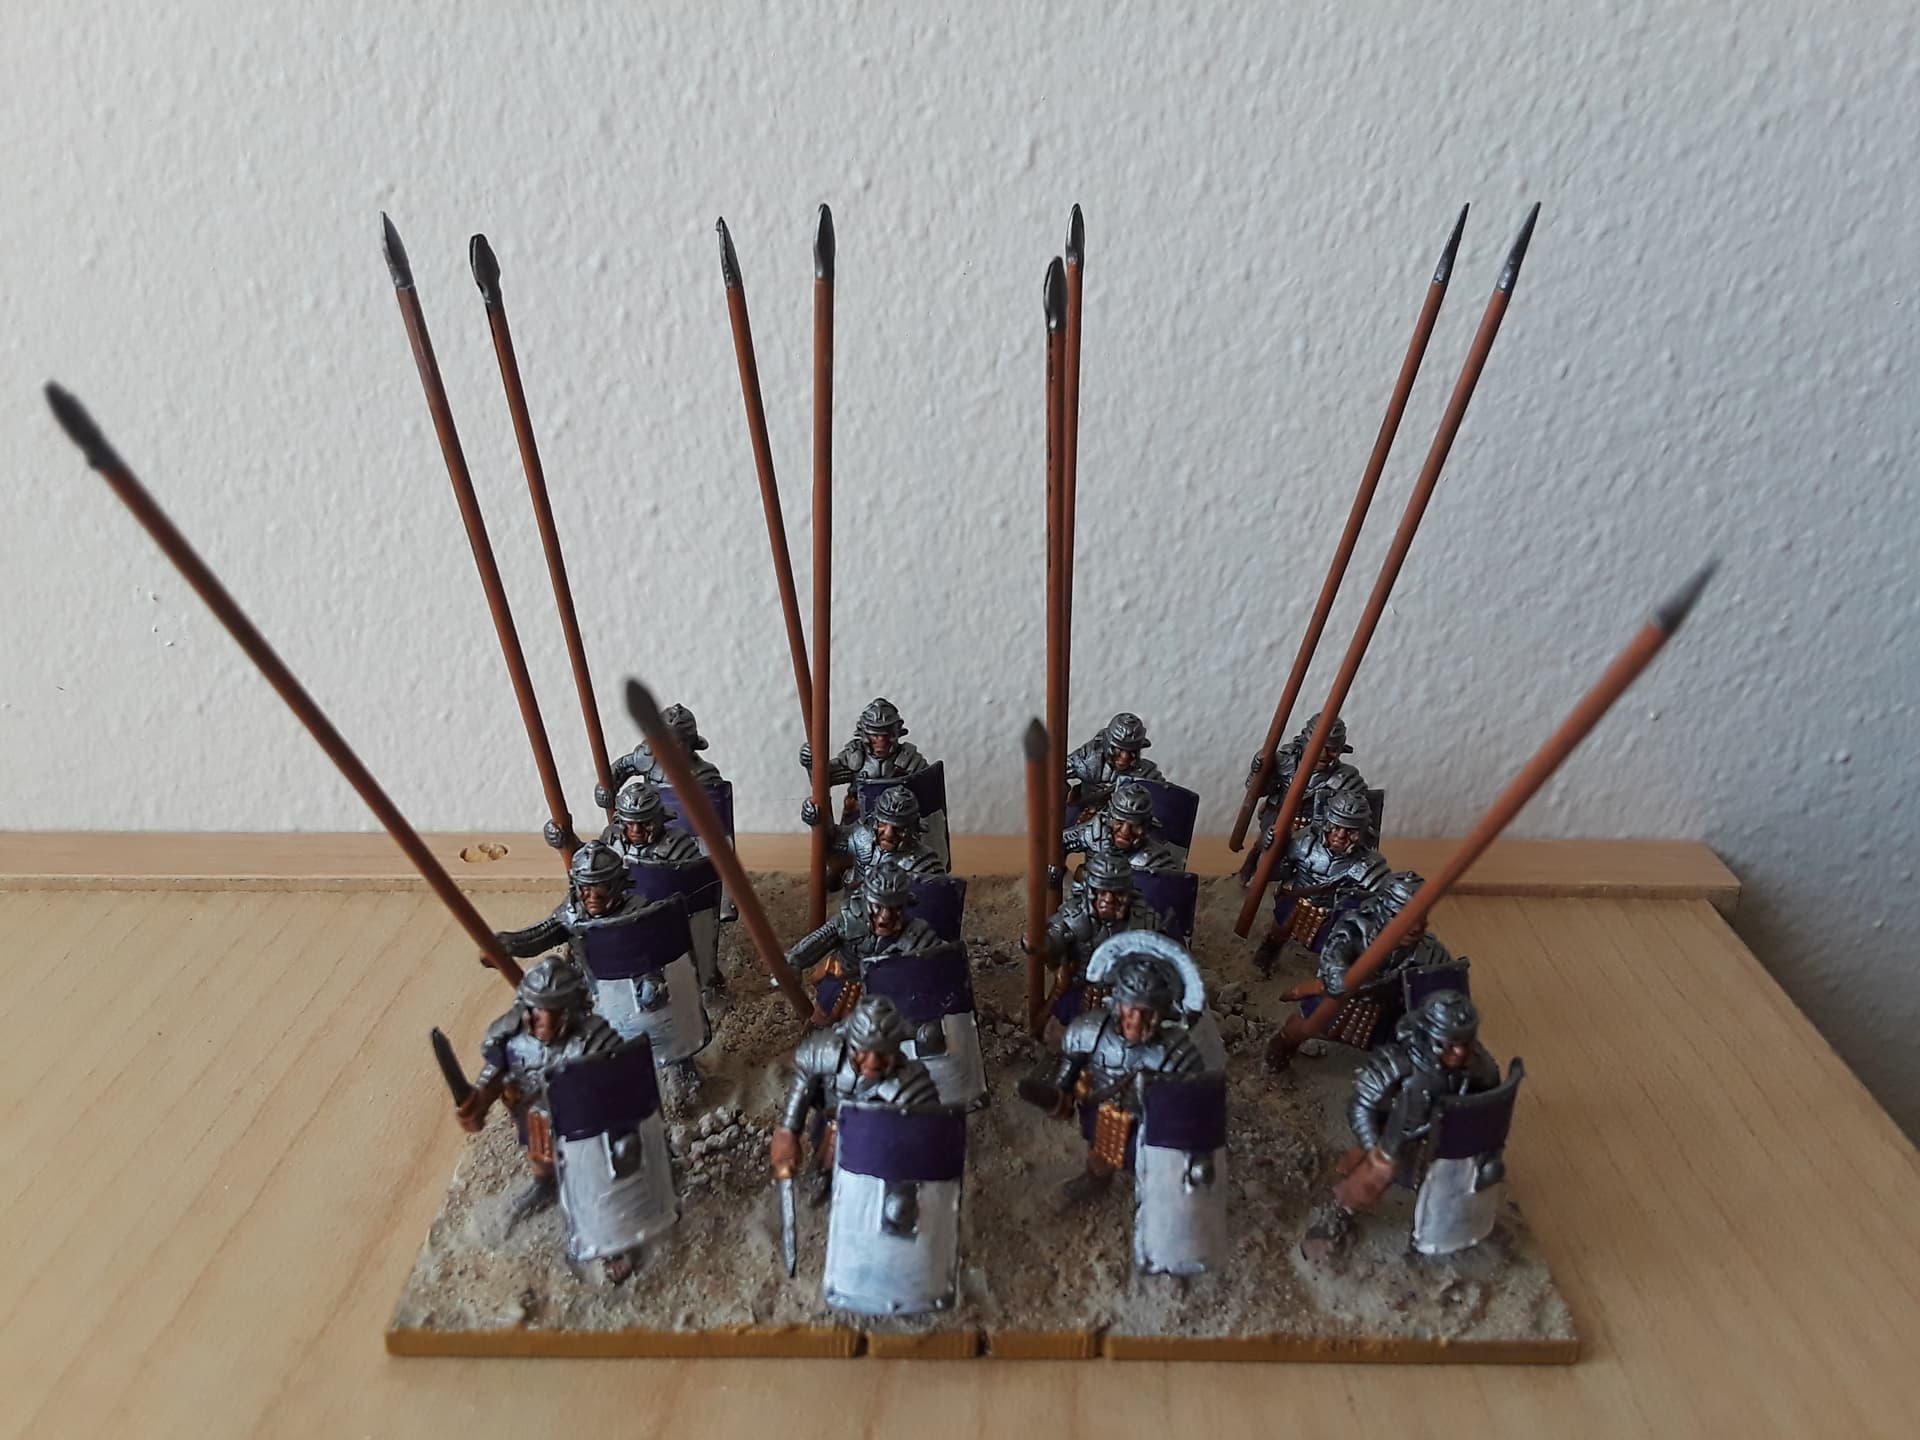
For these Pikes, I left the shields off, and was able to maneuver brushes around pretty freely, since most of the pikes are very vertical. We added a lot of paste, and but still approached this in chunks, and here we’re starting to add the base color.
The finished results can be a bit “meh” when you are using models with stands. Here’s that same Pole Arms unit. Their stands are crazy-thick, so that are noticeable, but a little extra sand, small rocks, tufts, and anything else you add can help disguise things.
Most of the time, it looks fine on the table. The Pike unit here had more normal-sized stands. Thanks to keeping the shields off, I was able to get brushes in between pretty easily, hitting the base with the base coat, and then some dry-brushing. PVA glue can be smeared with toothpicks to let you add the rocks and sand and tufts, and these look fine on the table, it just takes extra work and planning when it comes to stands.