Hi everyone, Here is my long and rambling Northern Alliance Human Clansmen Painting Guide! 
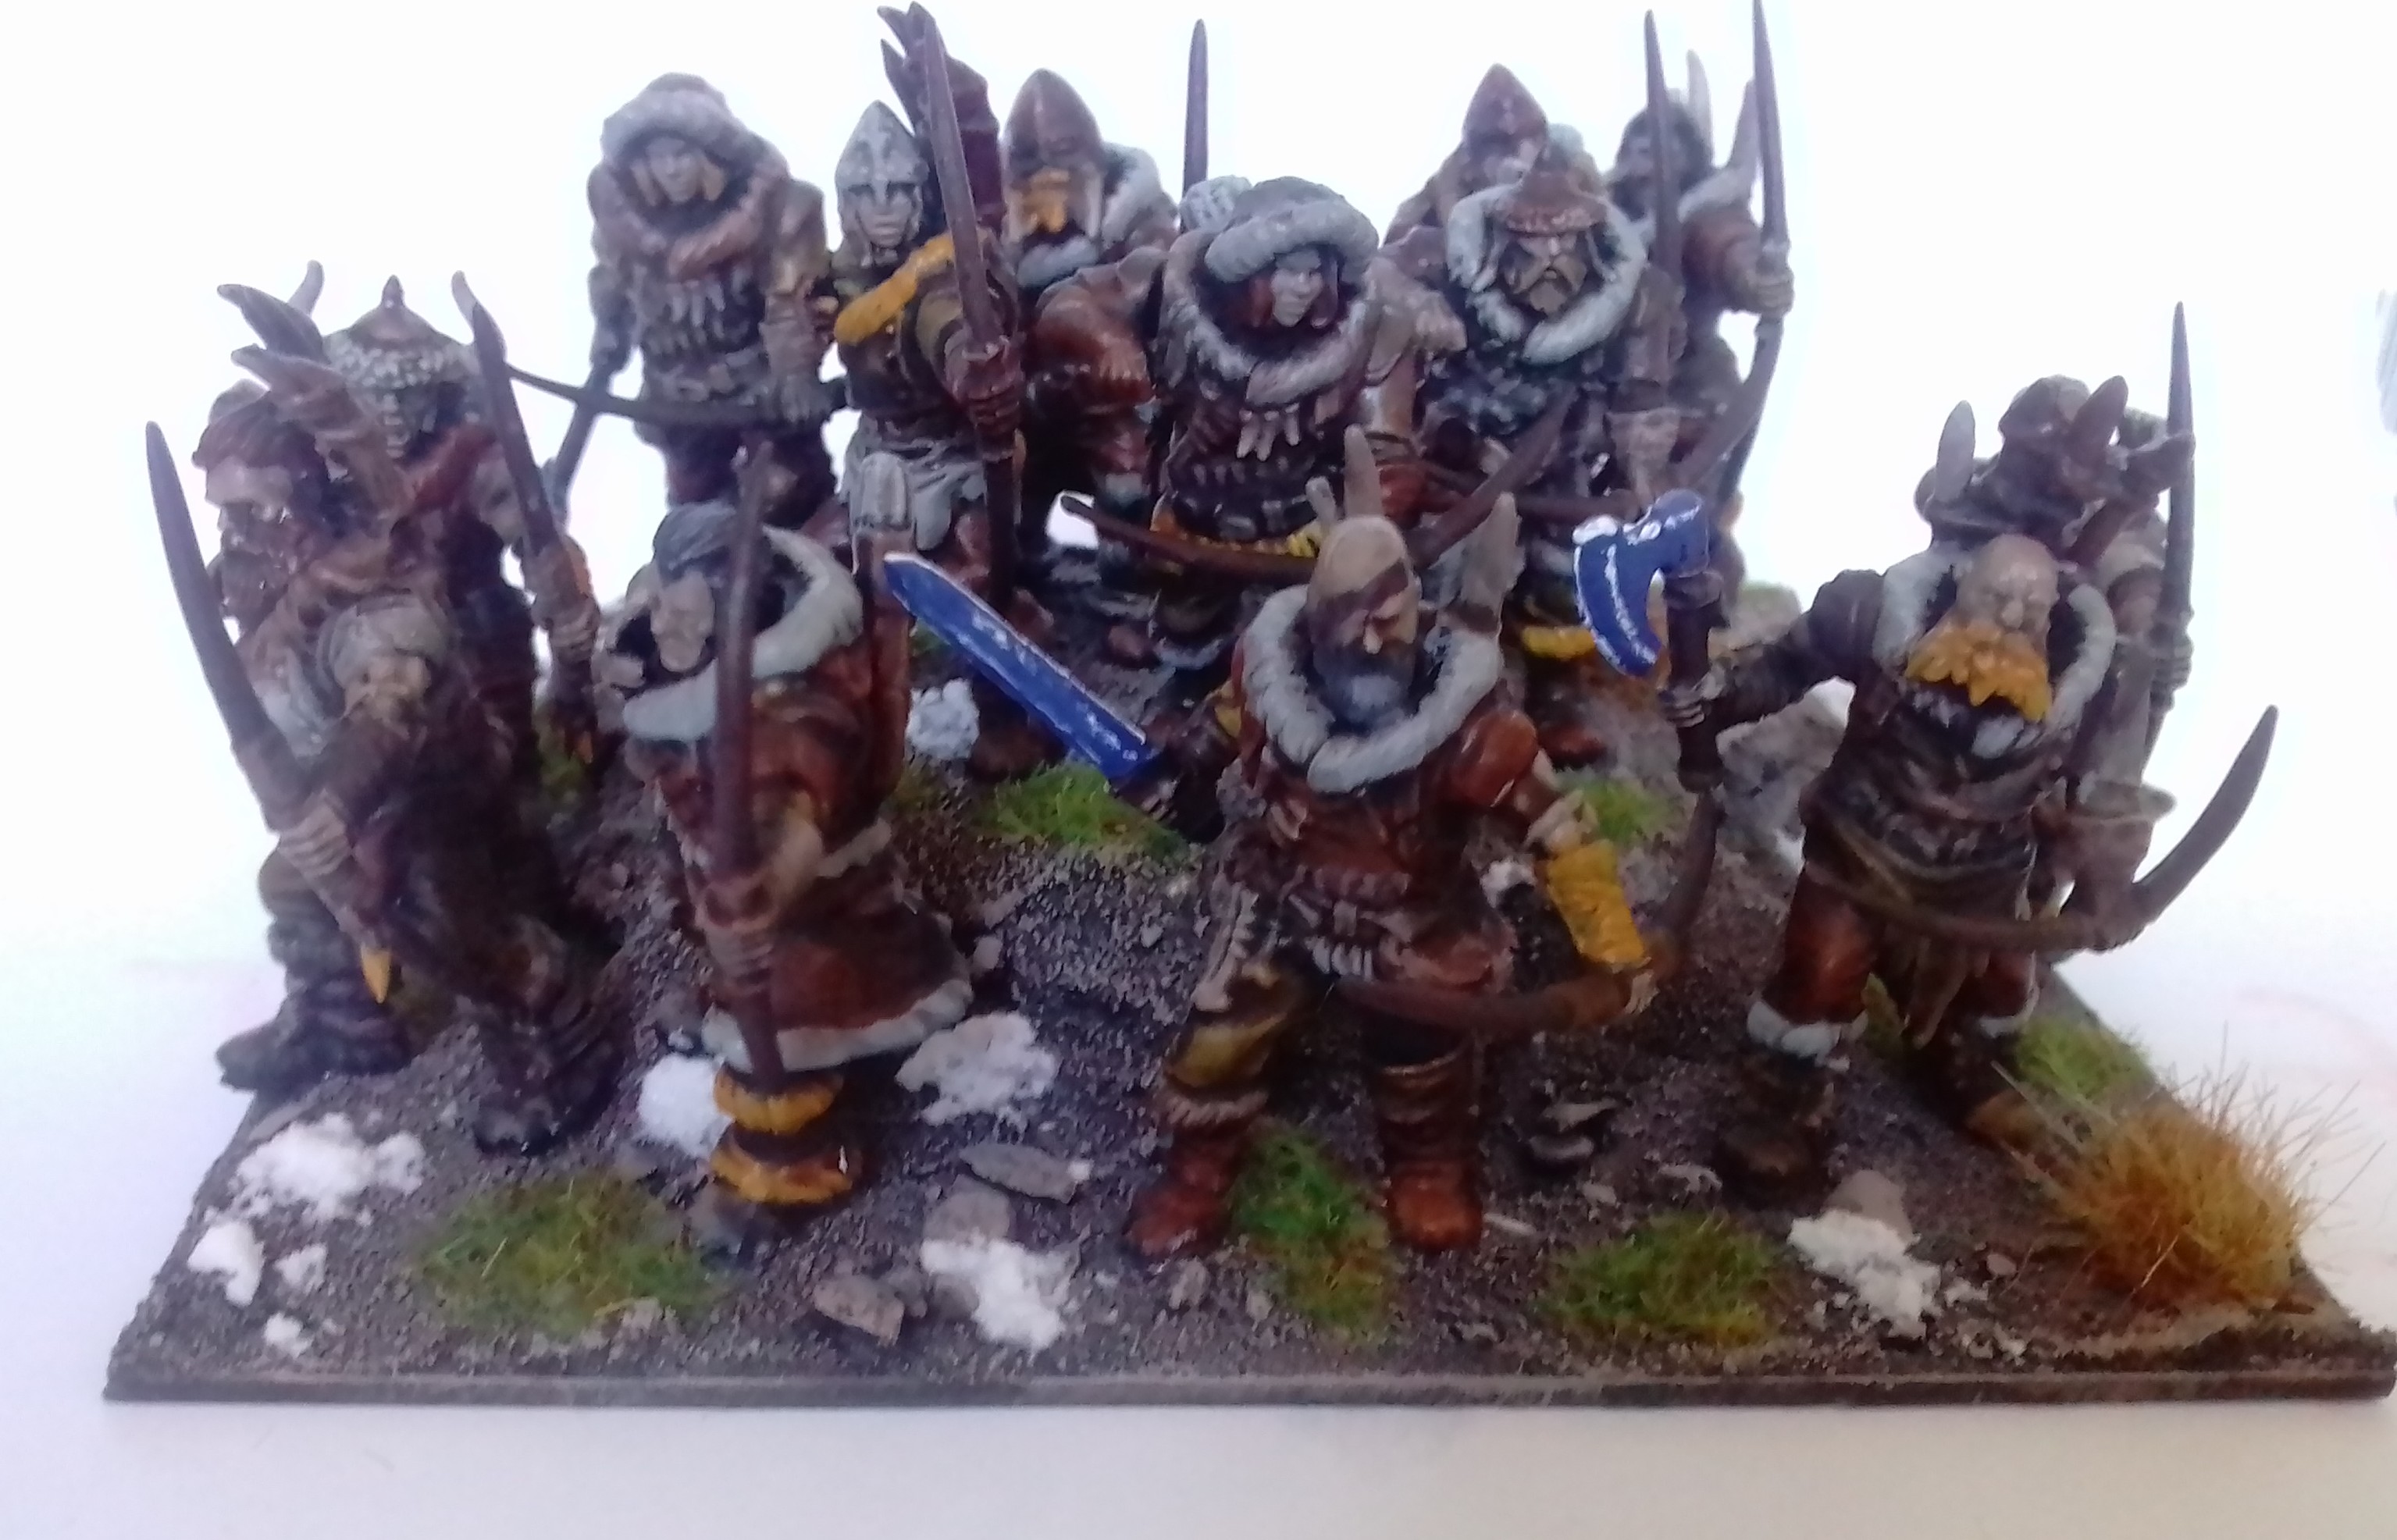
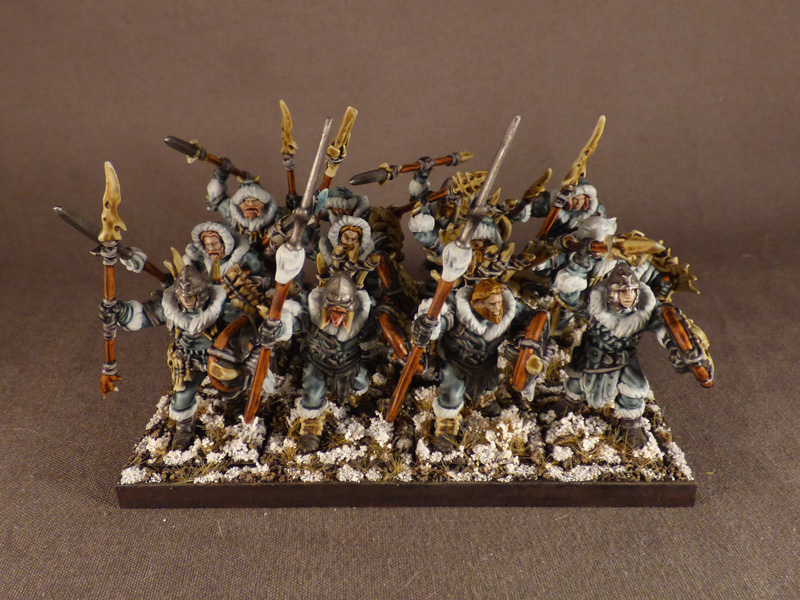
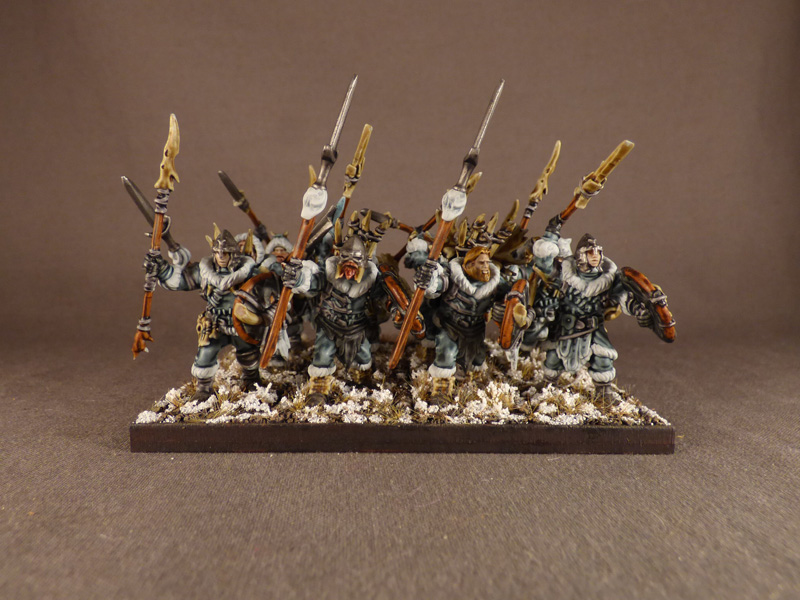
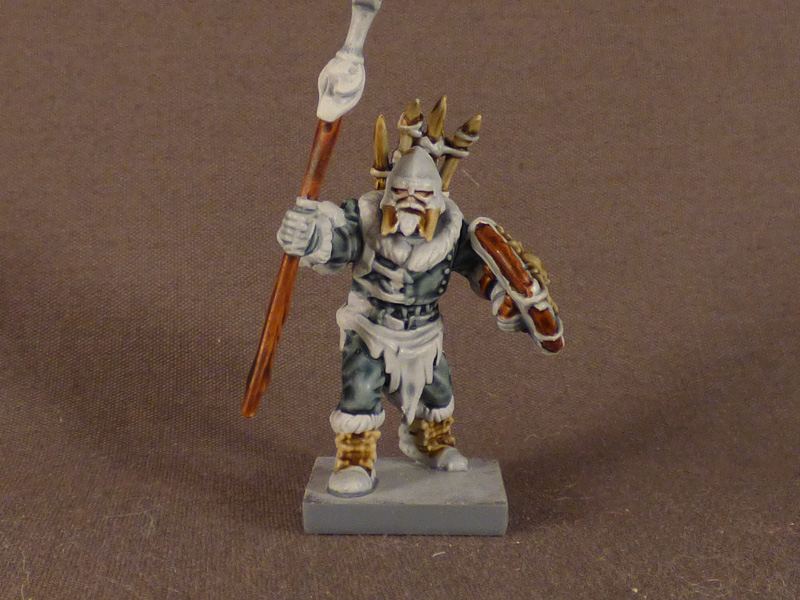
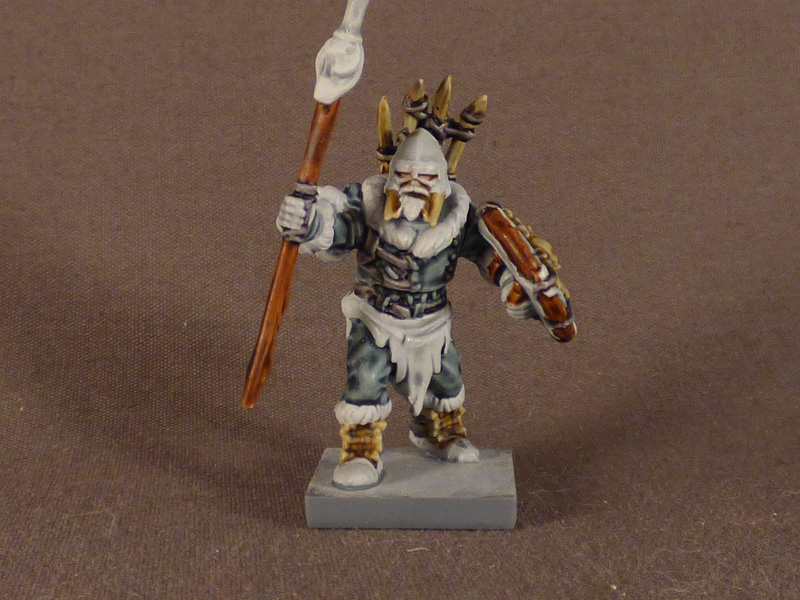
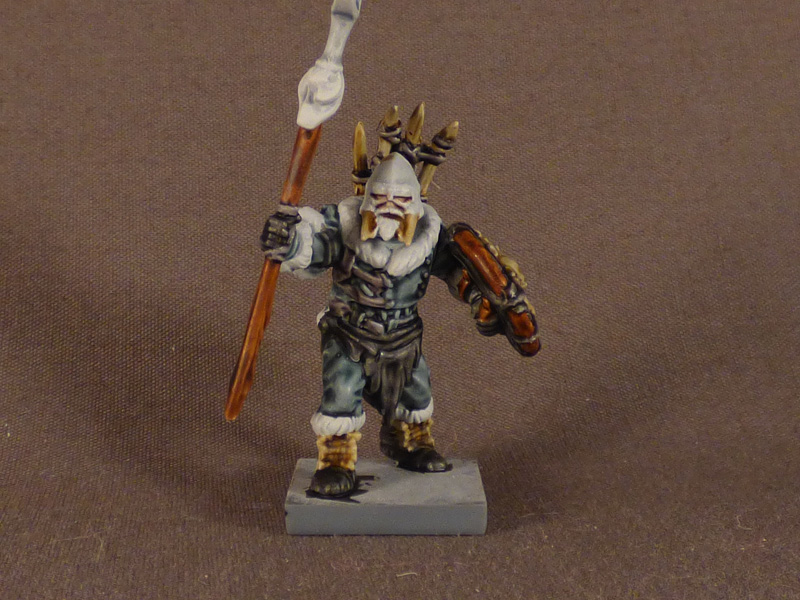
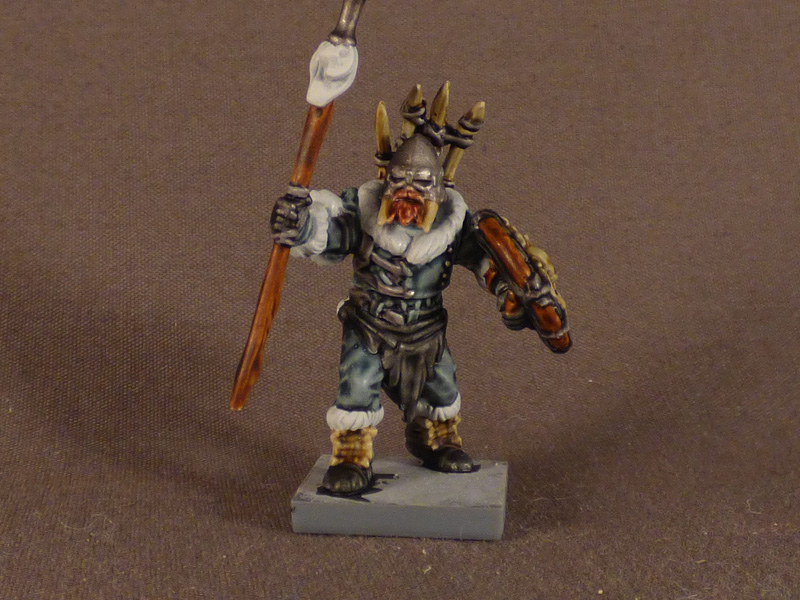
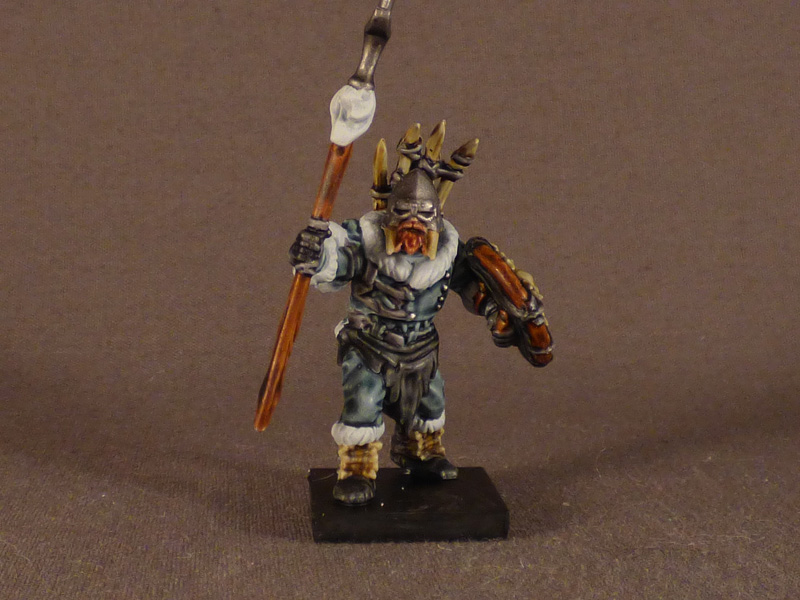
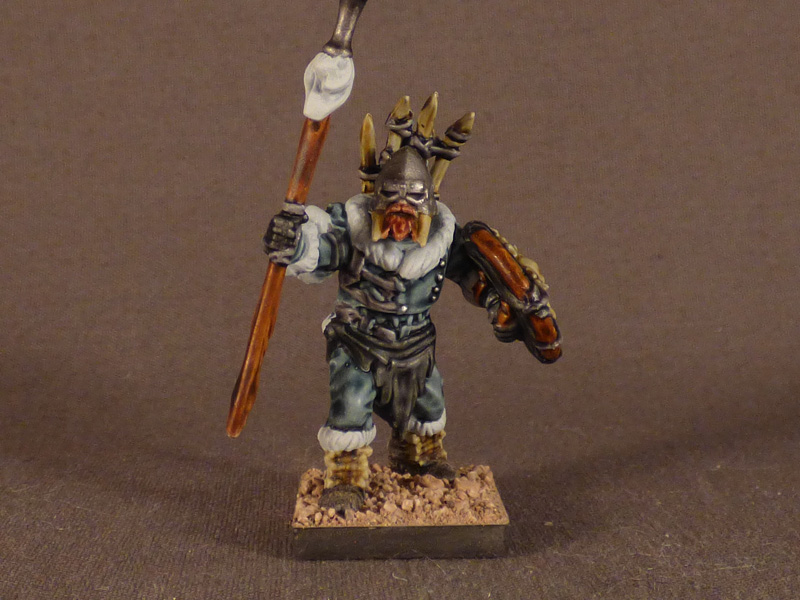
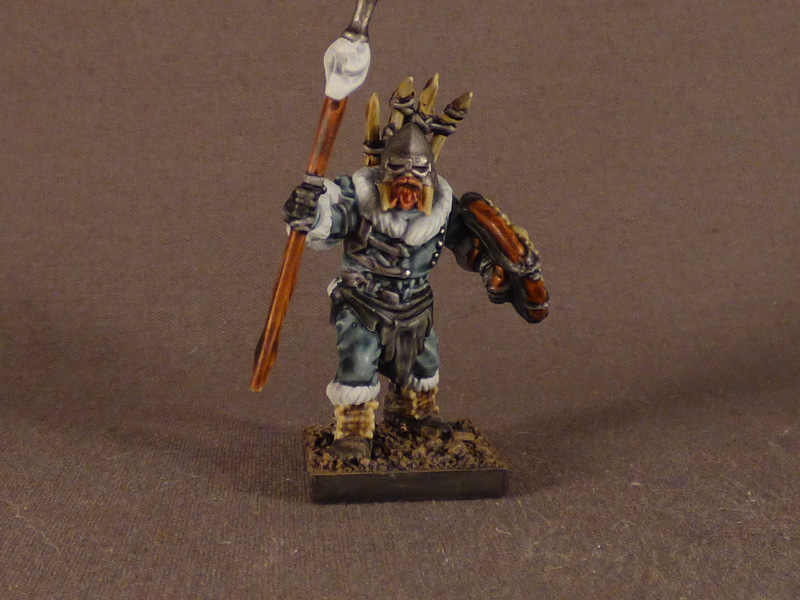
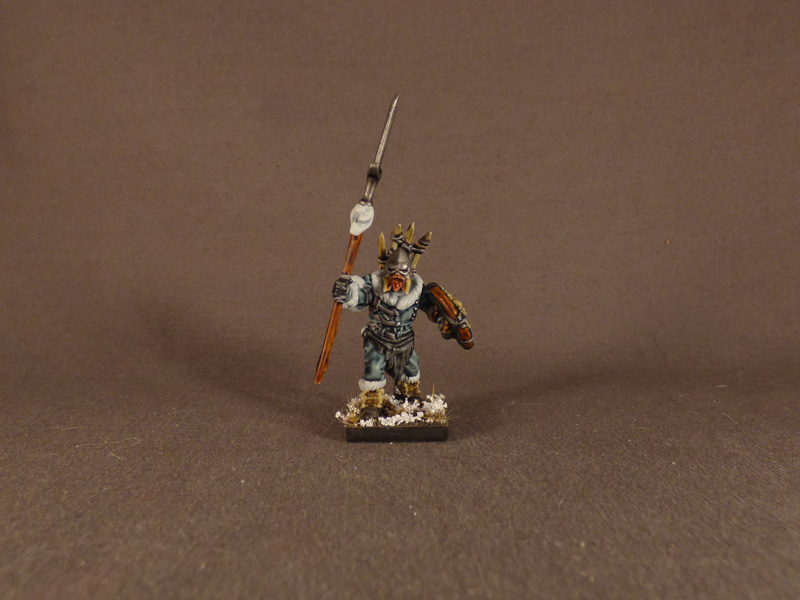
Firstly, here are some pics of the finished models:
For my clansmen, I wanted to take a different route to the usual colour scheme with lots of different brown tones, for two reasons -
Firstly, brown is a warm tone, and I wanted to use some of the colder colours that would be used on much of the rest of the army, to tie it all together.
Secondly, I had some concerns that various different shades of brown, if overused could tend to blend into each other and just look like a mass of brown. I’d still use it for wood and bone, but fur and leather would have to be some different colours.
Loose inspiration for the colour scheme was the water tribe from Avatar: The Last Airbender. Blue clothing, white fur trim. Fits the bill for a cooler colour scheme, although I went for a more muted blue/grey so the end result wouldn’t be too over saturated.
Finally, I wanted the the base to have some warmer tones to contrast with the blue/white of the models, so keeping some of the brown dirt and static grass visible underneath the snow flock, going for a windswept tundra look, very cold, but not much snowfall.
Paints used are mostly Citadel Contrast and a few Army Painter paints. The minis are not the fastest to paint due to having lots and lots of little details that all need to be painted in different colours, but with this method I was able to complete the minis in around 40 minutes each (including basing and stopping to take photos). I hope to get comfortable enough with the process to bring that time down to 30 minutes, and then possibly look at highlights in future once I have the whole army painted and playable to push the painting standard higher, but as it is, I’m happy with how they look at the moment and I think, as part of an army, they’ll be fine.
Everything was painted in batches of 12 initially, then in batches of 6 later on as I moved on to some of the more boring stages (dozens of straps!).
Deciding how much you want to do in one batch is an important part of staying motivated with painting, if at any point you’re not feeling it, take a break, do something else for a while and then come back. Far better than trying to push through the stress and will result in more painting done.
Anyway, on to the guide!
Paints Used:
Citadel Base Corax White
Citadel Contrast Apothecary White
Citadel Contrast Gryph-Charger Grey
Citadel Contrast Guilliman Flesh
Citadel Contrast Skeleton Horde
Citadel Contrast Gore Grunta Fur
Citadel Contrast Basilicanum Grey
Citadel Contrast Black Templar
Citadel Contrast Snakebite Leather
Citadel Contrast Cygor Brown
Army Painter Gunmetal
Army Painter Dark Tone
Army Painter Monster Brown
Army Painter Desert Yellow
Other Materials:
Army Painter Snow Flock
War World Scenics 4mm autumn grass mix.
Step 1:
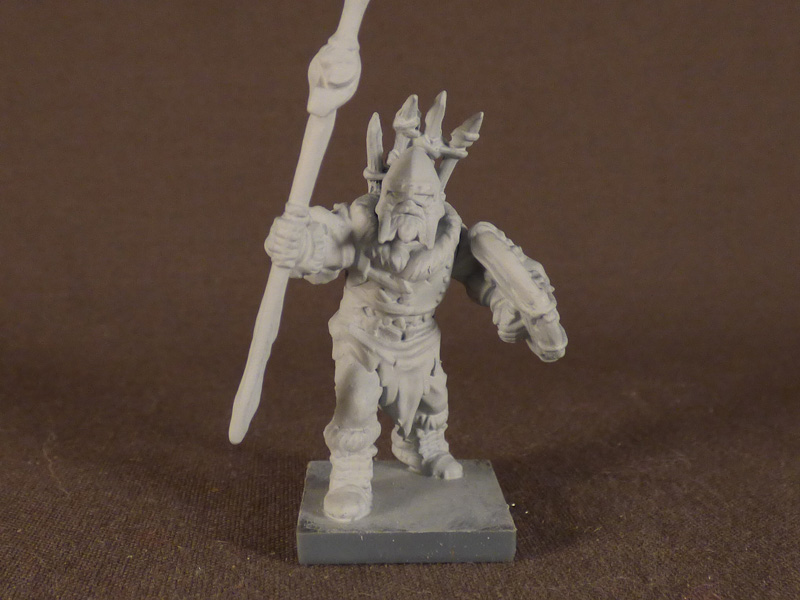
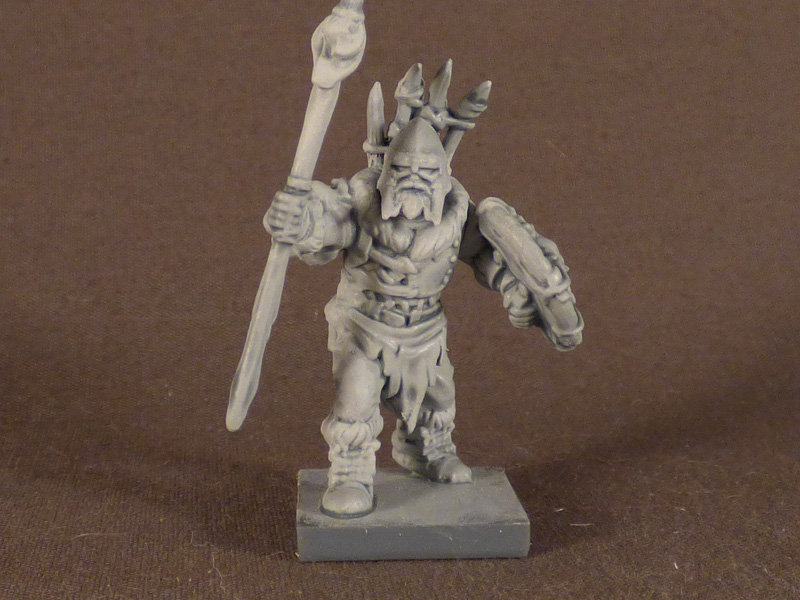
Undercoat the whole model with Corax White, I brushed it on with 3 watered-down coats due it it being the middle of winter and too humid to spray, spray or airbrush if you can, much faster!
Step 2:
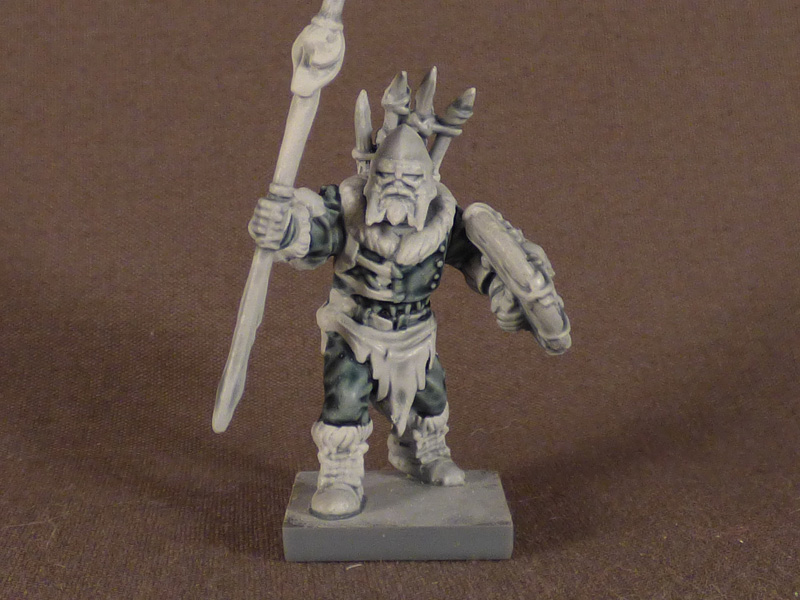
Paint Apothecary White over everything. Four reasons for doing this:
- Shading the white fur
- Adding additional pre-shading to the model, which makes the future shading steps look better.
- Letting you see what you’re doing with the rest of the model, so you can tell where one part starts and another ends. Some people use a black for this, but with these models, that would have been too dark.
- Contrast paints work best on a greyish, rather than white base, this brings the tone back to what you need.

Step 3:
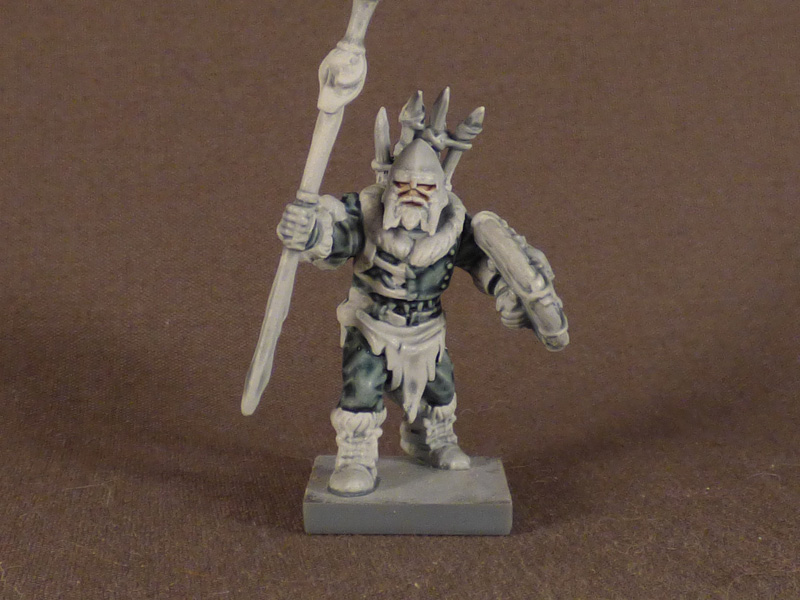
Drybrush Corax White over the fur trims. Drybrushing is messy, so we do this first.
Step 4:
Paint the clothing with two coats of Grpyh-Charger grey, making sure the first coat dries throughly first. One coat didn’t quite have enough saturation, but two worked nicely and gave good coverage over the white. Don’t worry about trying to paint the sculpted stitching in a different colour, life is too short!
Step 5:
Paint the skin with Gulliman Flesh.
Step 6:
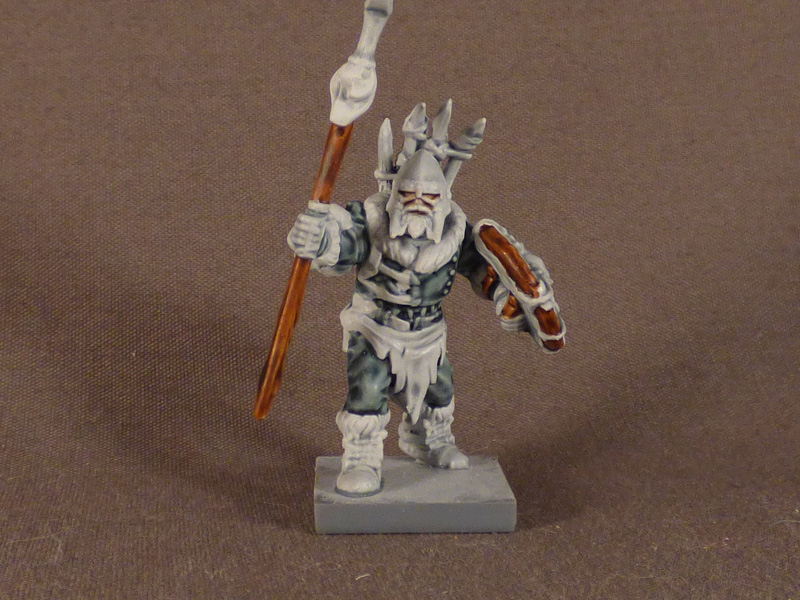
Paint the wood with Gore Grunta Fur. This is a great paint, covers well and is a warm reddish brown that contrasts well with the rest of the model. You could experiment with different contrat browns for a different look, though.
Step 7:
Paint all bone and horns with Skeleton Horde.
Step 8:
Paint all straps with Basilicanum Grey, including the ones on the back, the belt, the shield straps, the spear haft and the small ones holding the bone piles together. This stage can be quite time-consuming so prepare for a long haul.
Step 9:
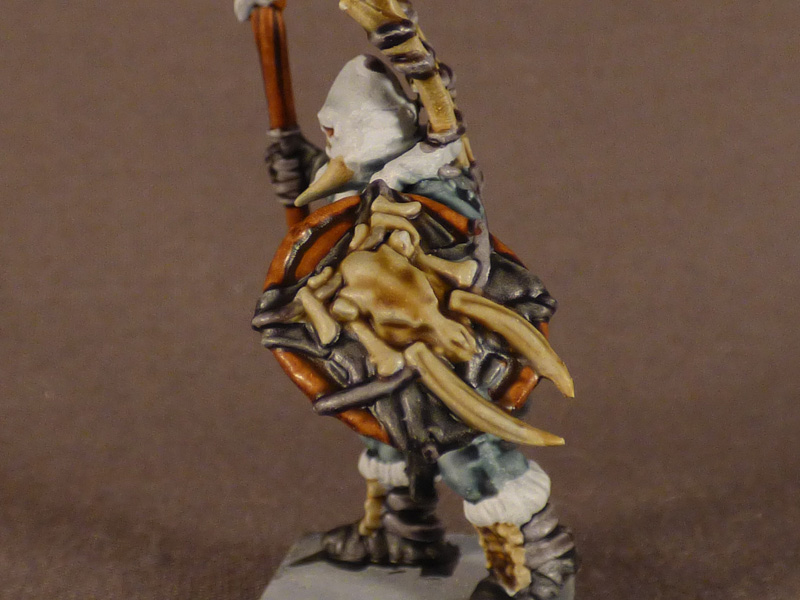
Paint all other leather with Black Templar, this includes the boots, gloves, shield leather, and some parts such as the loincloth on this model which is painted a different colour to break up the model a little since it doesn’t have the usual fur trim around the waist.
Here is a pic of the shield to show how the different paints used break up the different parts of the shield and make them distinct from each other, the black leather separates the brown wood from the light brown bone. If I had used a different brown tone for the leather and straps, the whole thing would possibly end up looking like a mass of brown rather than something where the different pieces are all distinct from each other. Something to keep in mind when painting models with lots of detail such as these.
Step 10:
Paint the metal pieces with Army Painter Gunmetal and wash with Army Painter Dark Tone. Metal pieces to look out for are the spear heads, belt buckles, helmets, knee and shoulder pads, strap rings and finally the small studs on the back of the shield (if you want to, nobody will see them, but I find it fun to pick them out with a little dot of silver anyway).
Finally, paint the hair. I used Snakebite Leather for blonde hair, and a 4:1 mix of Gulliman Flesh and Flesh Tearers red for red hair, I considered bright oranges and yellows for the hair, but decided they’d be too bold for my colour scheme.
At this point the painting is all done, on to basing!
Step 11:
Paint the base black.
Step 12:
Use PVA glue to add modelling sand to the base.
Step 13:
Paint the sand with Cygor brown (this paint works great for basing, it has very high pigment and is watery, making the basecoat on the sand very quick to do). Then drybrush with Army Painter Monster Brown and Desert Yellow.
Step 14:
Finish the base with some static grass and Army Painter snow flock. Don’t worry about getting some snow on the tips of the static grass, it can look pretty good!
At this point, the model is completely done and ready to fight some nightstalkers!
I hope you’ve enjoyed this tutorial, any thoughts on it, or other tips you have for these models, feel free to add them below, I still have dozens of these to paint and am very interested in hearing them.
Final notes: Multi-base used is a 100x80 “Alternative KoW tray” from warbases (3mm thickness). Only 12 models to this regiment, but these particular minis are huge, fill up the whole space and were really difficult to rank up even on this spacious multibase, so I won’t lose too much sleep over it.
I’ll magnetize the whole thing at some point as well, probably 1mm thick magnets on the models and 12mm x 1mm thick washers on the multi base so that I don’t add any extra height to the individual bases.