Evening,
I have had a few people ask me how I am doing the basing for my Mordheim army, so here it goes.
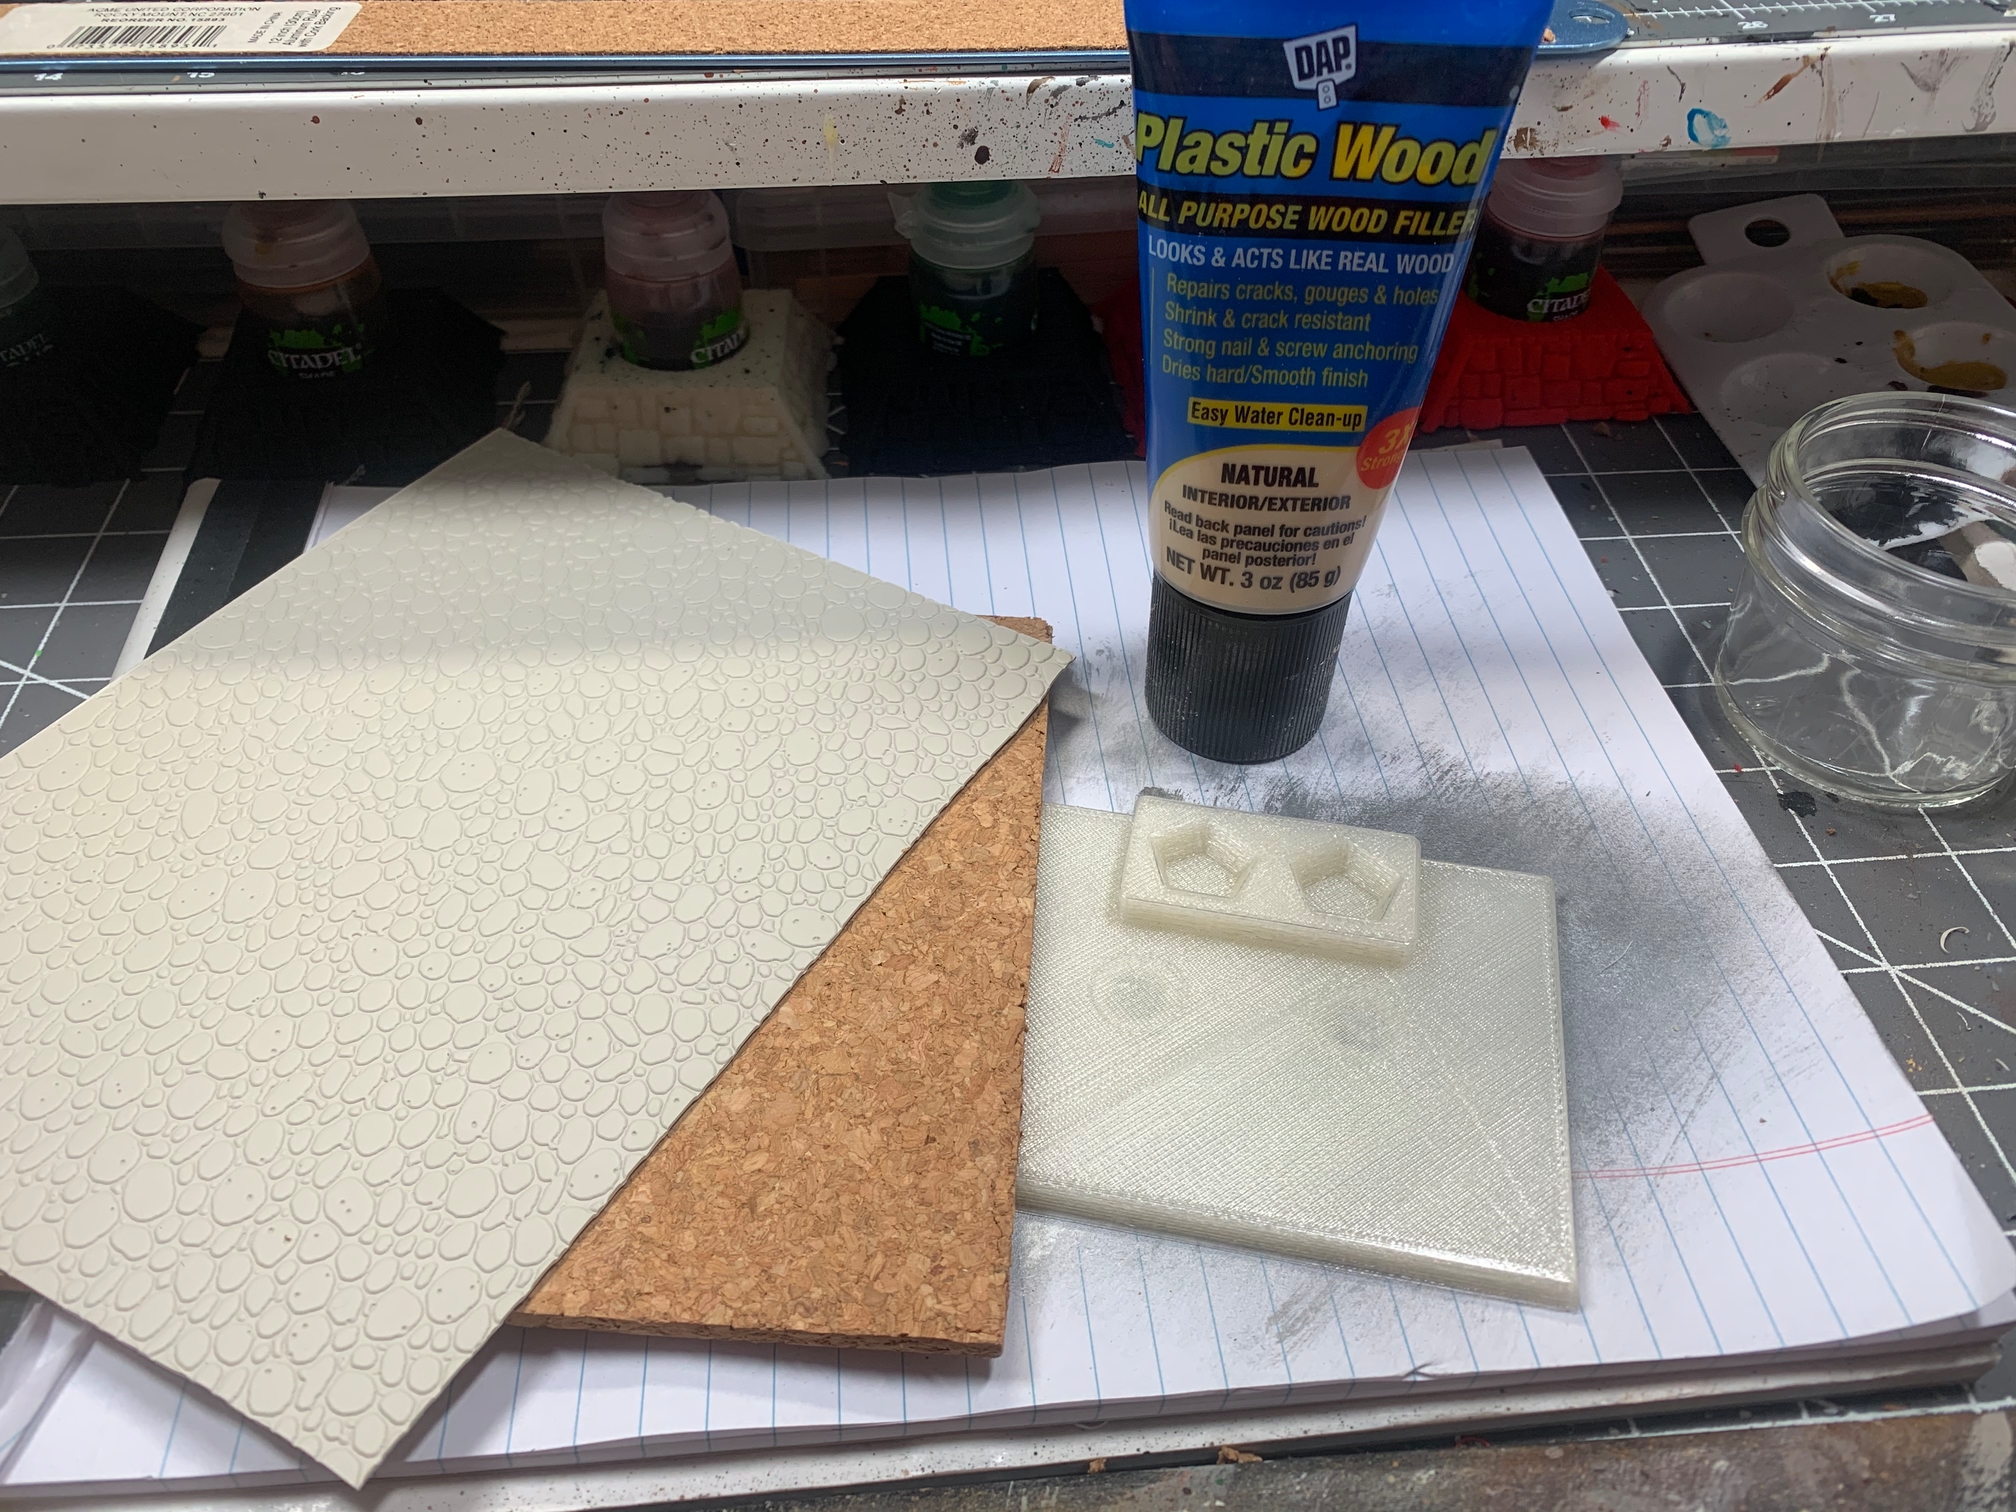
Few things you will need
My base unit tray is printed, but MDF should work just as well. Hell, you if you source the right things you could even glue a MDF wound tracker to the unit tray also.
Some cork, the type I use is just 12"x12" squares from local crafts store. I do lean towards the chunkier textured cork, I think it tears better when your doing holes and rocks etc.
The Plastic wood is to fill in gaps, and give some texture between the stones.
This is the Plasticard I use for the texture. Since rocks and stones are essentially scale free for model making you can use whatever size you like.
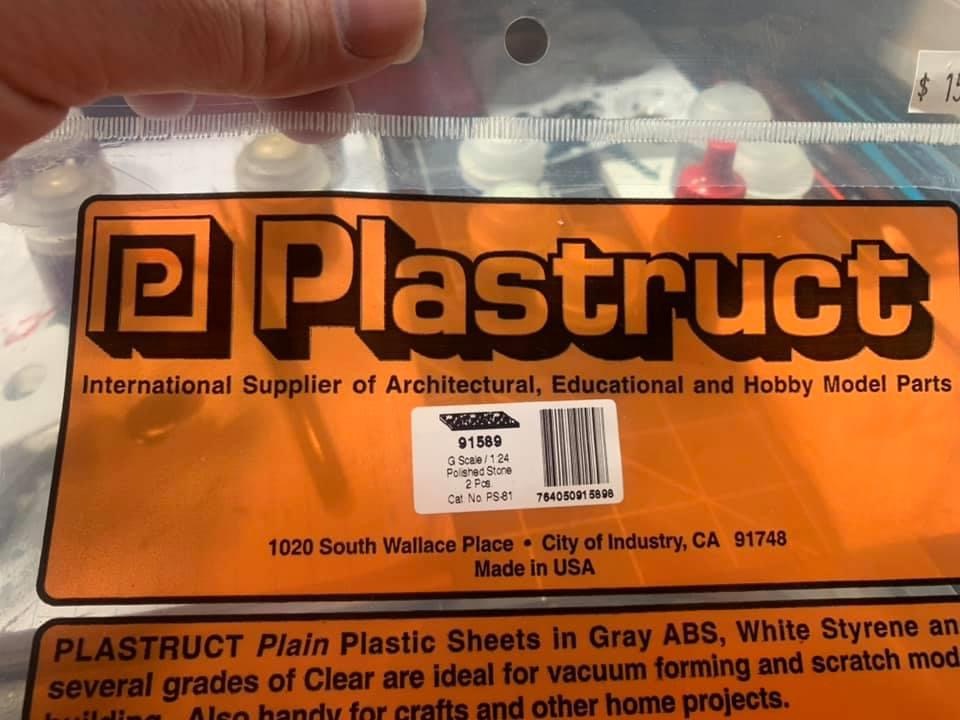
And some sand/ballast, whatever your favorite basing material is
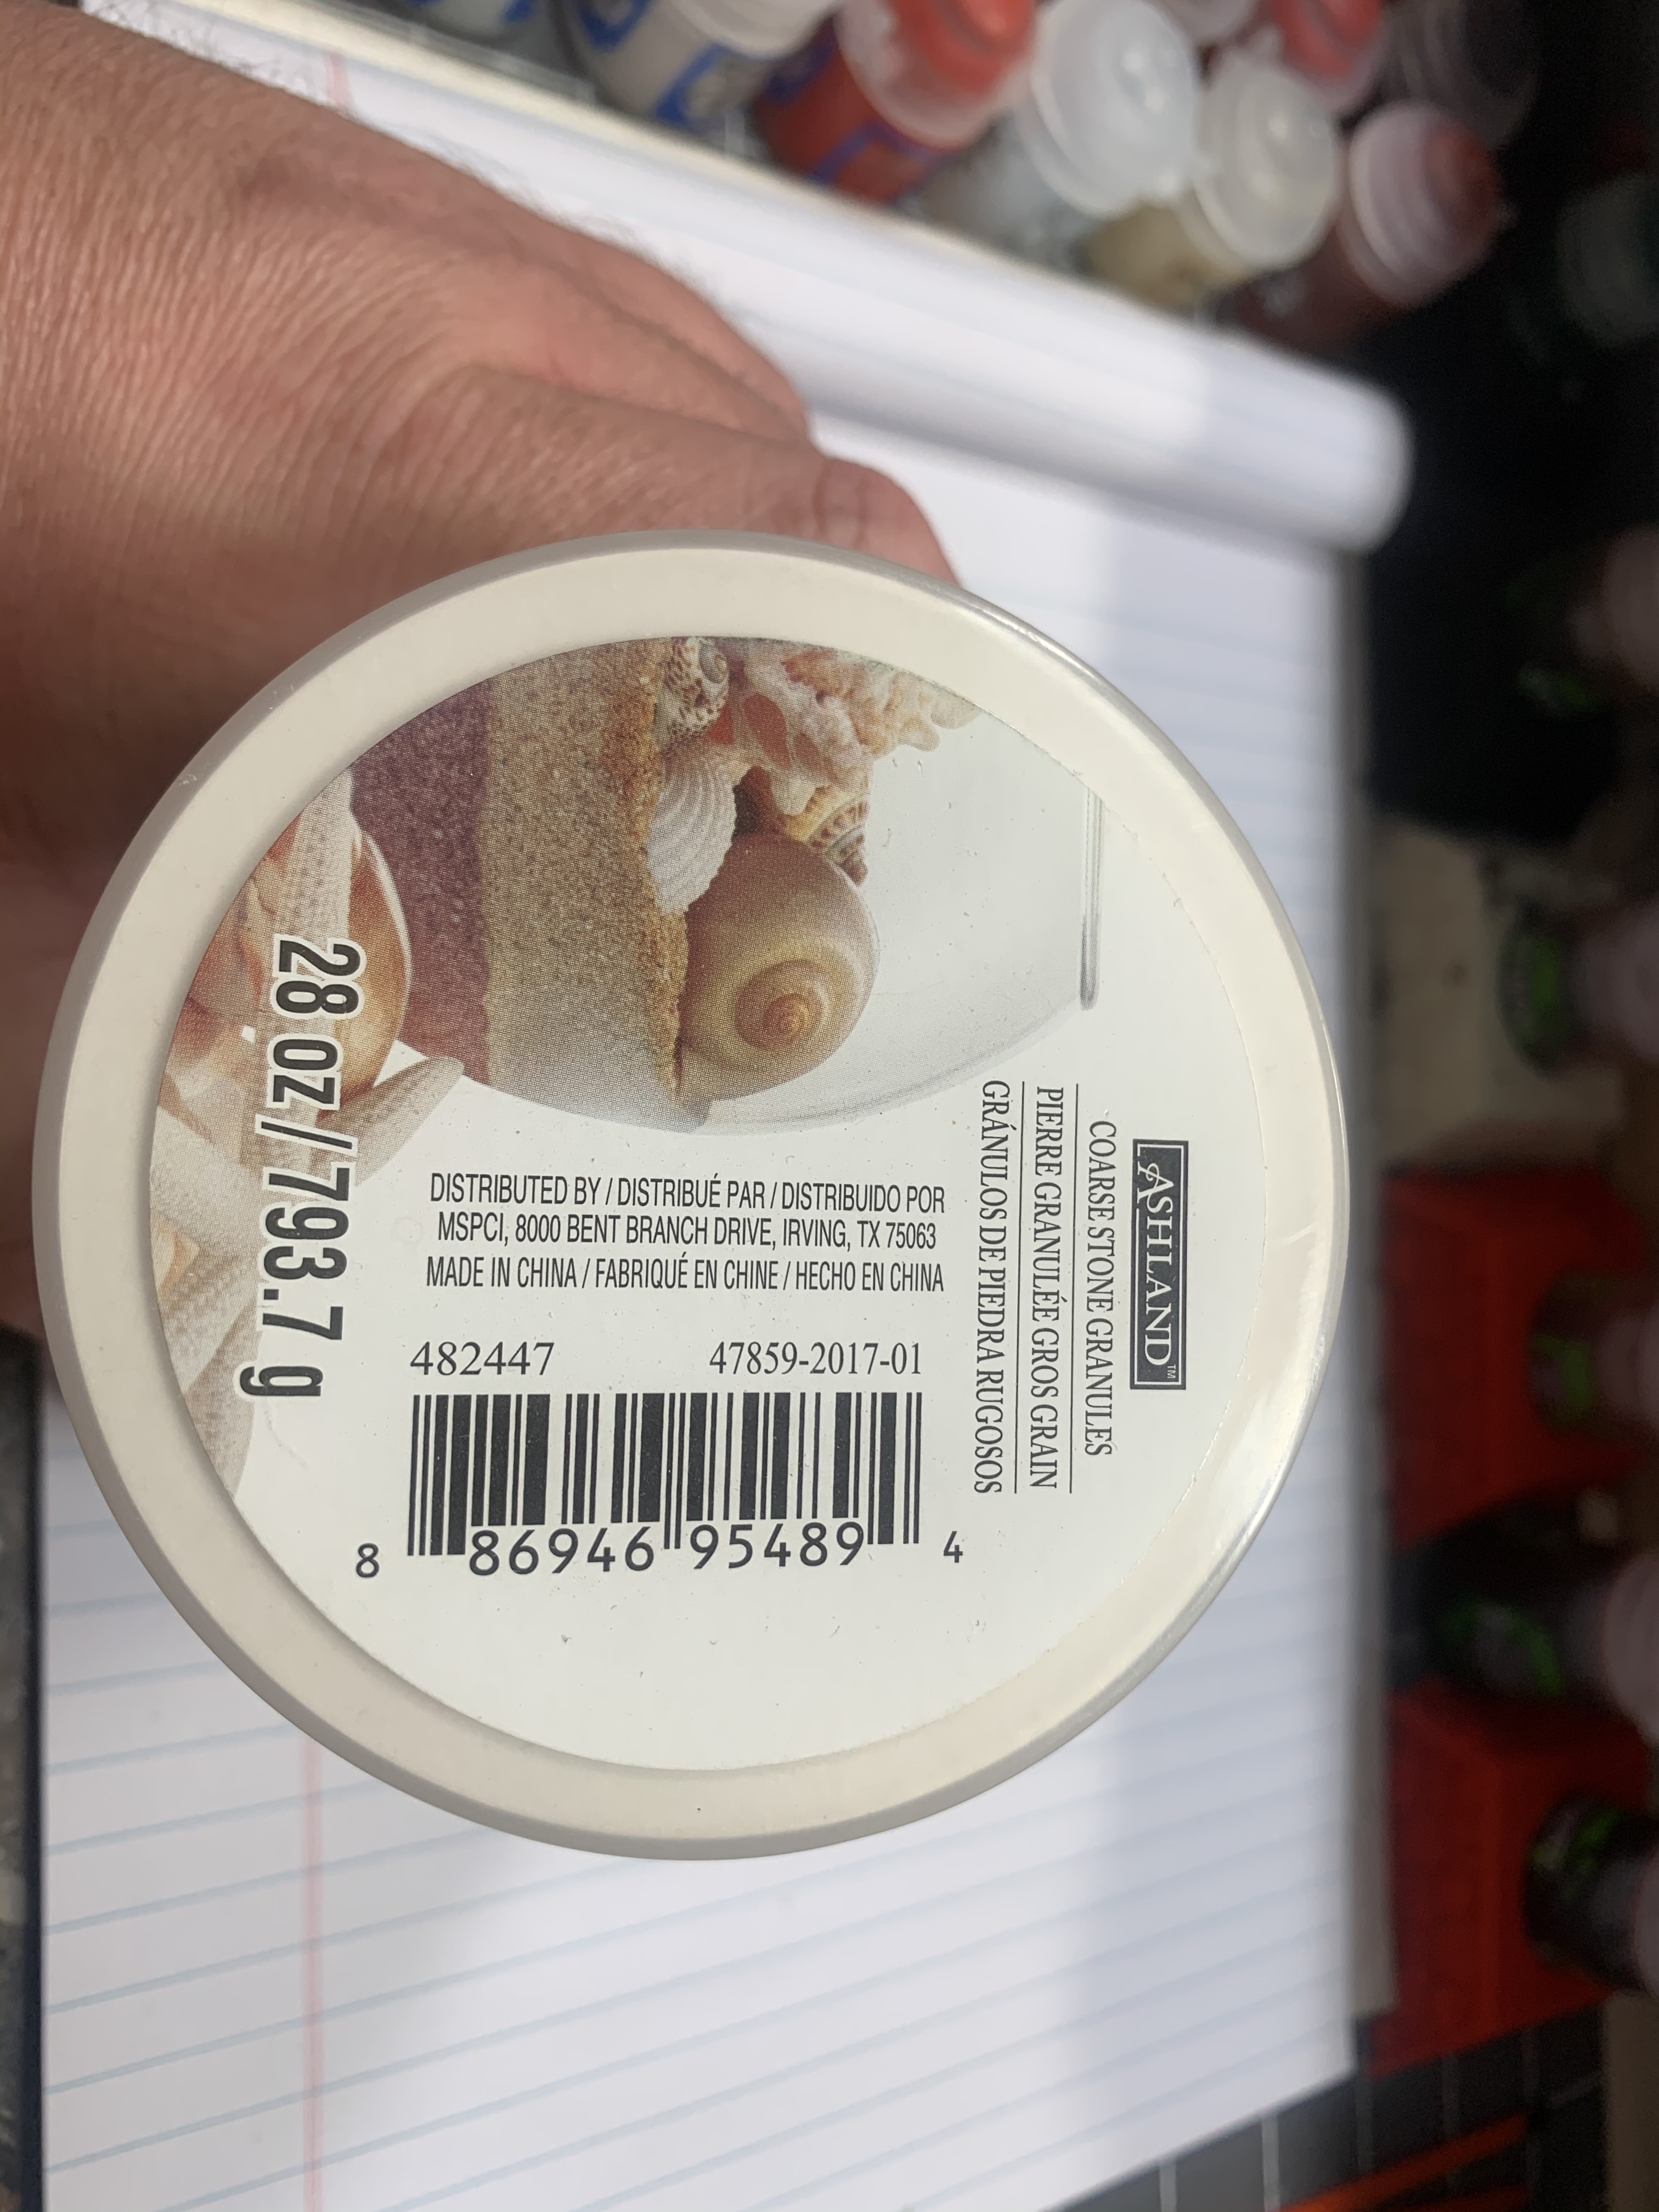
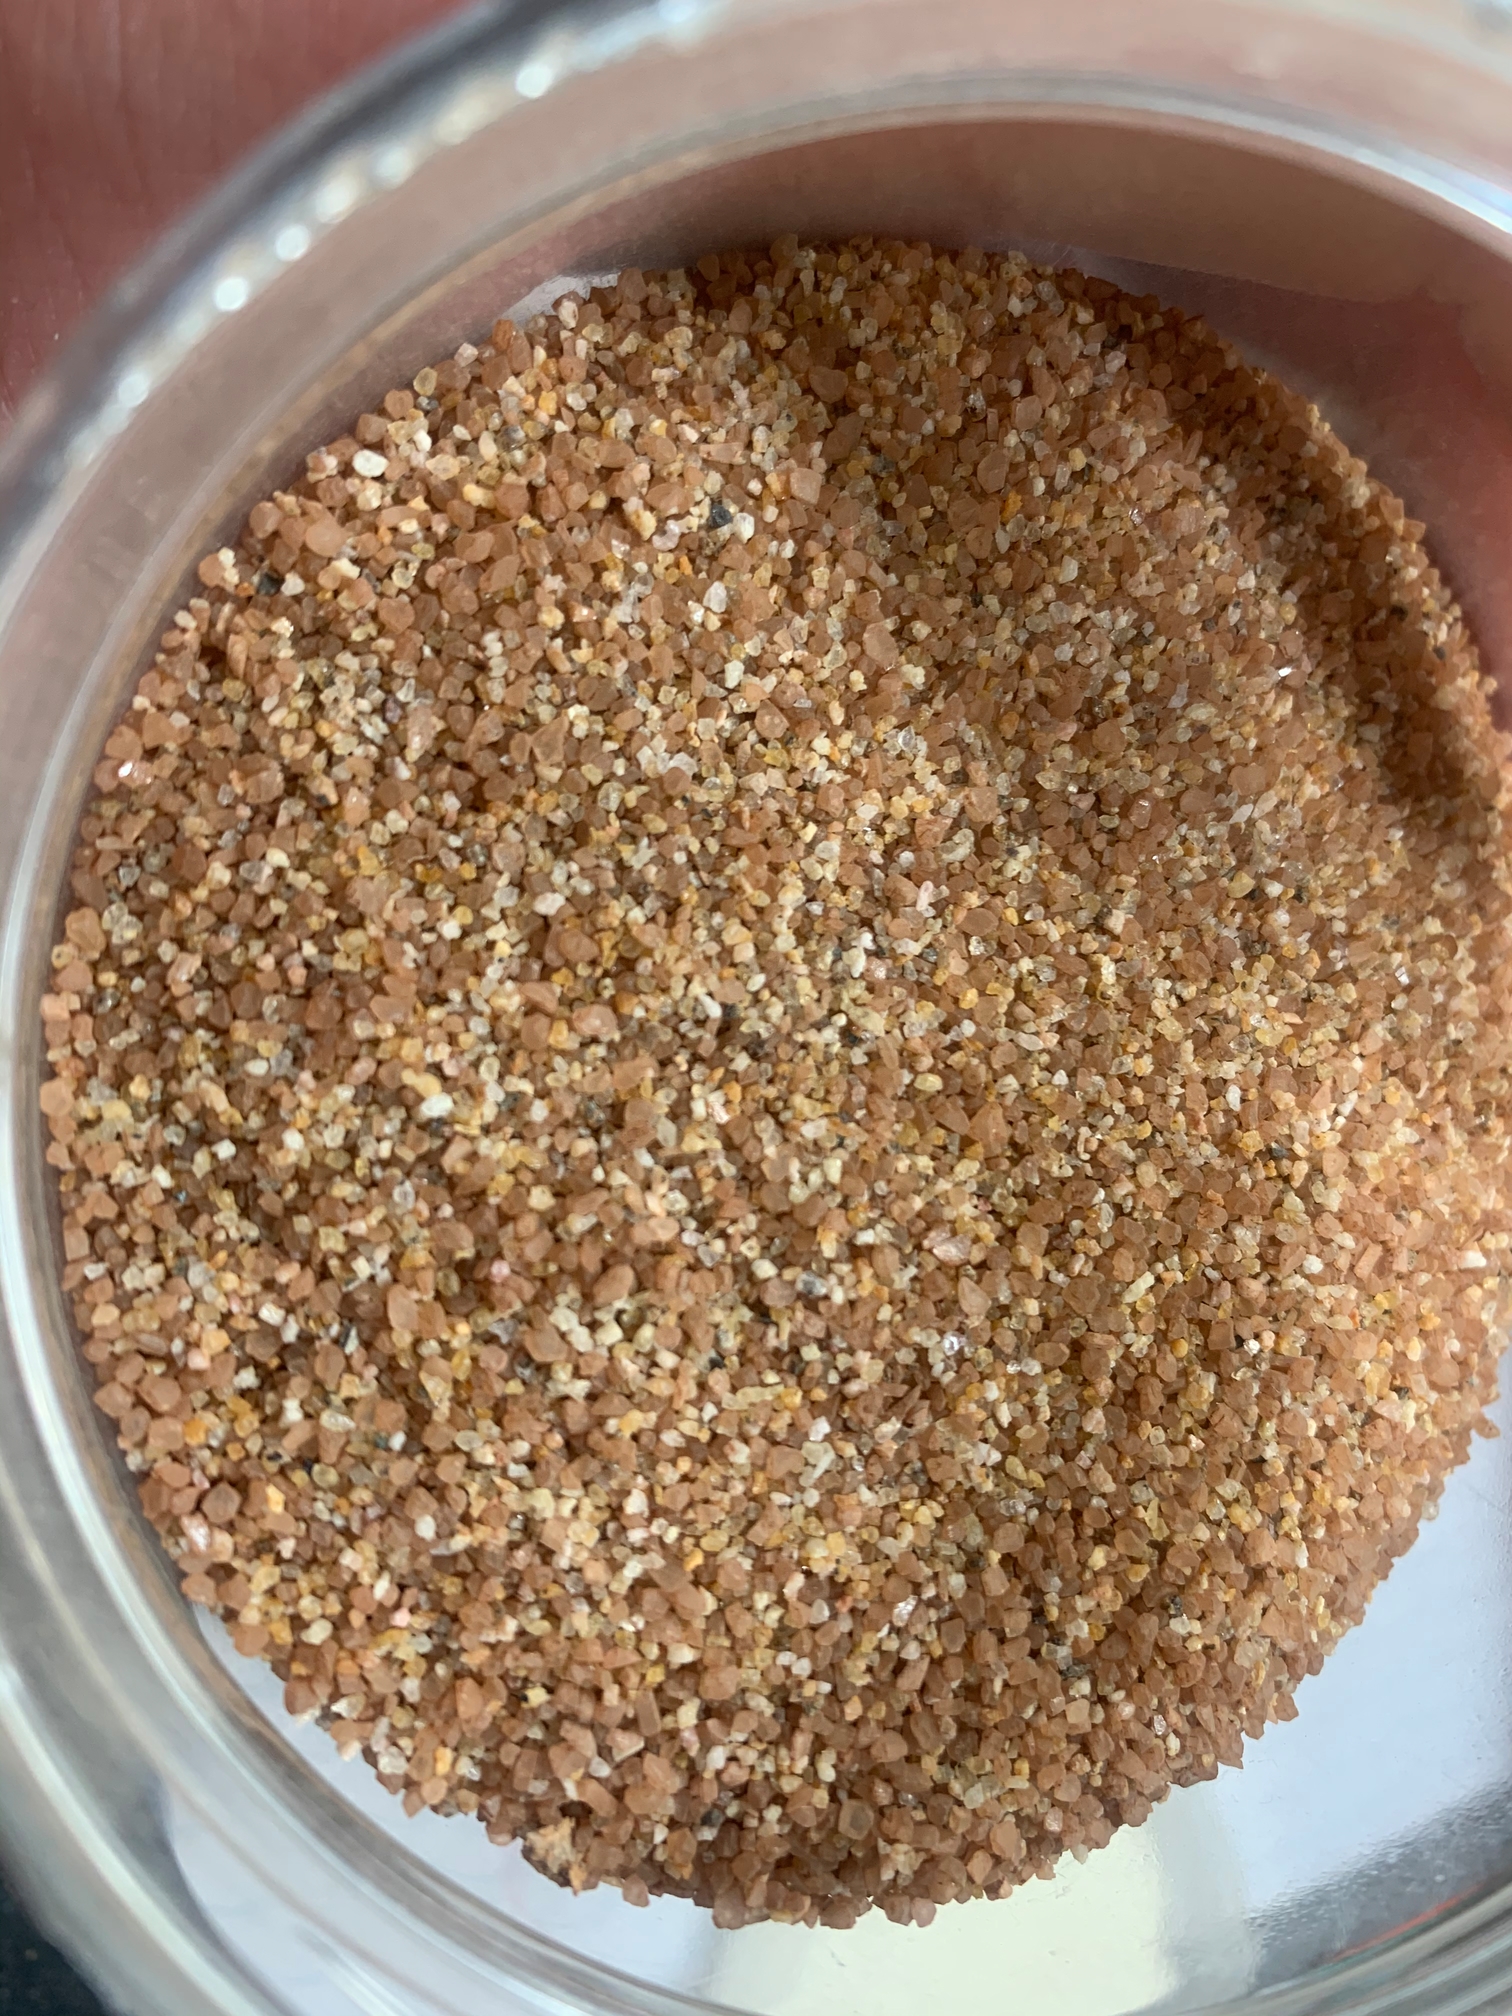
My current go to is a mix of a couple different sizes. This stuff is used to put decorative candles and stuff into. I found this stuff at Walmart. Way cheaper then Woodland scenic, etc…
First I print the base out.
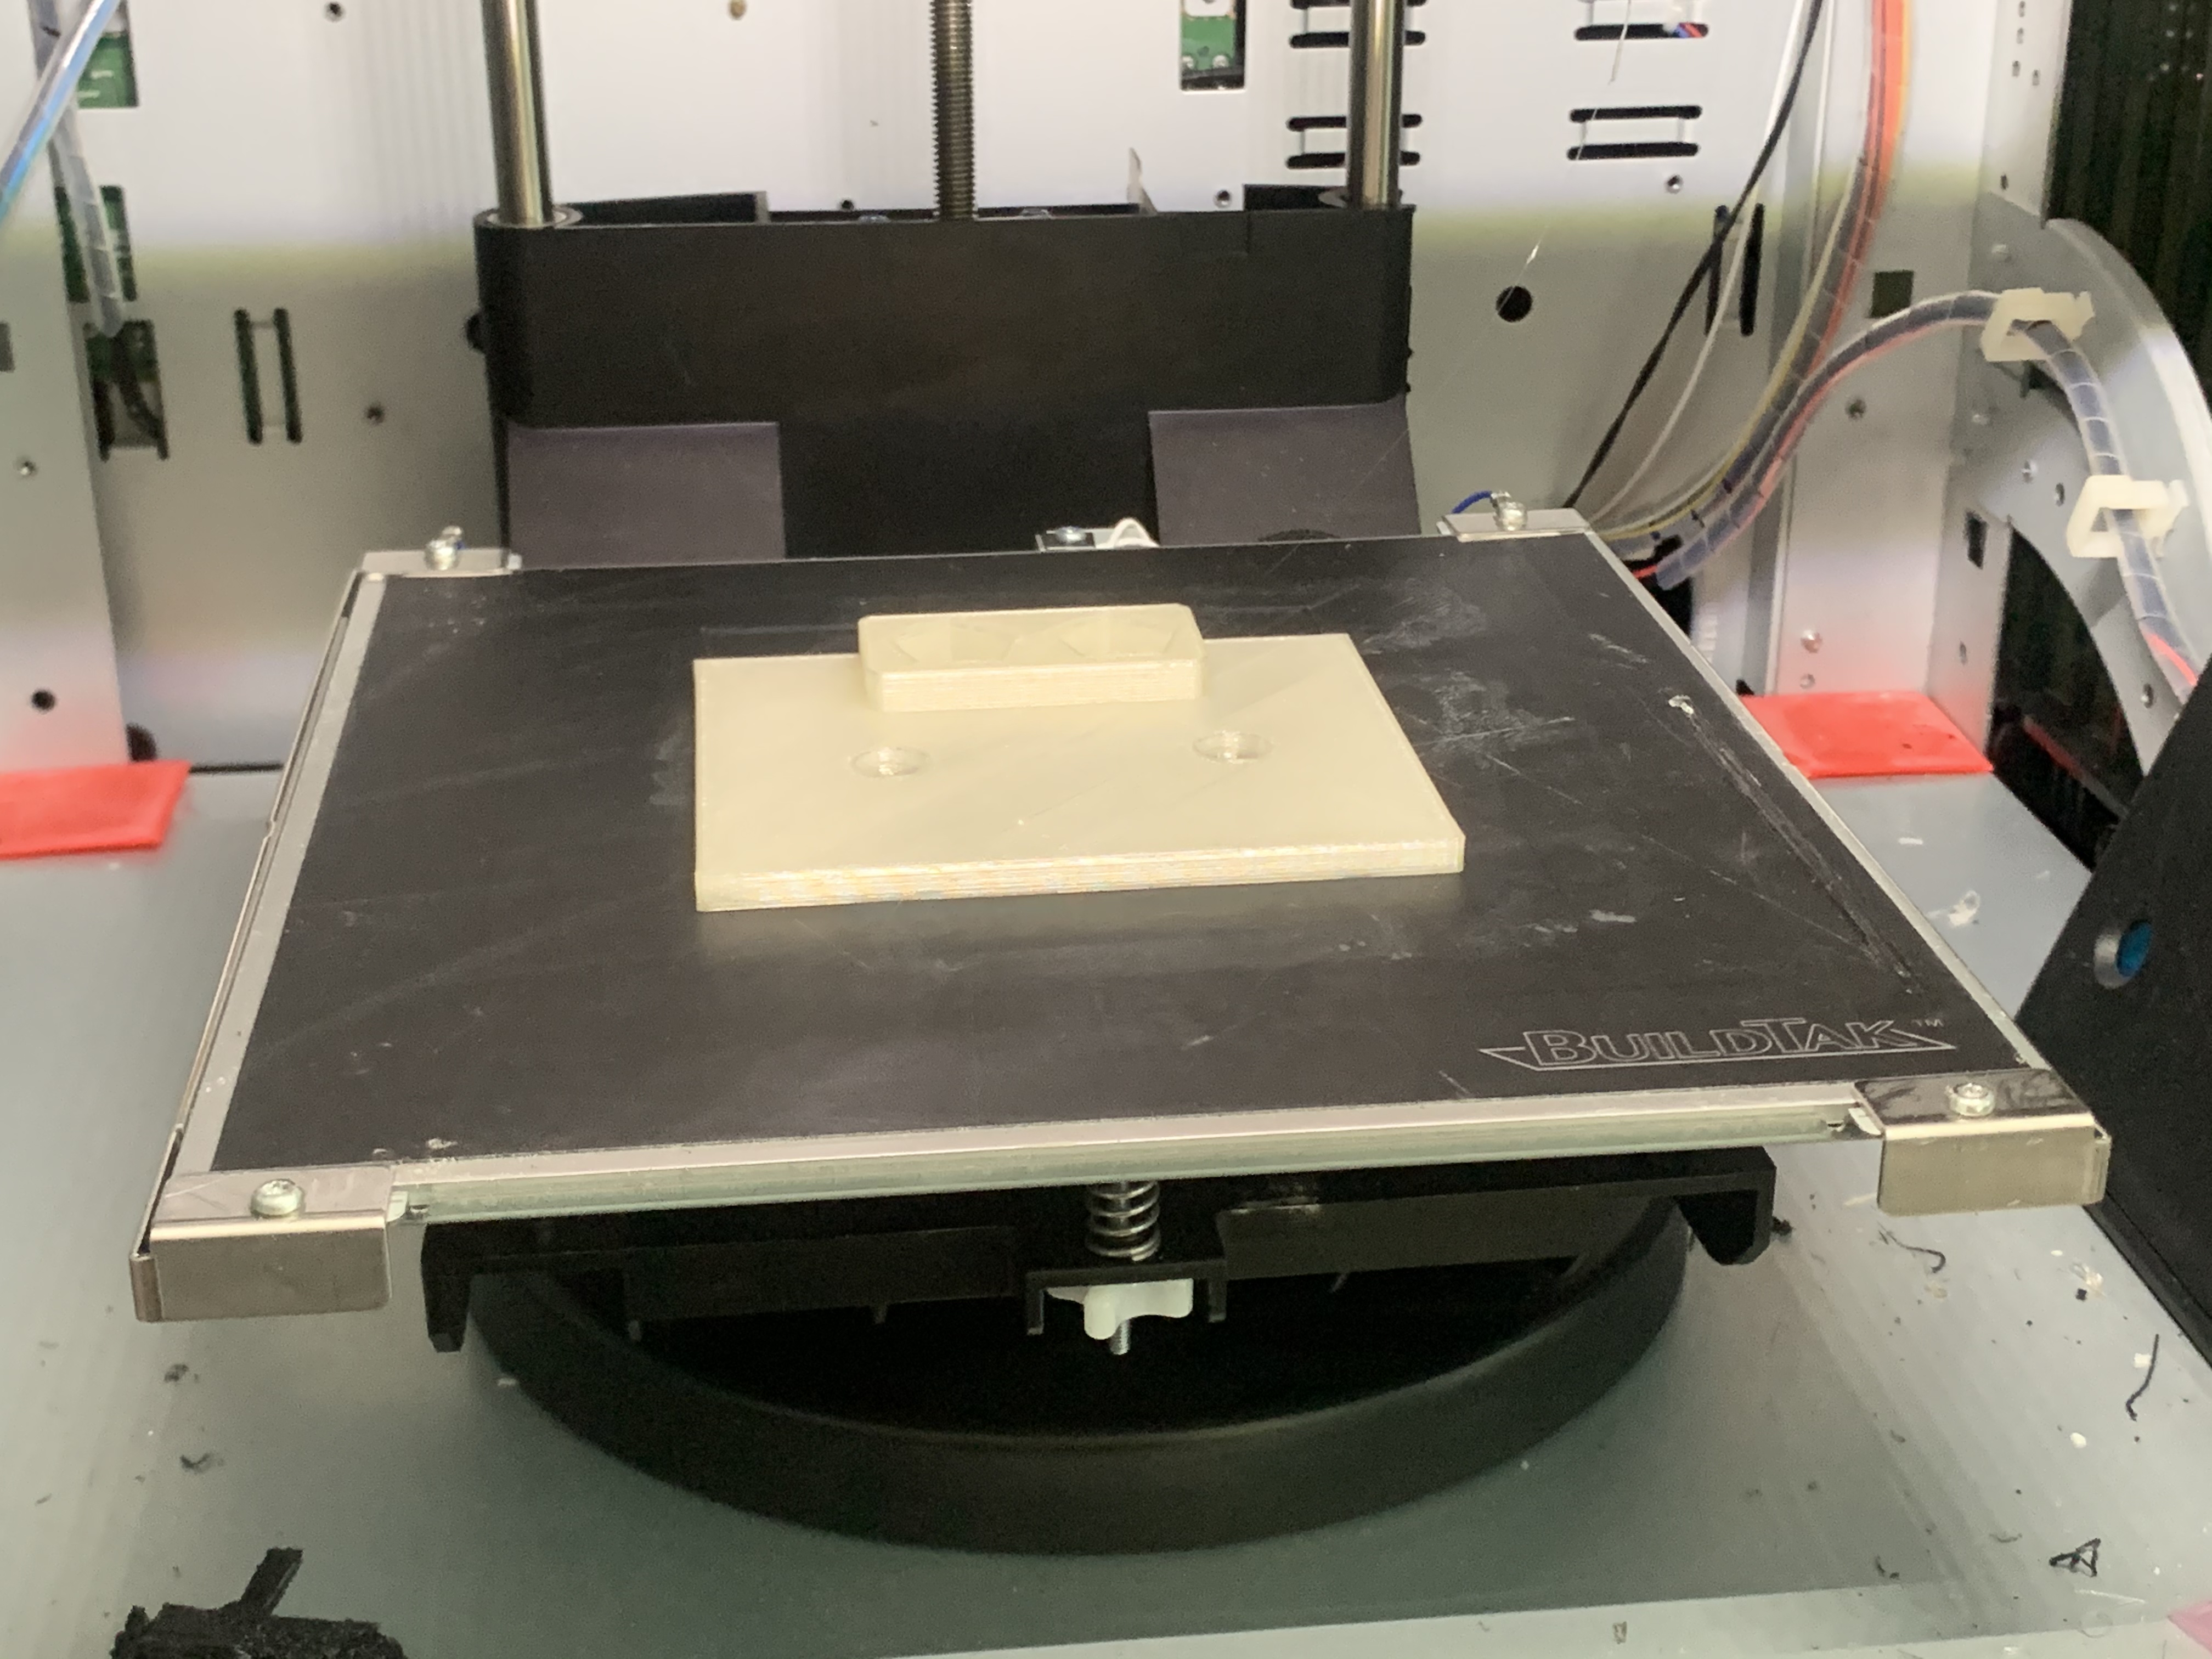
I print the bases on my 3D printer. But I’m fairly certain this will work for MDF/etc… The block on the back of the base is for a wound holder, I designed the base to hold 2 D12s, so I can keep track of up to 24 wounds on the unit.
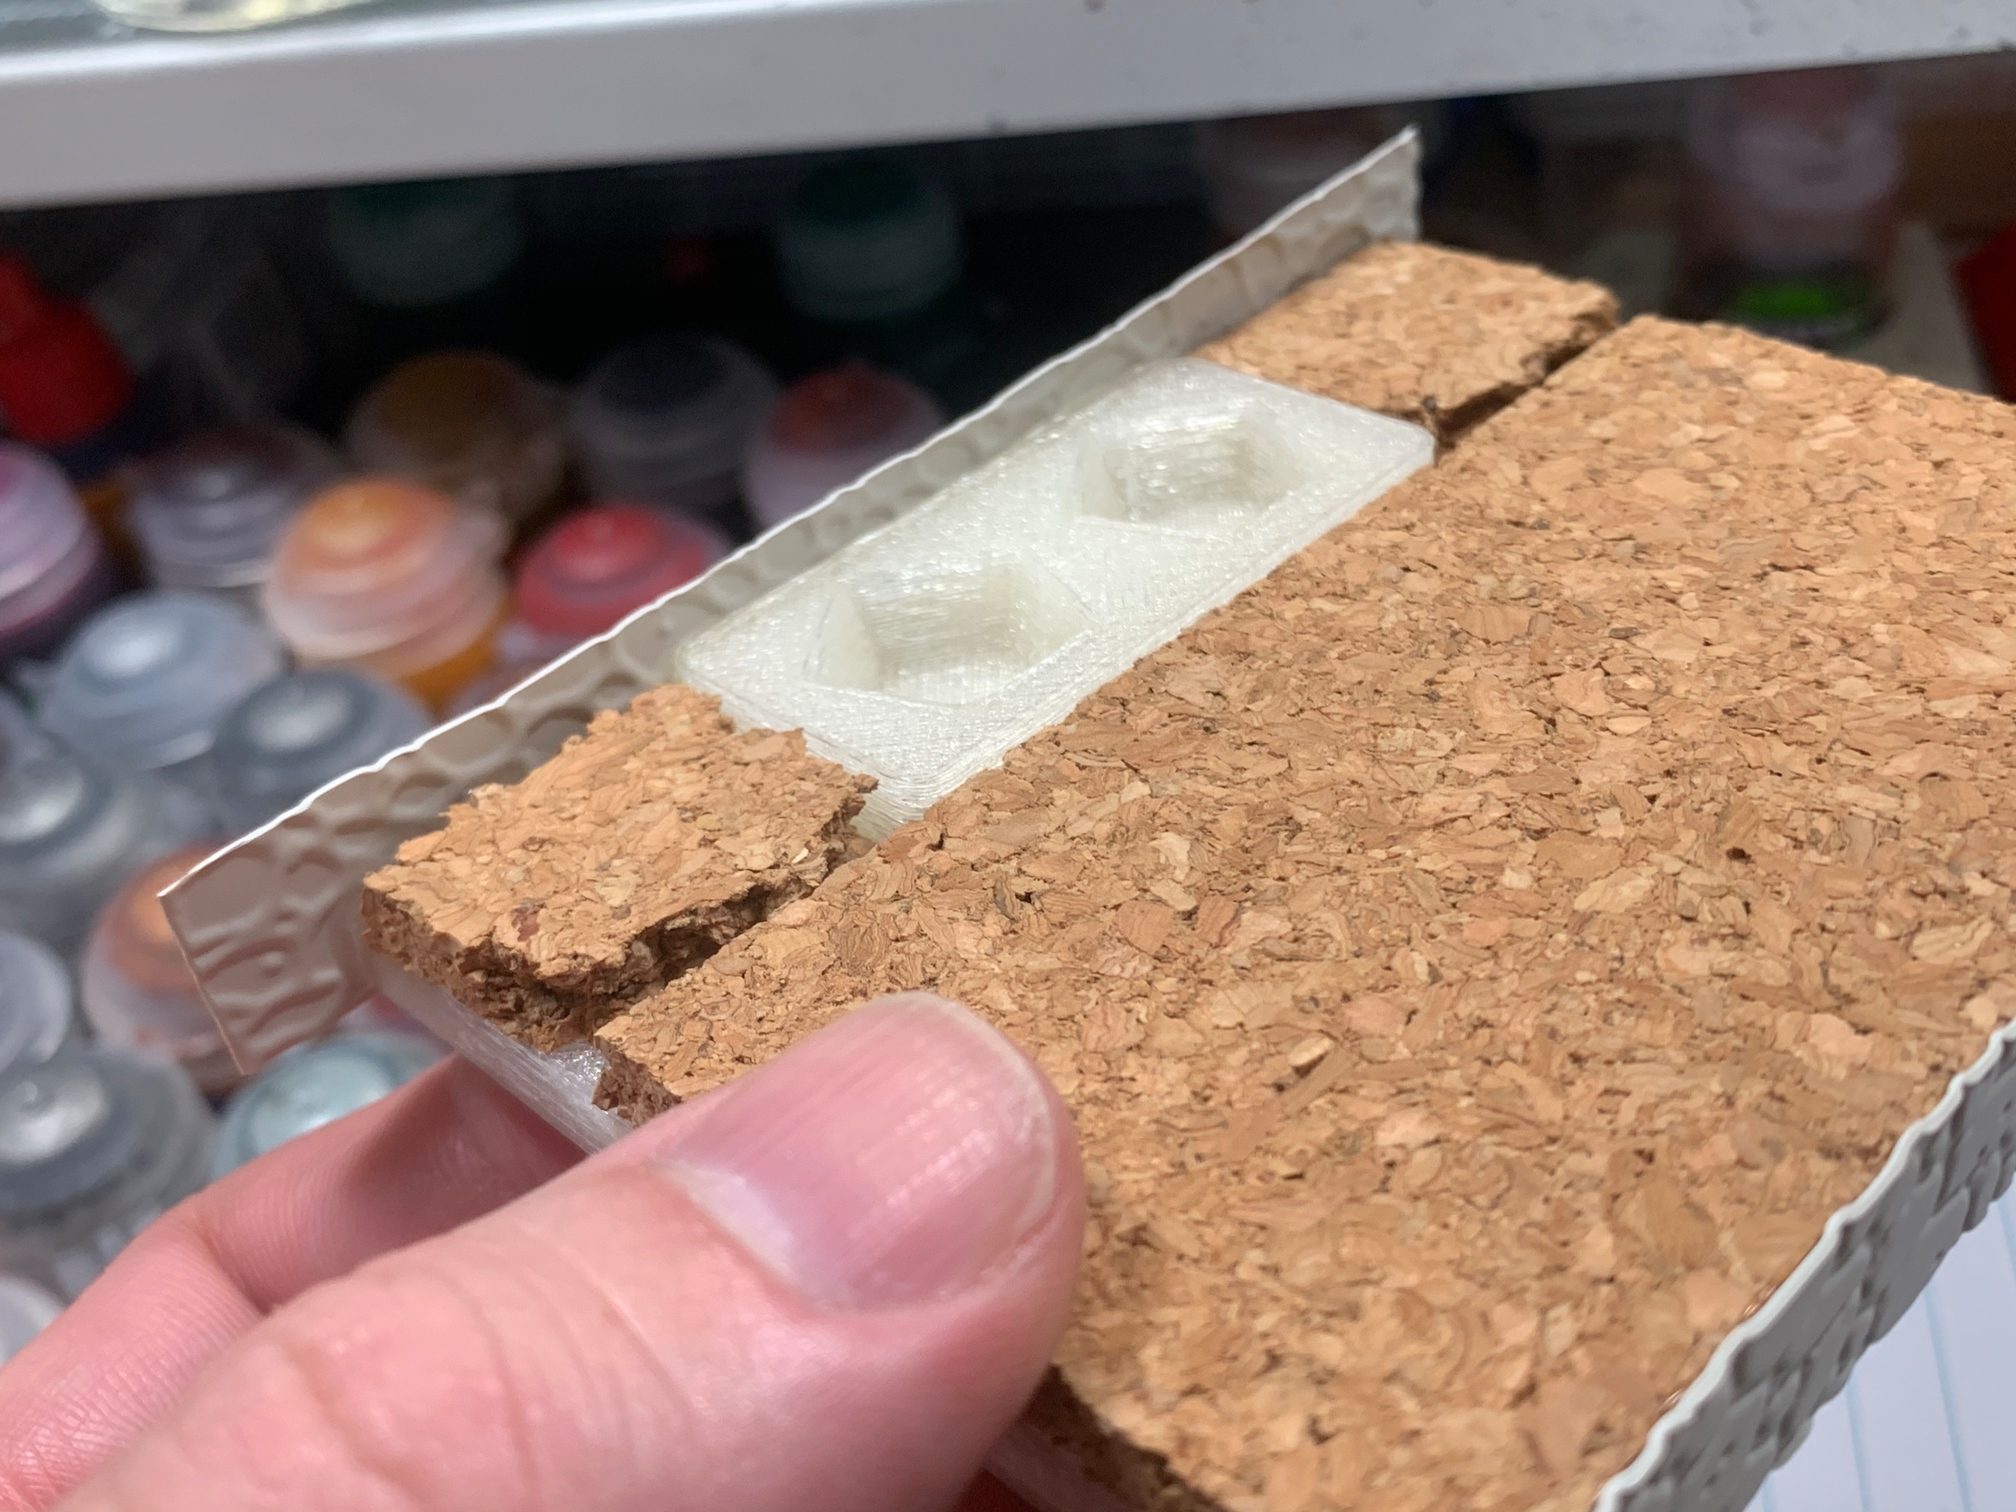
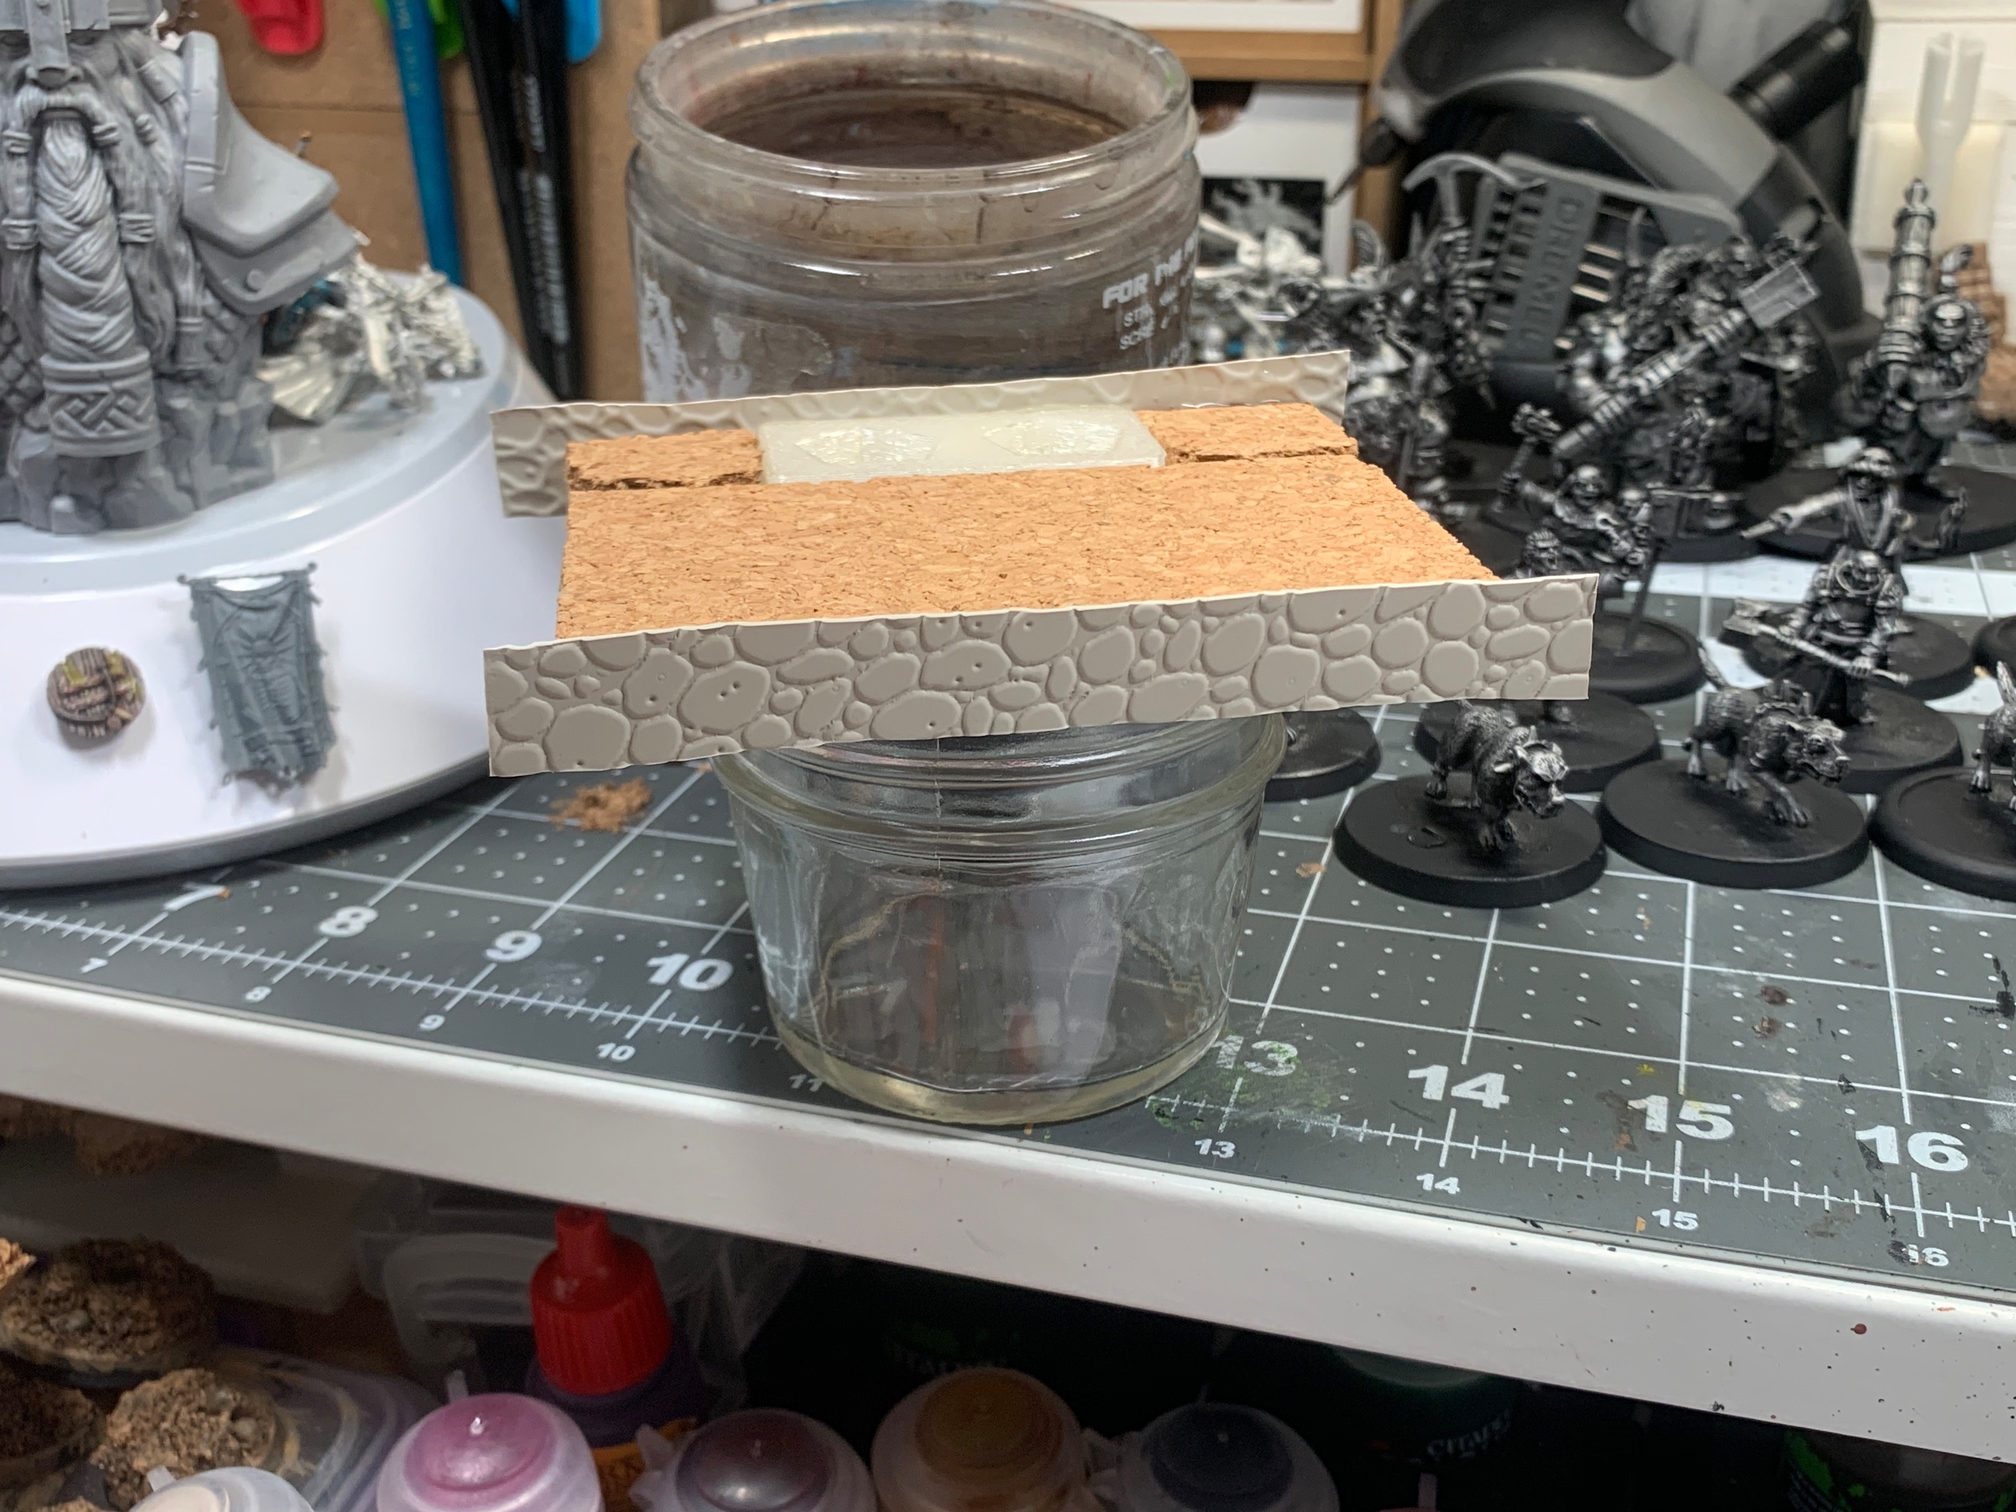
Next I glue down some cork to the base.
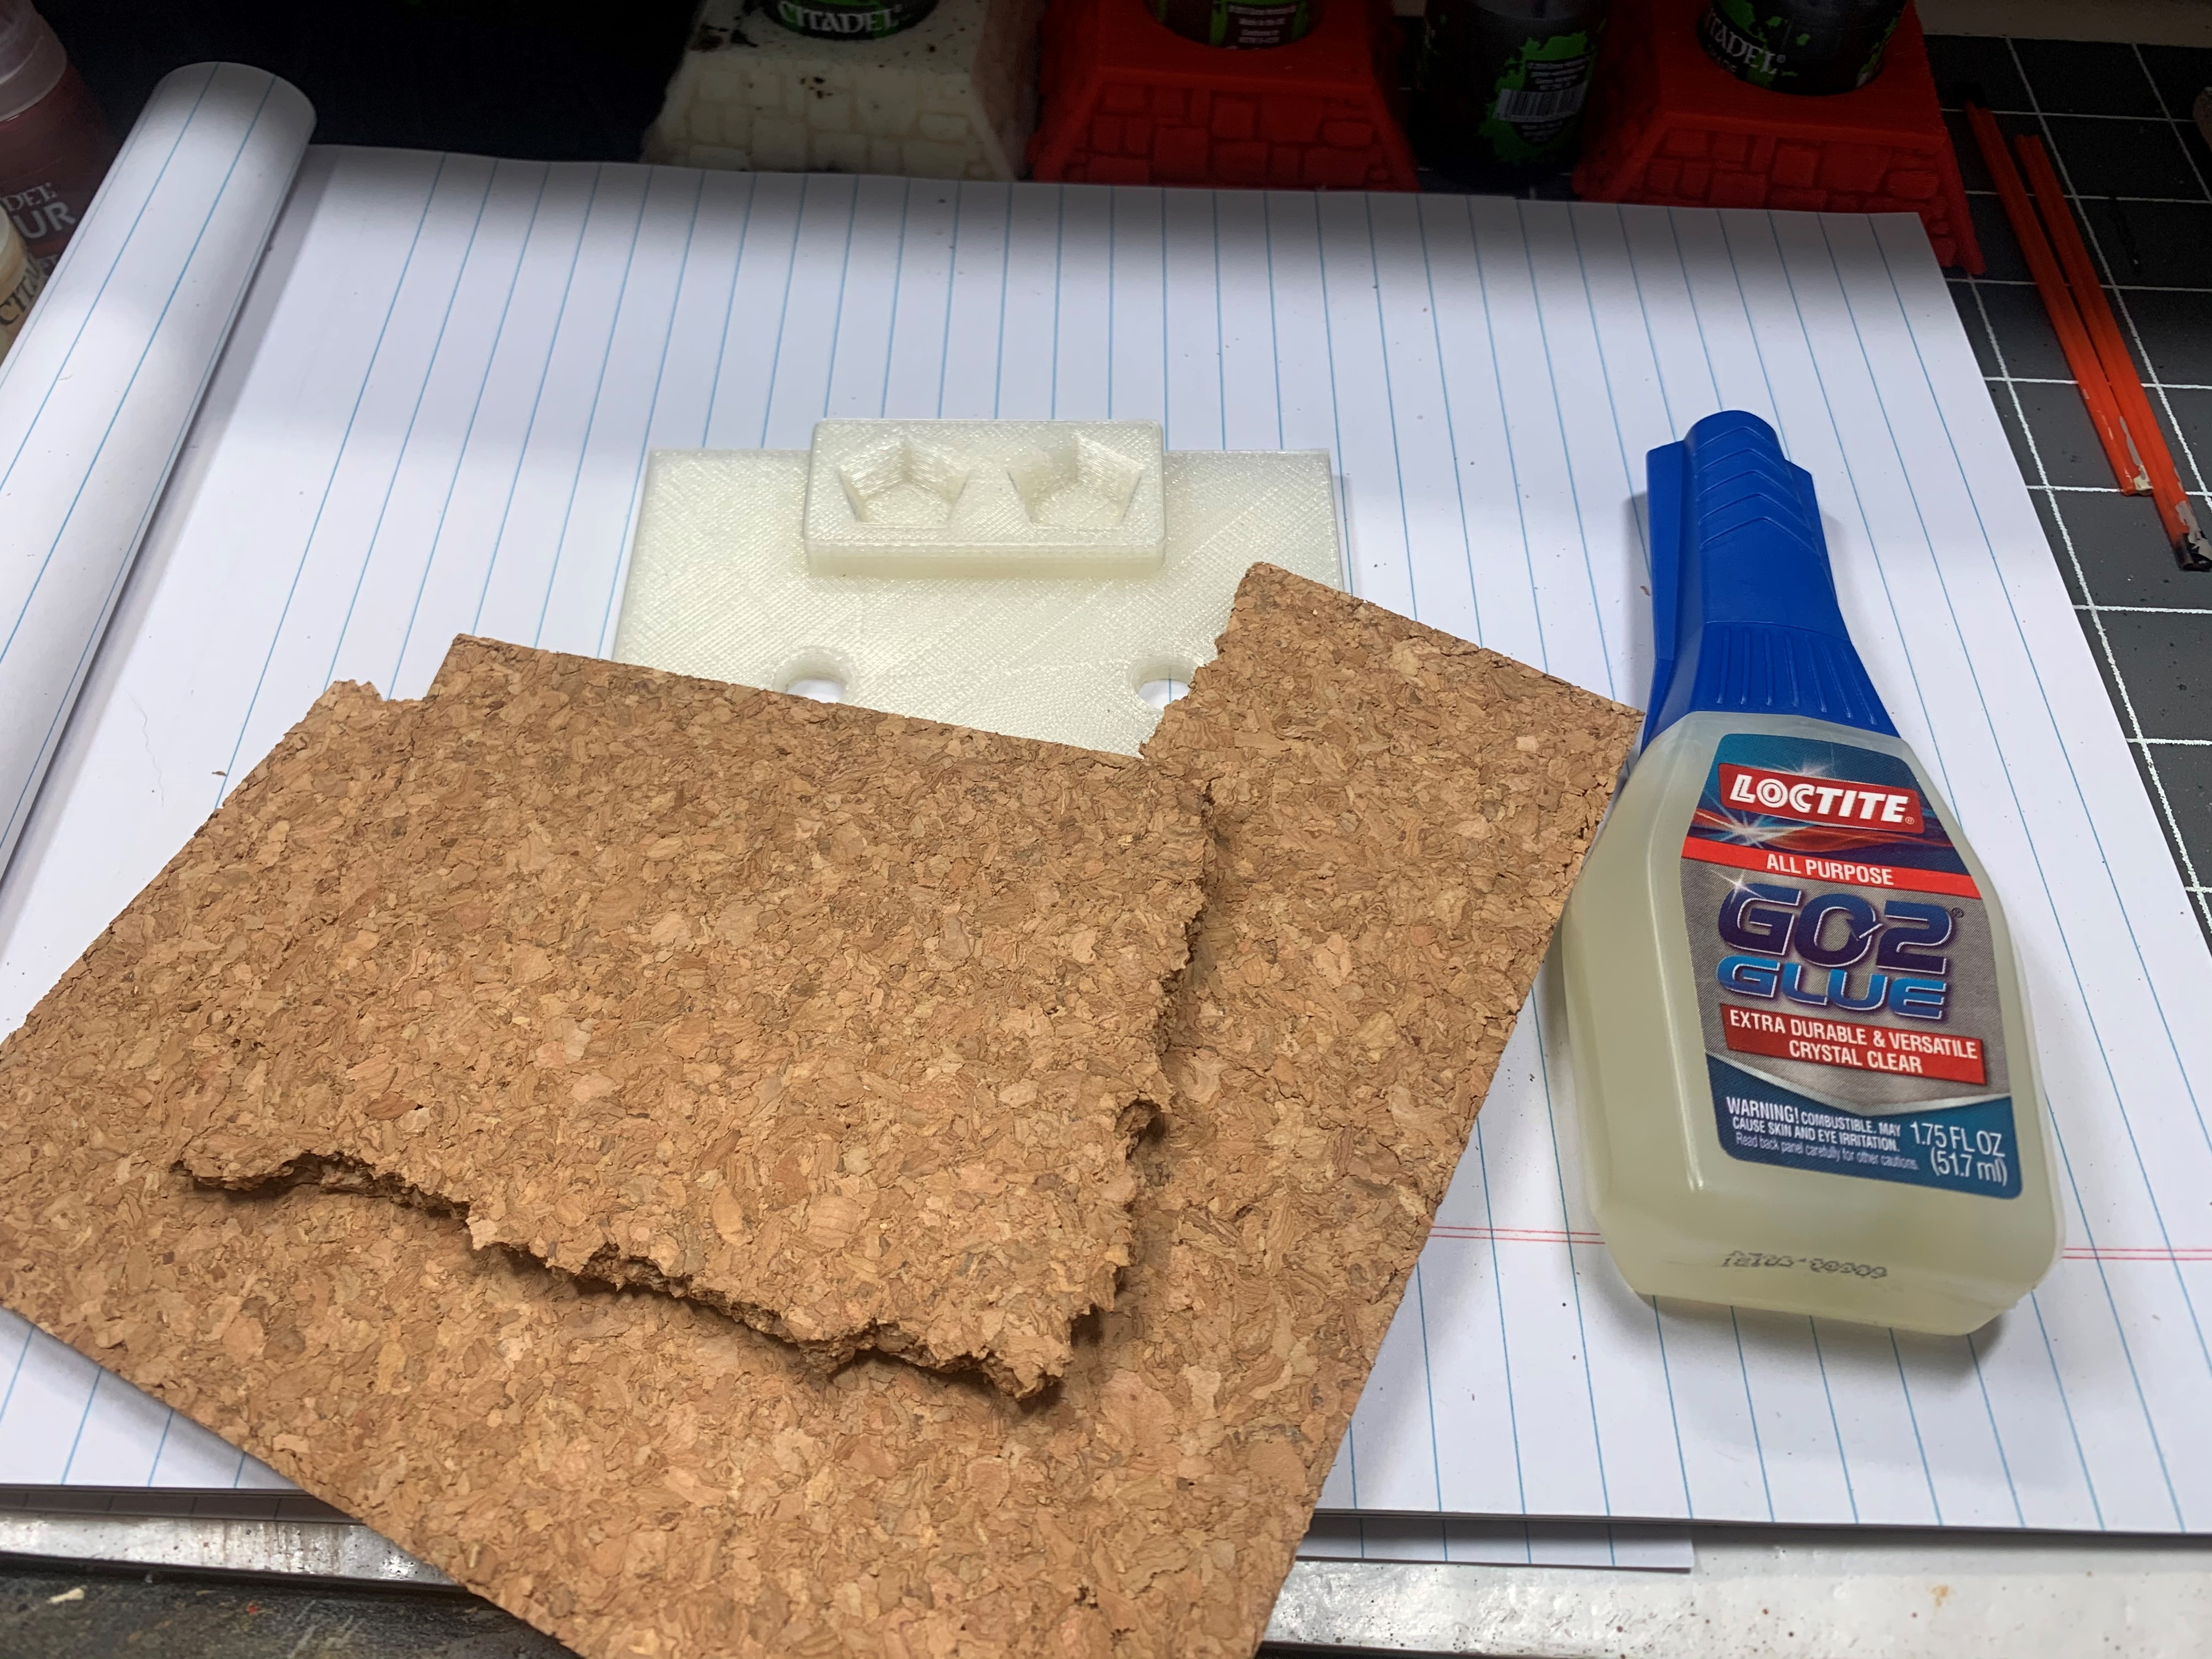
That’s the glue I have been using to glue down cork lately. Cork eats a lot of glue since it’s so porous. I still have to occasionally re-glue corners and such with regular superglue to make sure everything sticks.
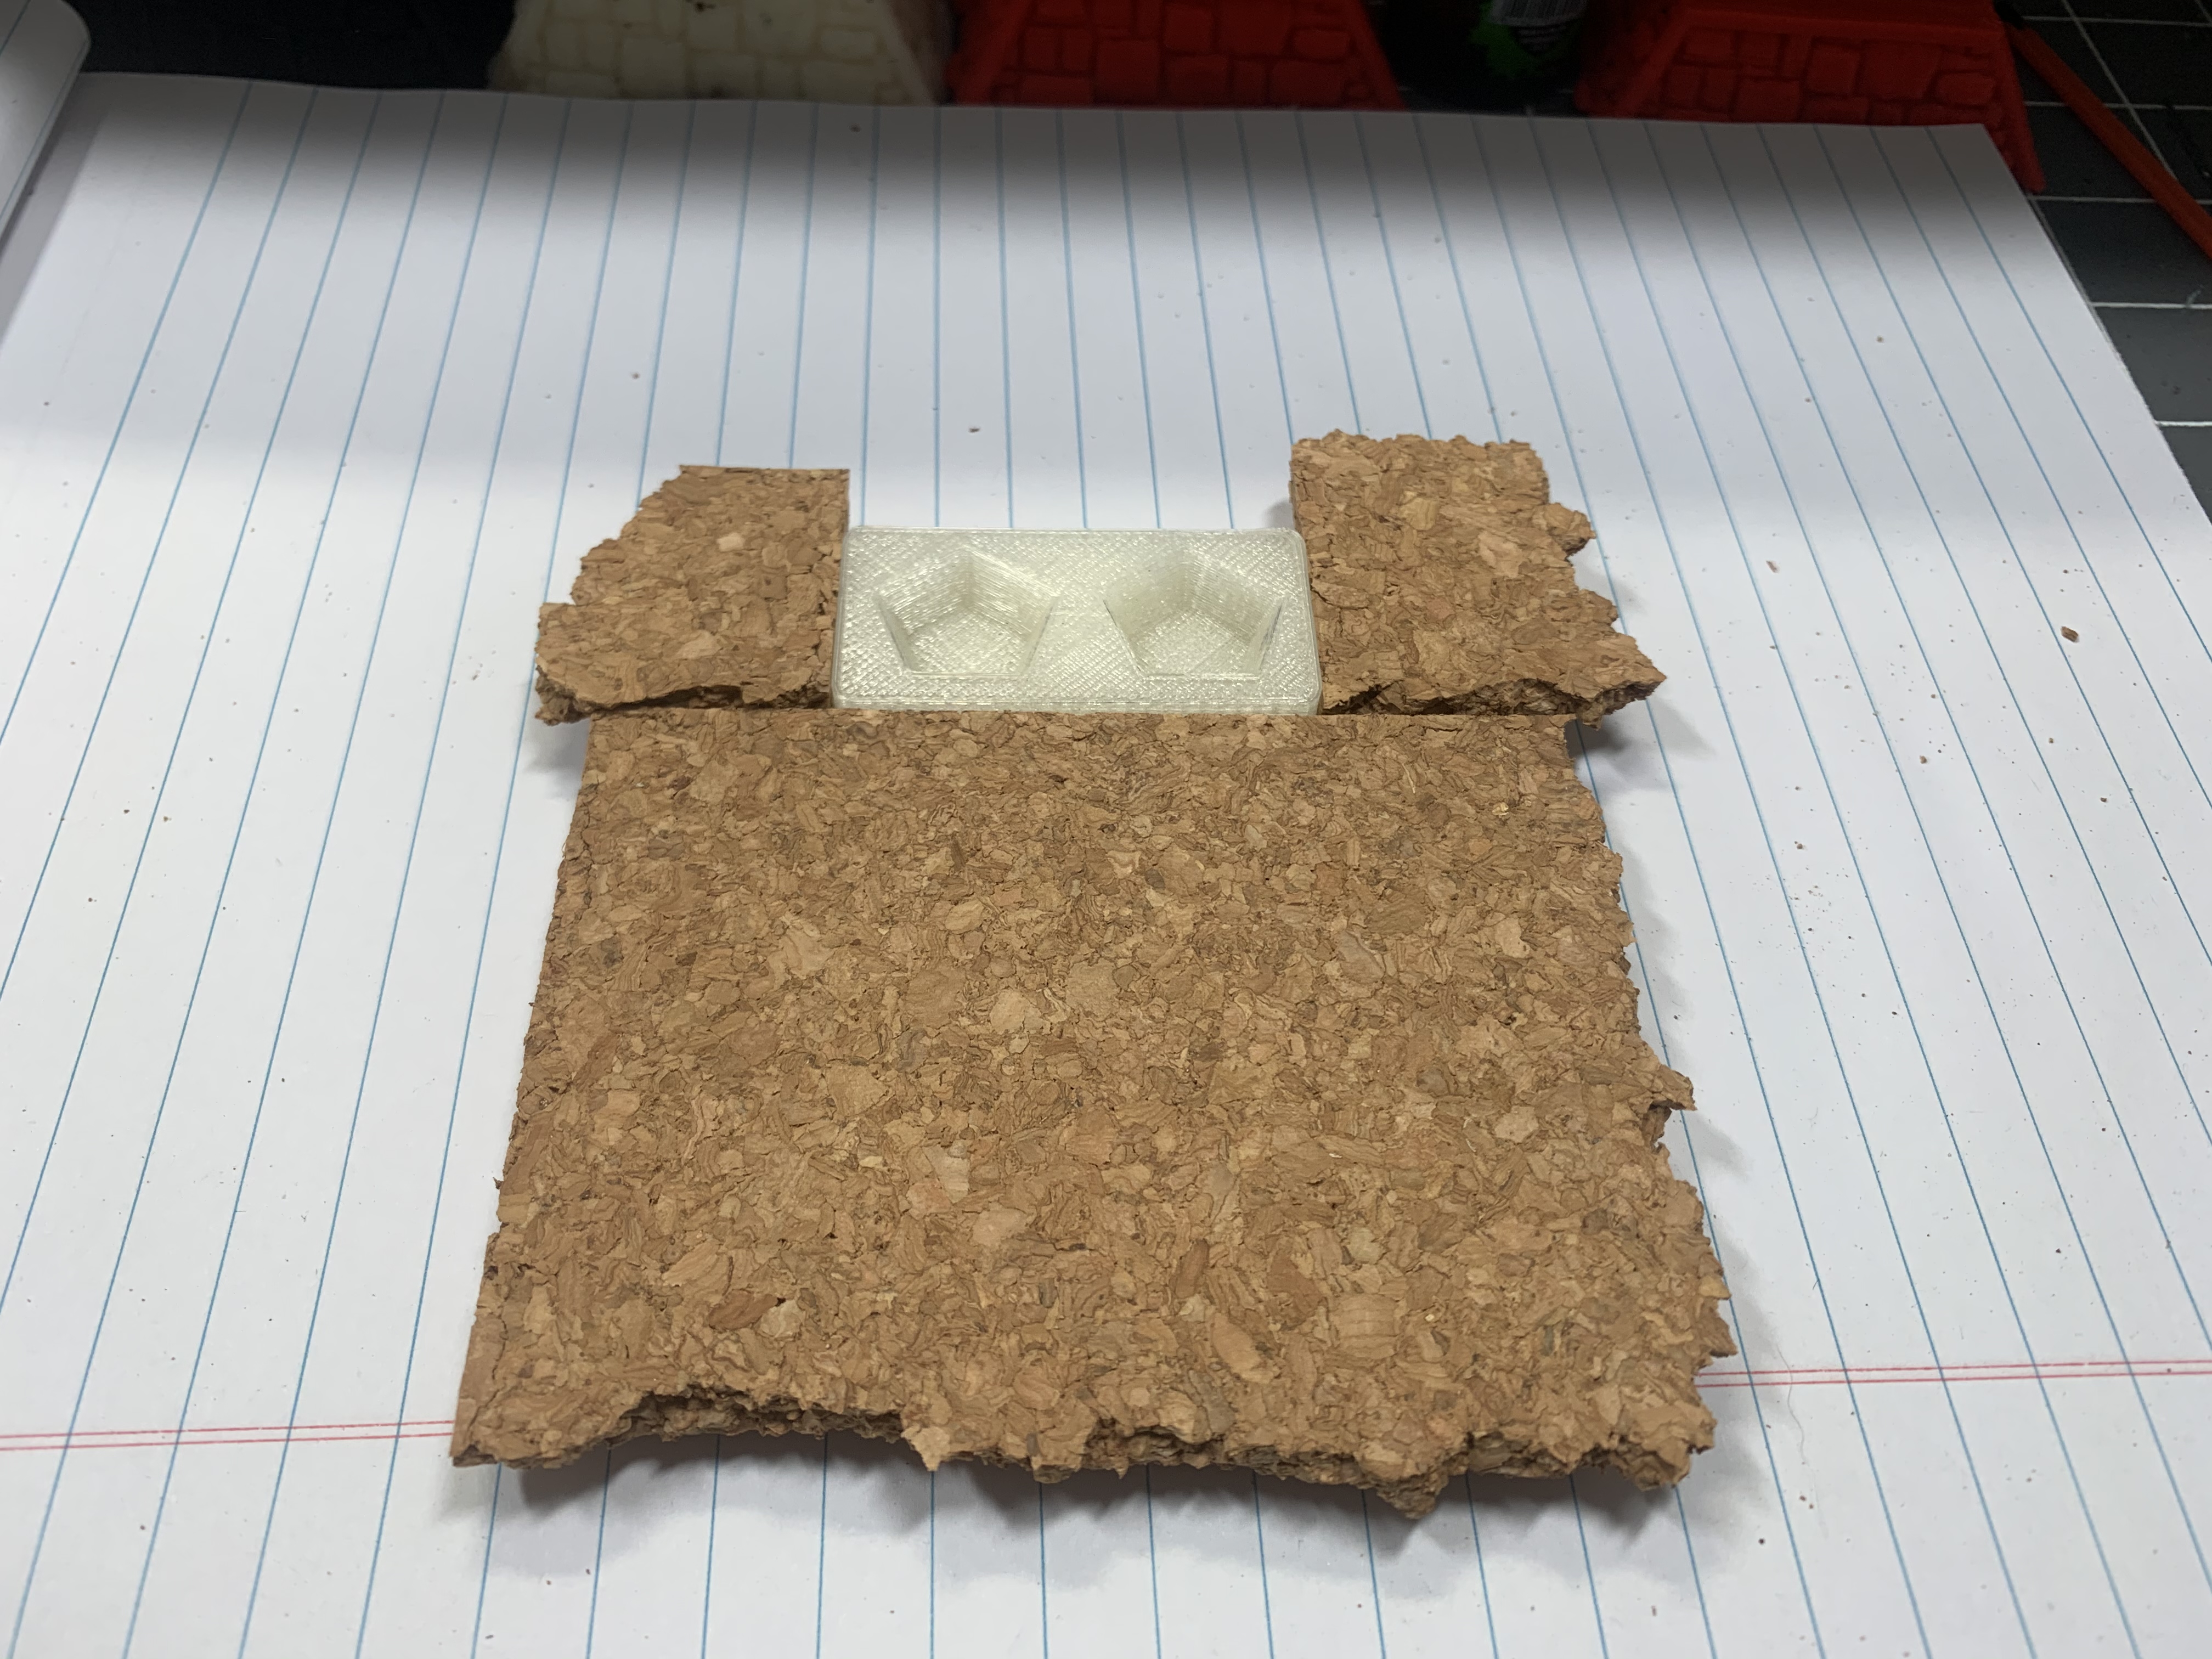
You don’t have to be exact here, jest get close. I will trim it up after the glue sets.
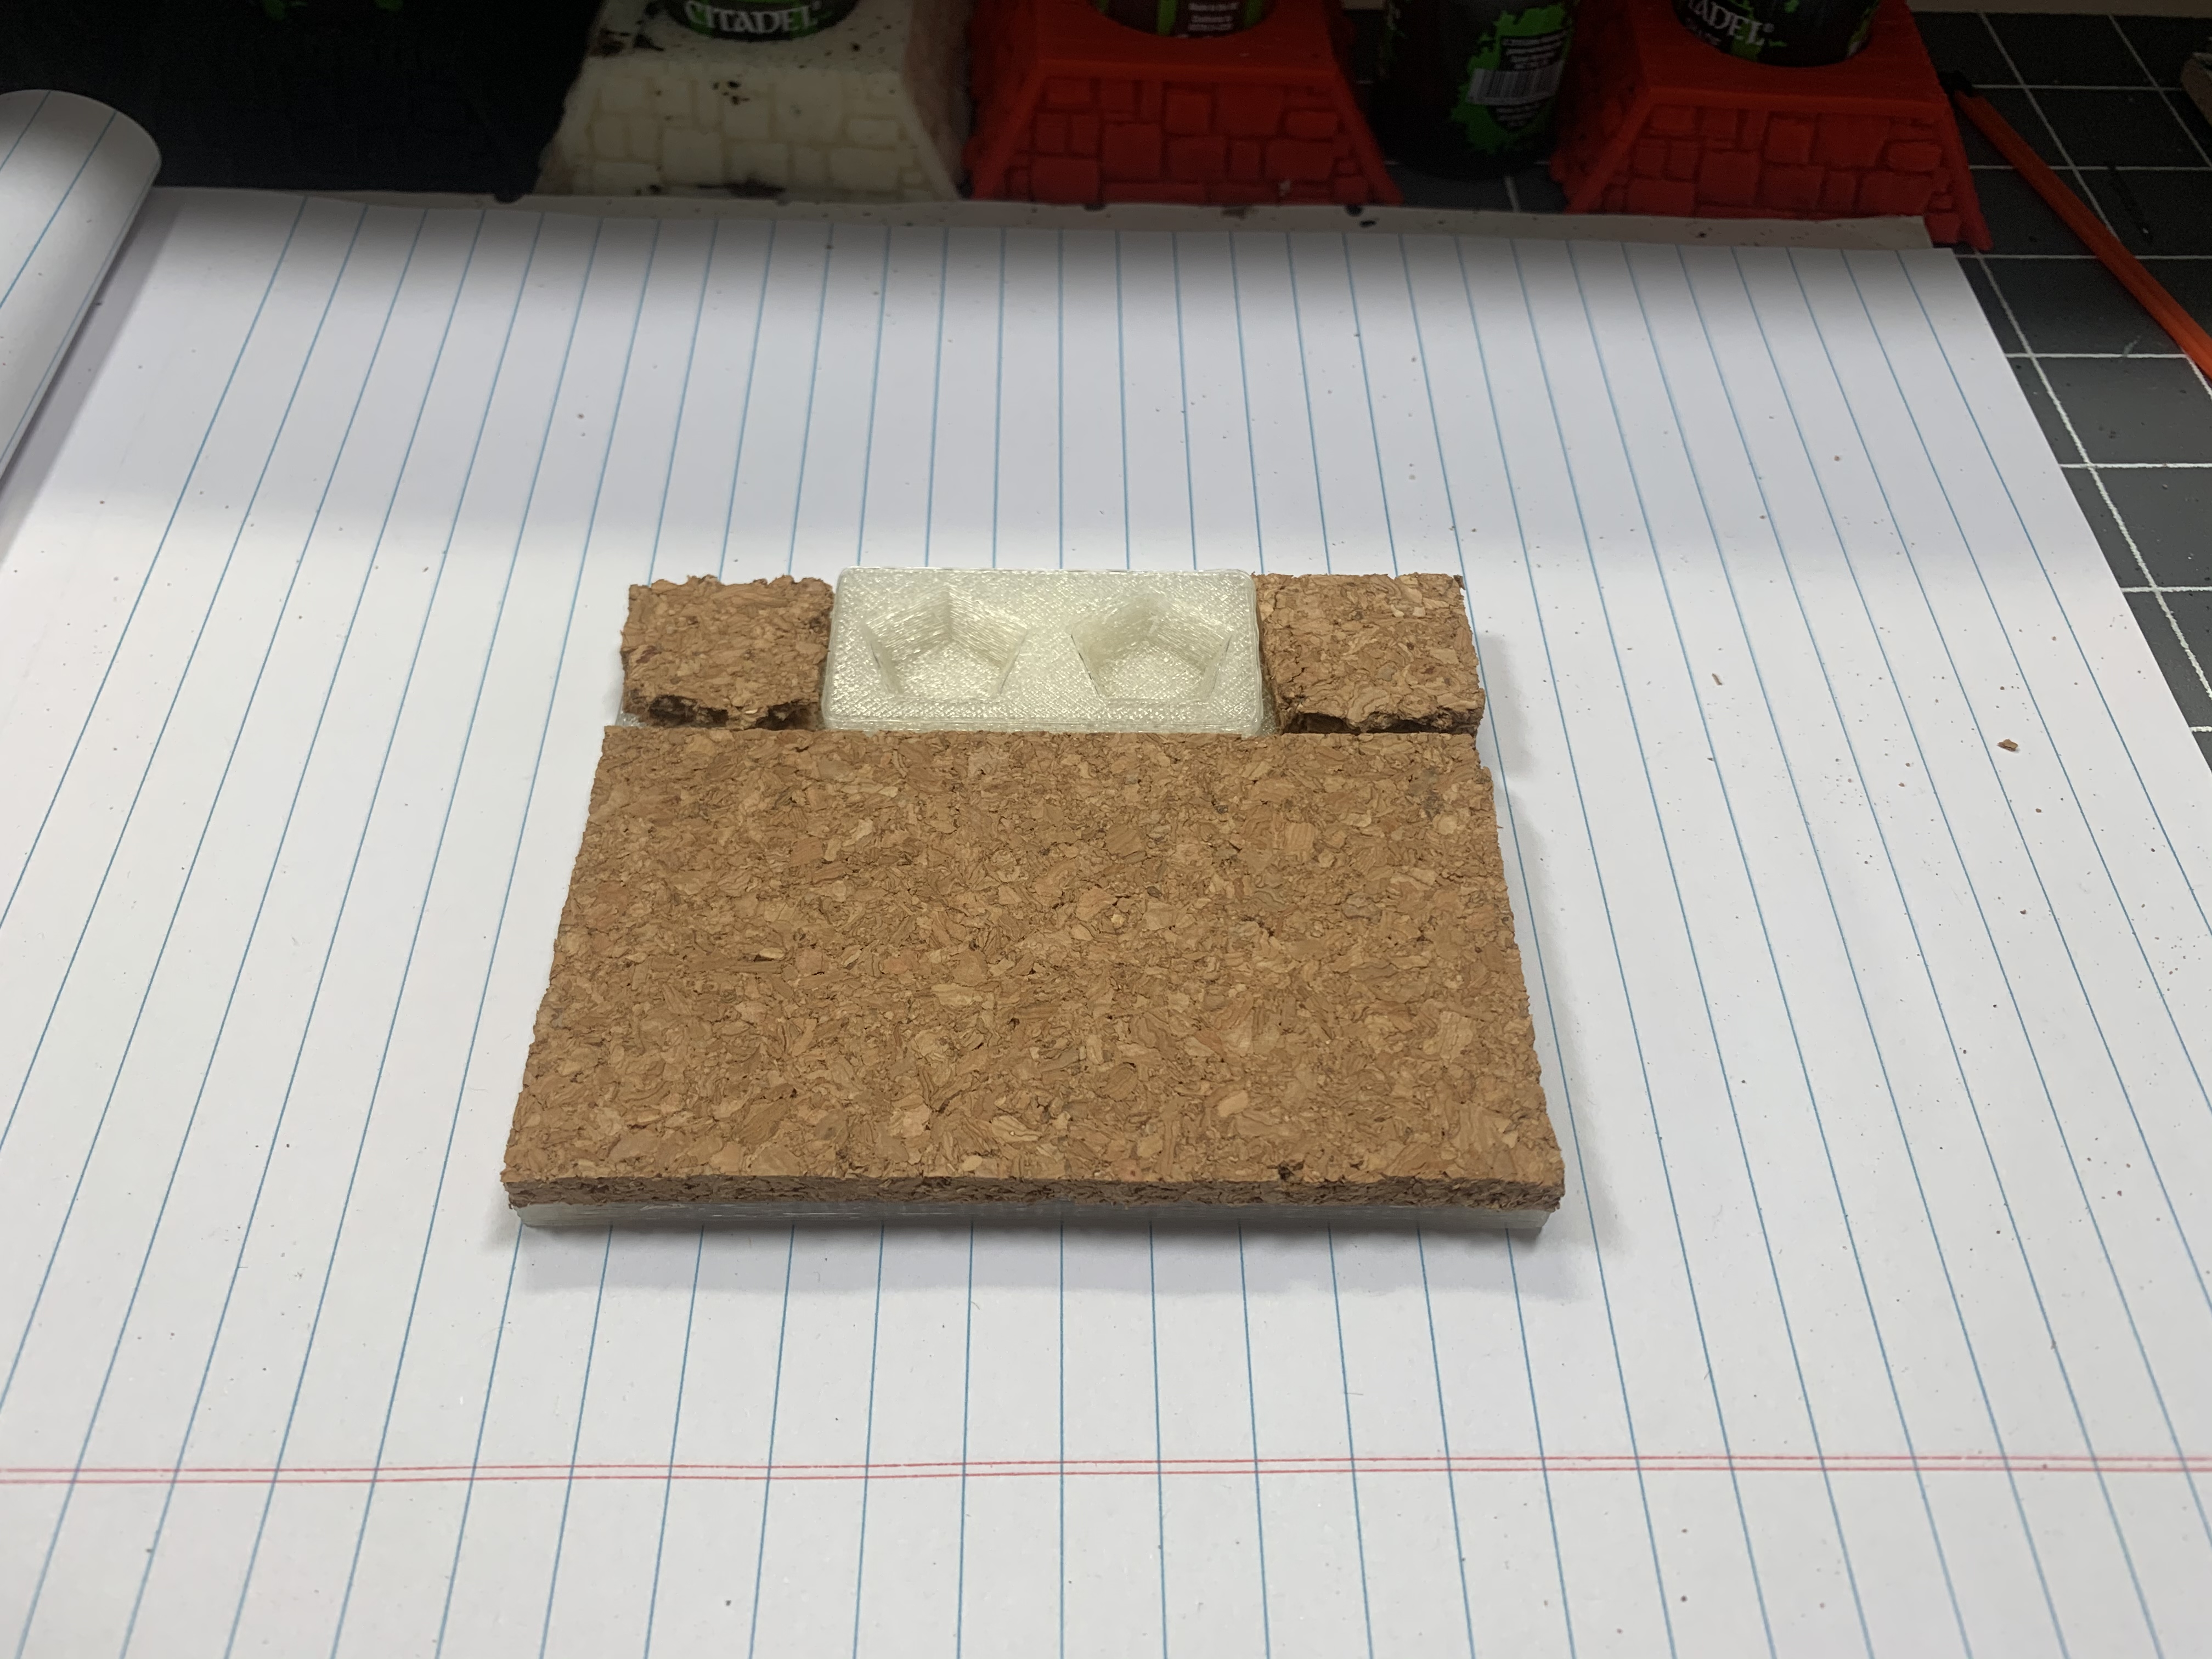
All trimmed up
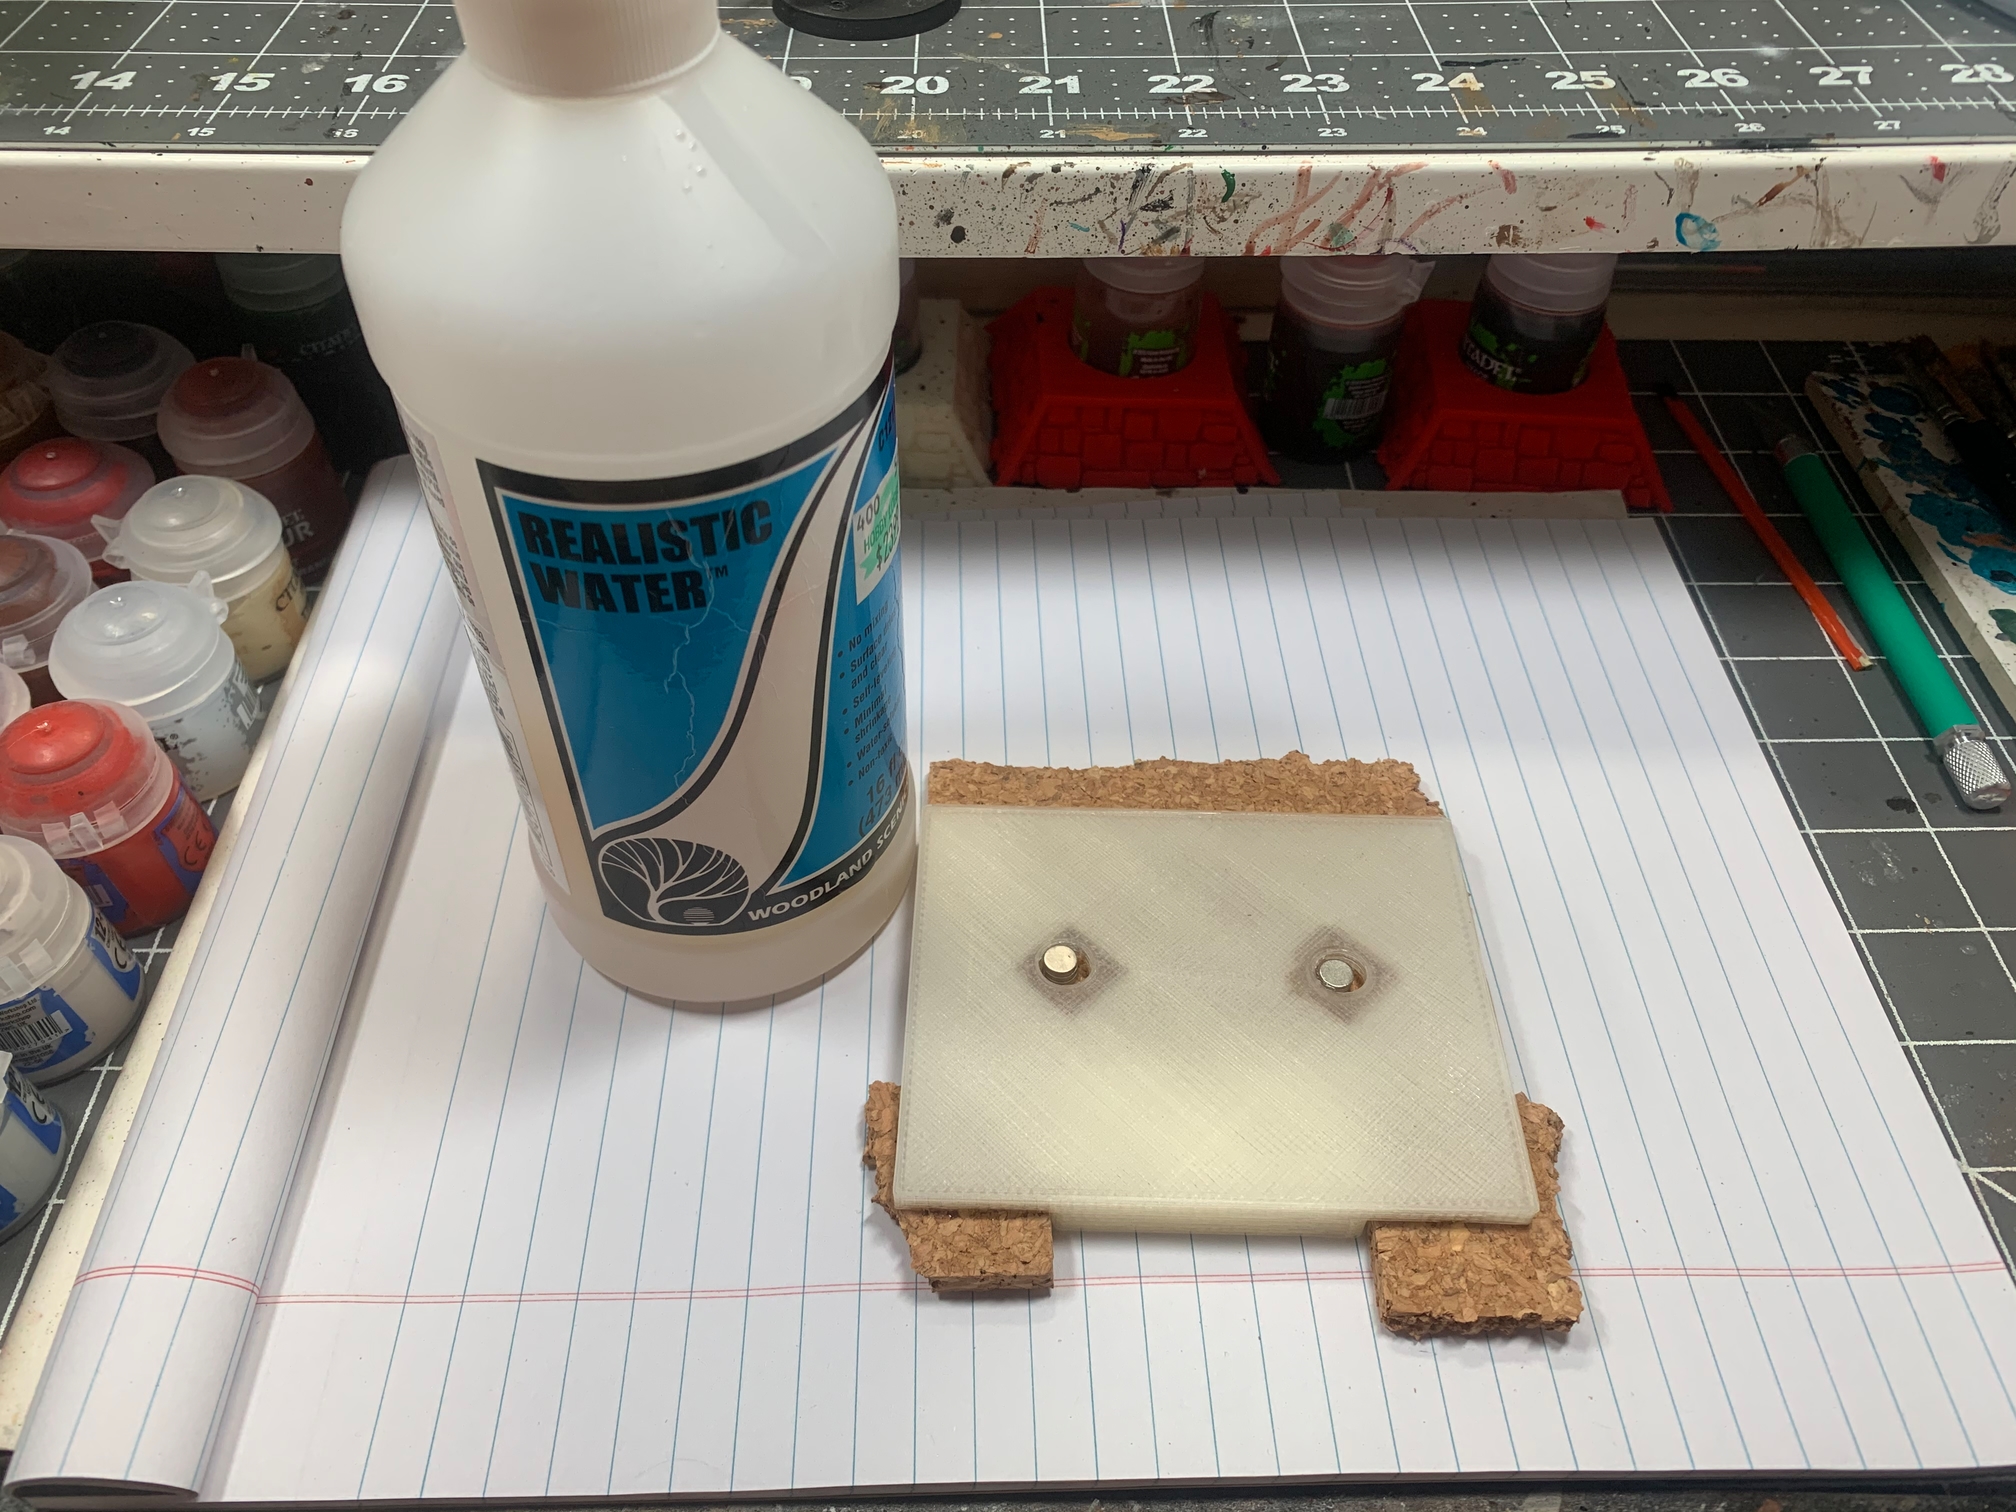
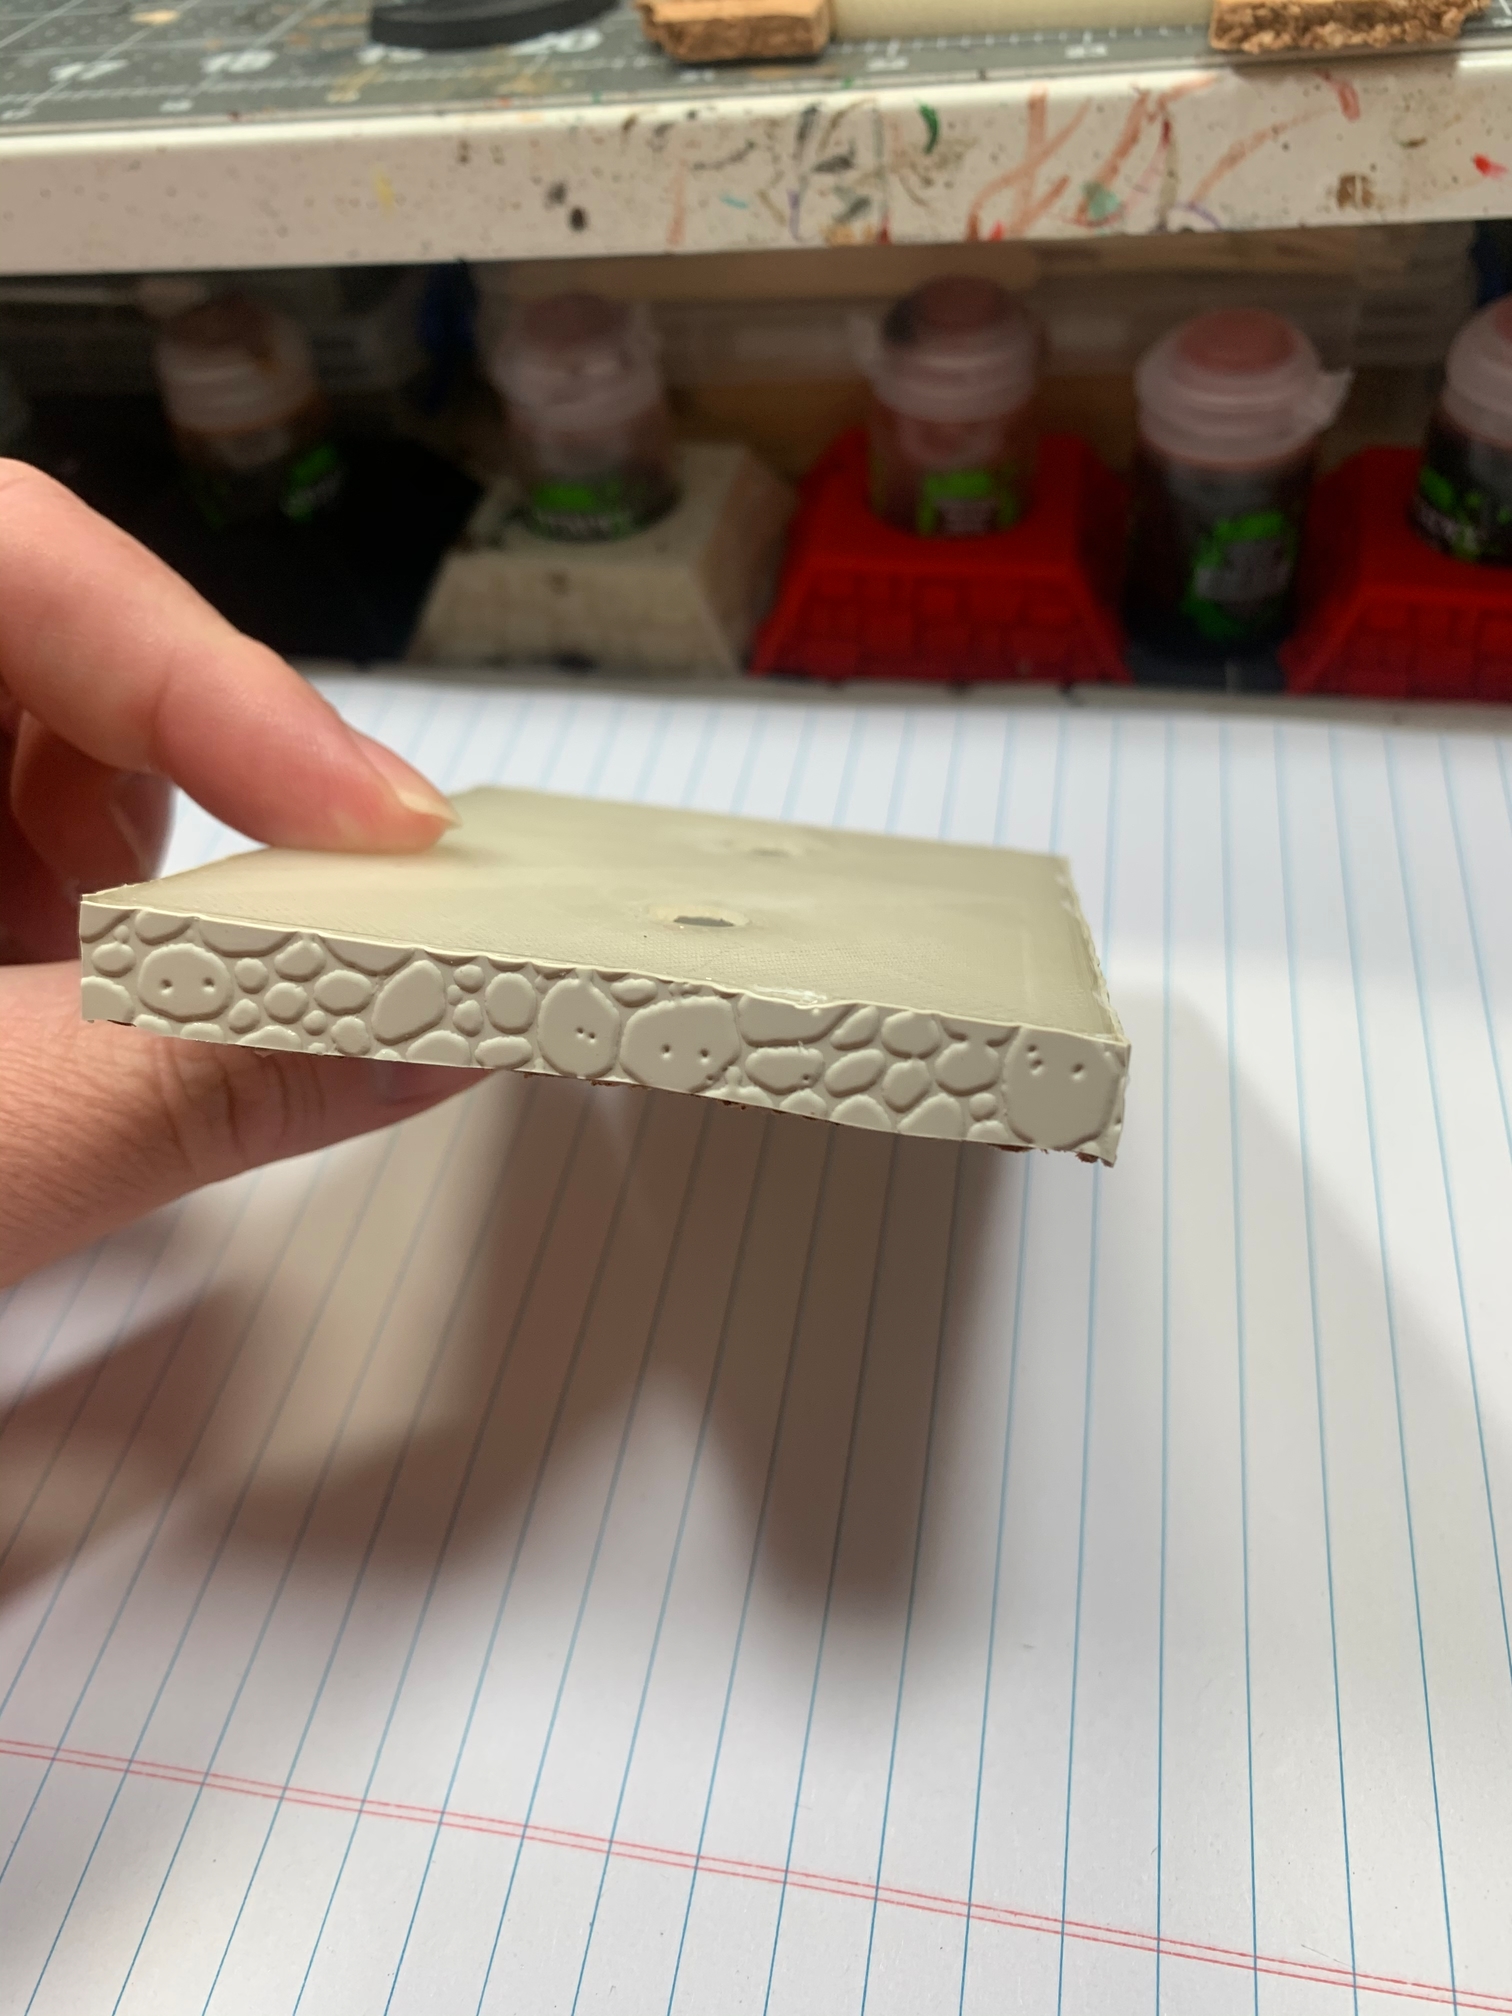
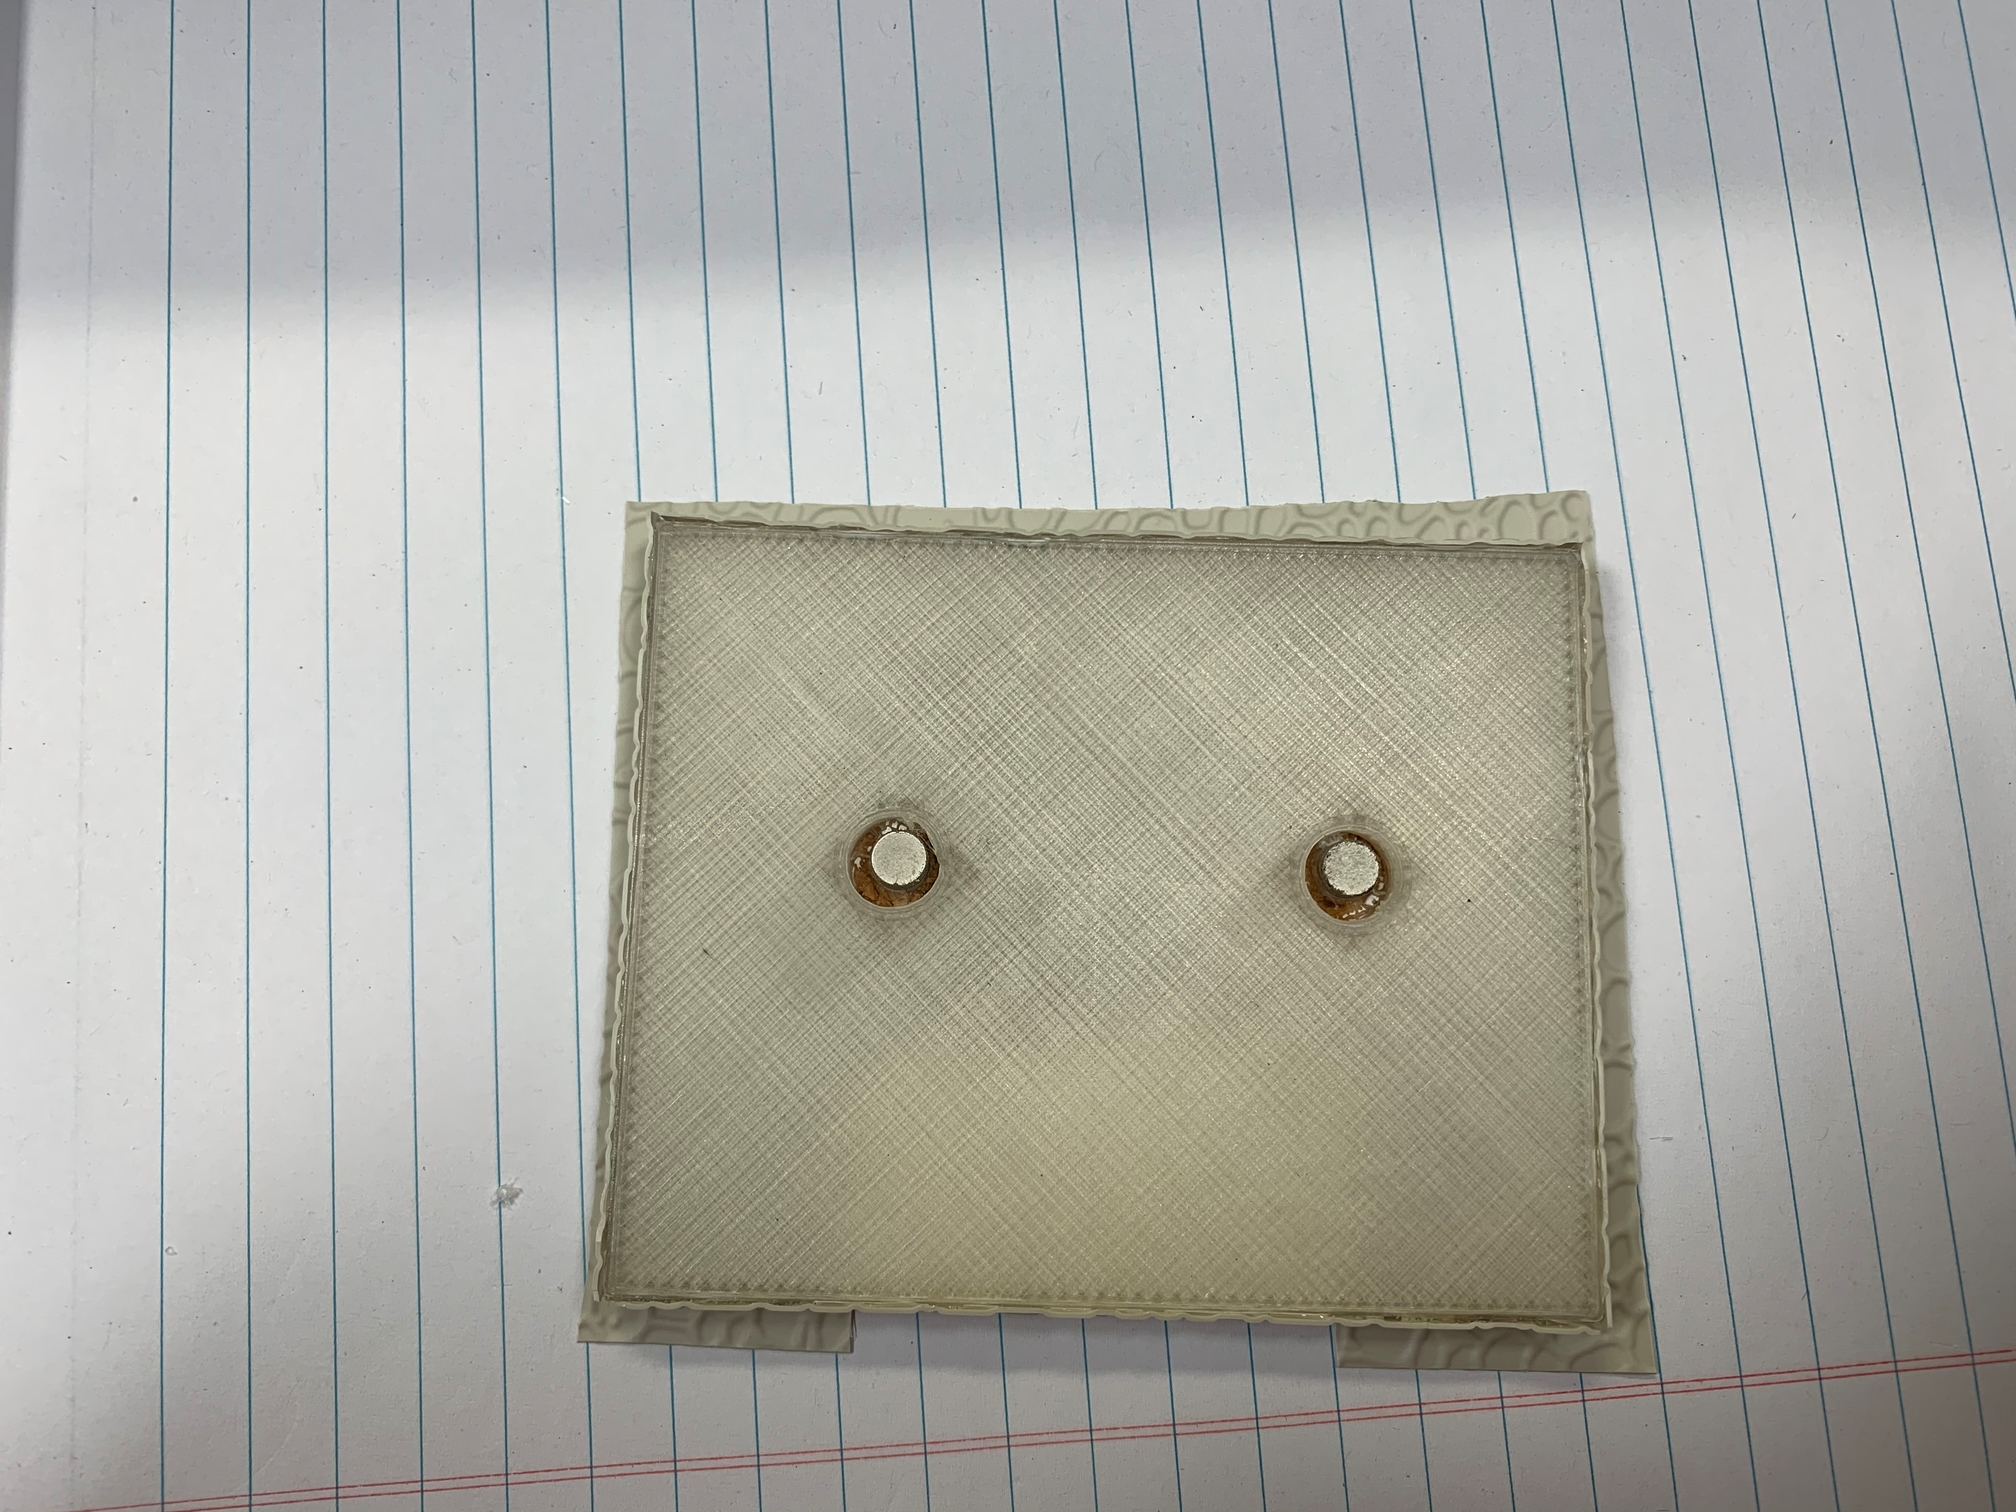
Next up flip the base over and glue the magnets in. Once the glue is dry I set them in with the water effects. I used to use 2 part resin, but I screwed up a batch a while back and ruined about 100 dollars worth of bases cause the resin never set. So I started using the water effects. just fill the holes up and let the water effects dry. it will shrink some while drying, so as long as you don’t have the hole overfilled they should dry flat. I have only last a handful of magnets doing it this way, so I like it. though your mileage may vary…
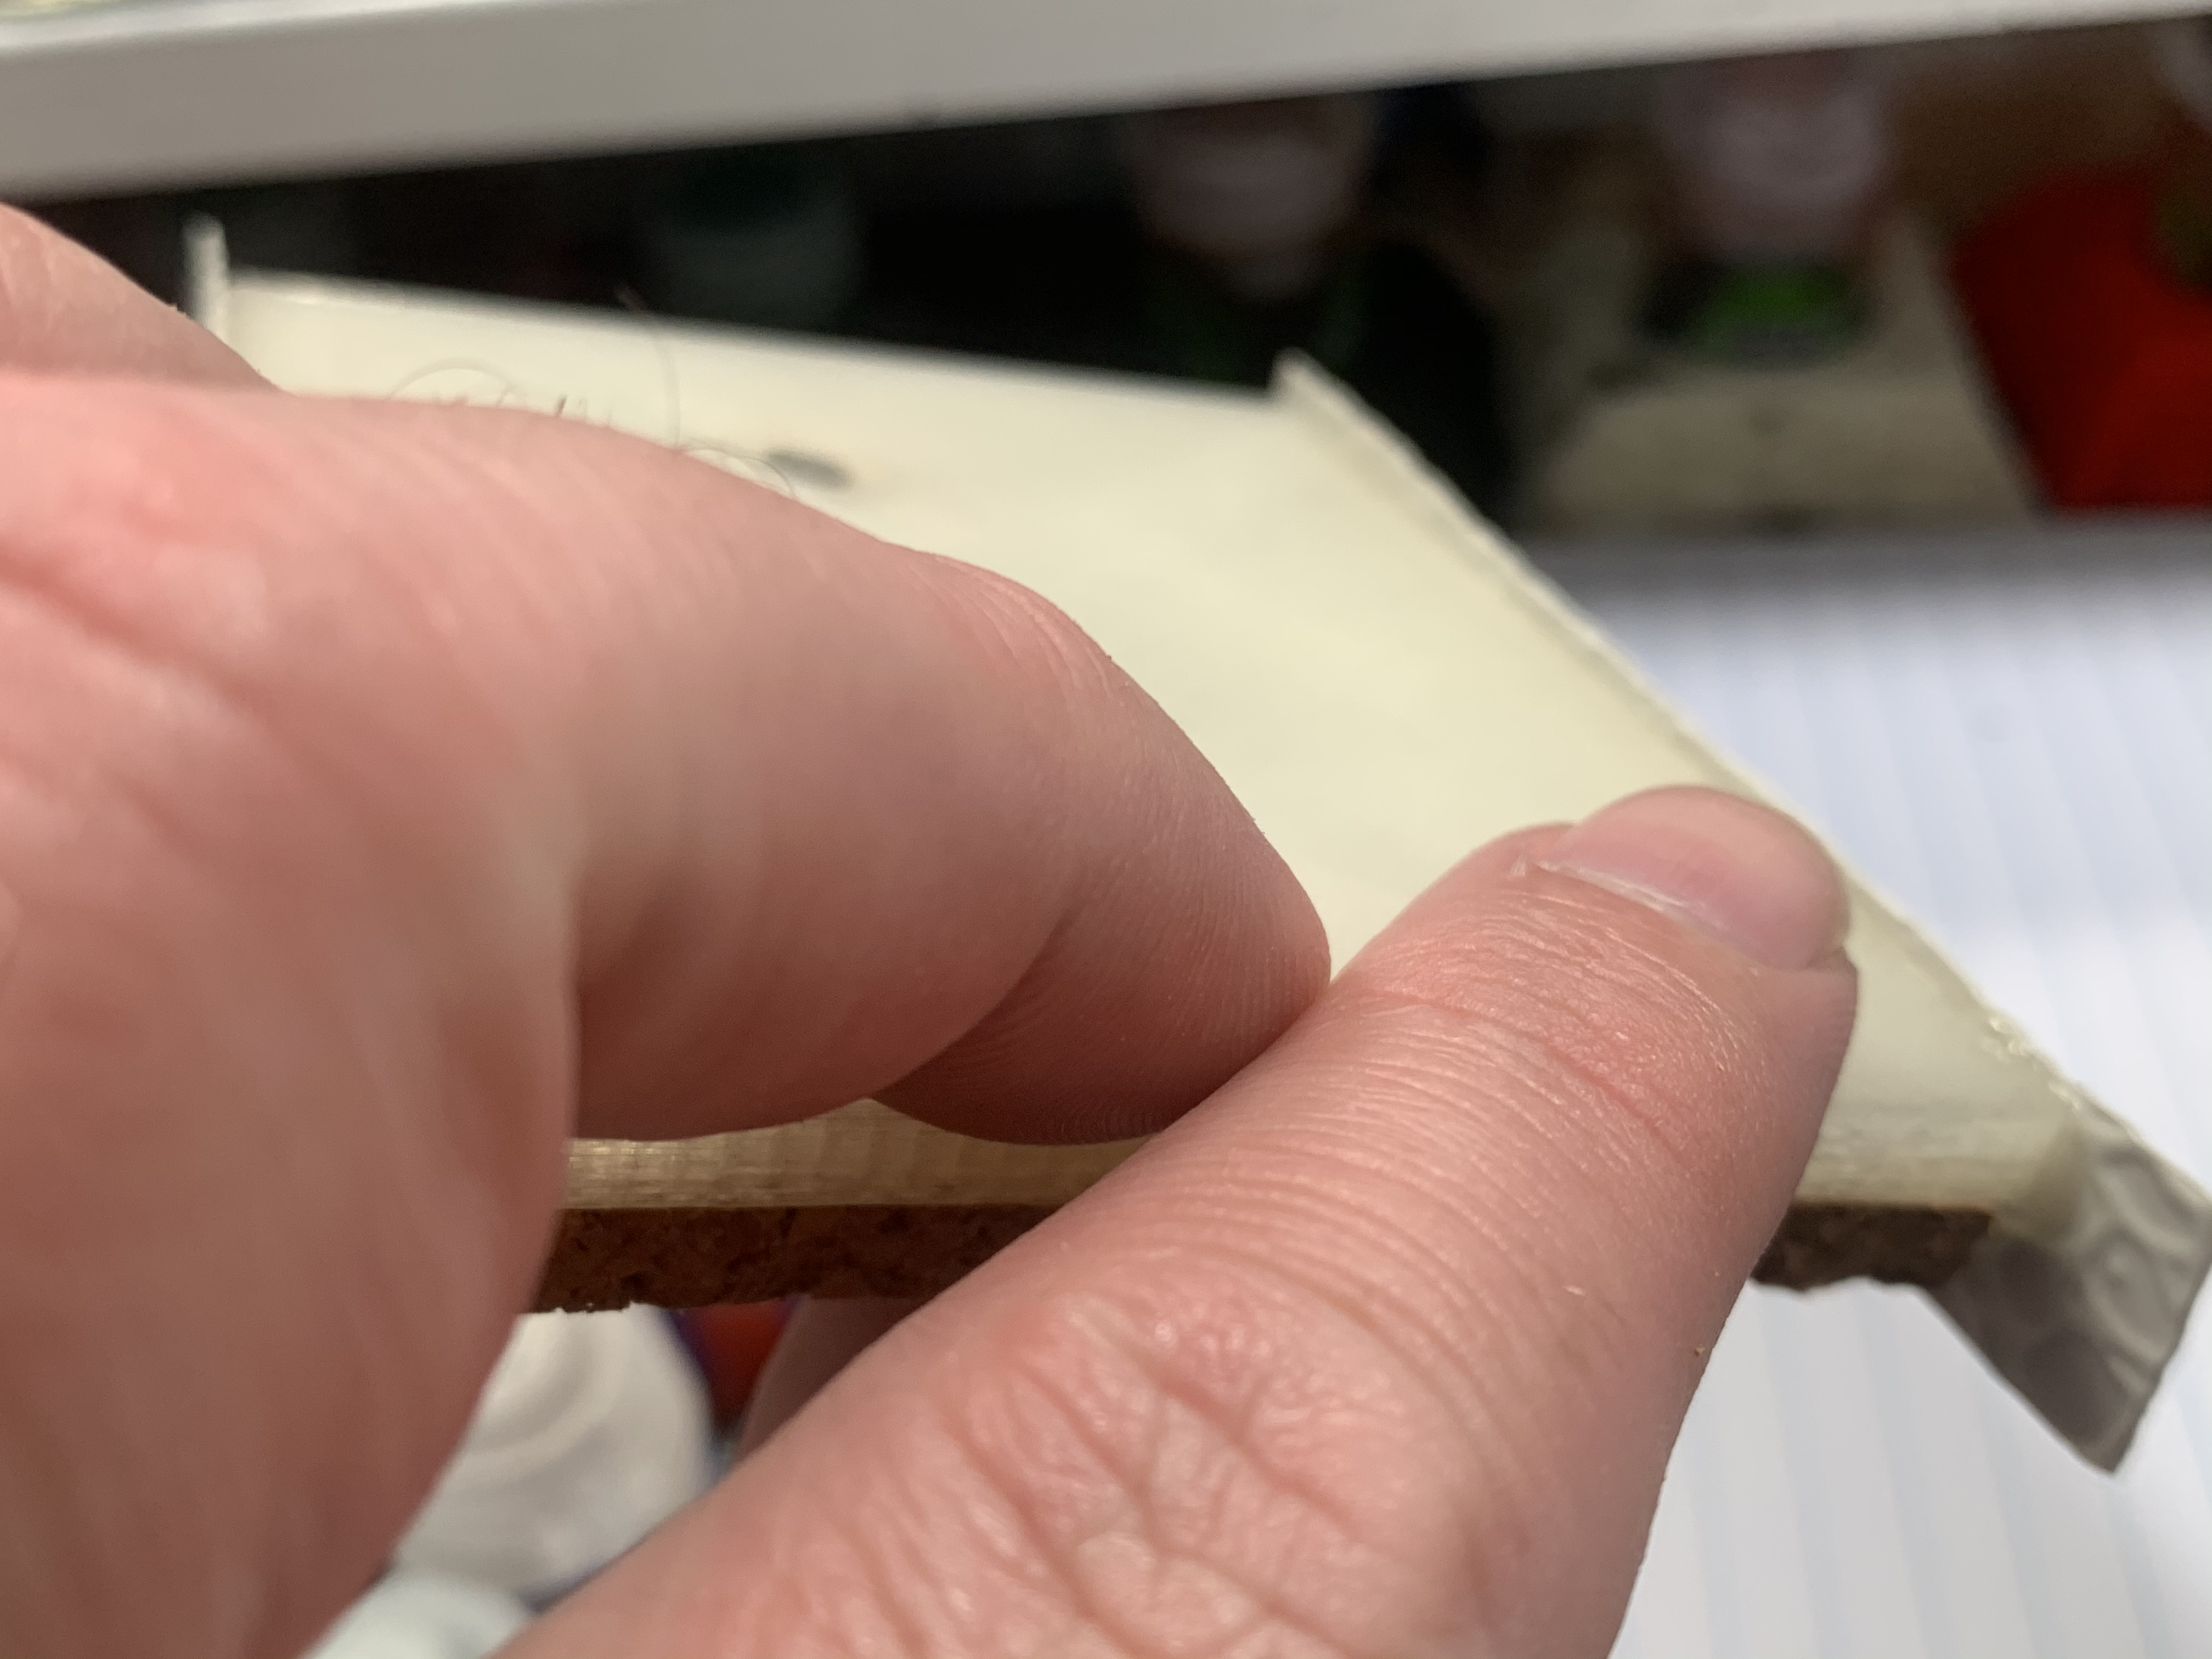
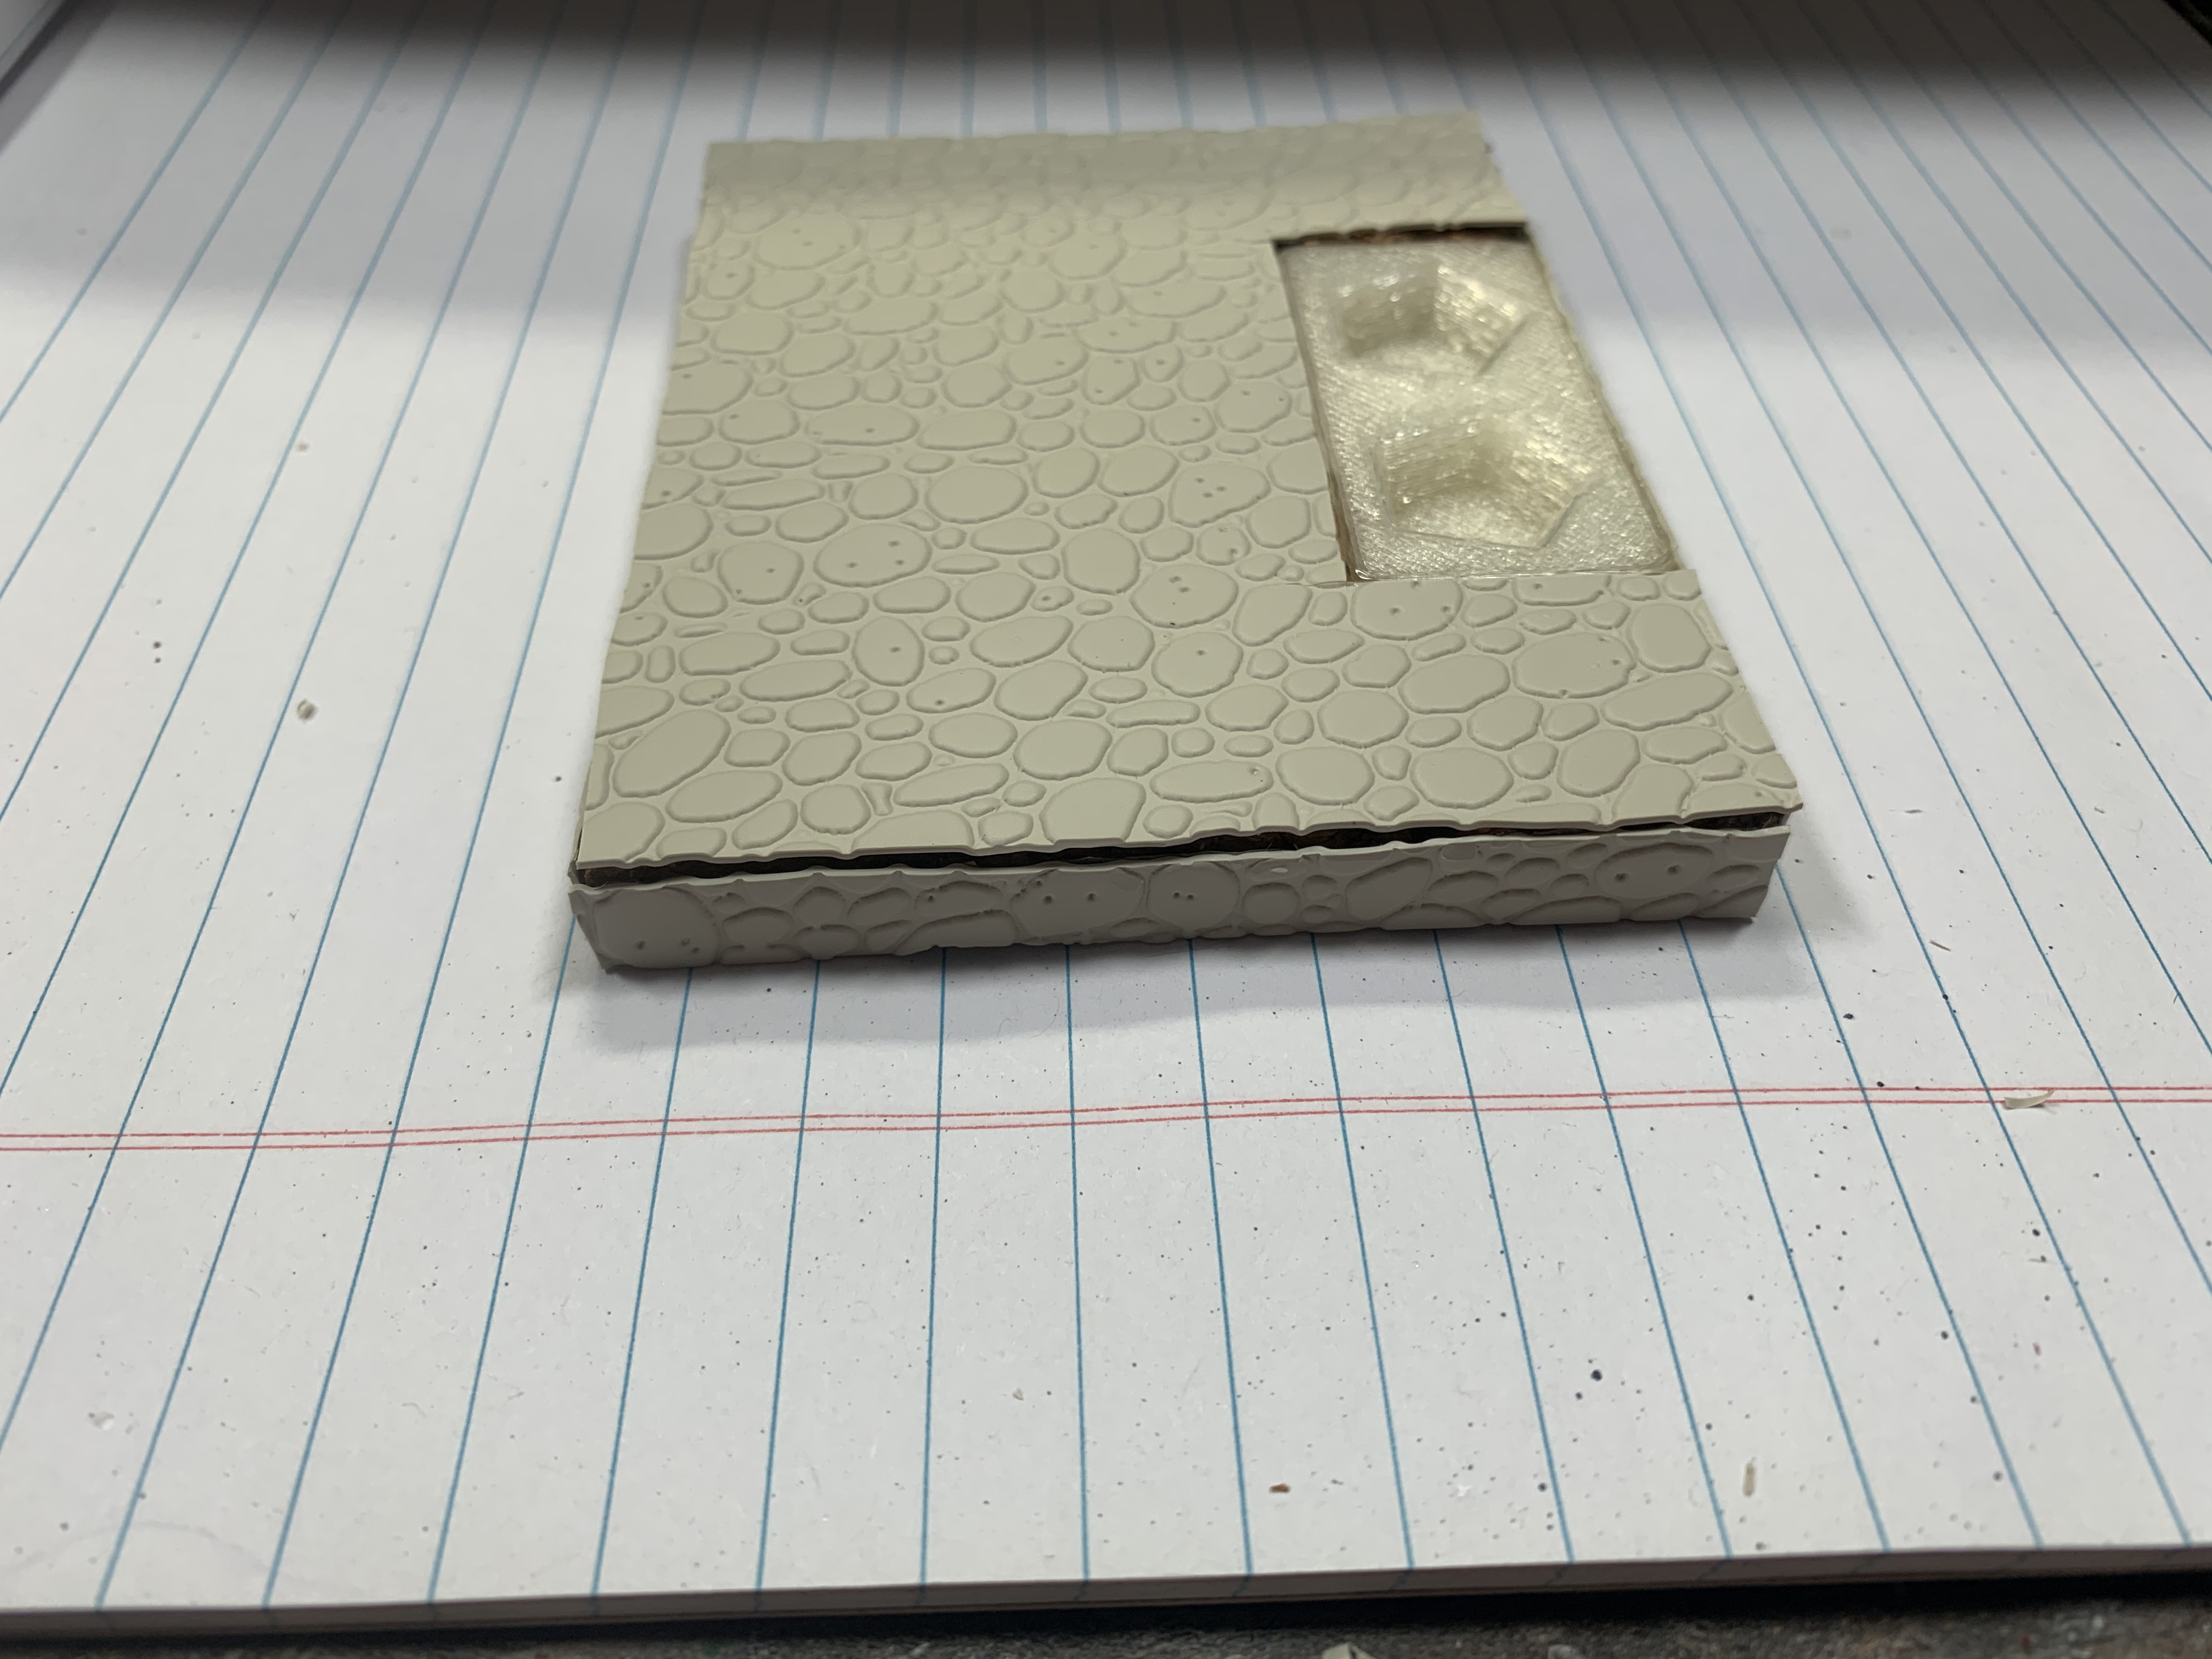
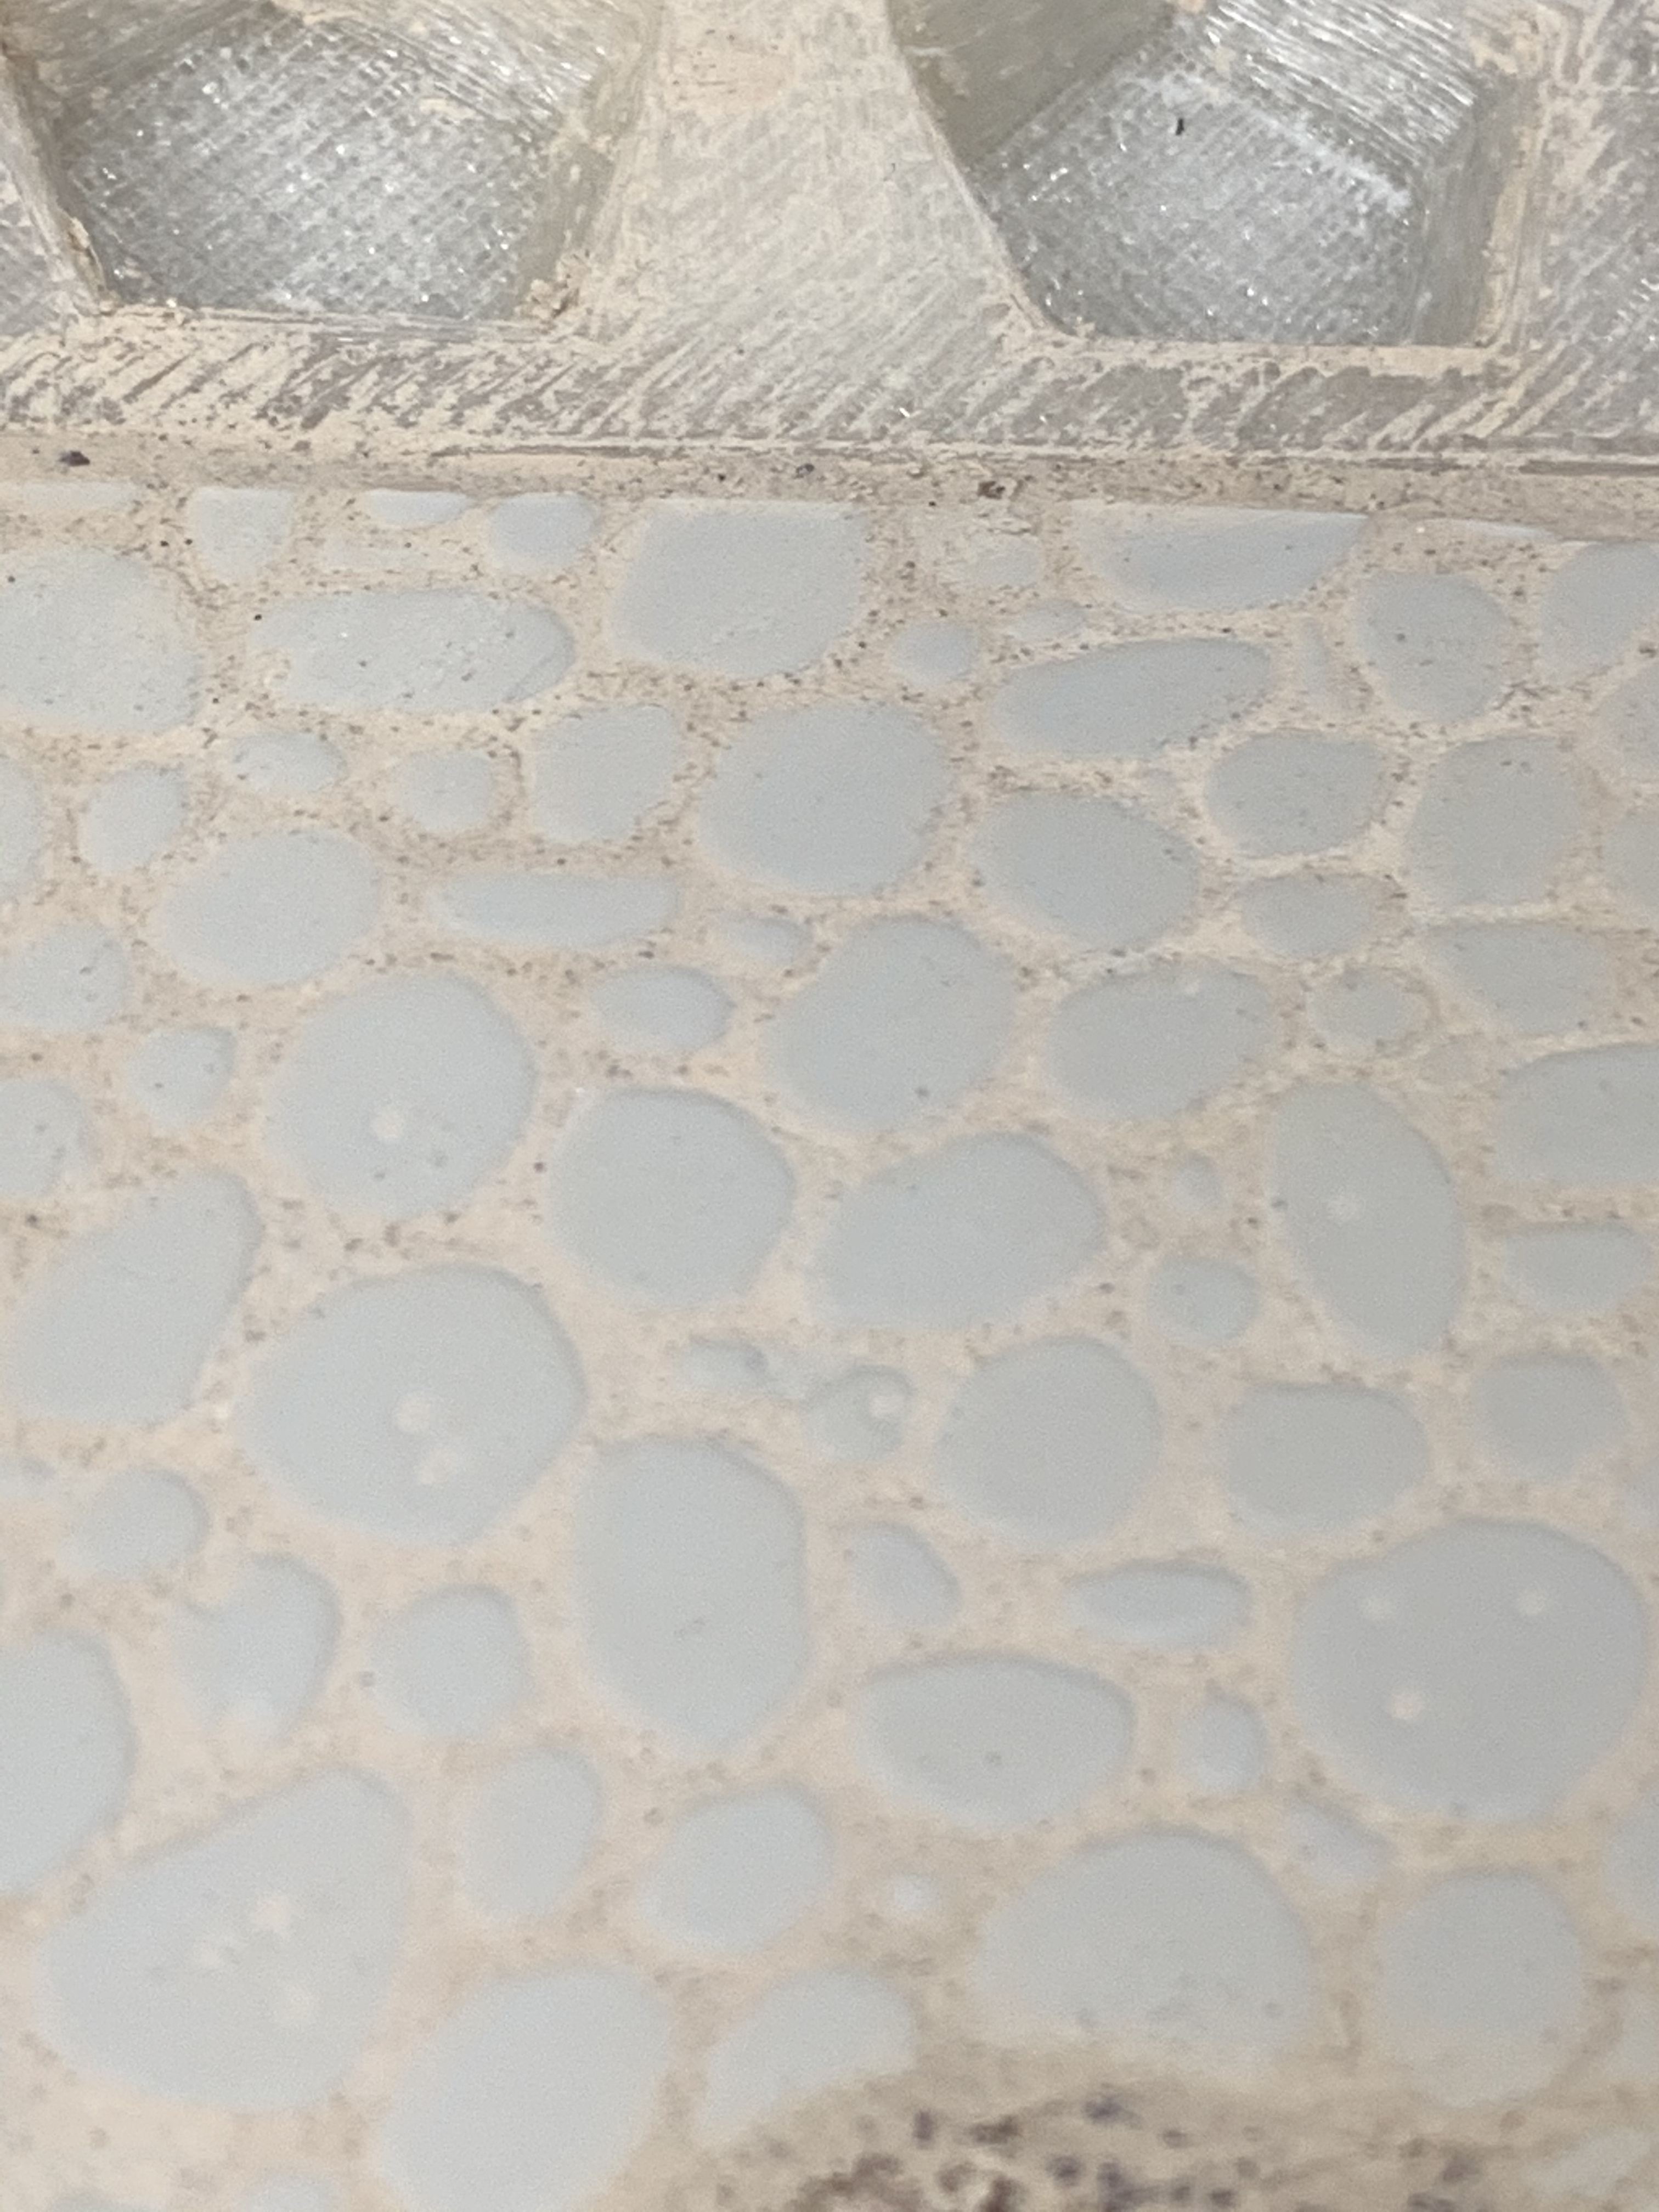
After everything is dry, we start adding the plasticard. I start with one set up sides. Cut a strip of plasticard that will overlap the edges by a bit and glue into place. Set it off to the side and let it dry.
After that is dry, you trim the edges to be flush with the cork and the tray edges and rinse and repeat with the other sides, (forgot to take a pic here sorry…)
when every thing is dry and trimmed you should end up with something like this.
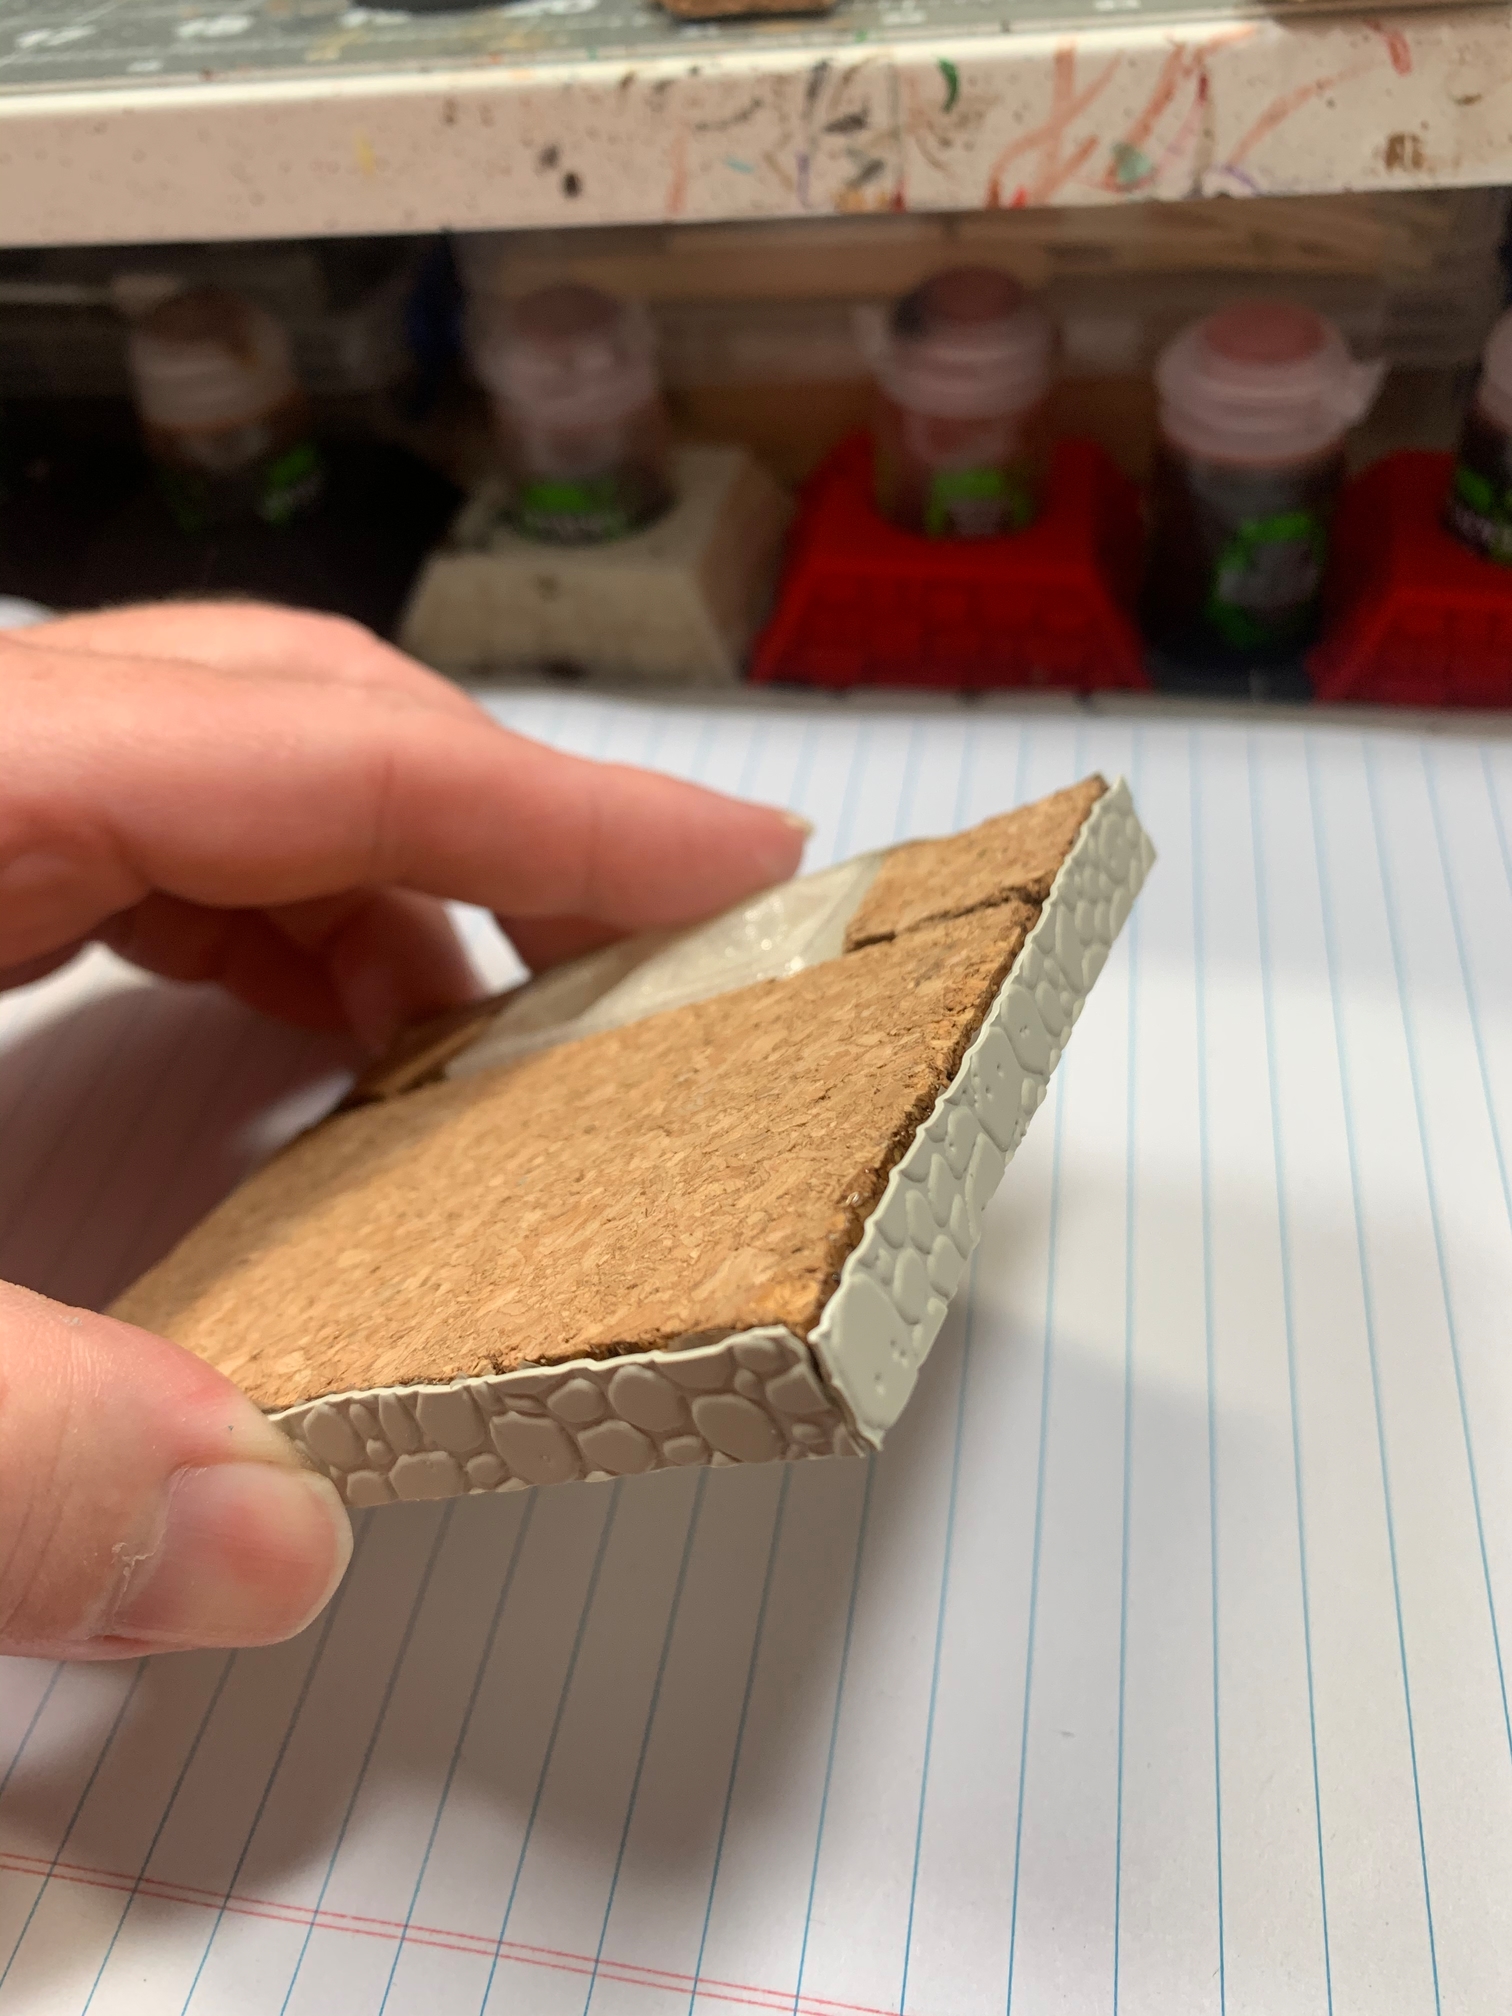
I don’t stress over having perfect trims, I plan on covering those up soon. Besides a bit of randomness makes the basing look a lil more realistic.
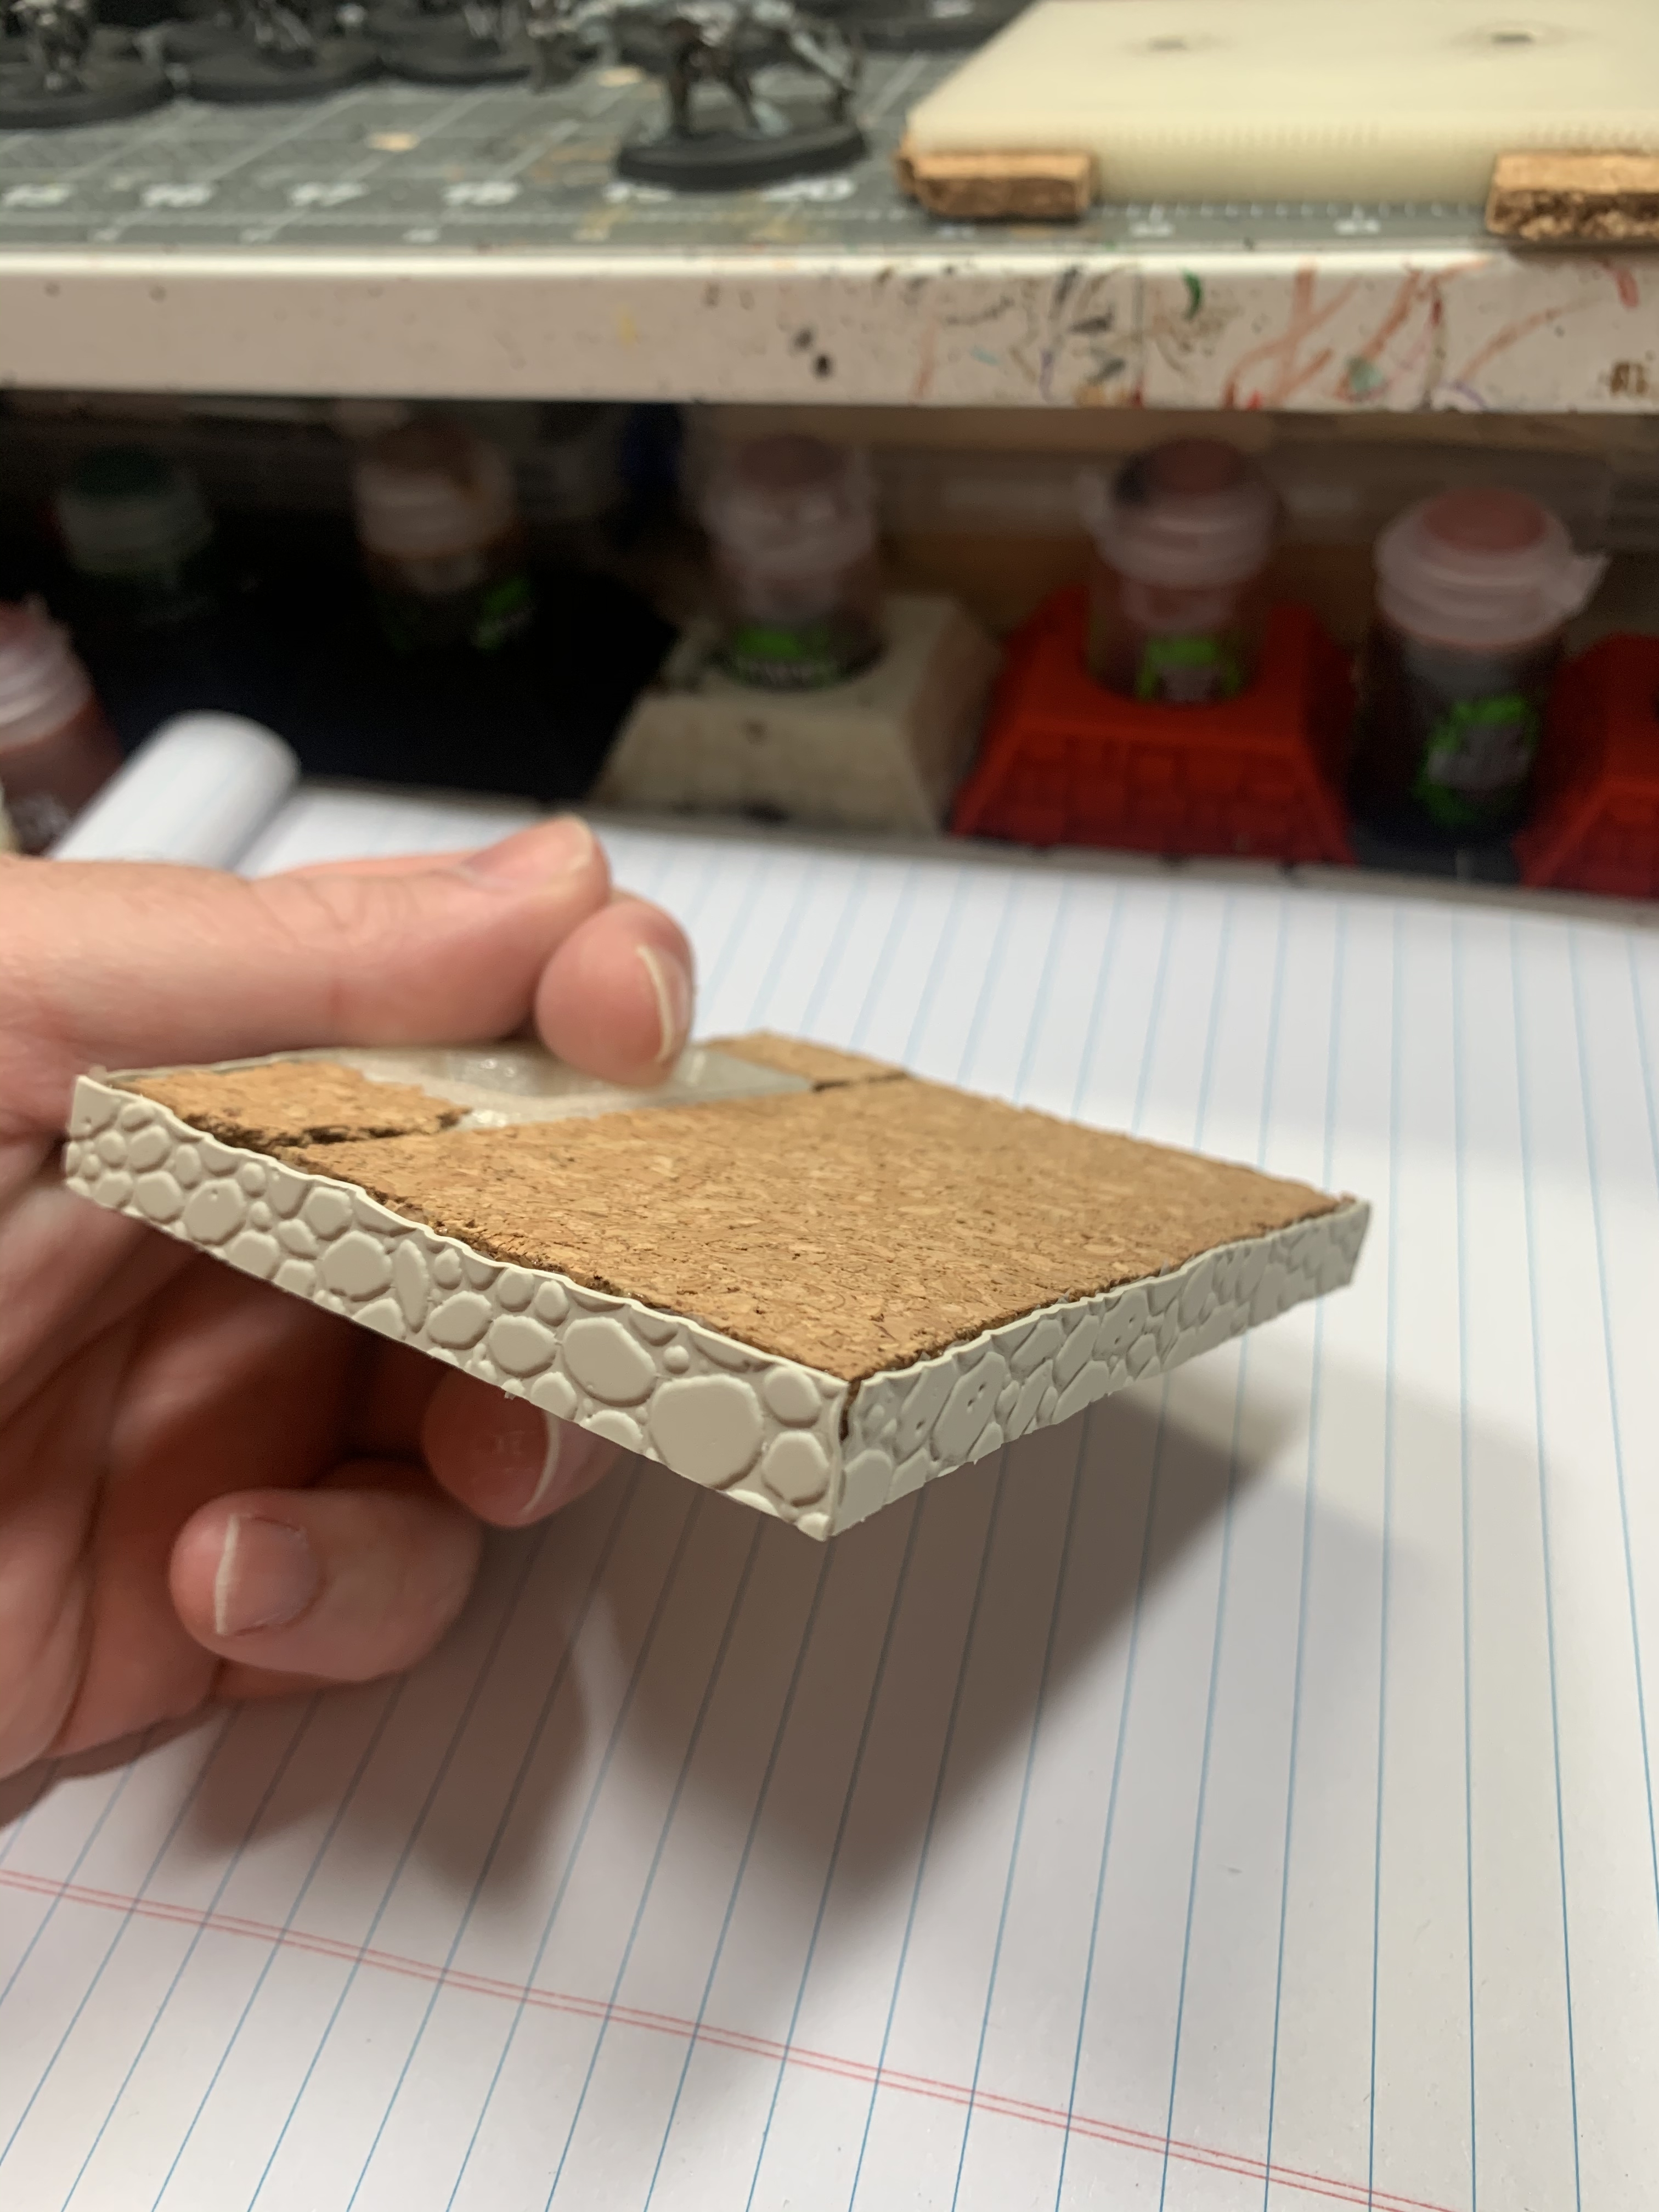
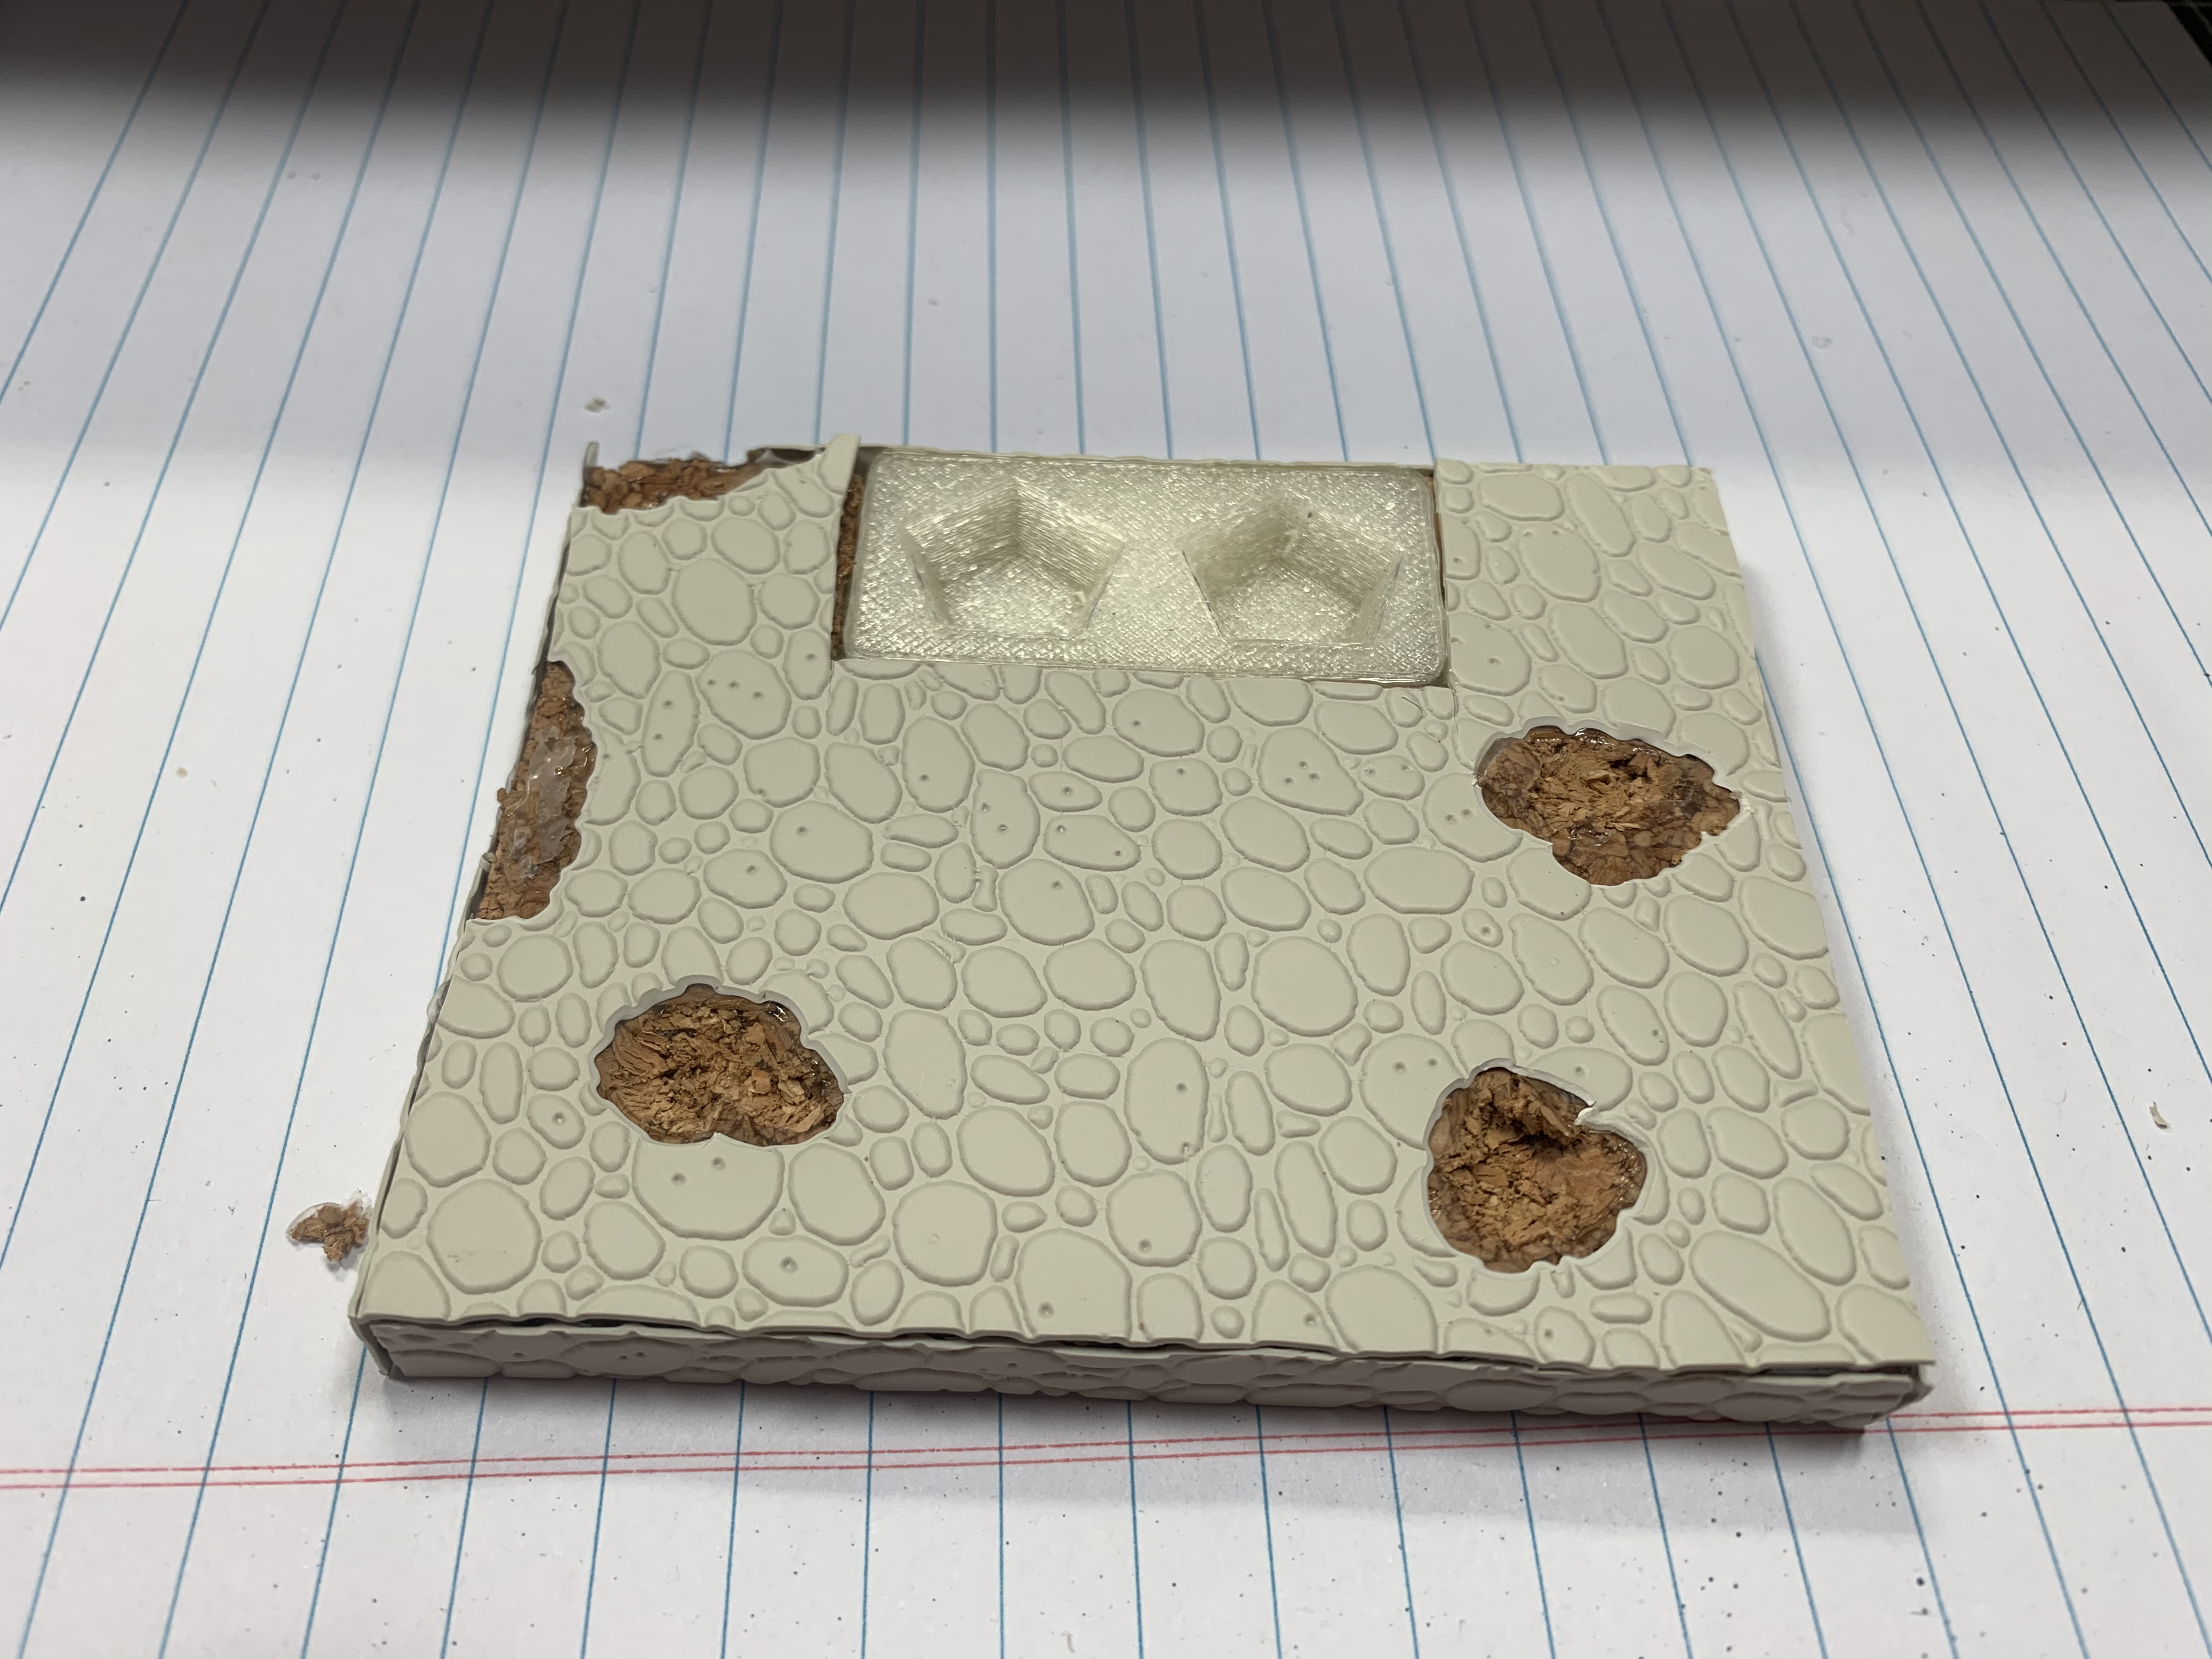
The we do the top, same as the sides. I cut it to overhang some and then trim it to clean up the edges.
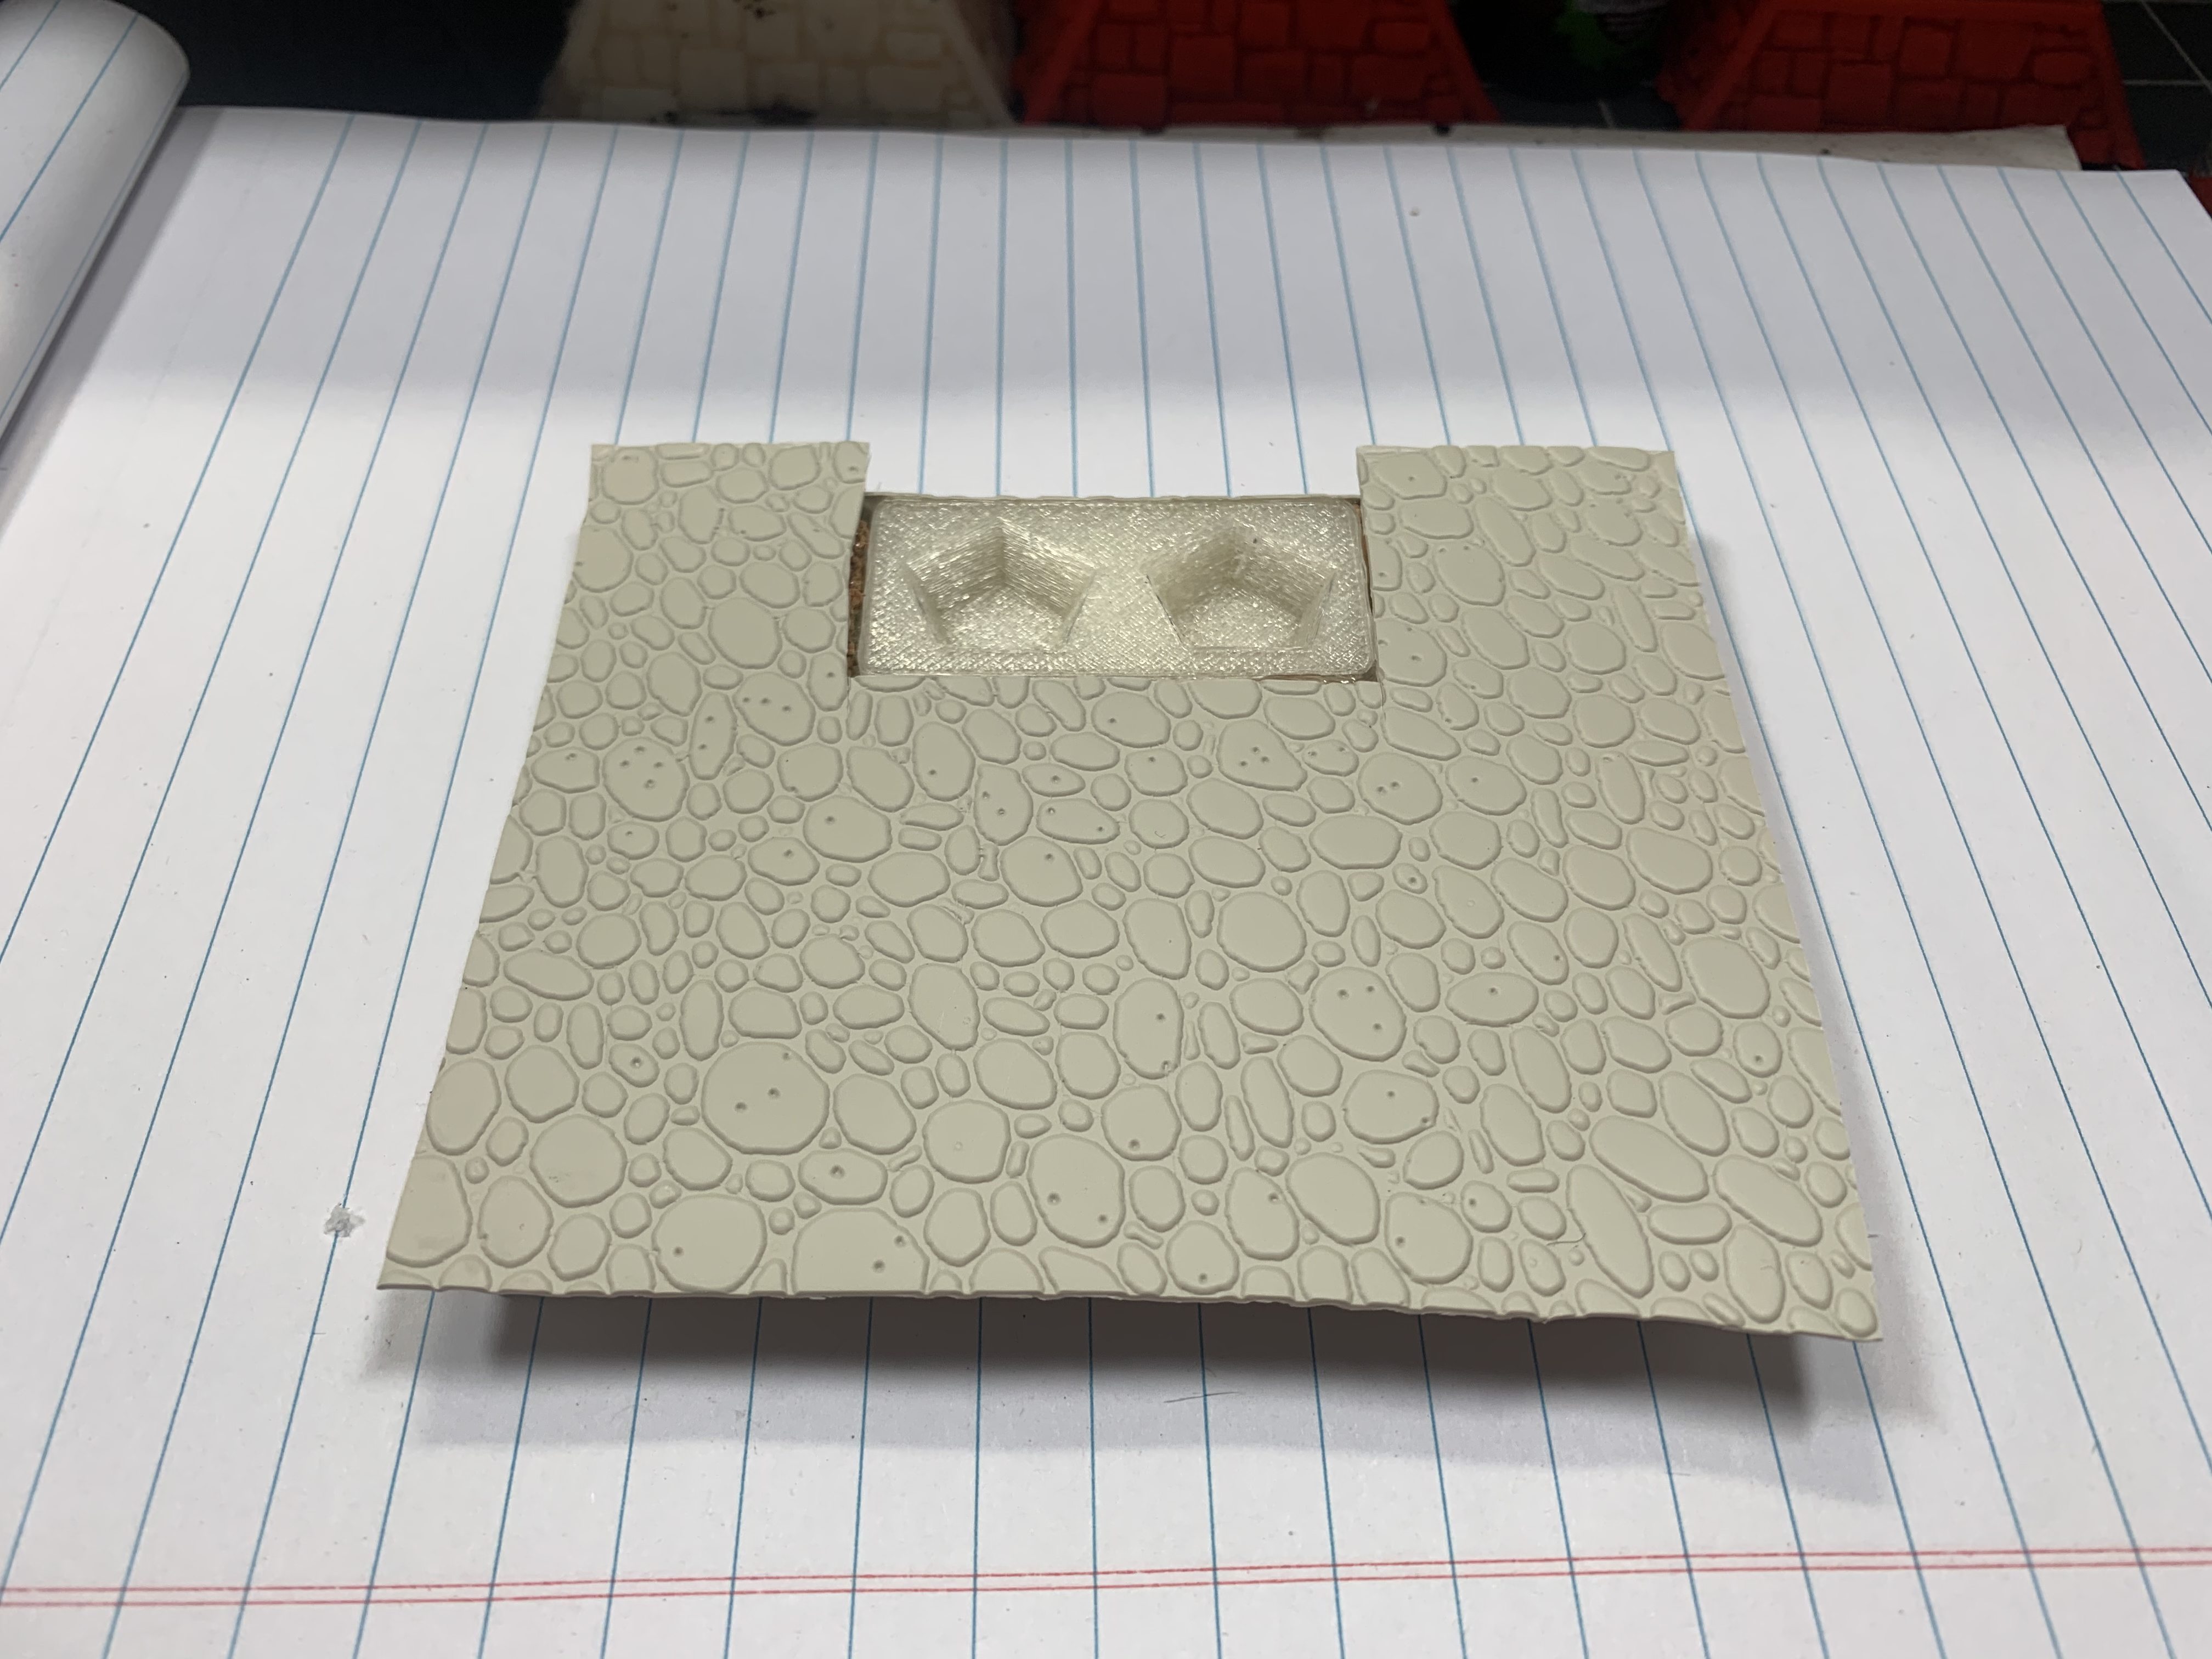
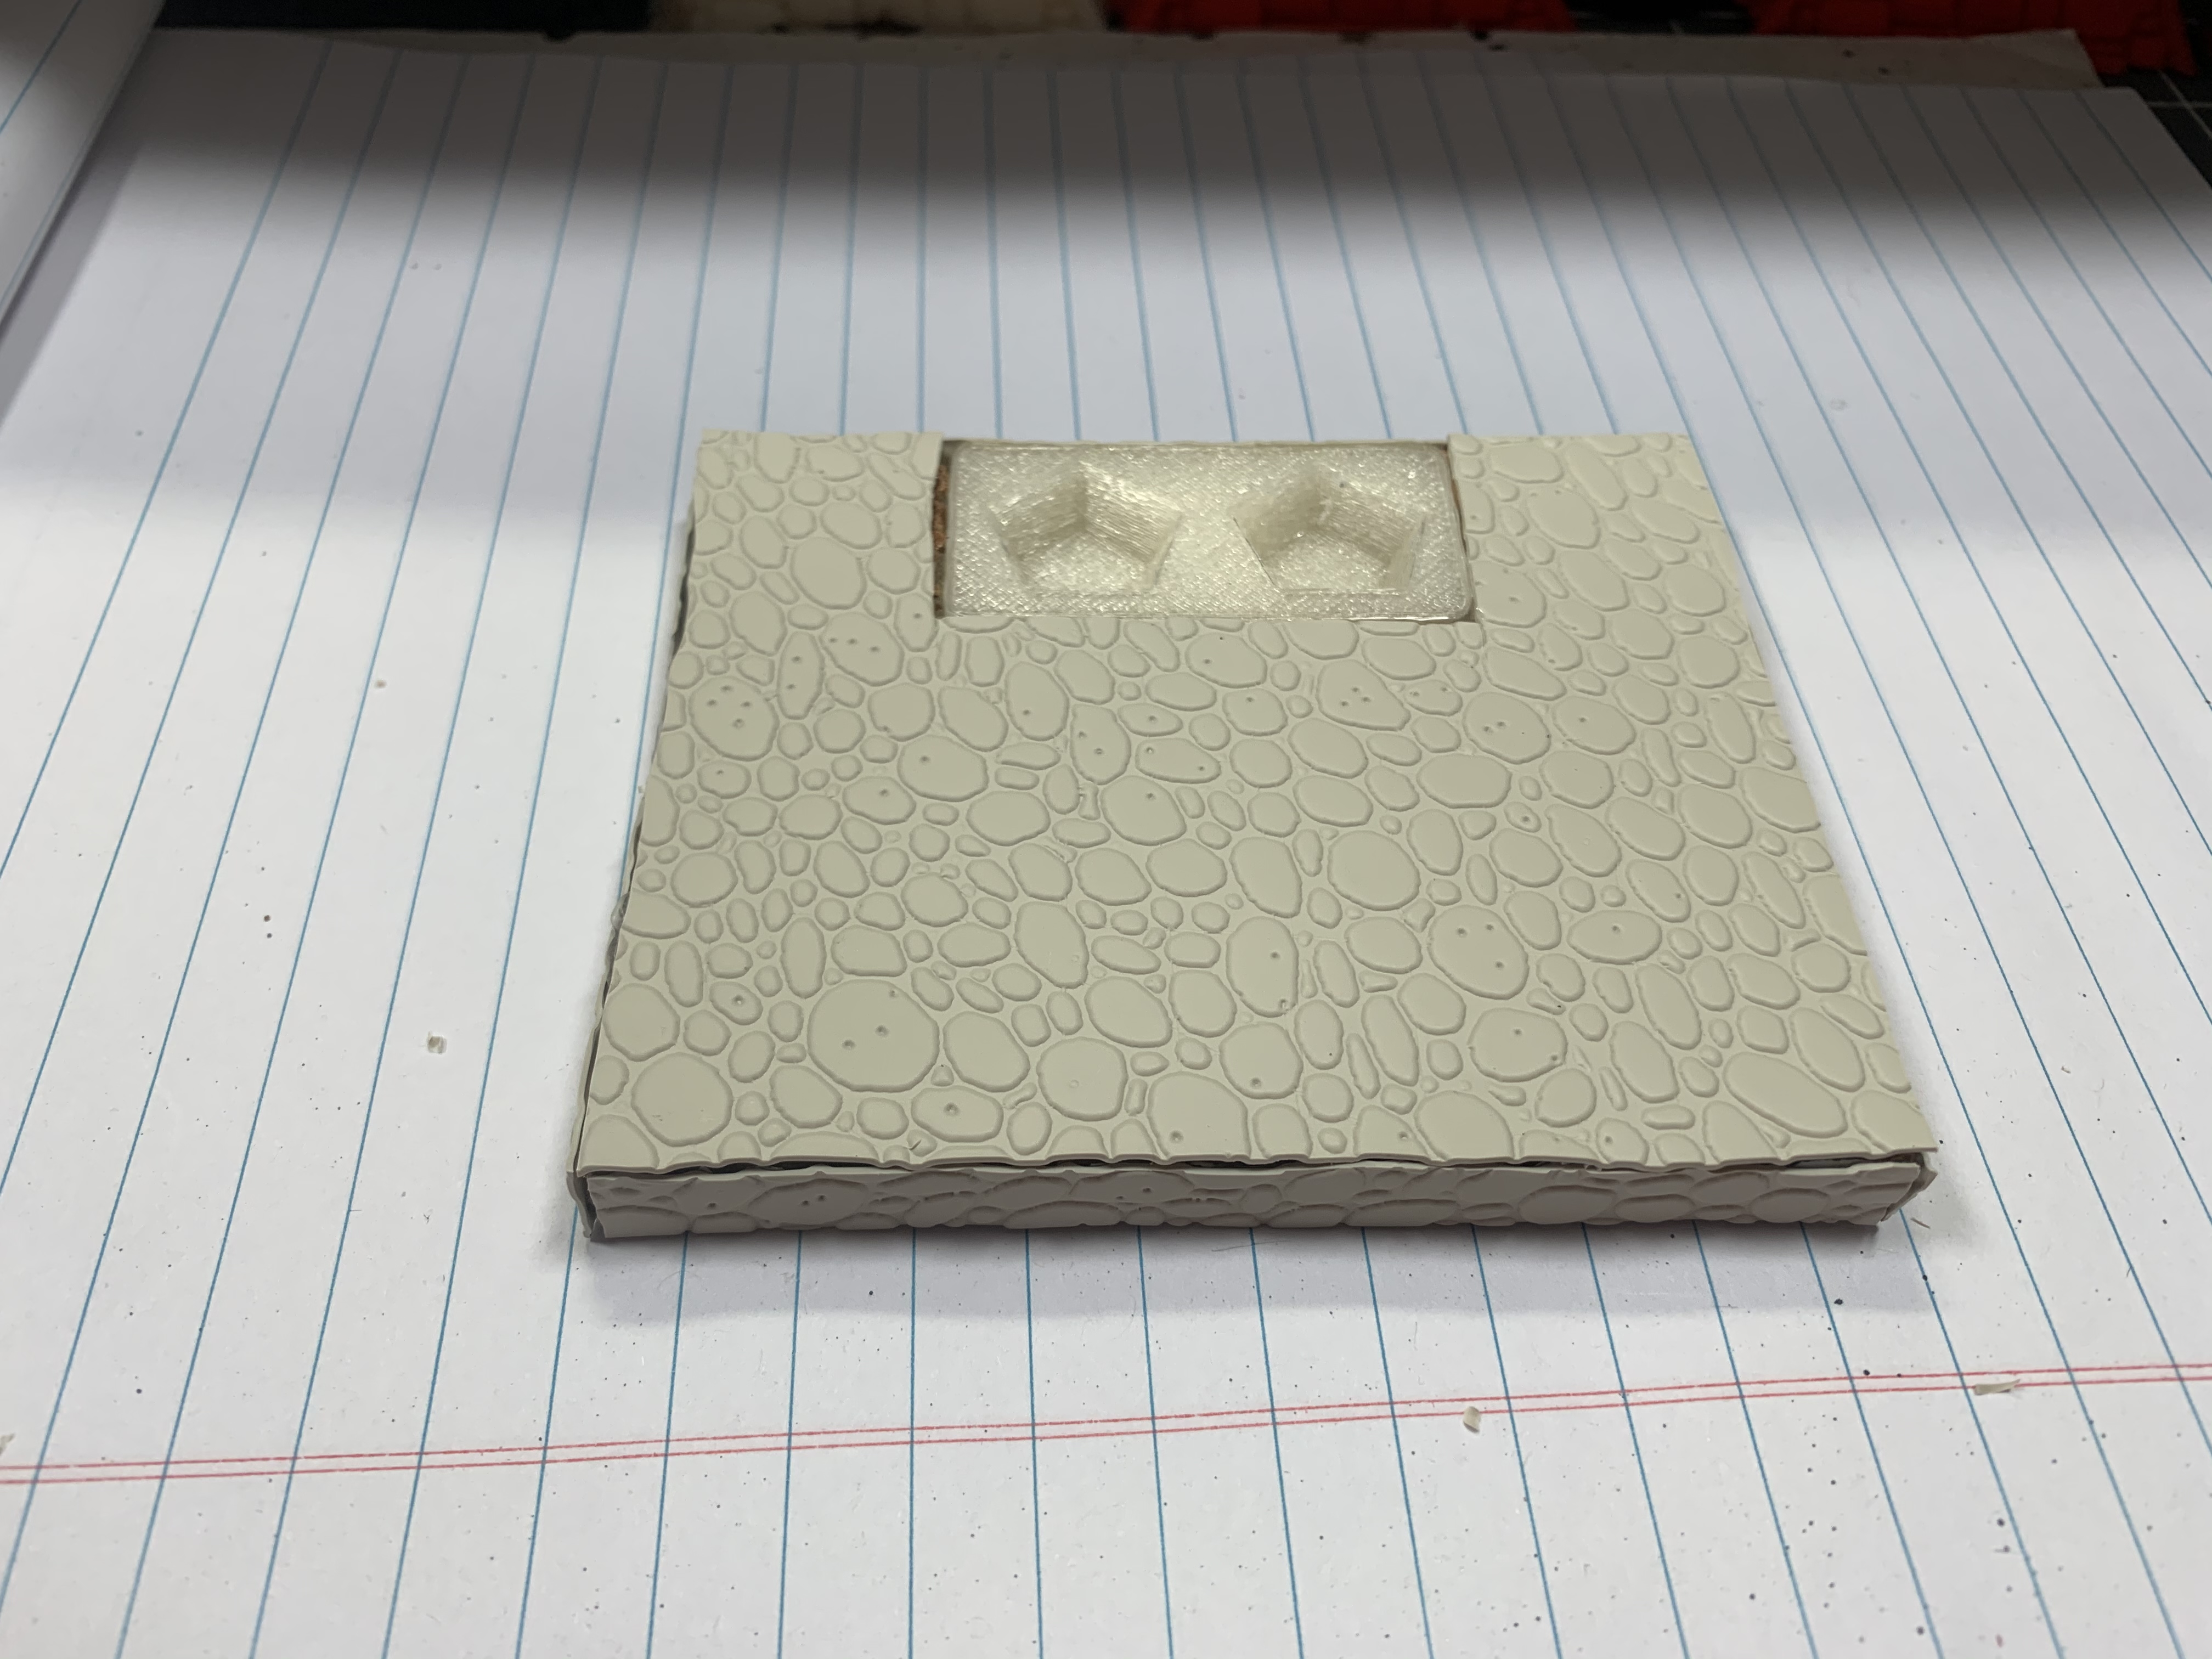
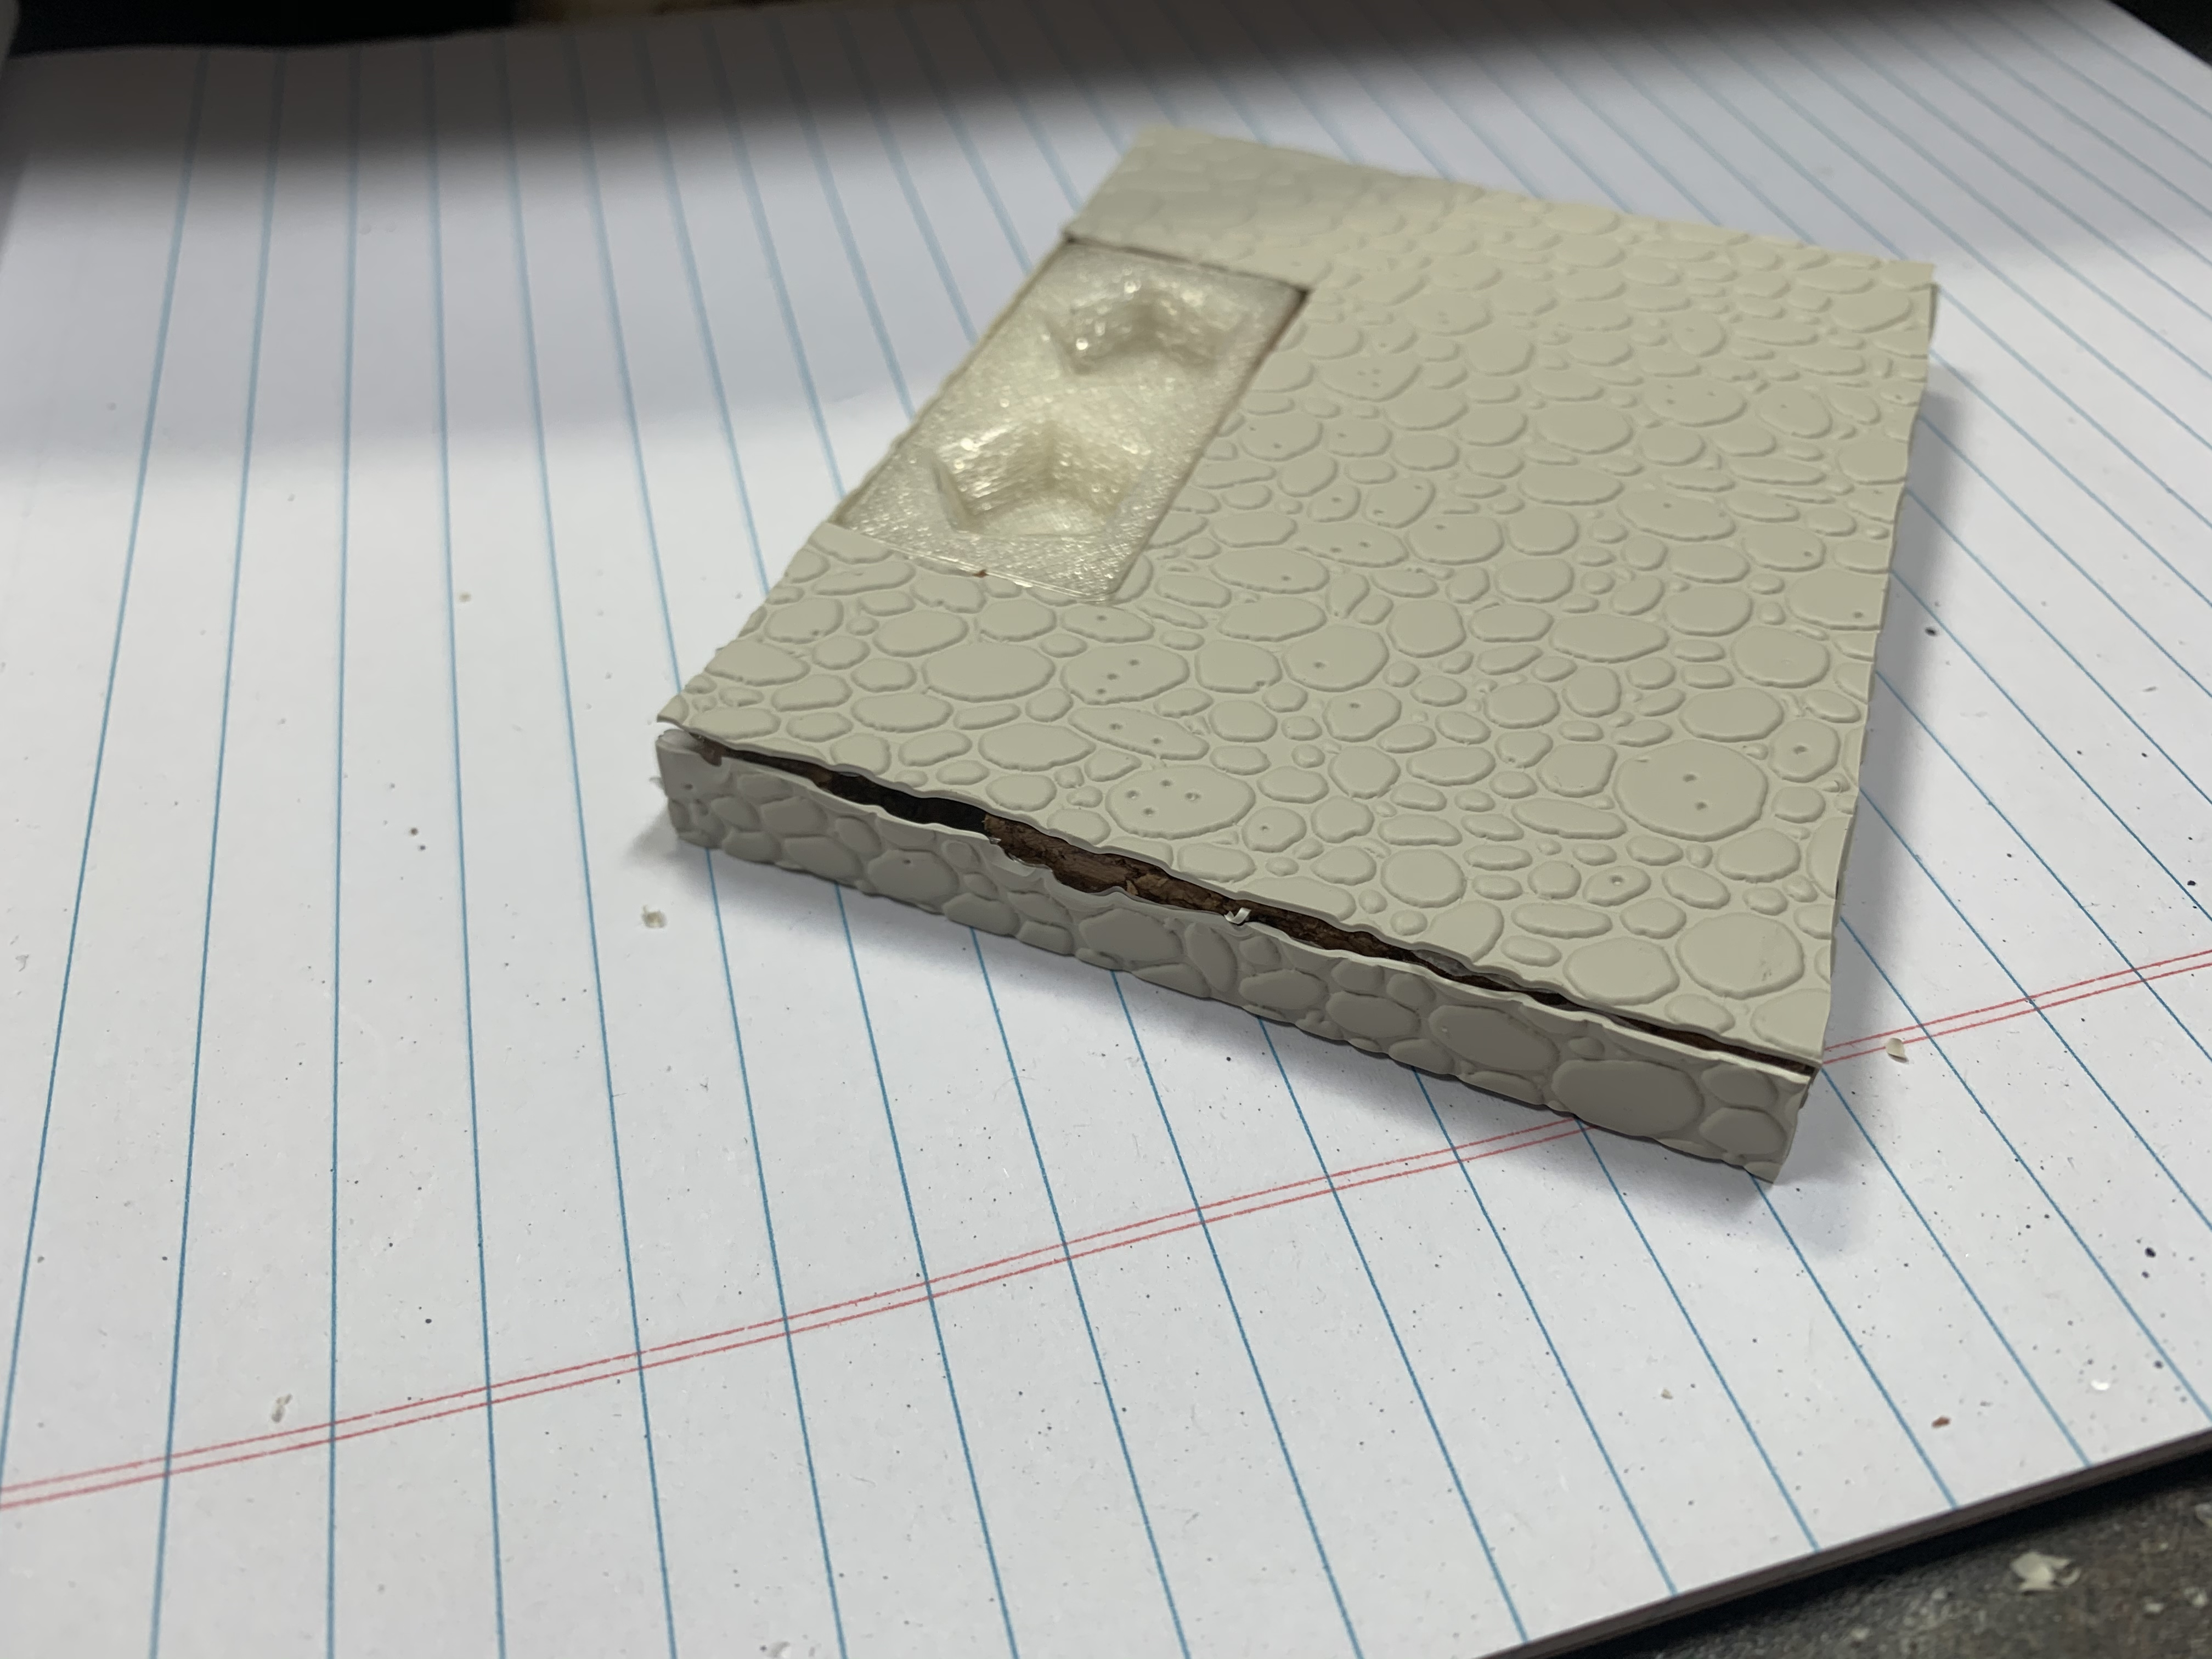
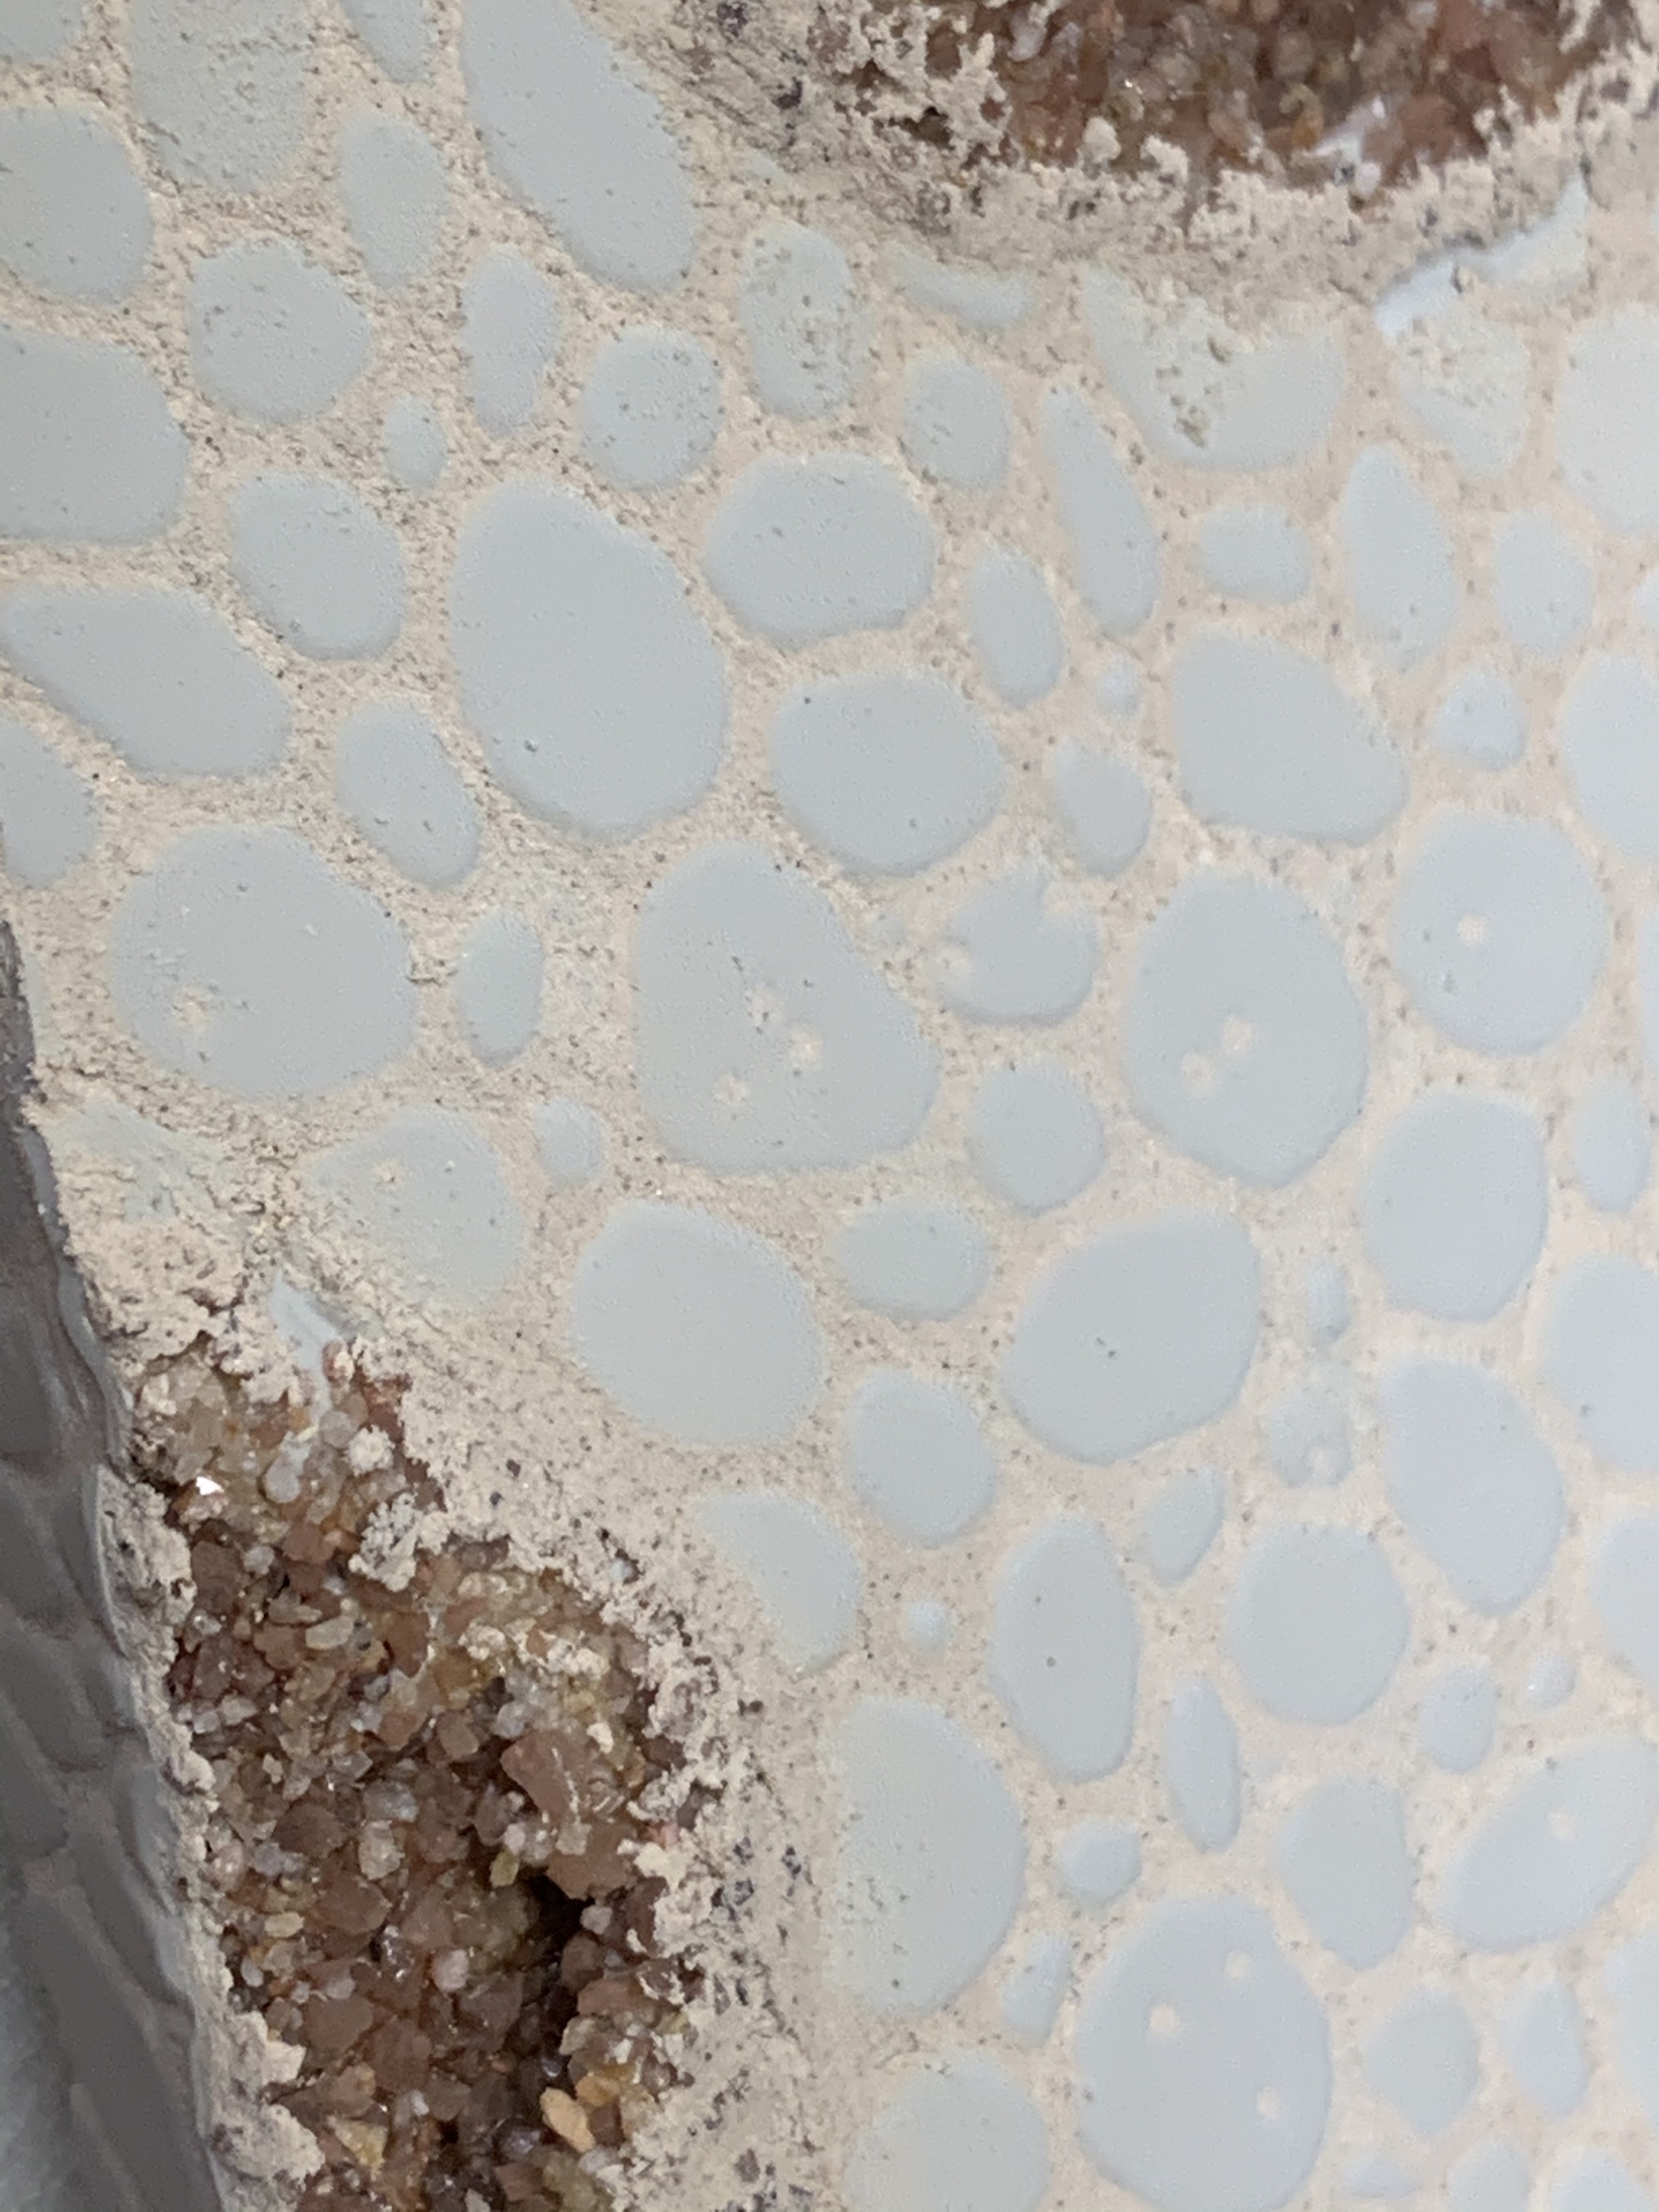
Since I am doing a ruined city look I cut some holes now. Just jab your exacto into the base and kind of spin it around. You want a random looking hole. If you have any big trimming errors on the side you can cut that out to add to the effect.
Then take a pair of tweezers and tear out the cork in the holes you made.
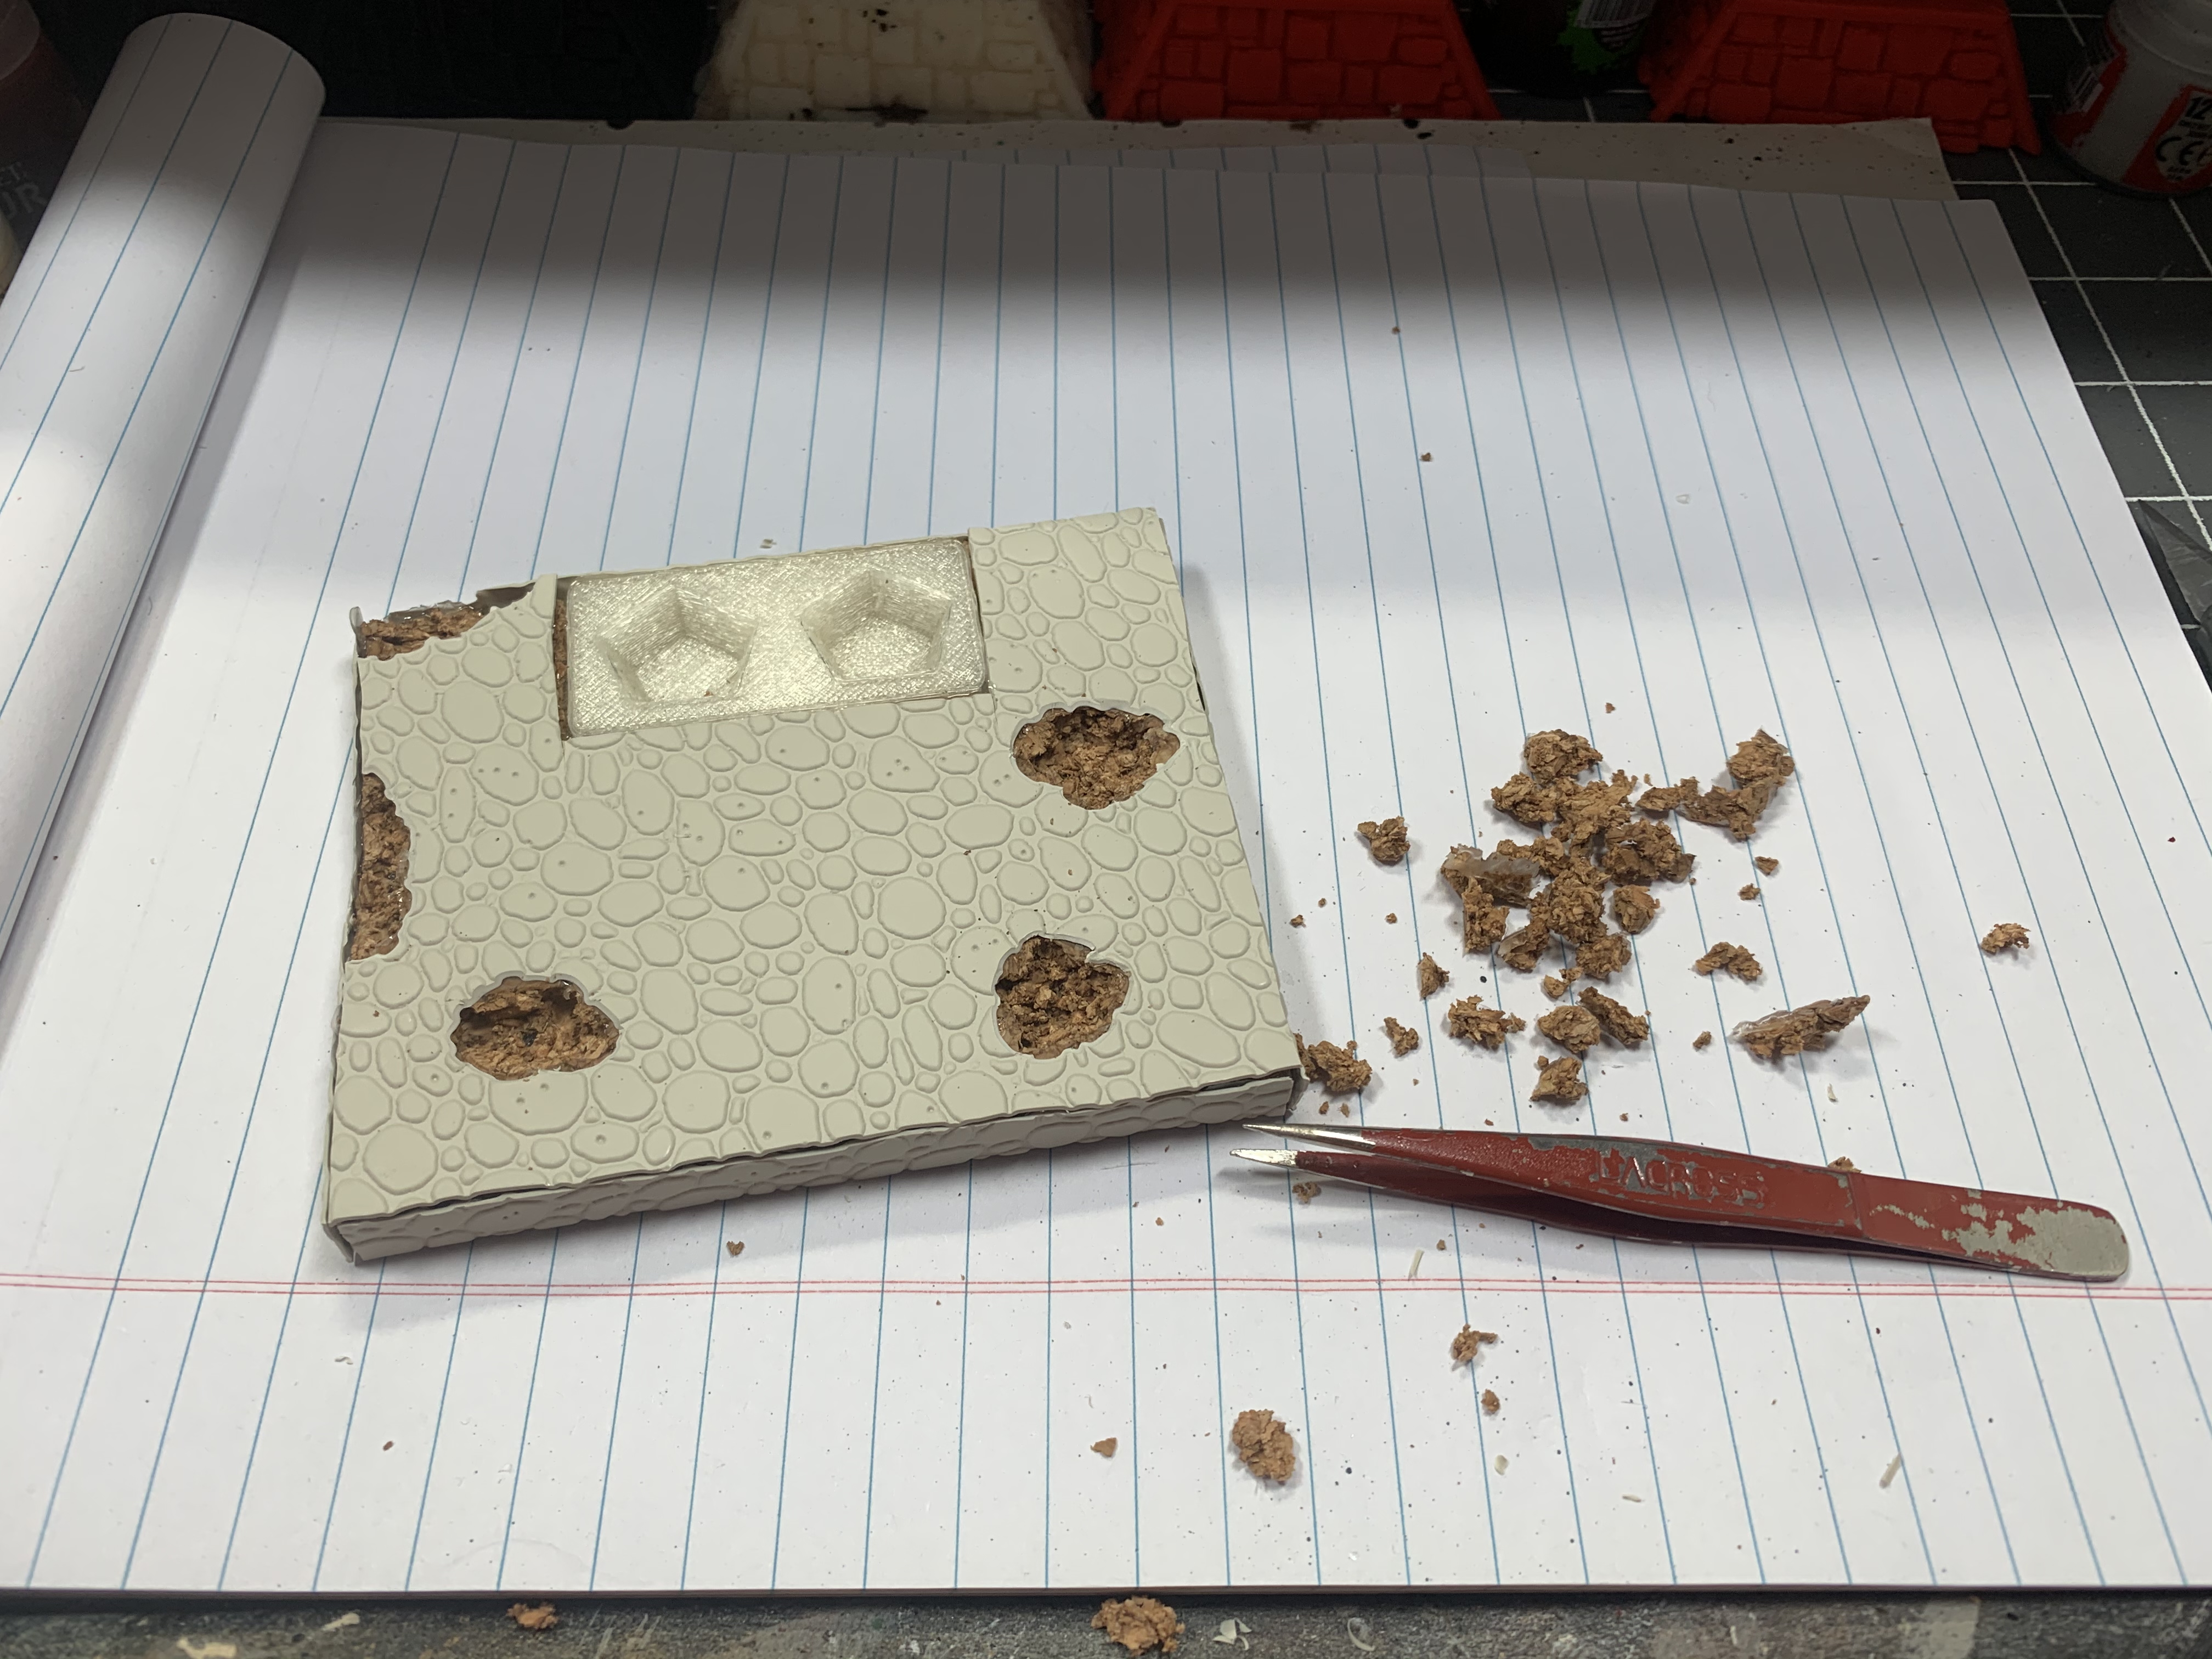
Now you take the wood filler and just smear a thin coat over the entire base, make sure you fill the gaps, but not the holes you dug out.
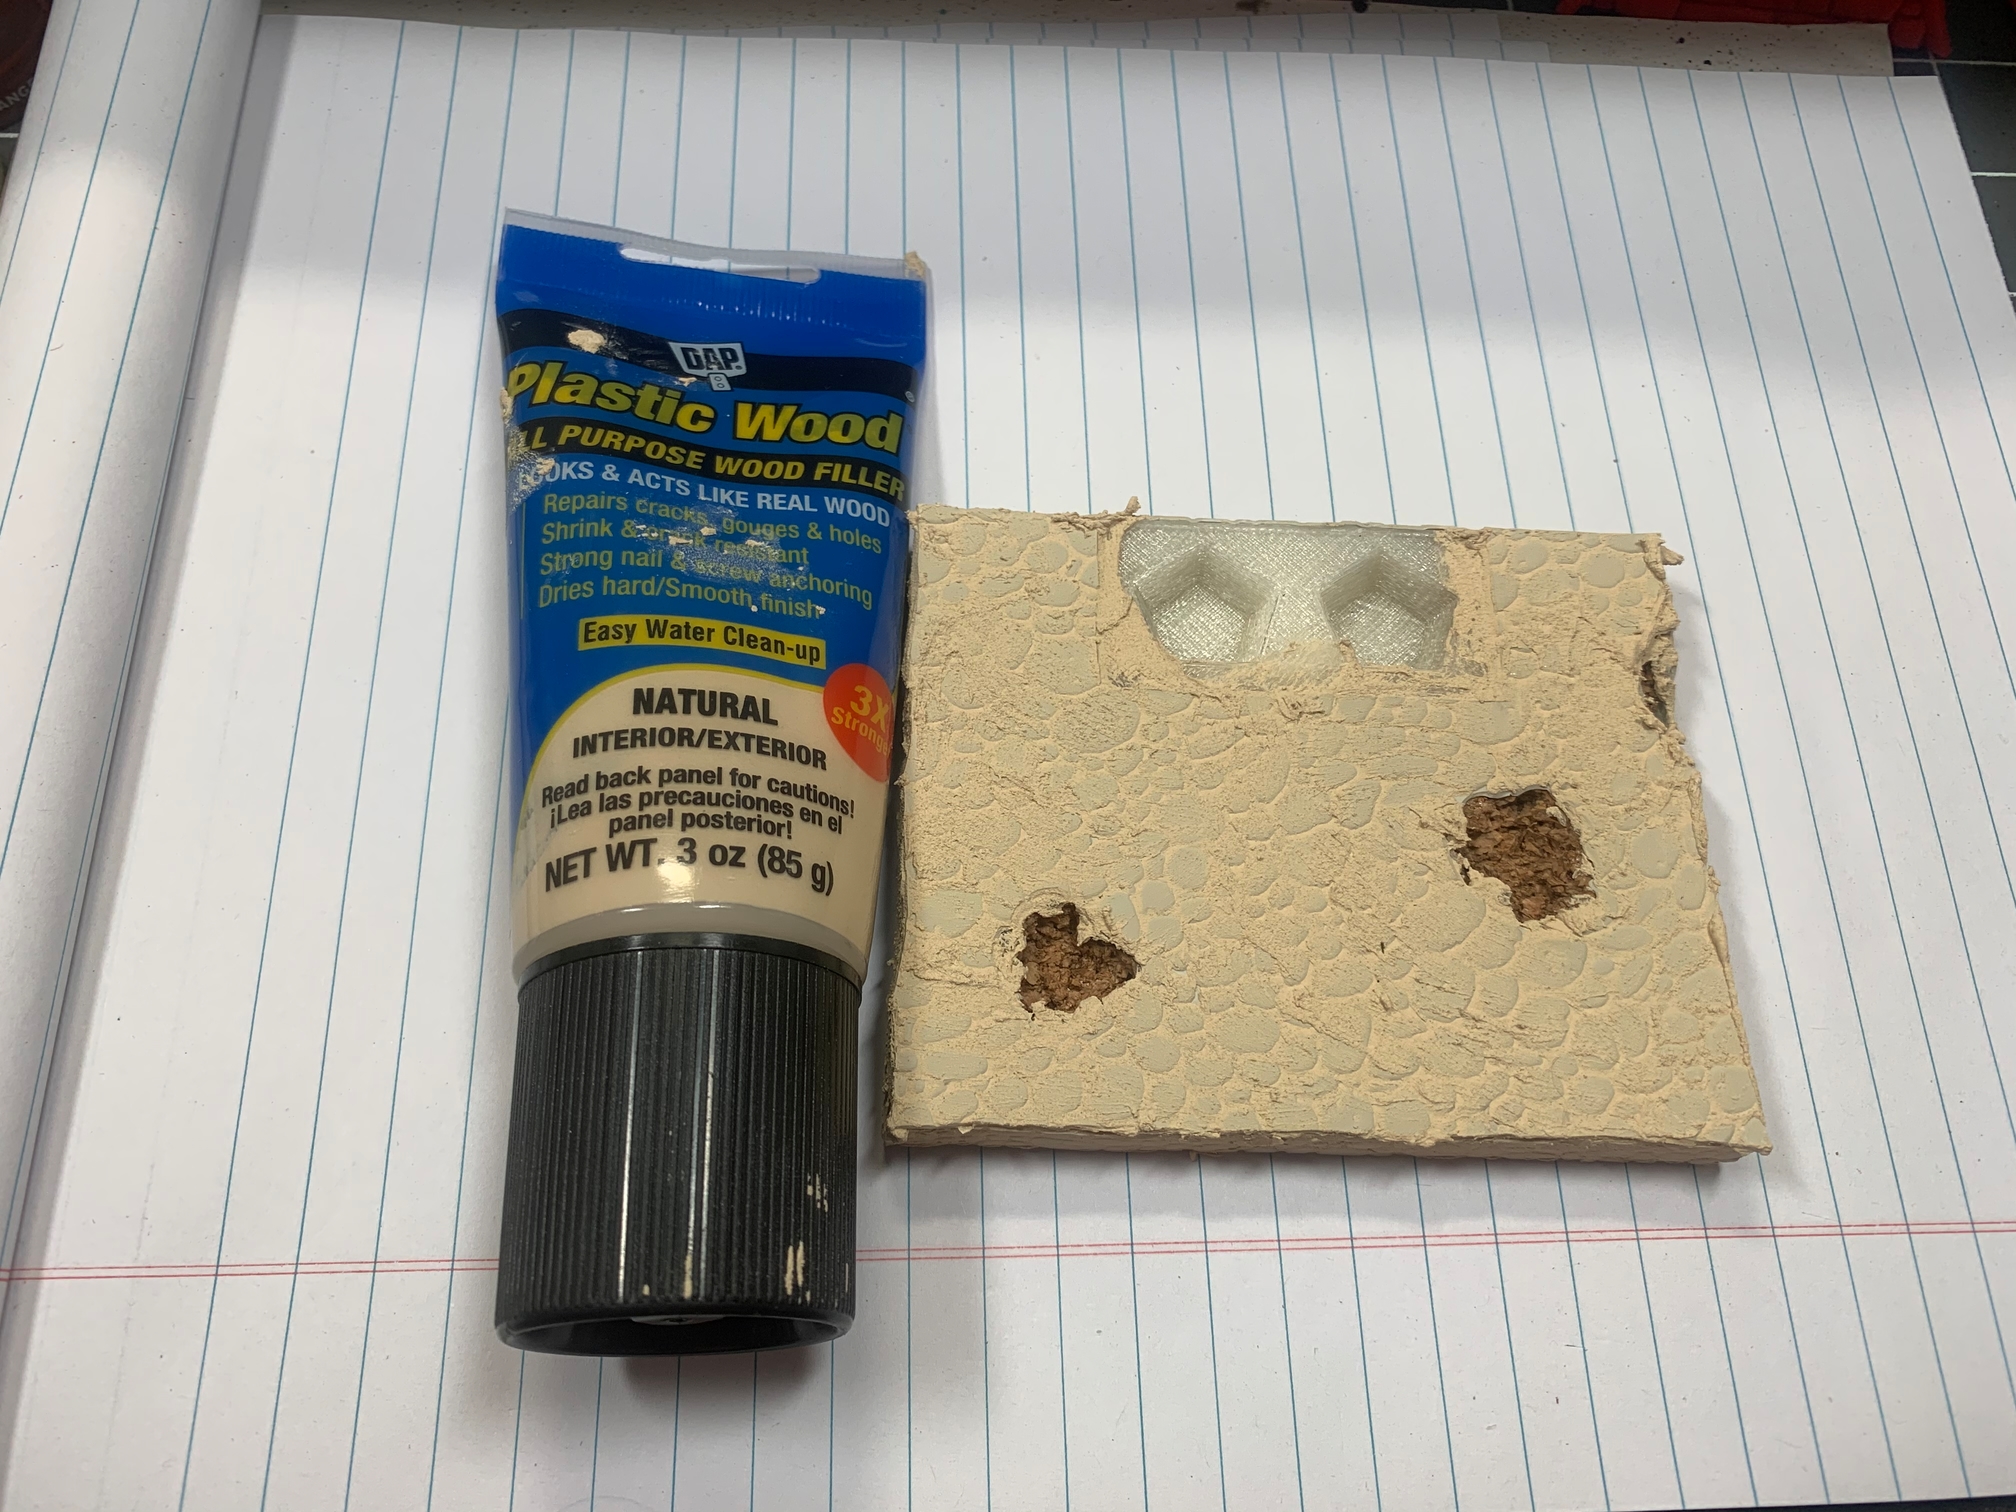
The take some fine sandpaper and sand off the excess filler. This is the sandpaper I use for cleanup on greenstuff also.
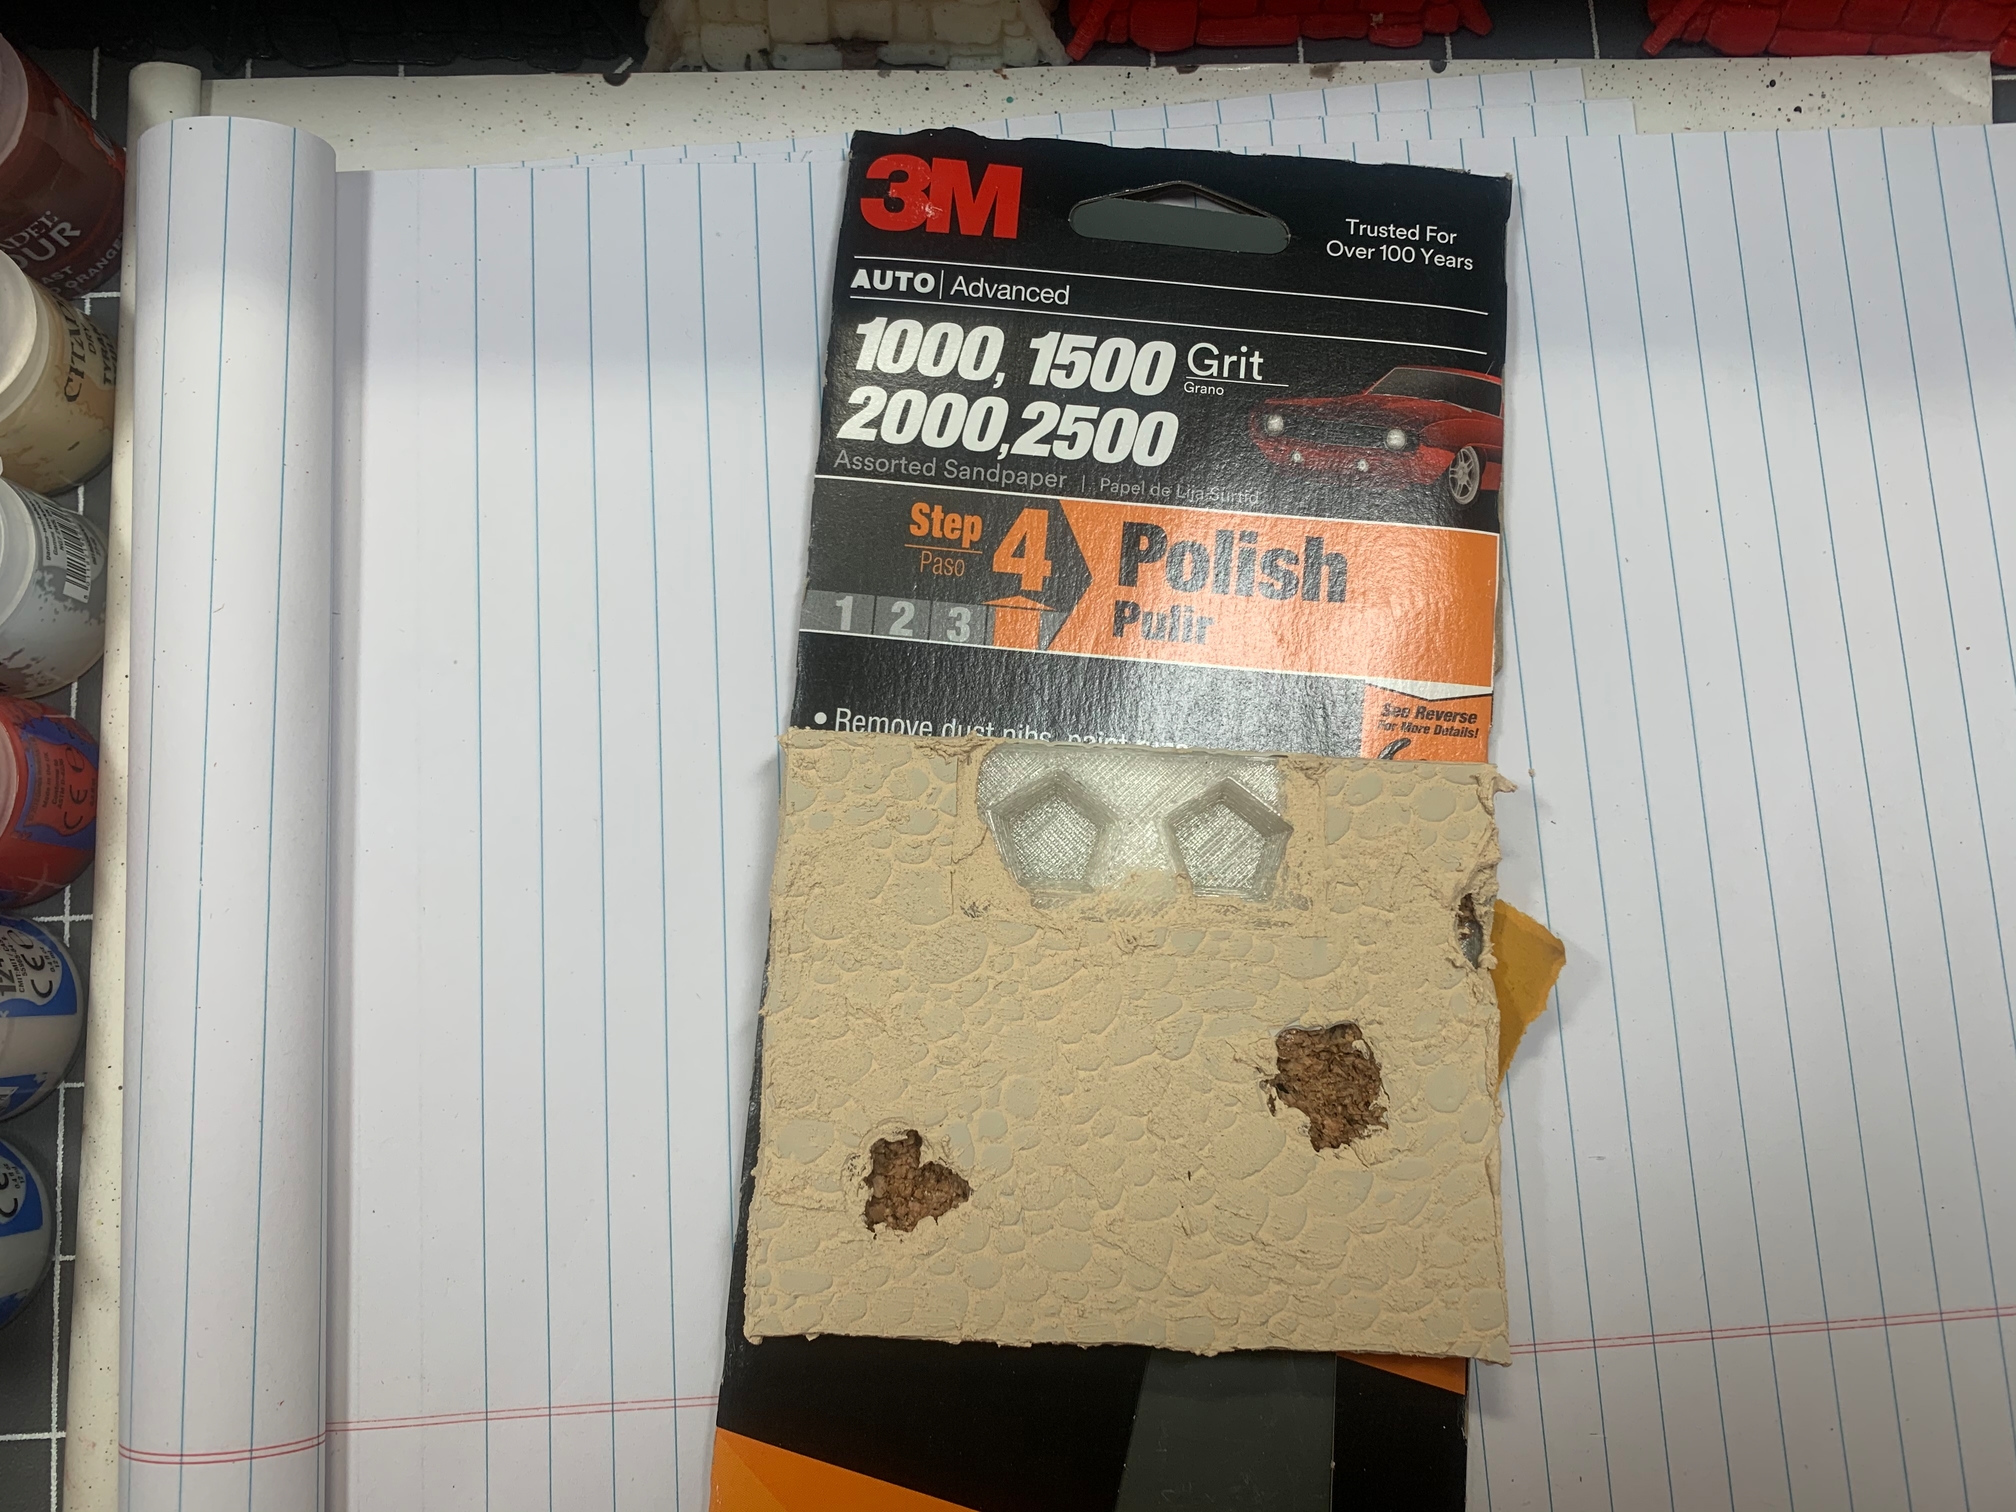
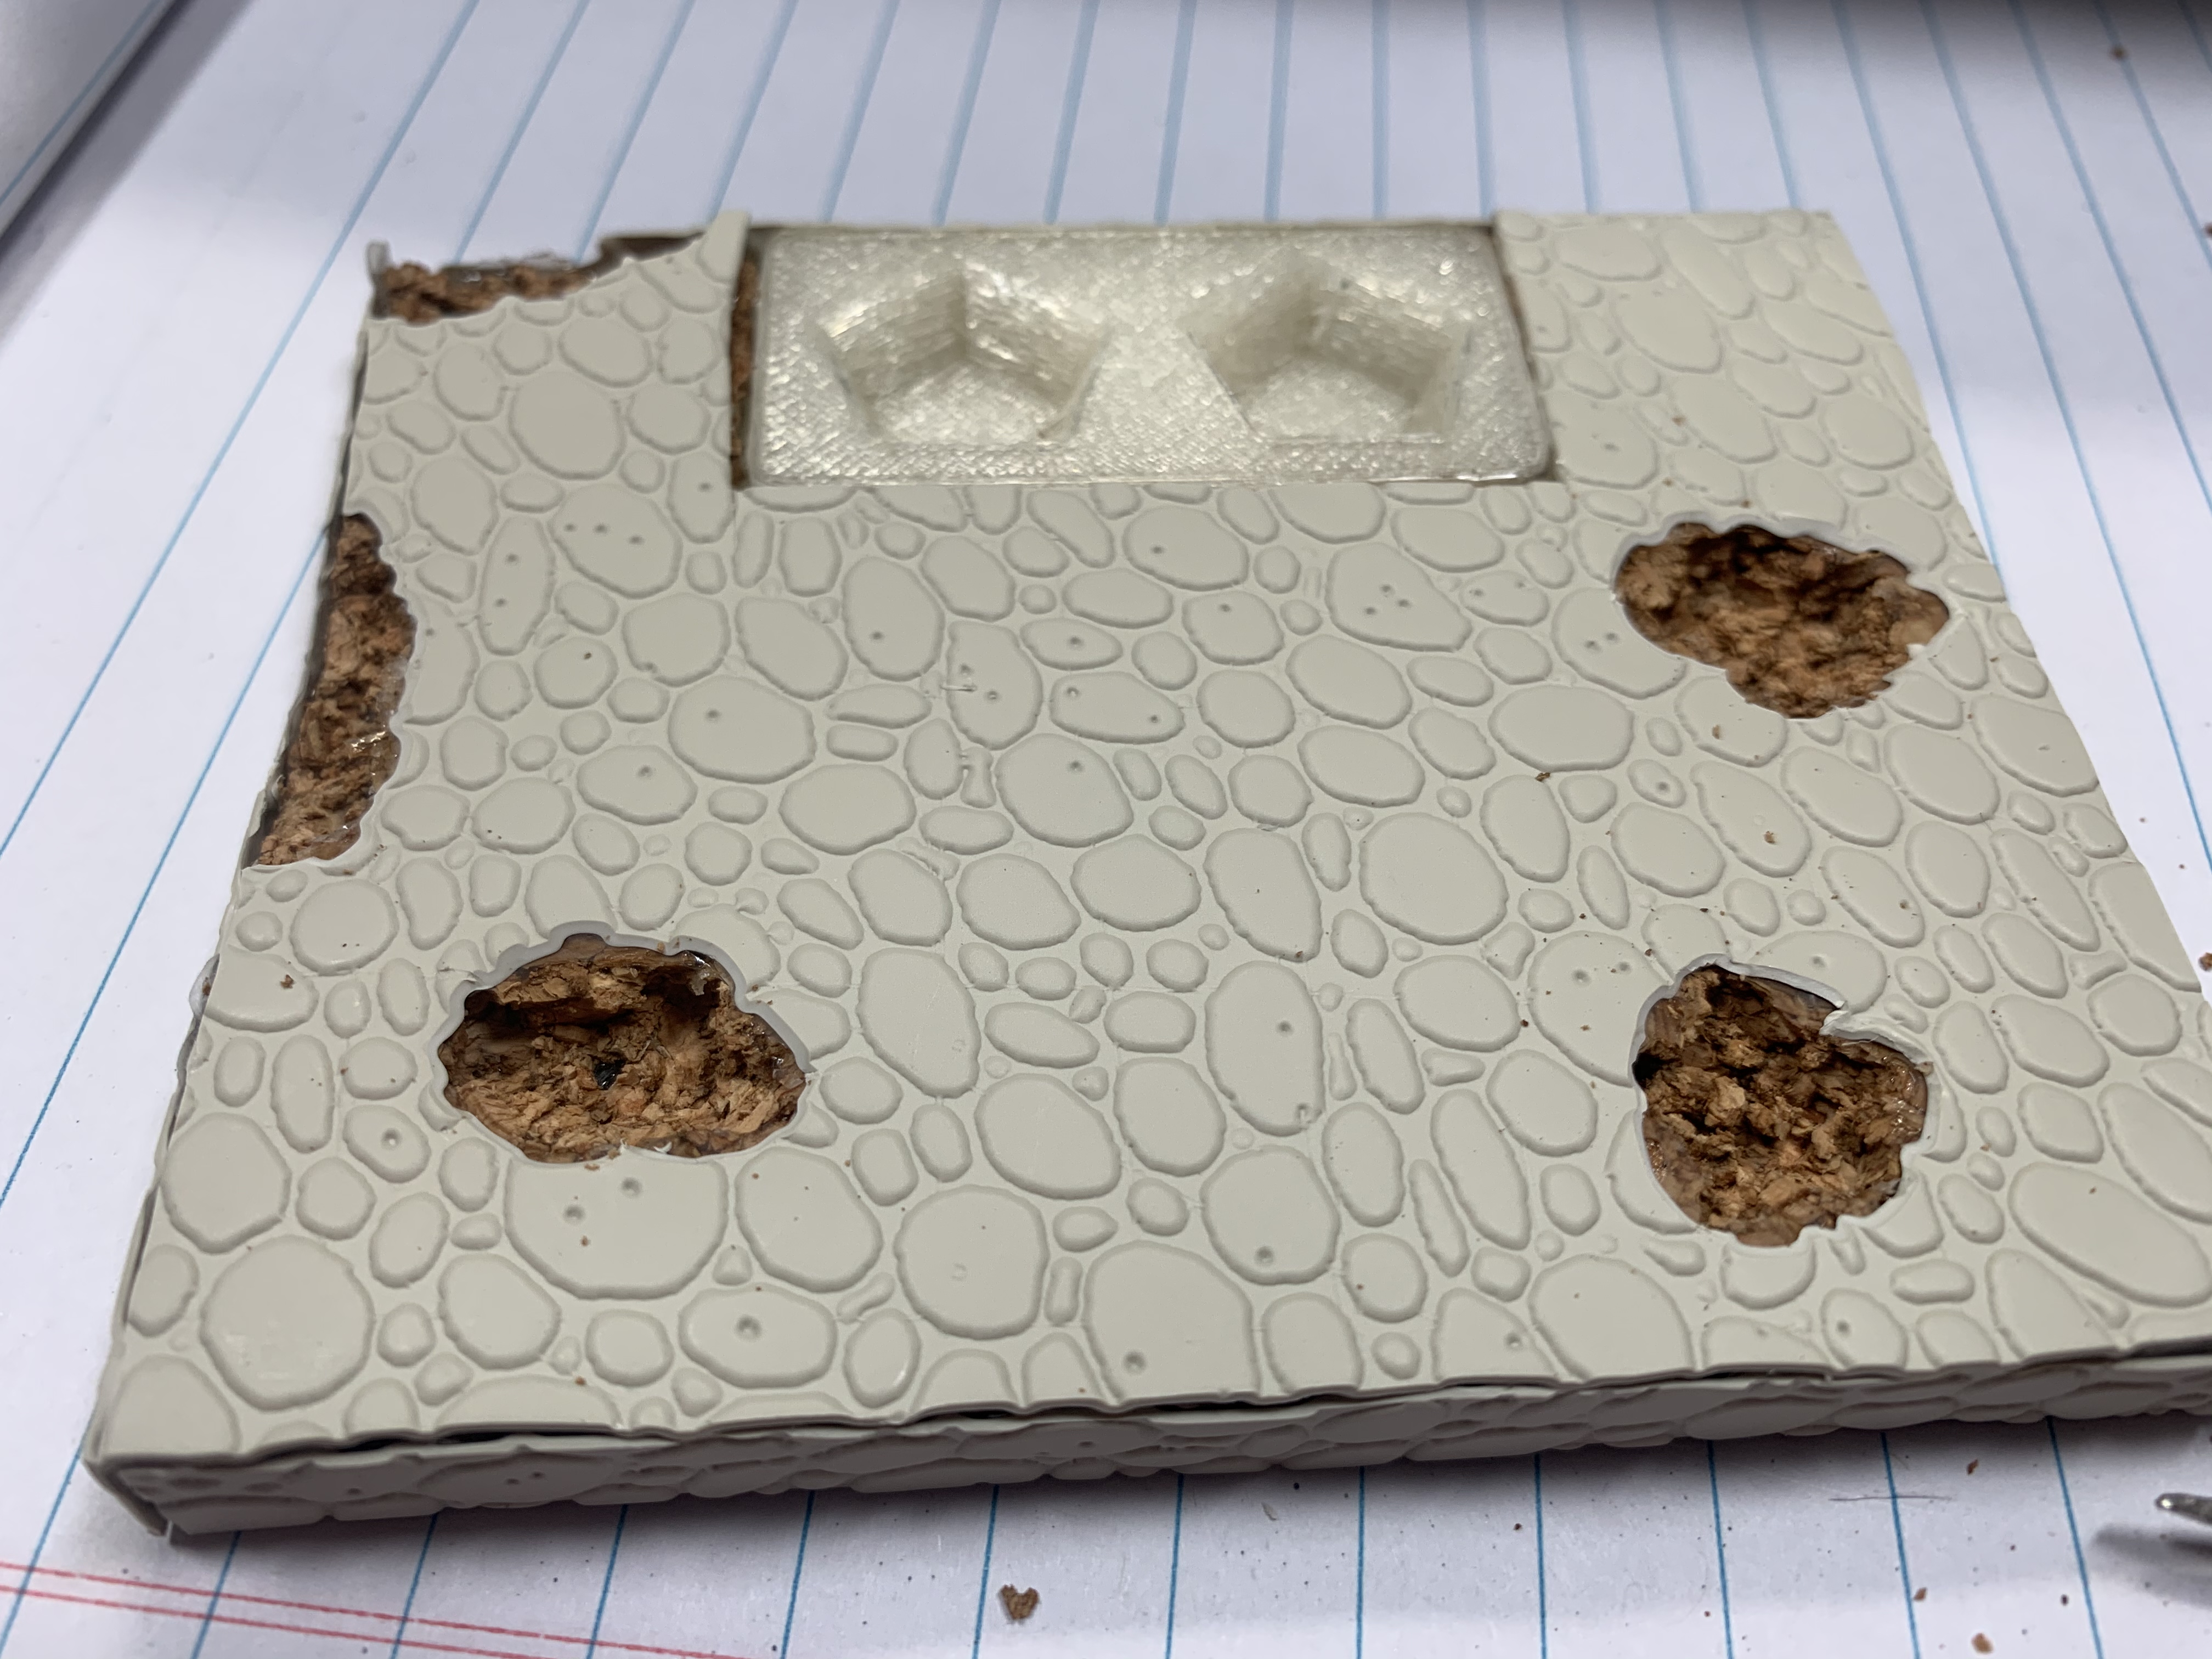
You should end up with something like this
Add your ballast into and around the holes we cut, remember randomness is key.
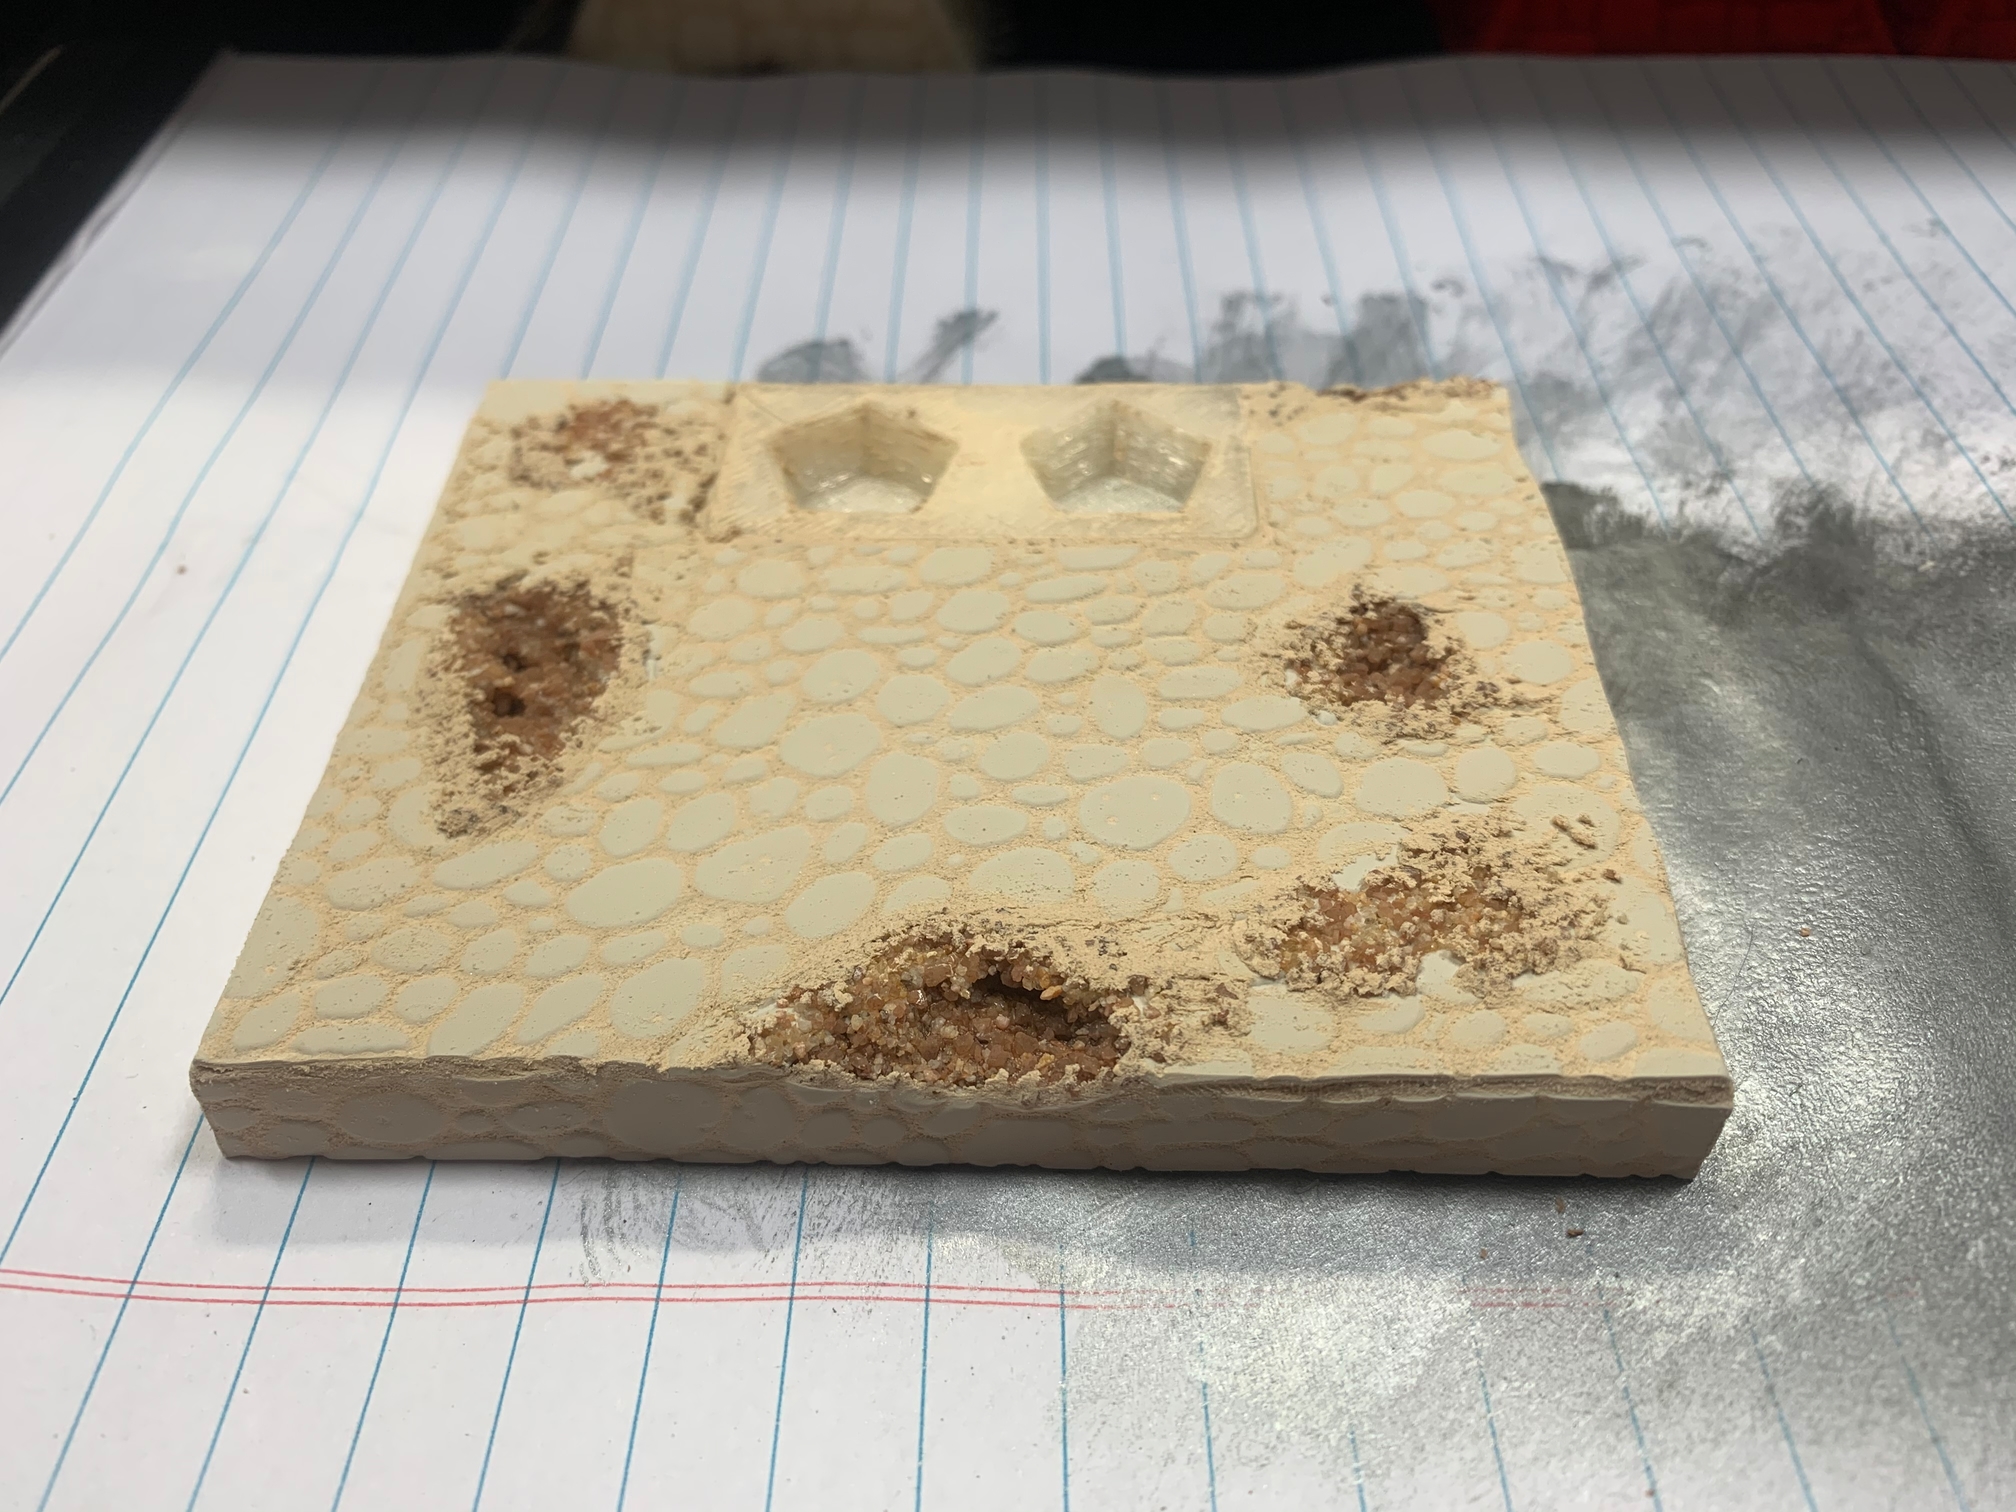
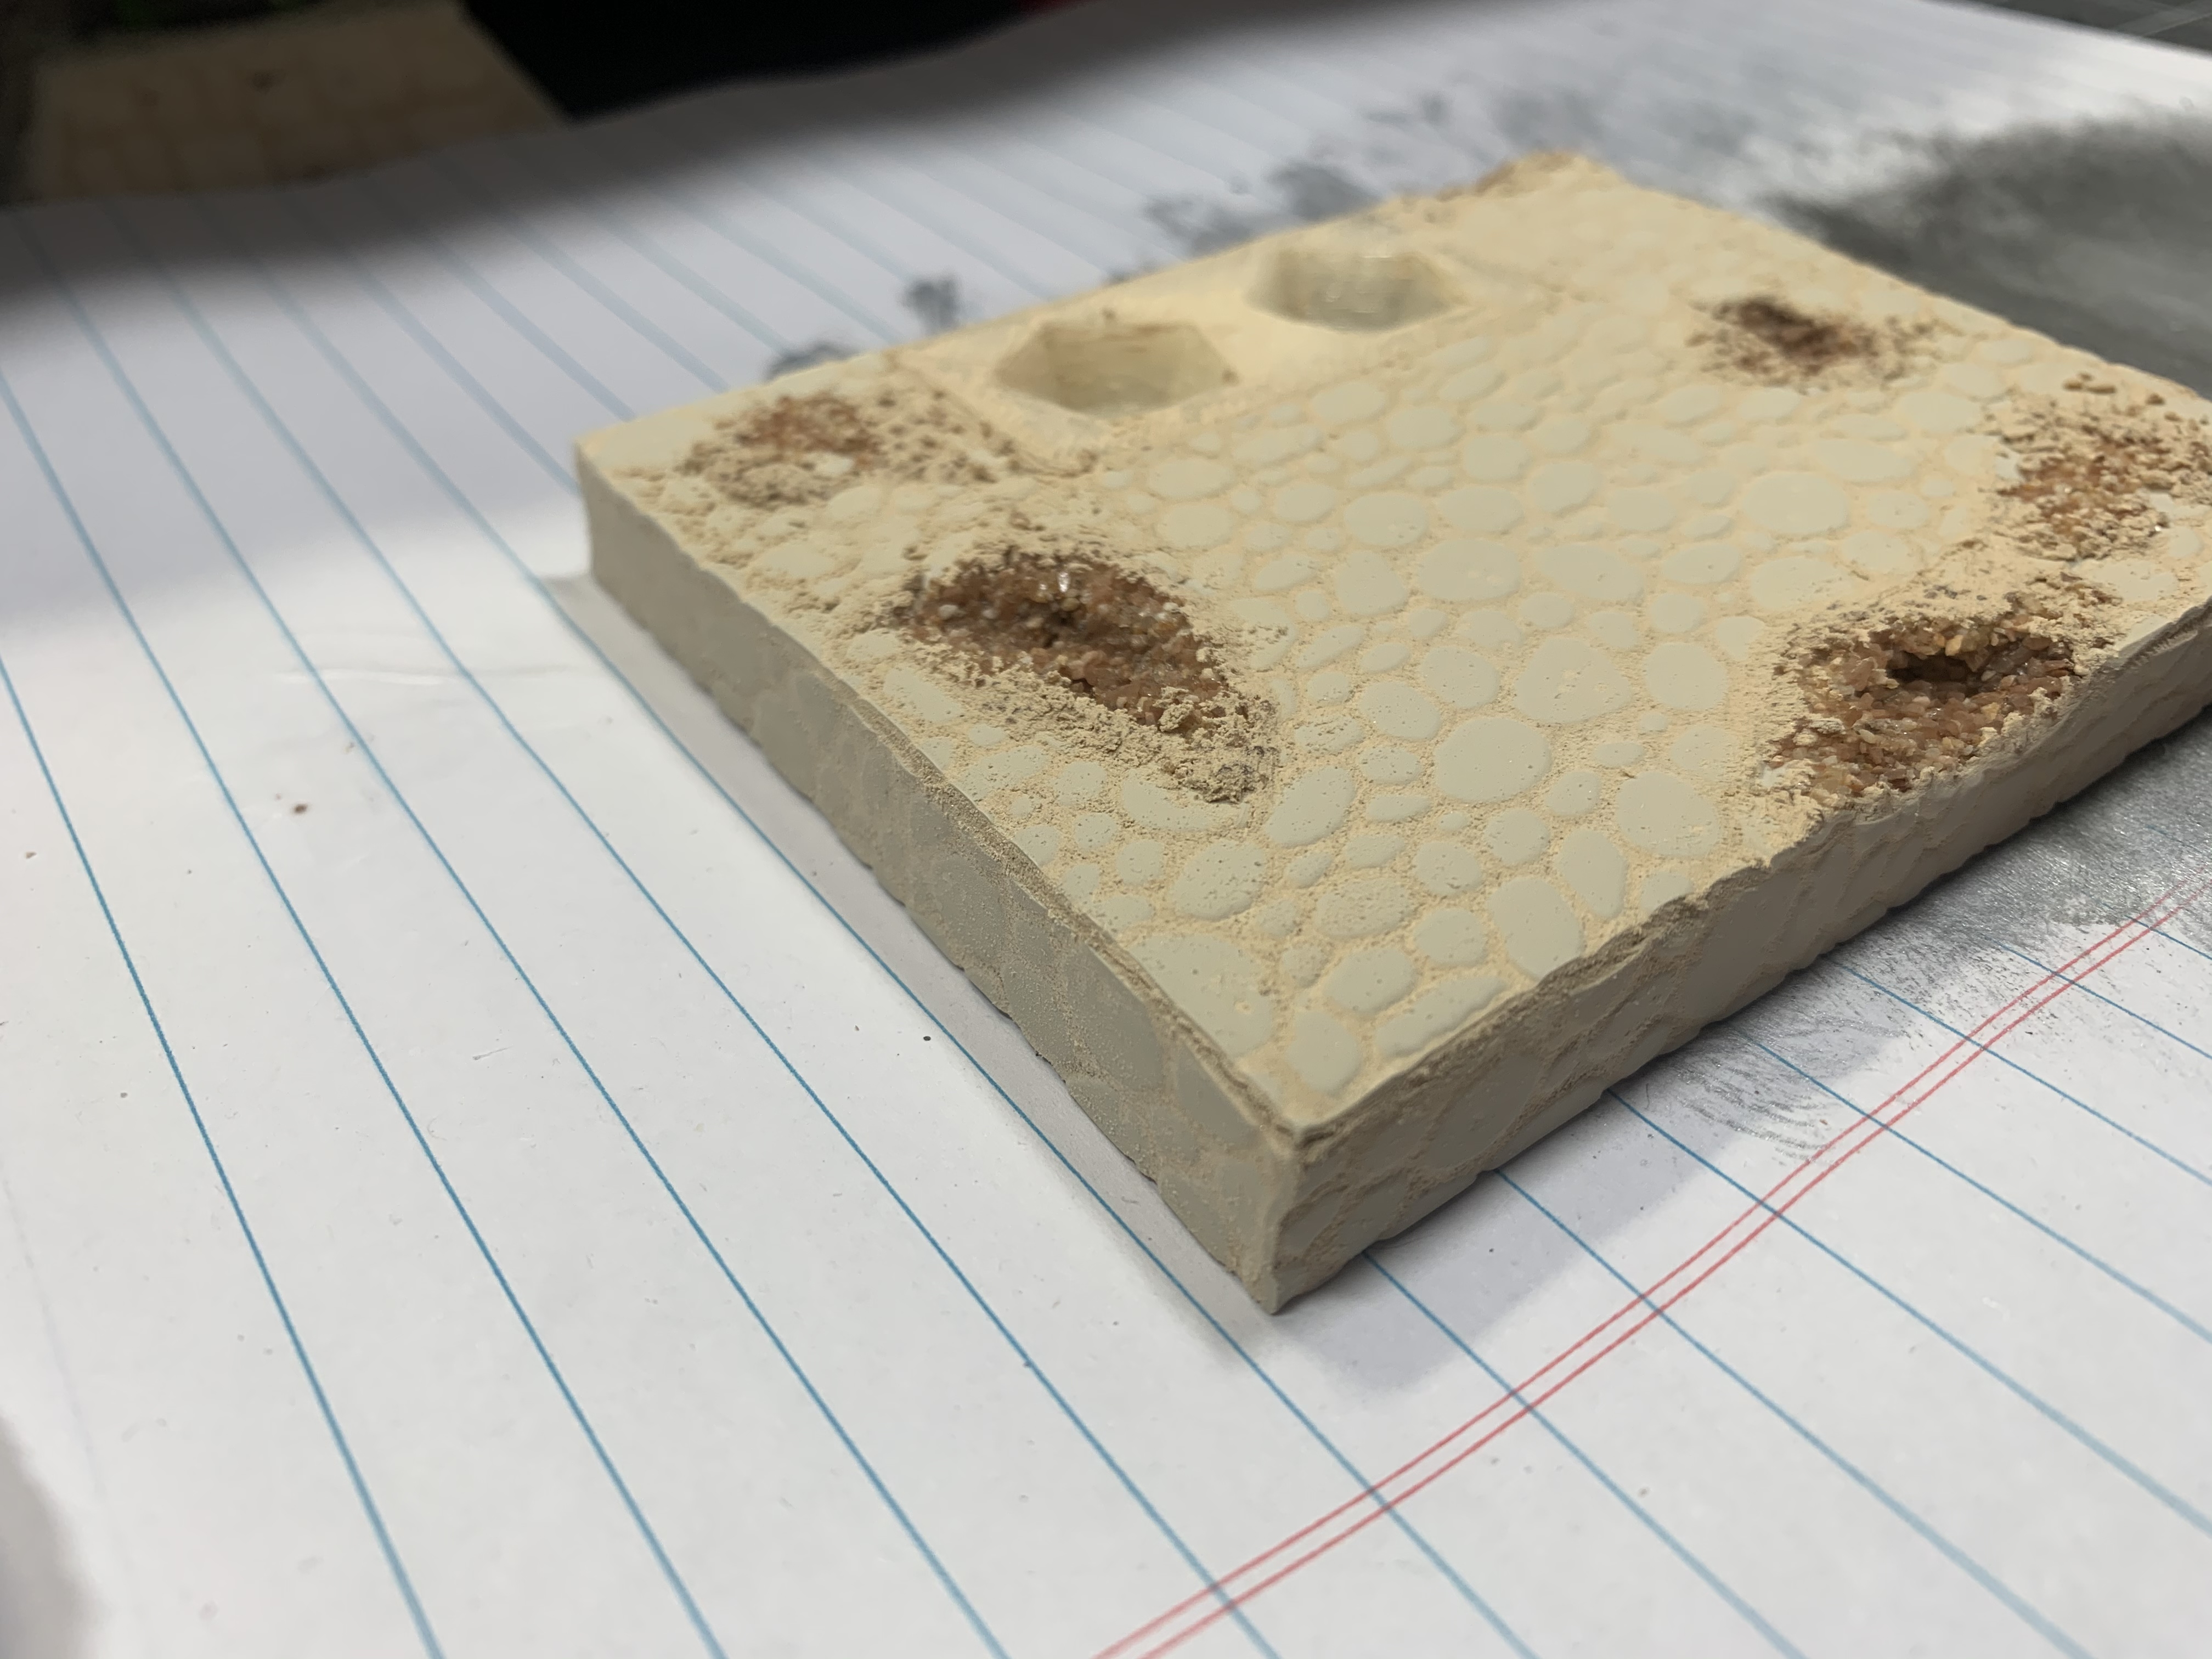
(FYI these pics are from my first test base where I did the ballast before the filler, I decided I like the filler first. doing the filler after the ballast, makes sanding irritating.)
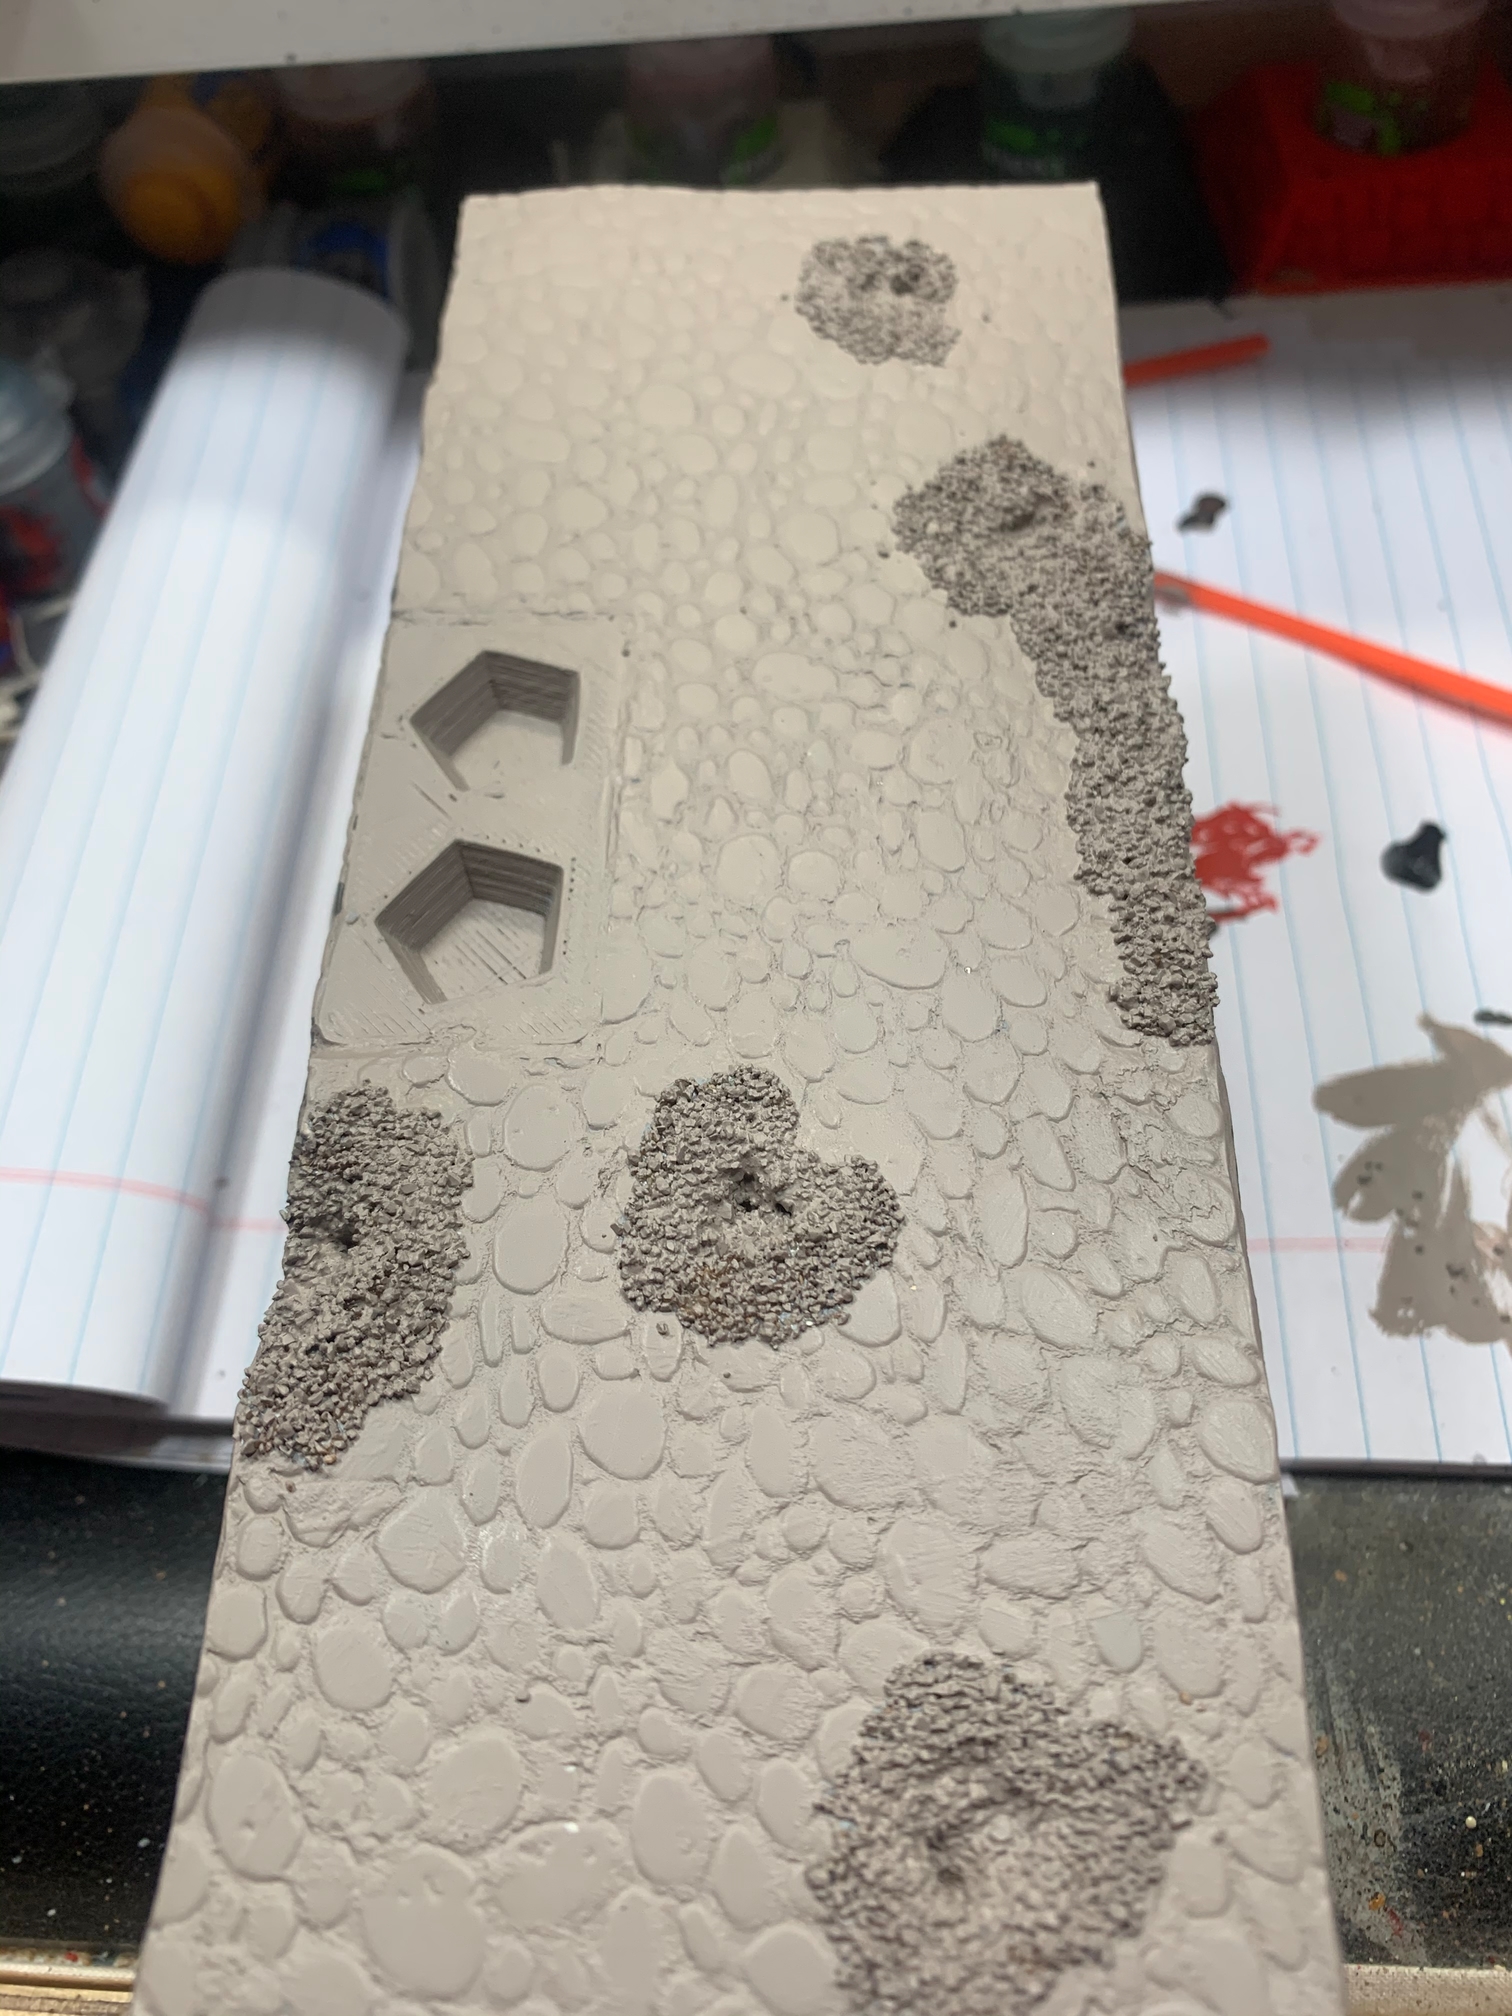
Now after everything is dry, we paint. I stole the idea for the paint from one of Sorastro’s Zombicide painting guides. link below
I prime the base in a light grey,
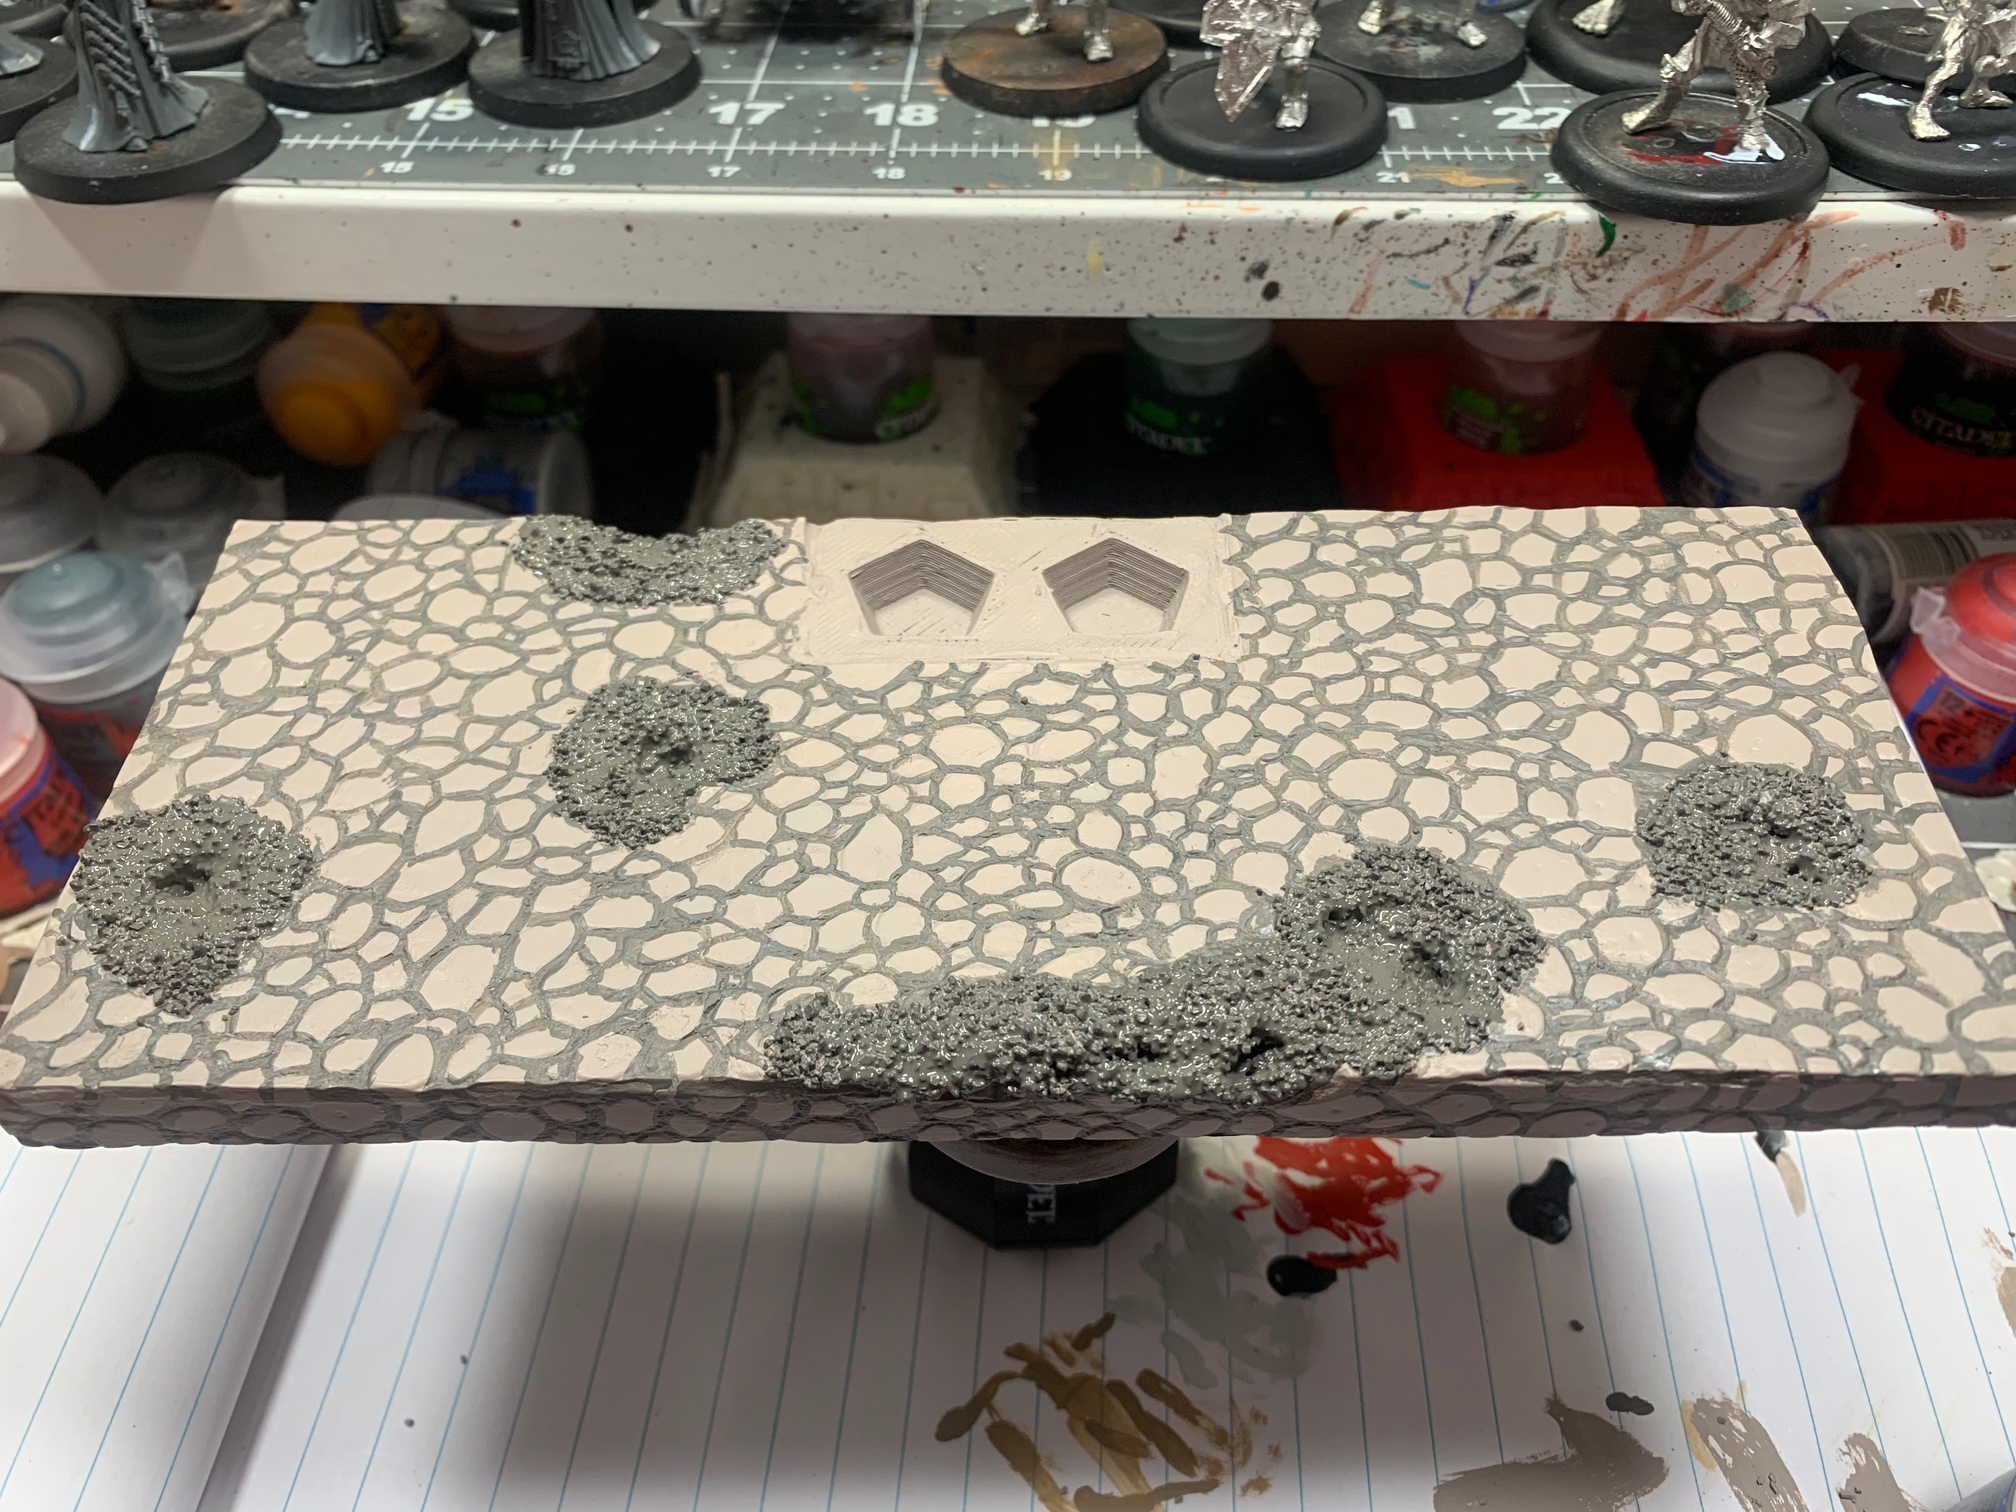
First basecoat with GW Rakarth Flesh
Then pick out the holes and all the areas between the stones with Stormvermin Fur
Did I mention this step was tedious…
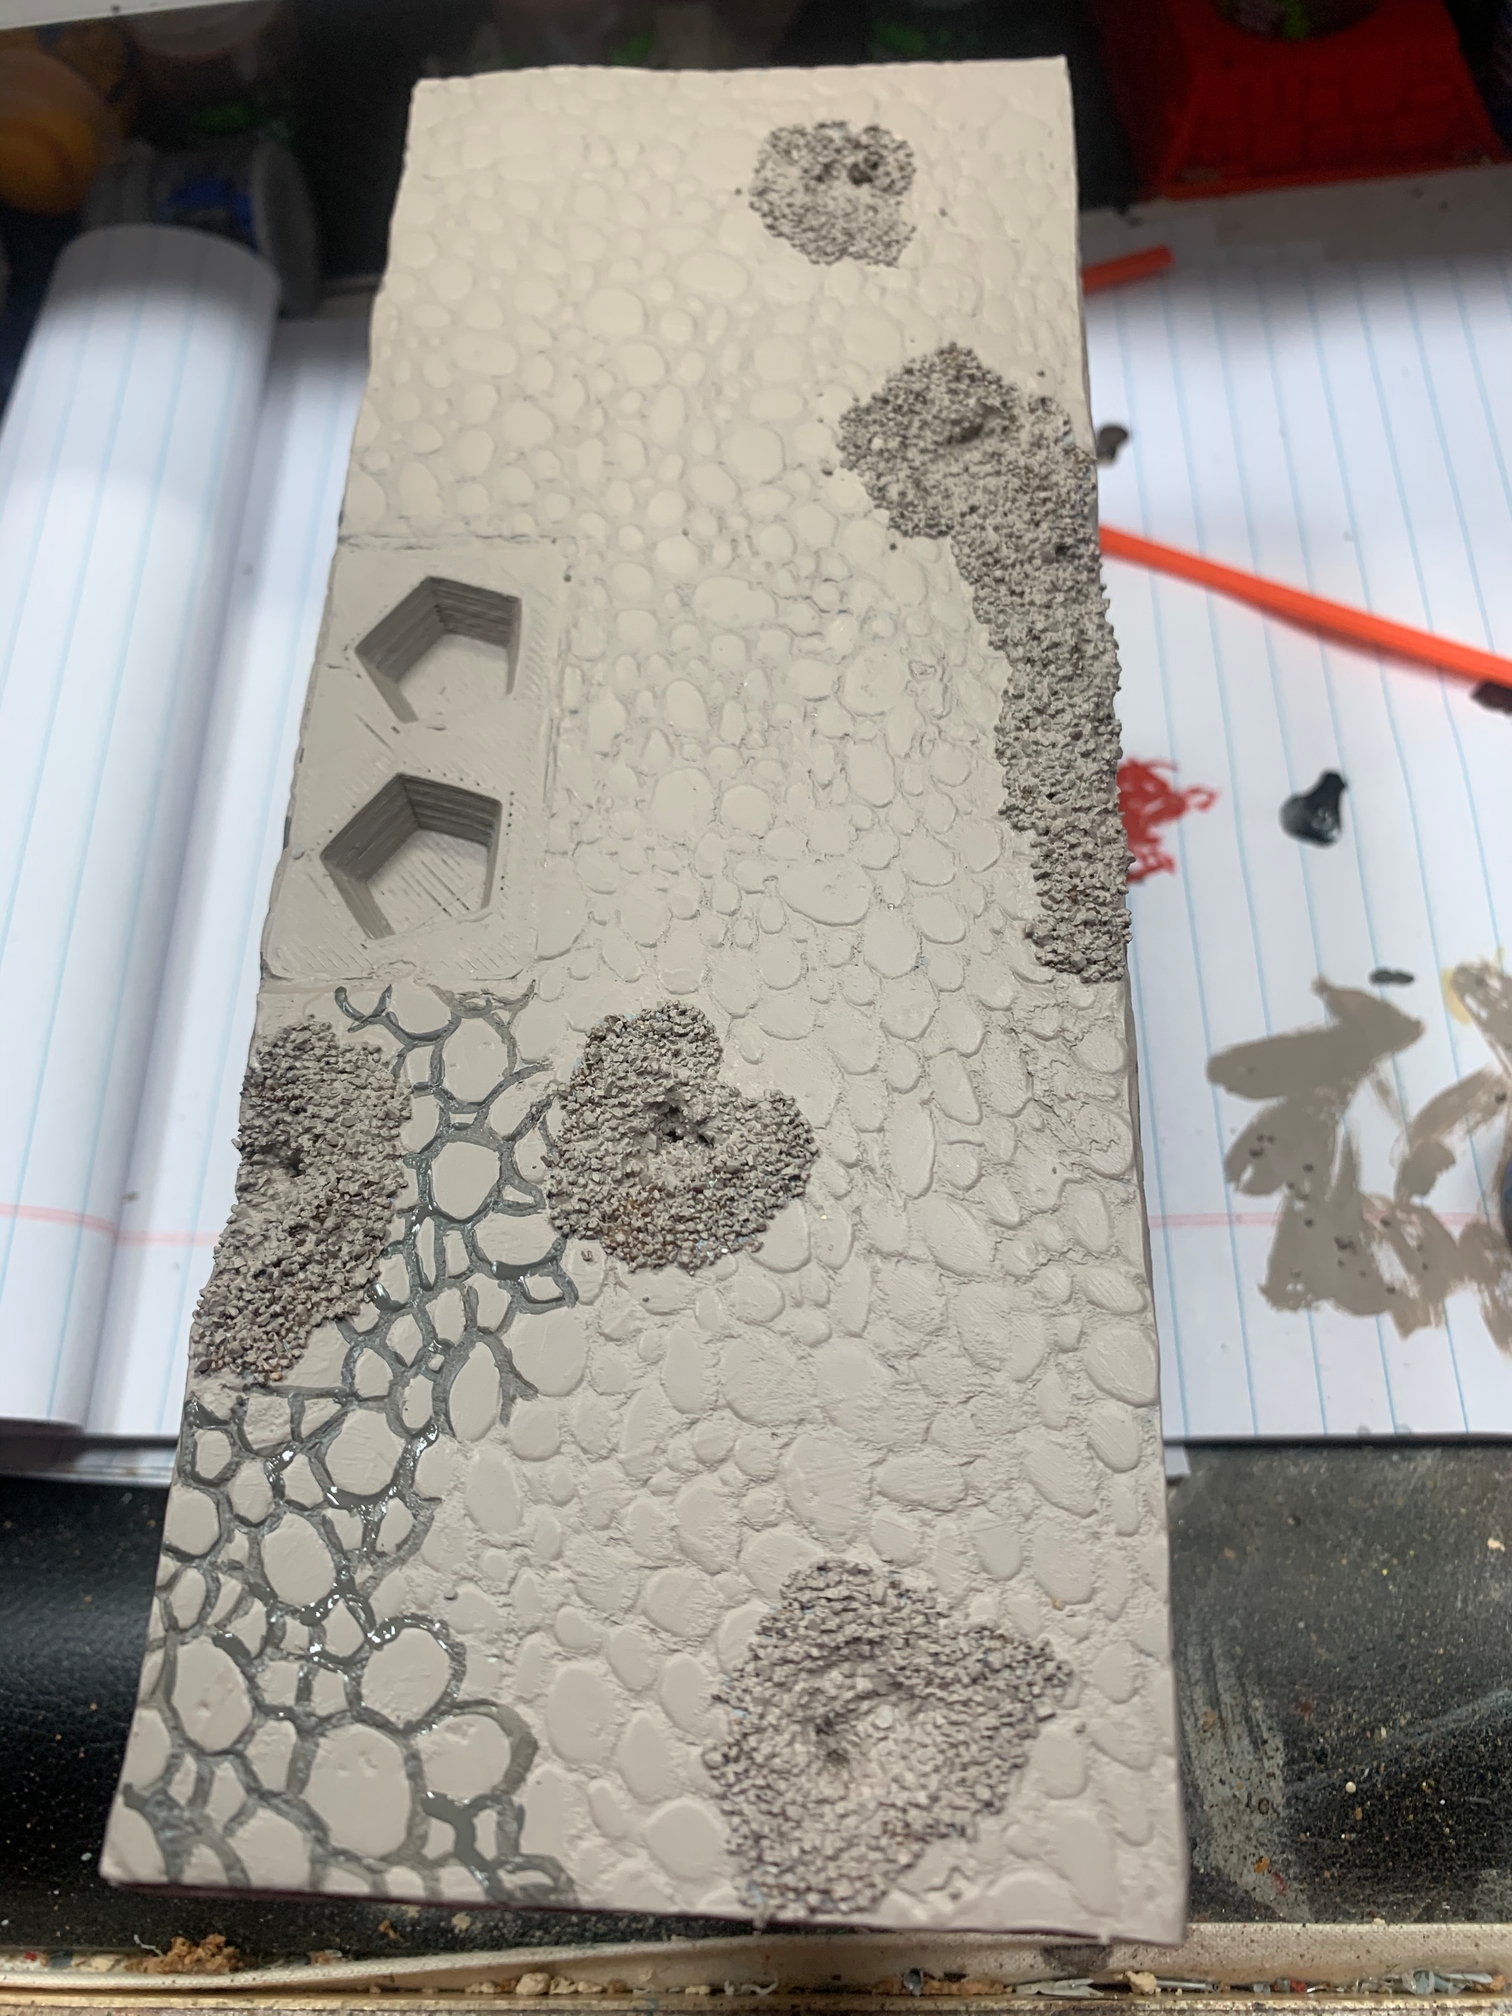
Next pick out random stones with a few different colors, these are what I use.
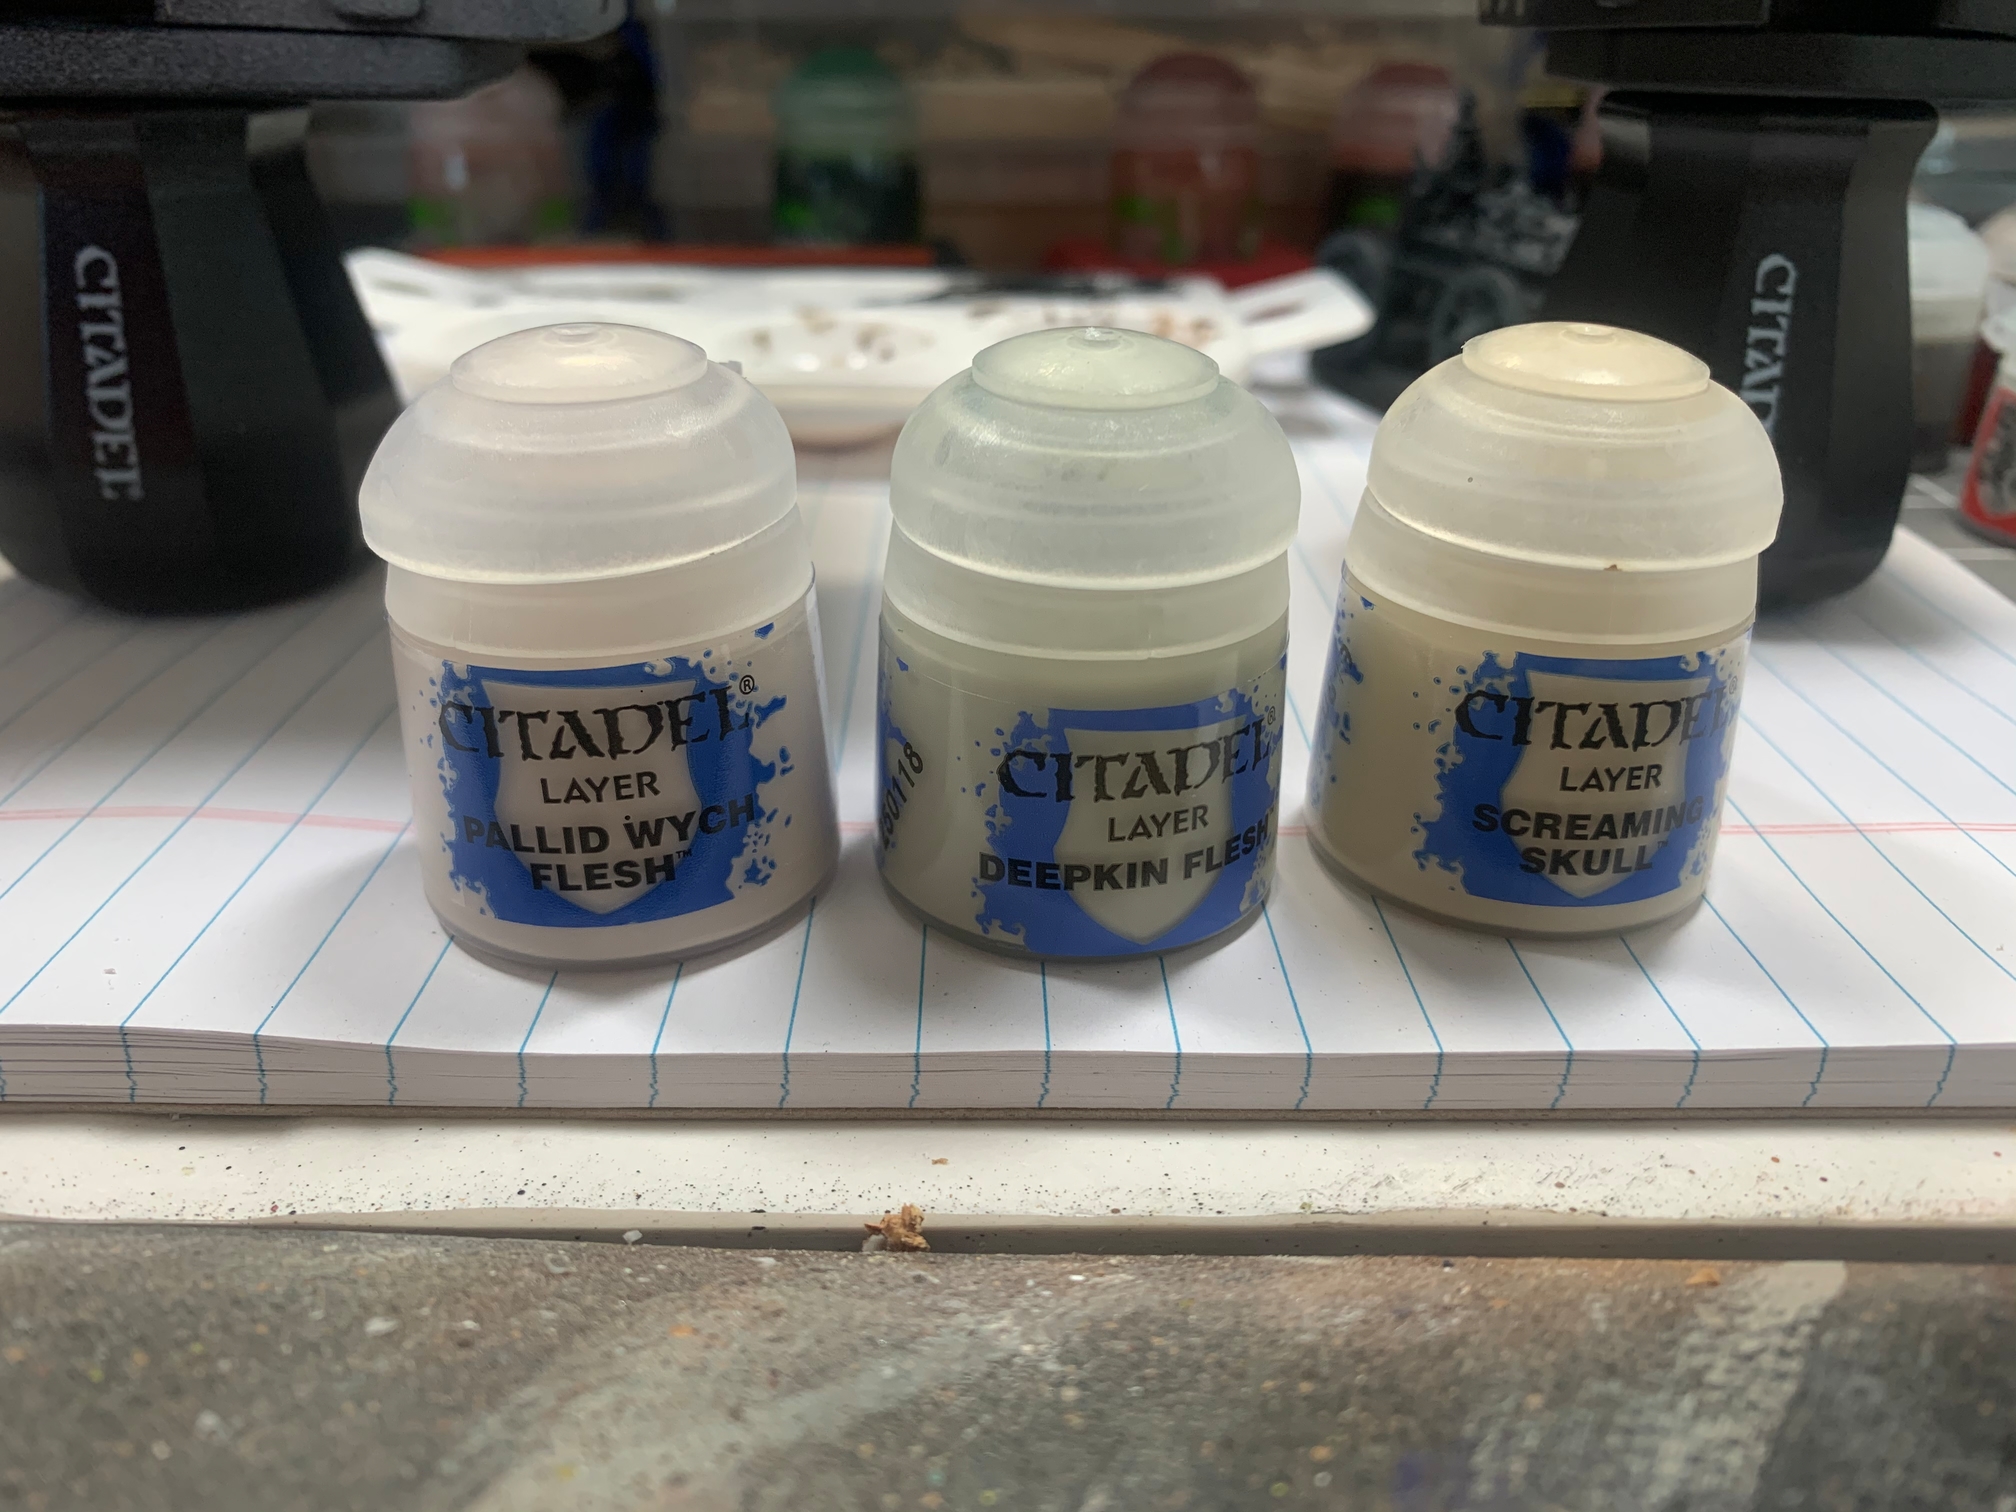
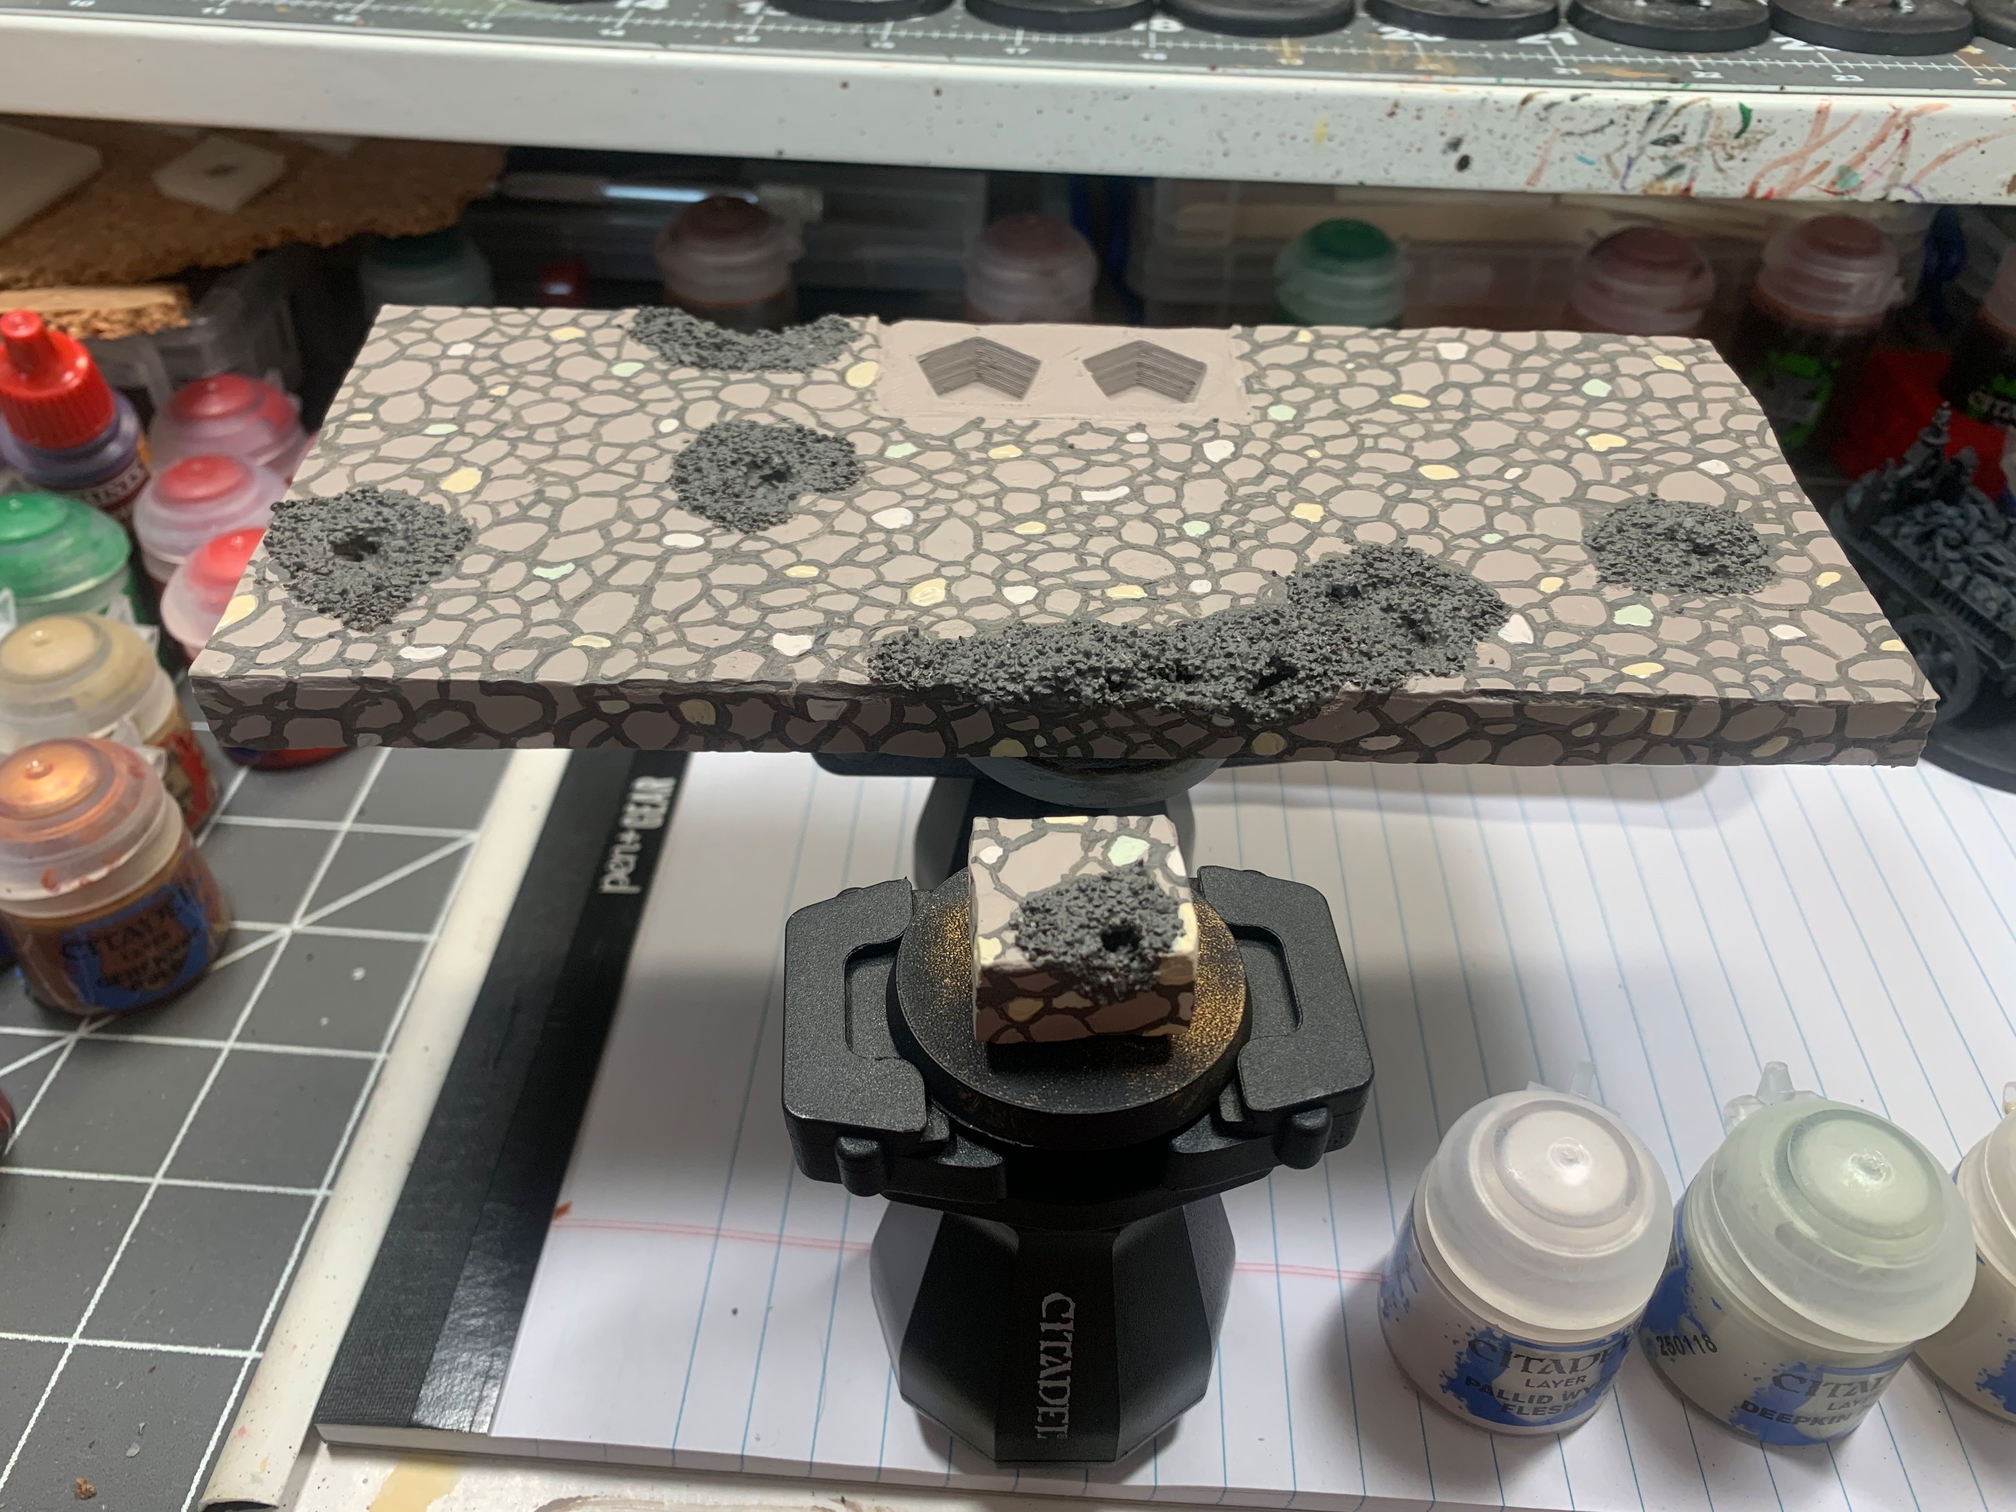
Don’t forget the edges…
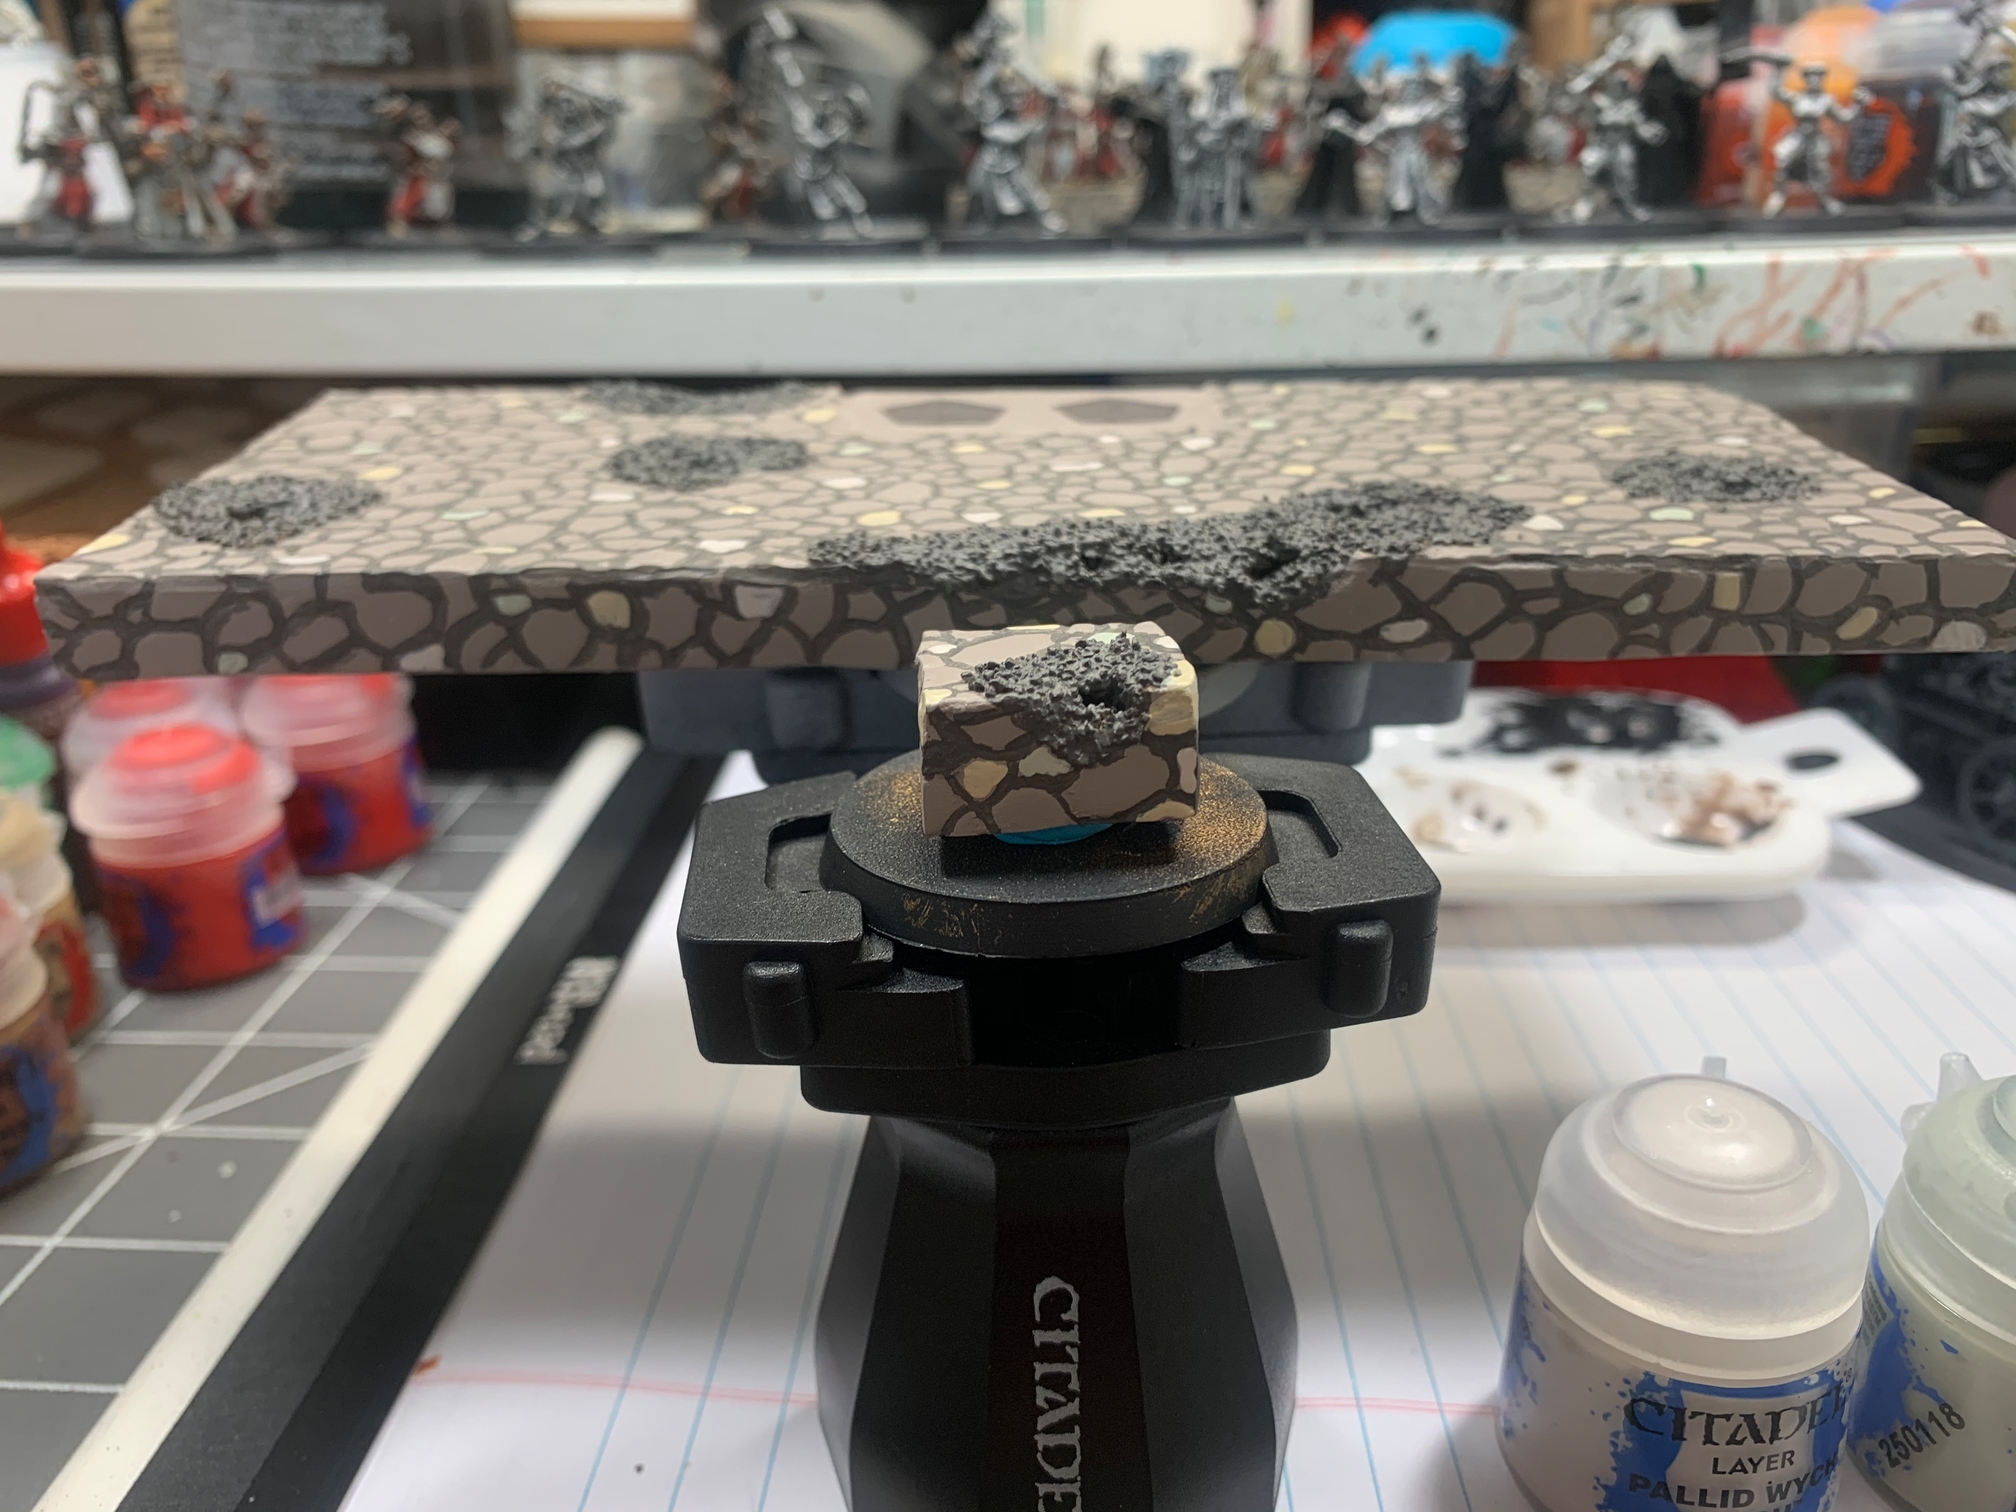
Then a drybrush
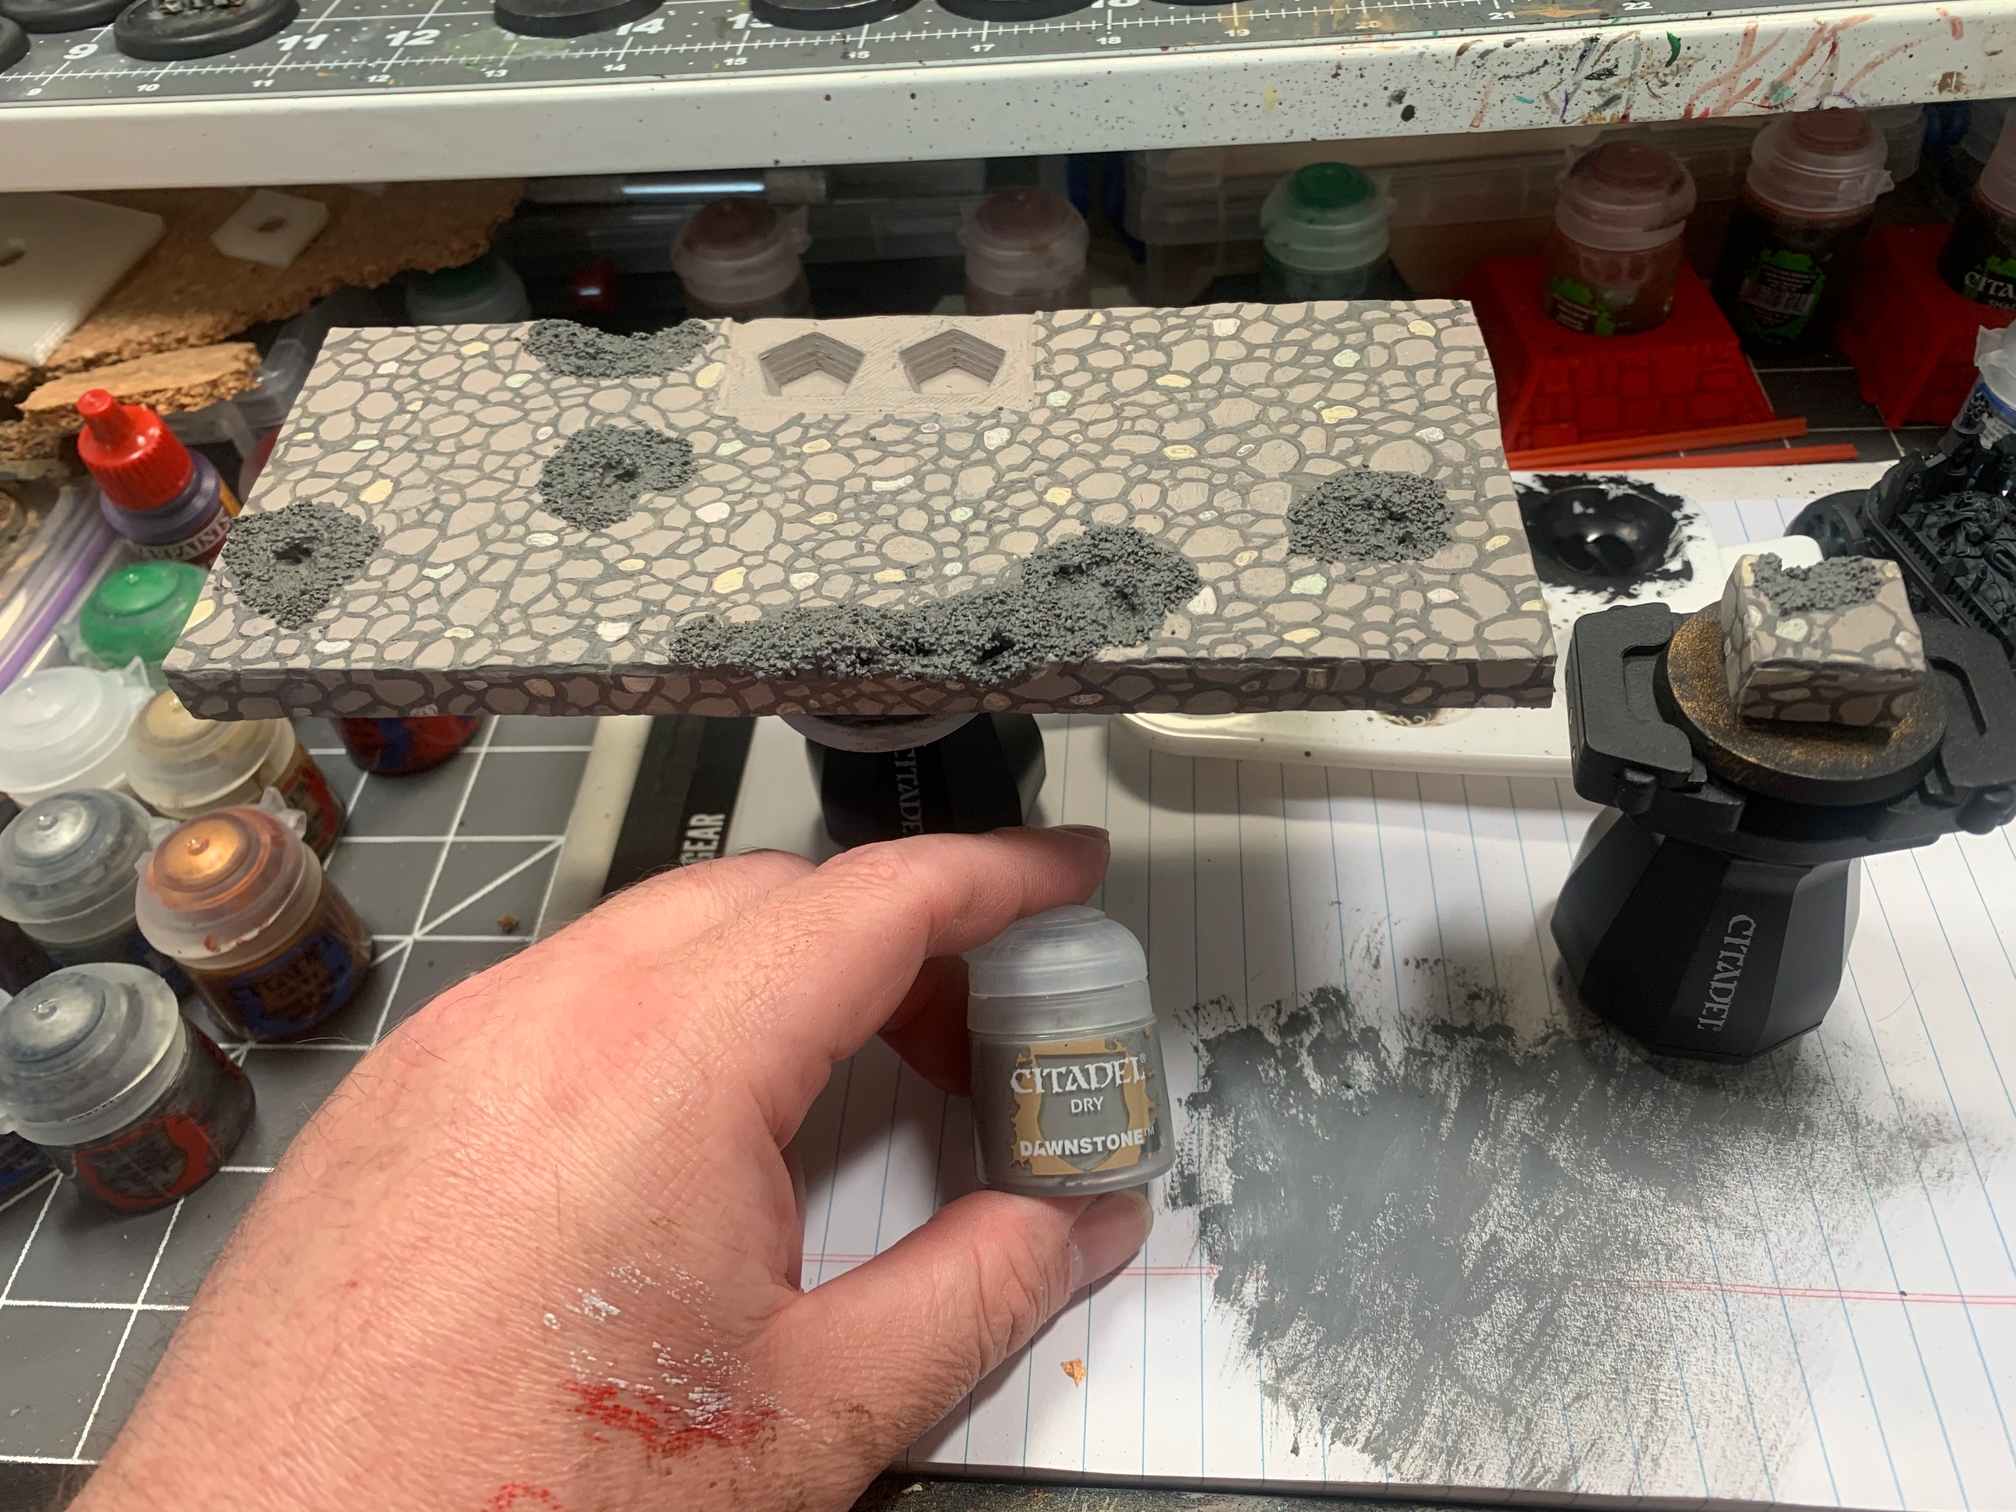
And another drybrush
Then a wash using Army painter Zombie shader. Which is 2 parts of Army painter strong tone and 1 part of army painted wash mixing medium.
(forgot a pic here sorry, biggest deal is not to let it pool to much)
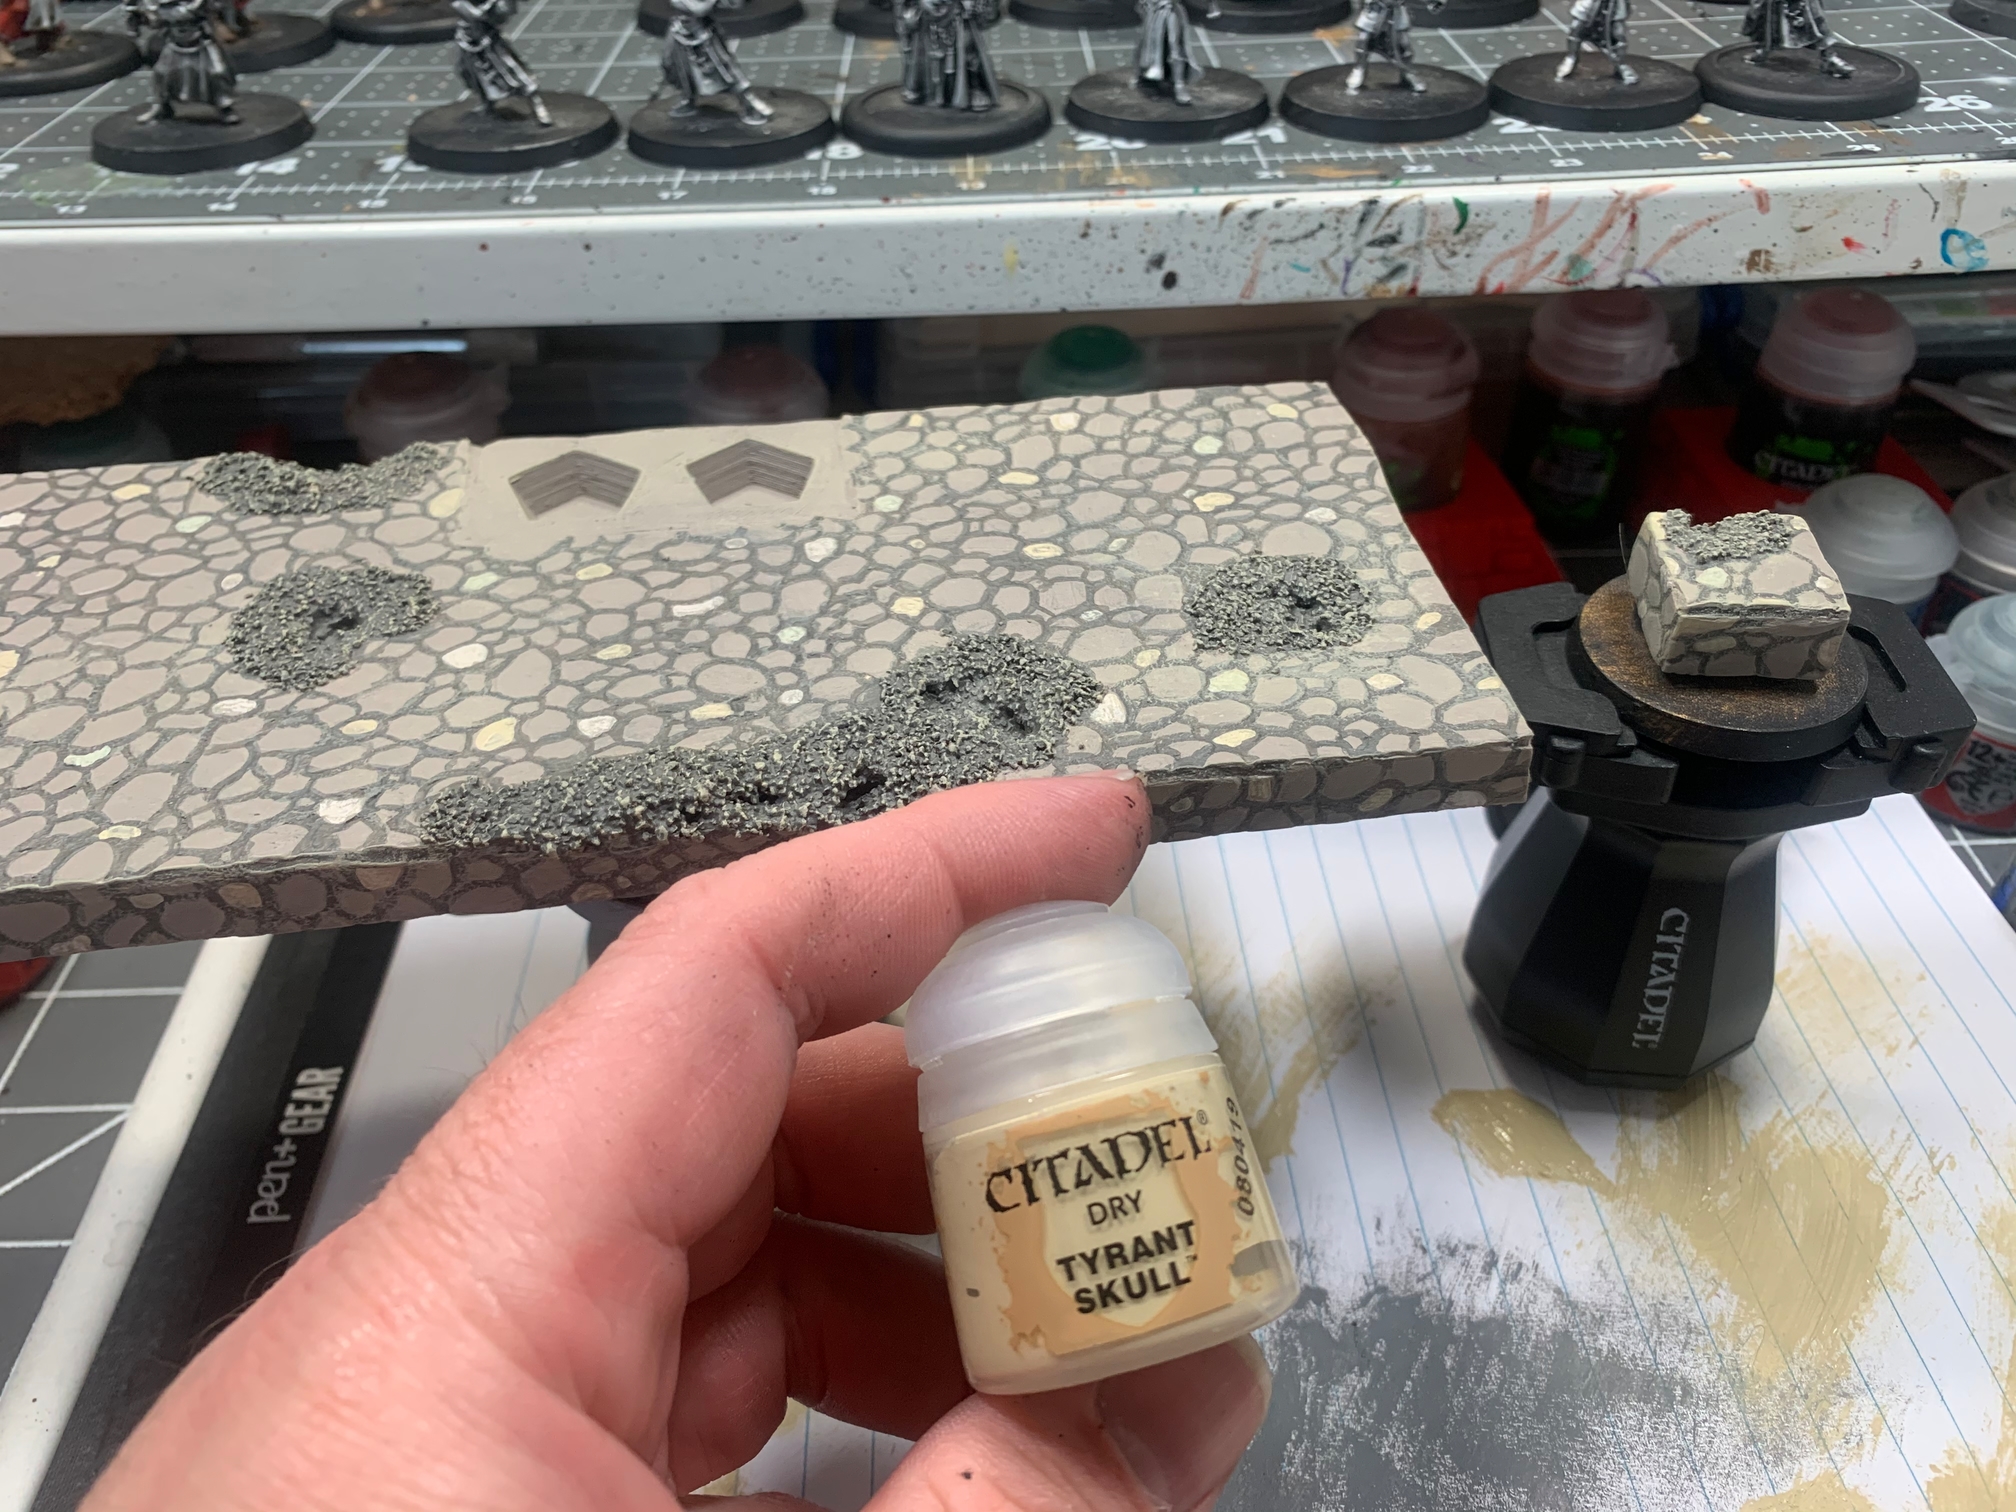
once that’s dry, we do another drybrush
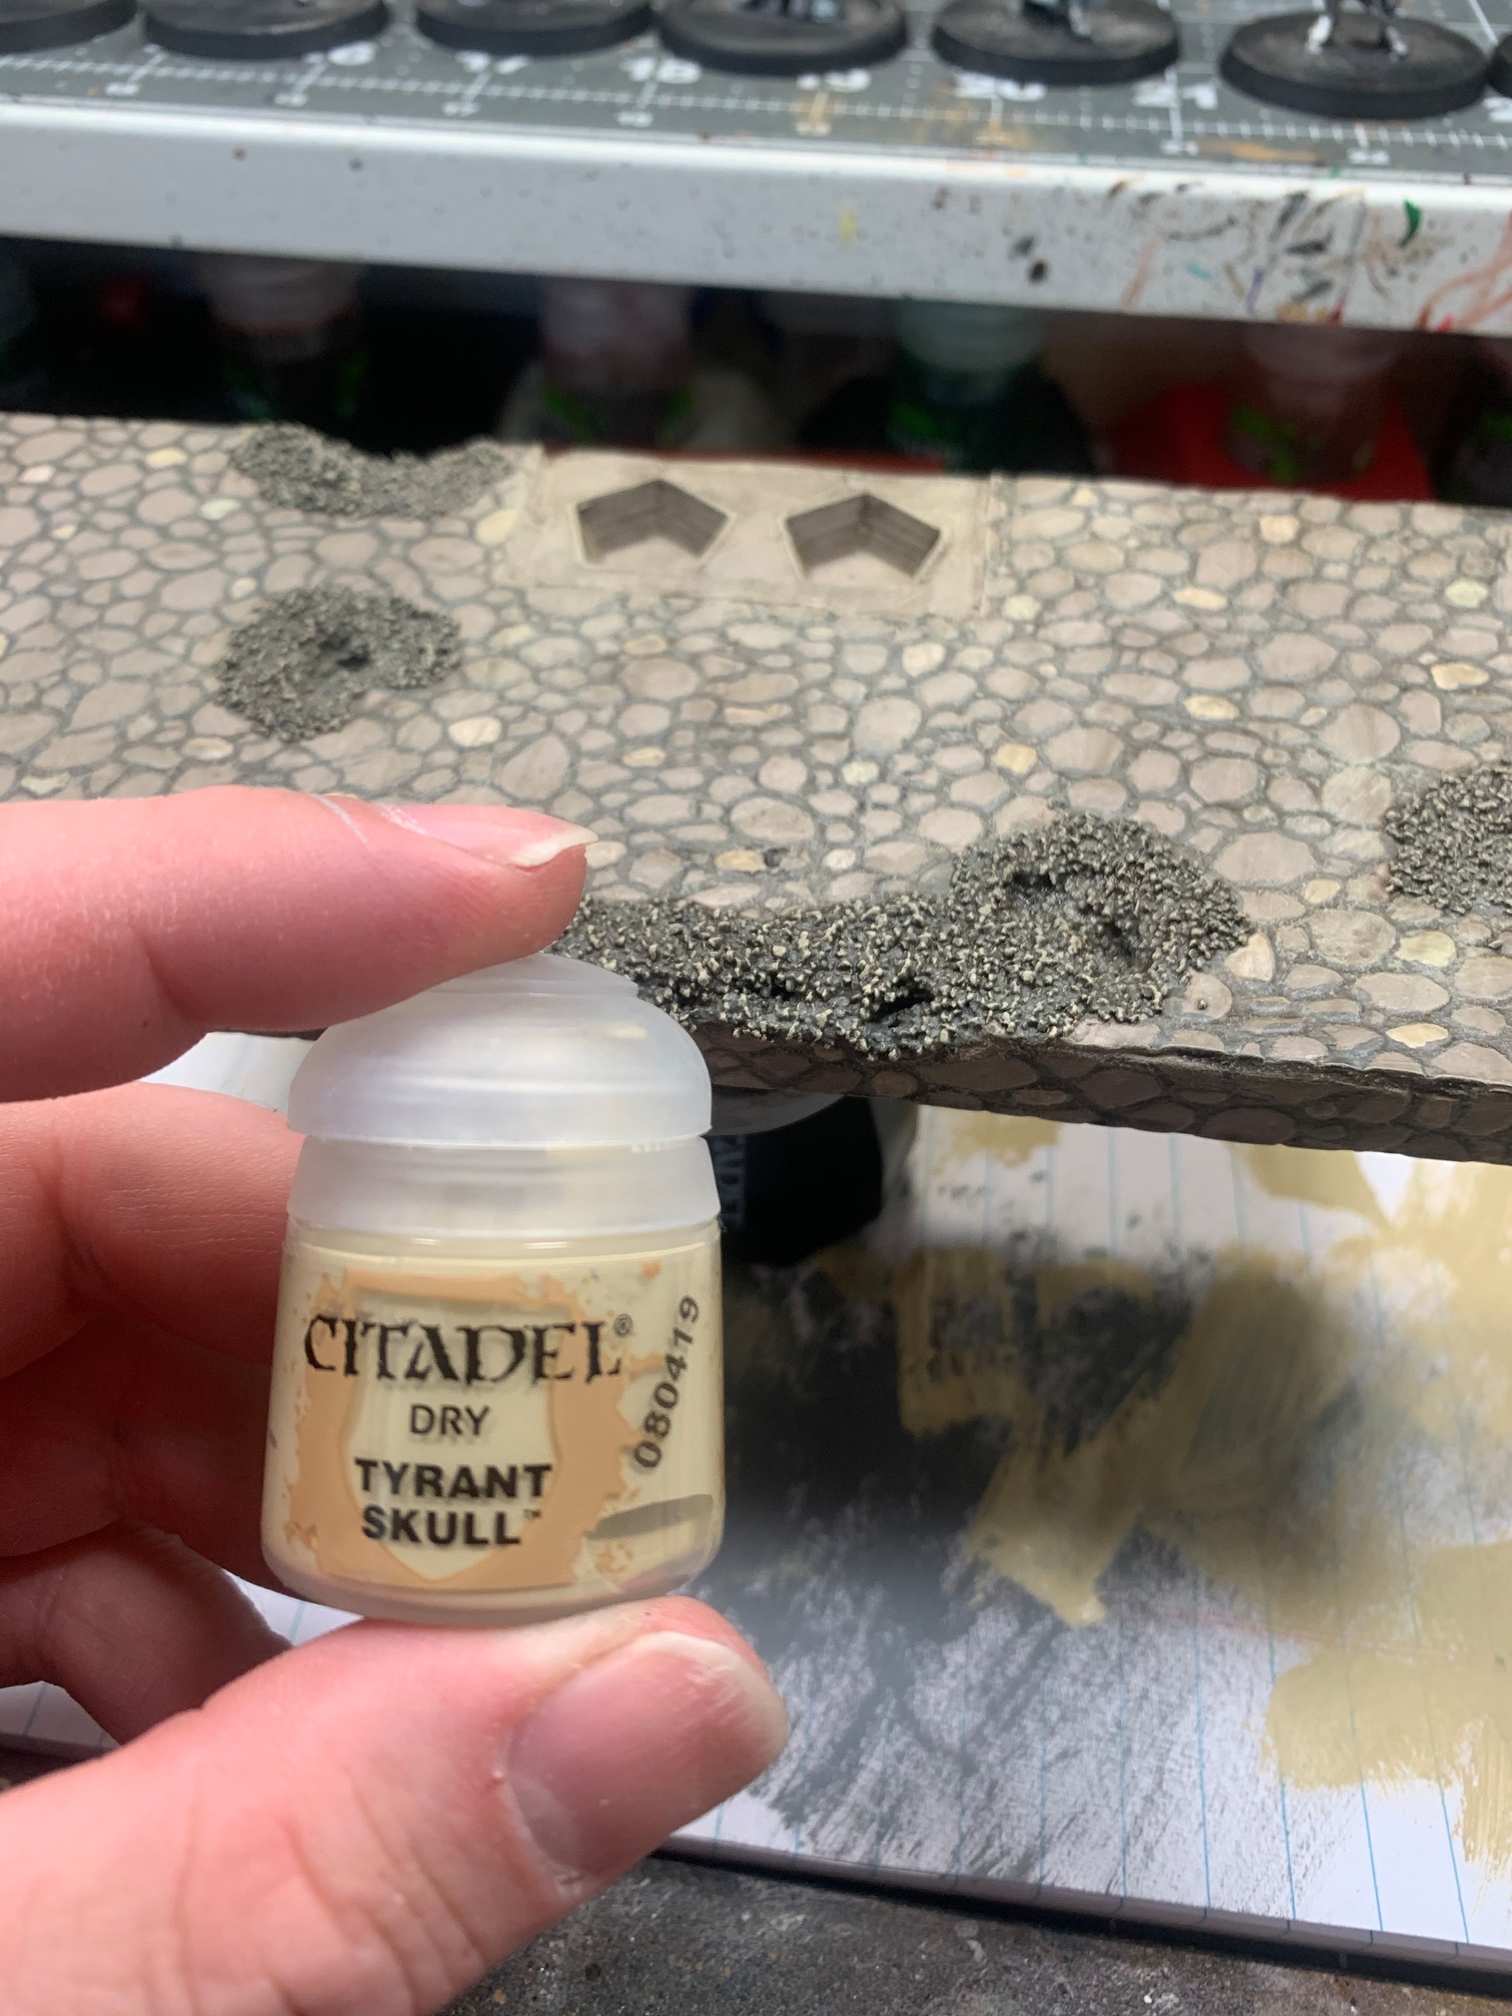

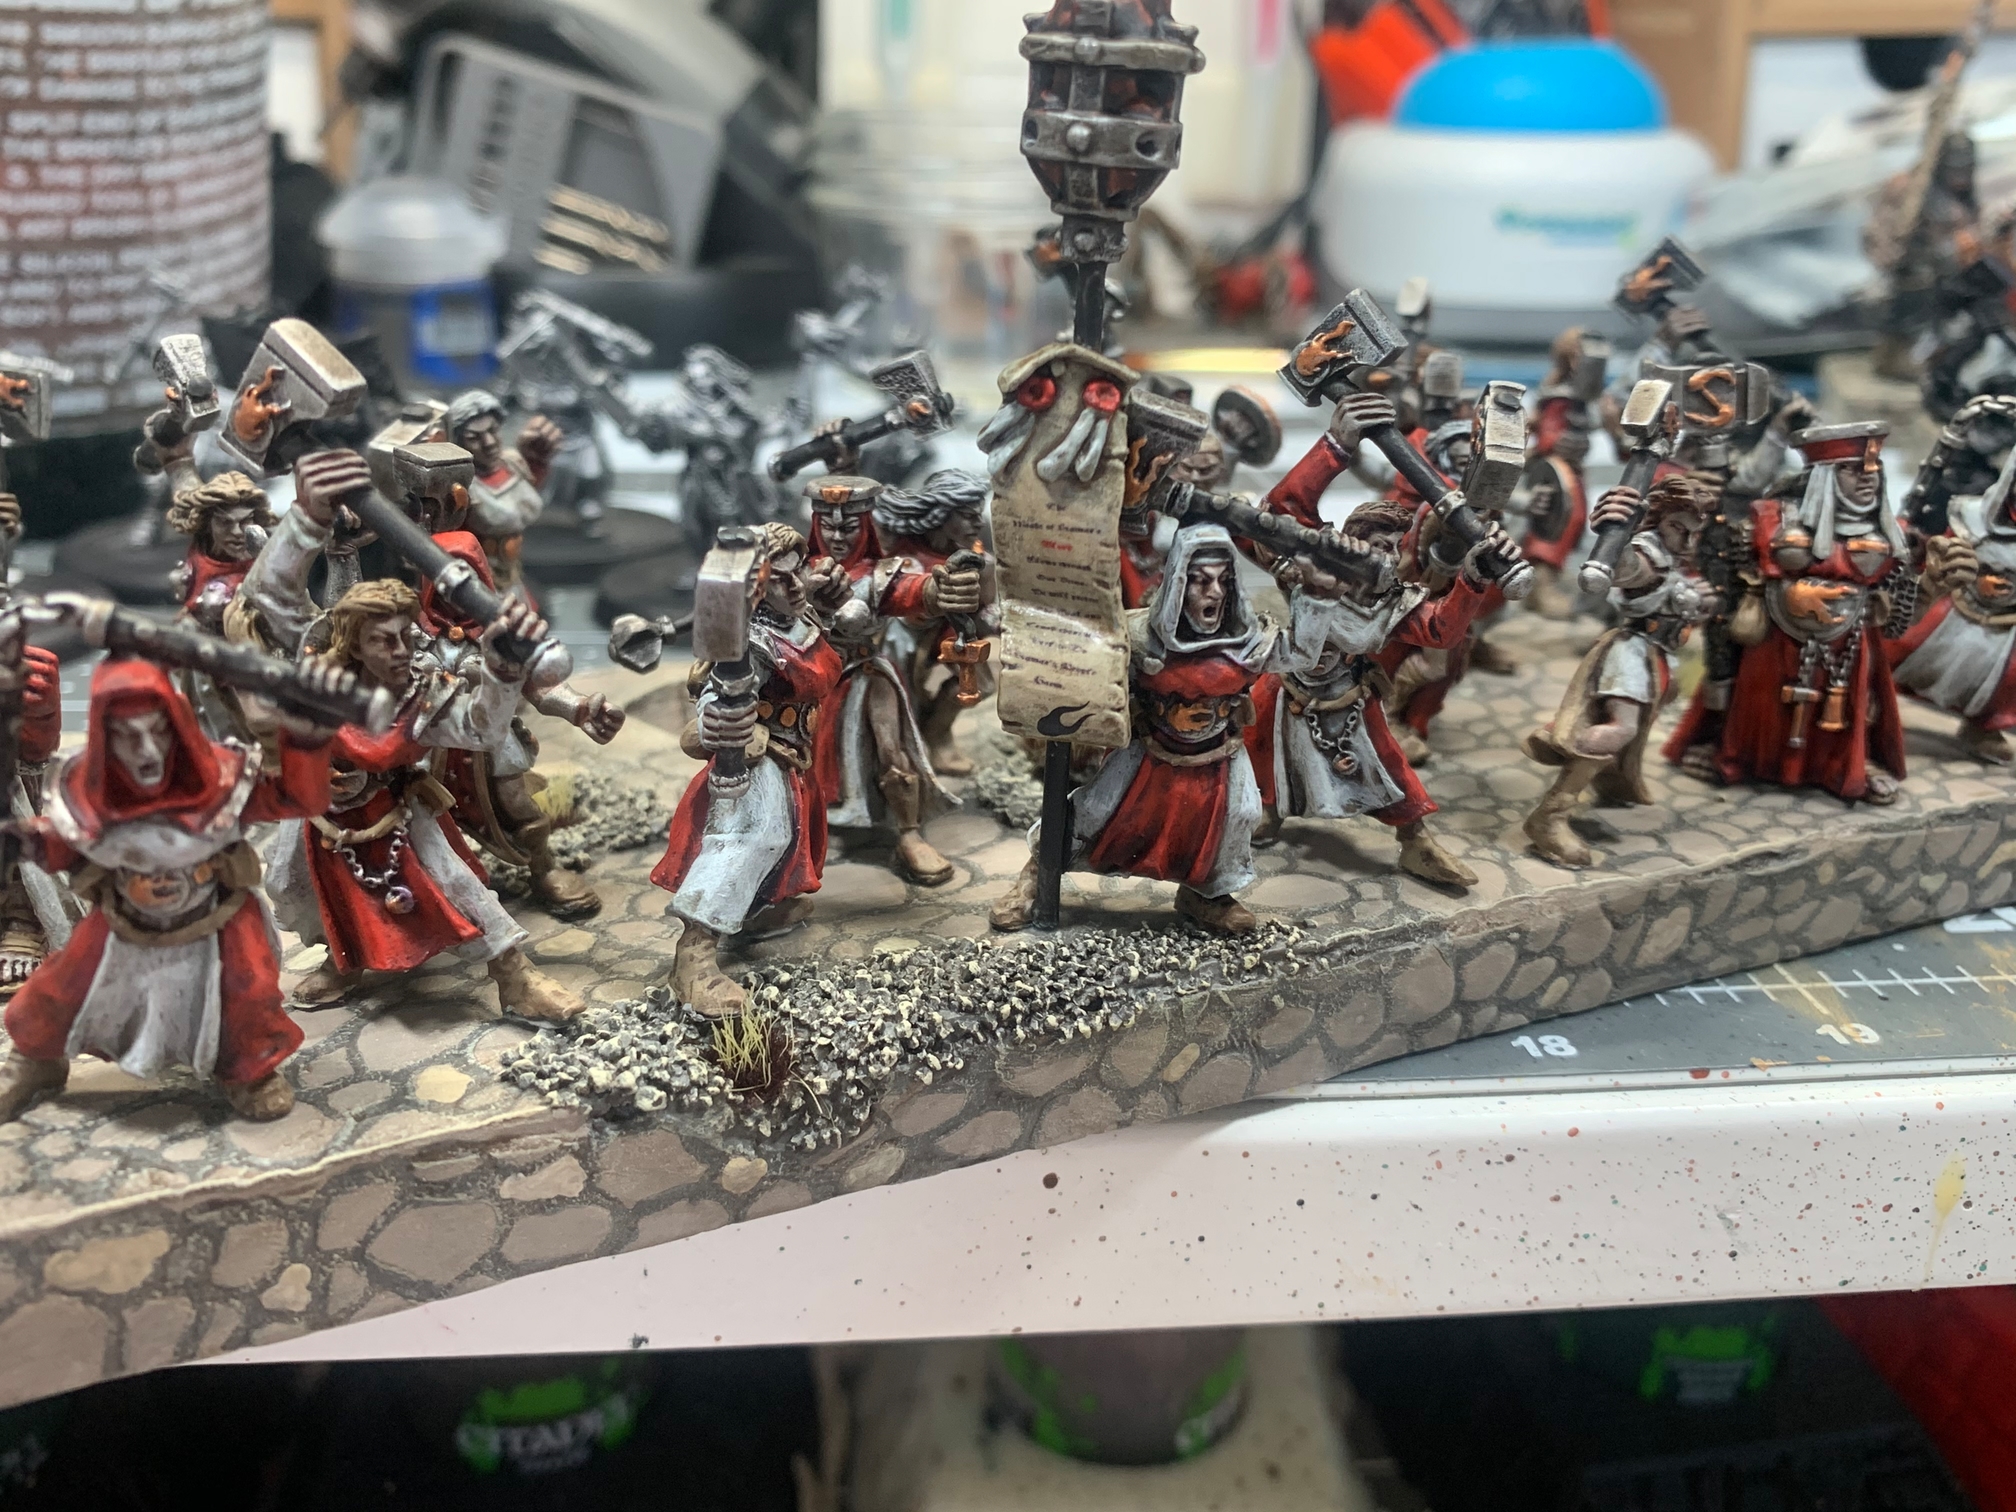
All done. Add whatever tuffs you like, I like something dead looking for my basing right now.
Yes the base is a bit thick, but what can I say I like em Thicc….
later,
ogre…