Please sanity check my newbie approach to multi-basing / movement trays

Hello all-

New Kings of War player here, returning to the hobby after a 20+ year layoff.

I was formerly involved with 40k when I played, so movement trays and multi-basing are new concepts for me.

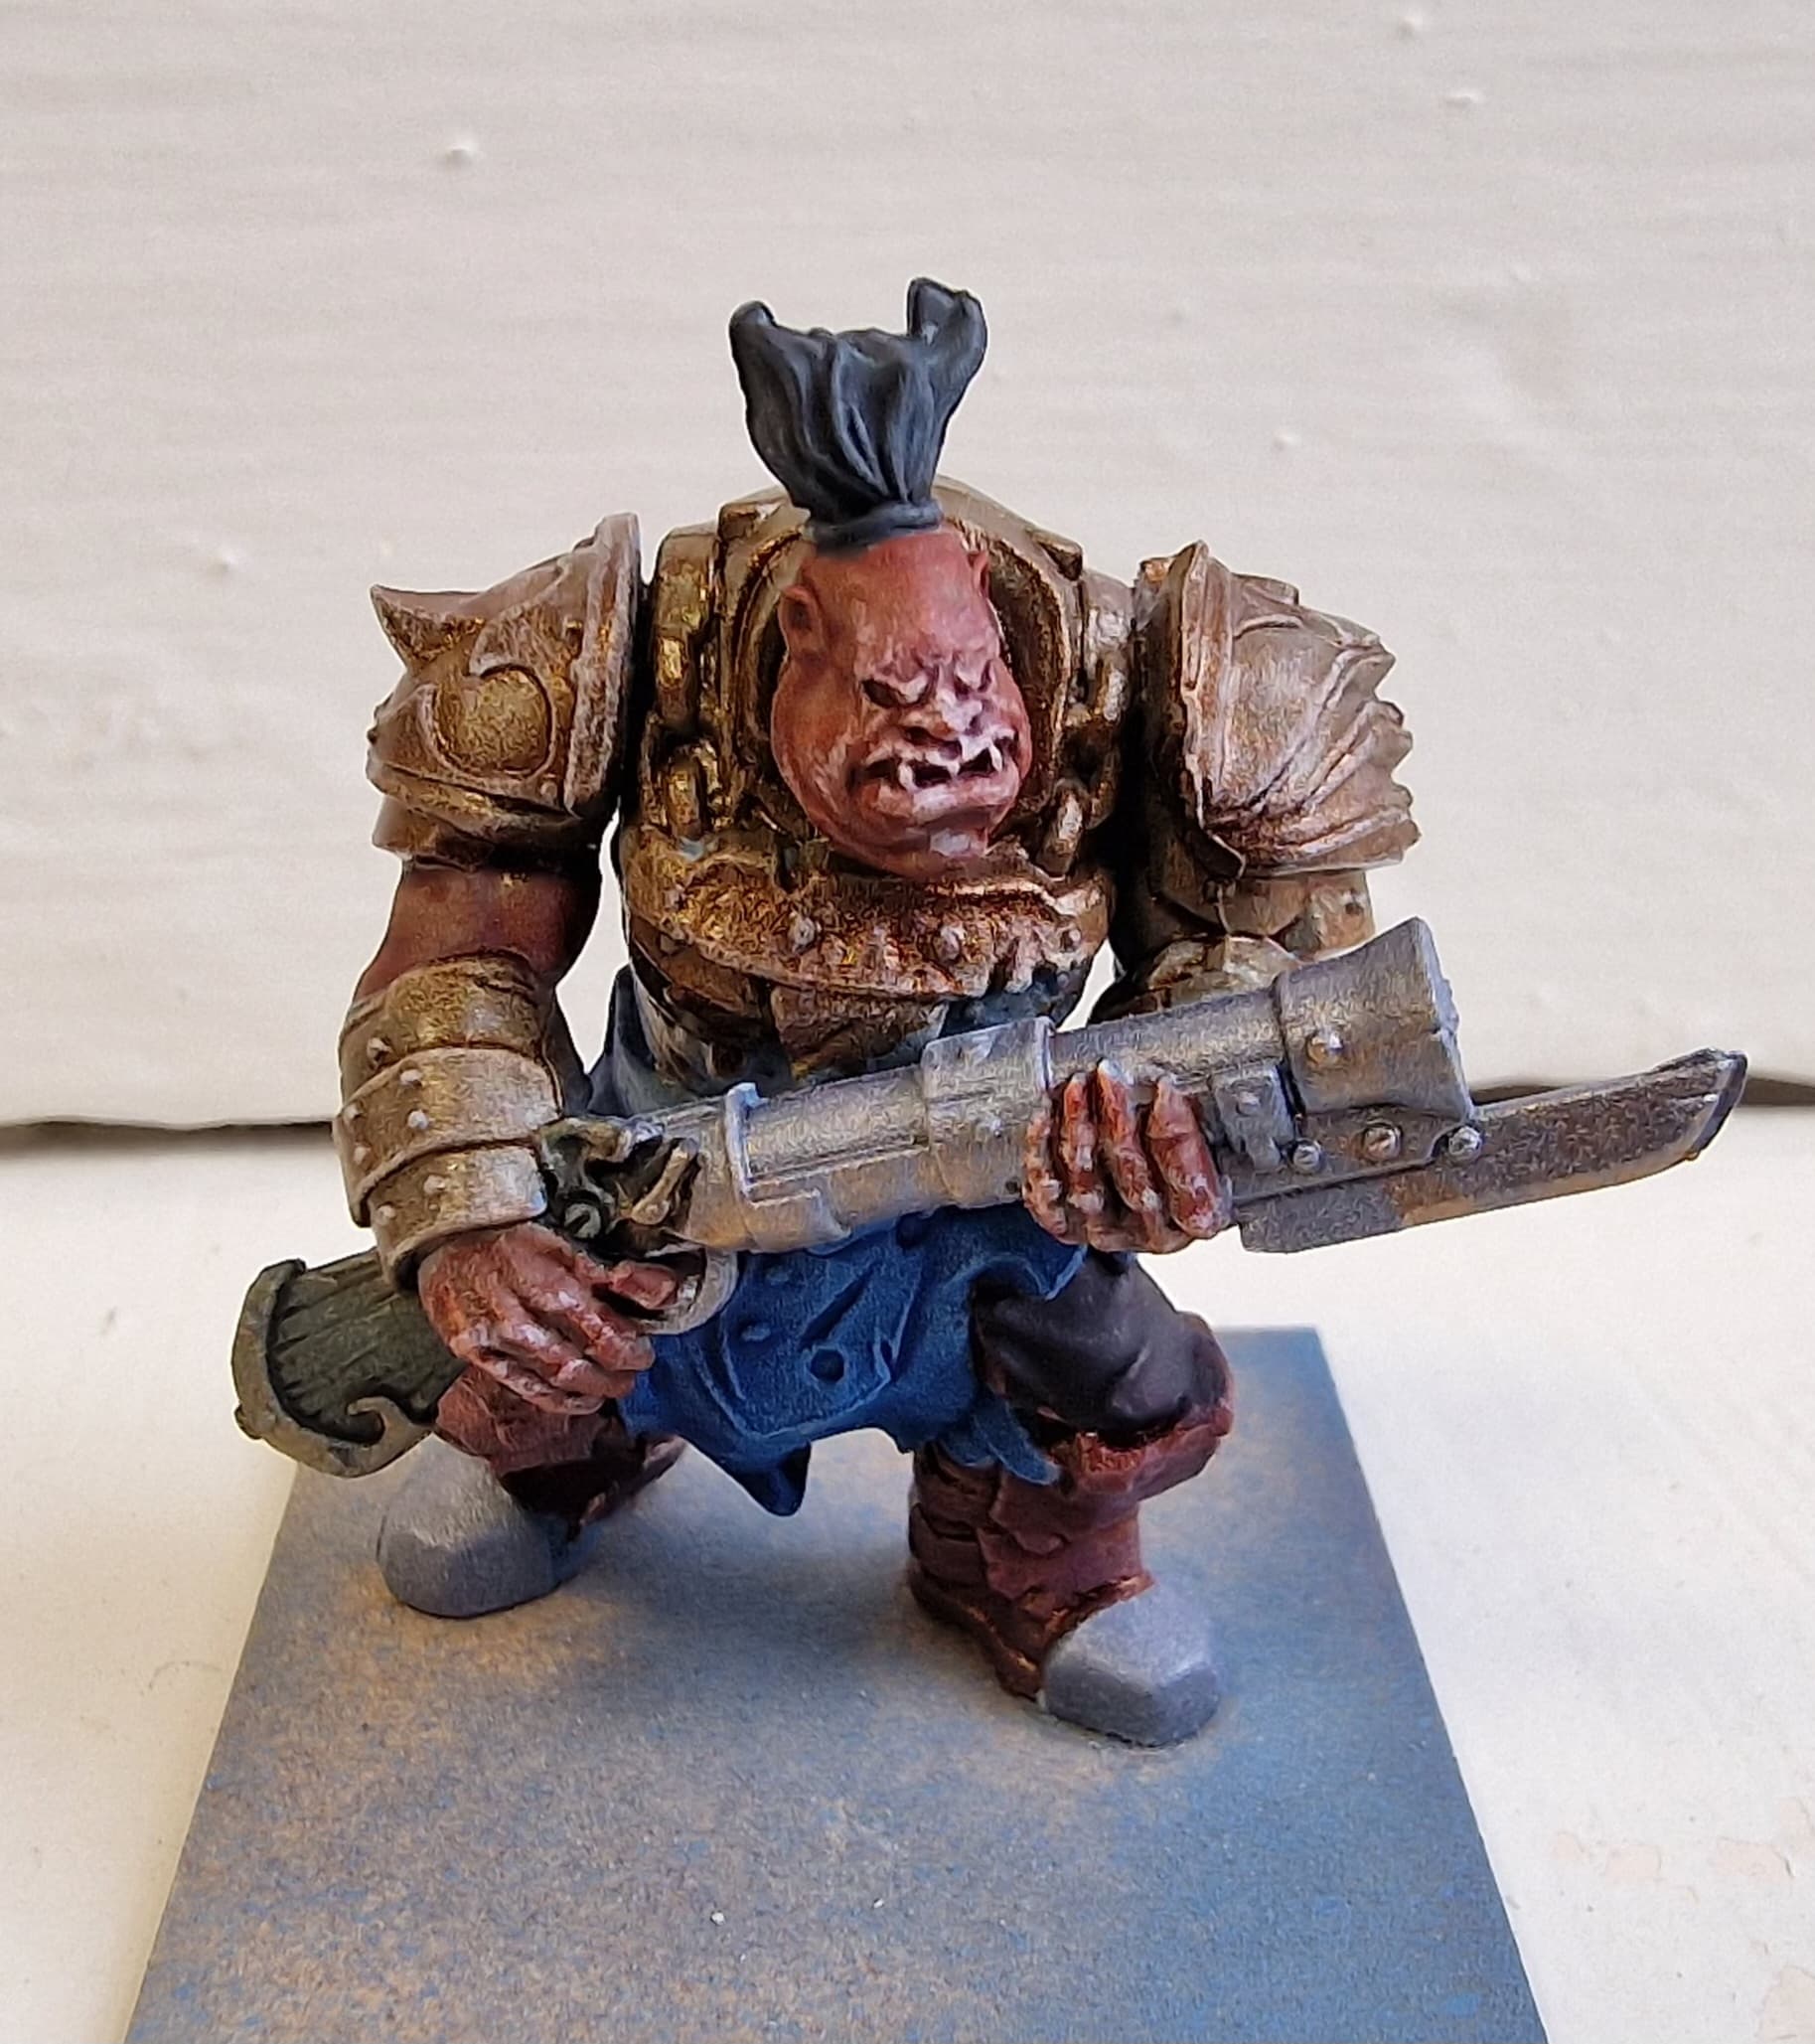
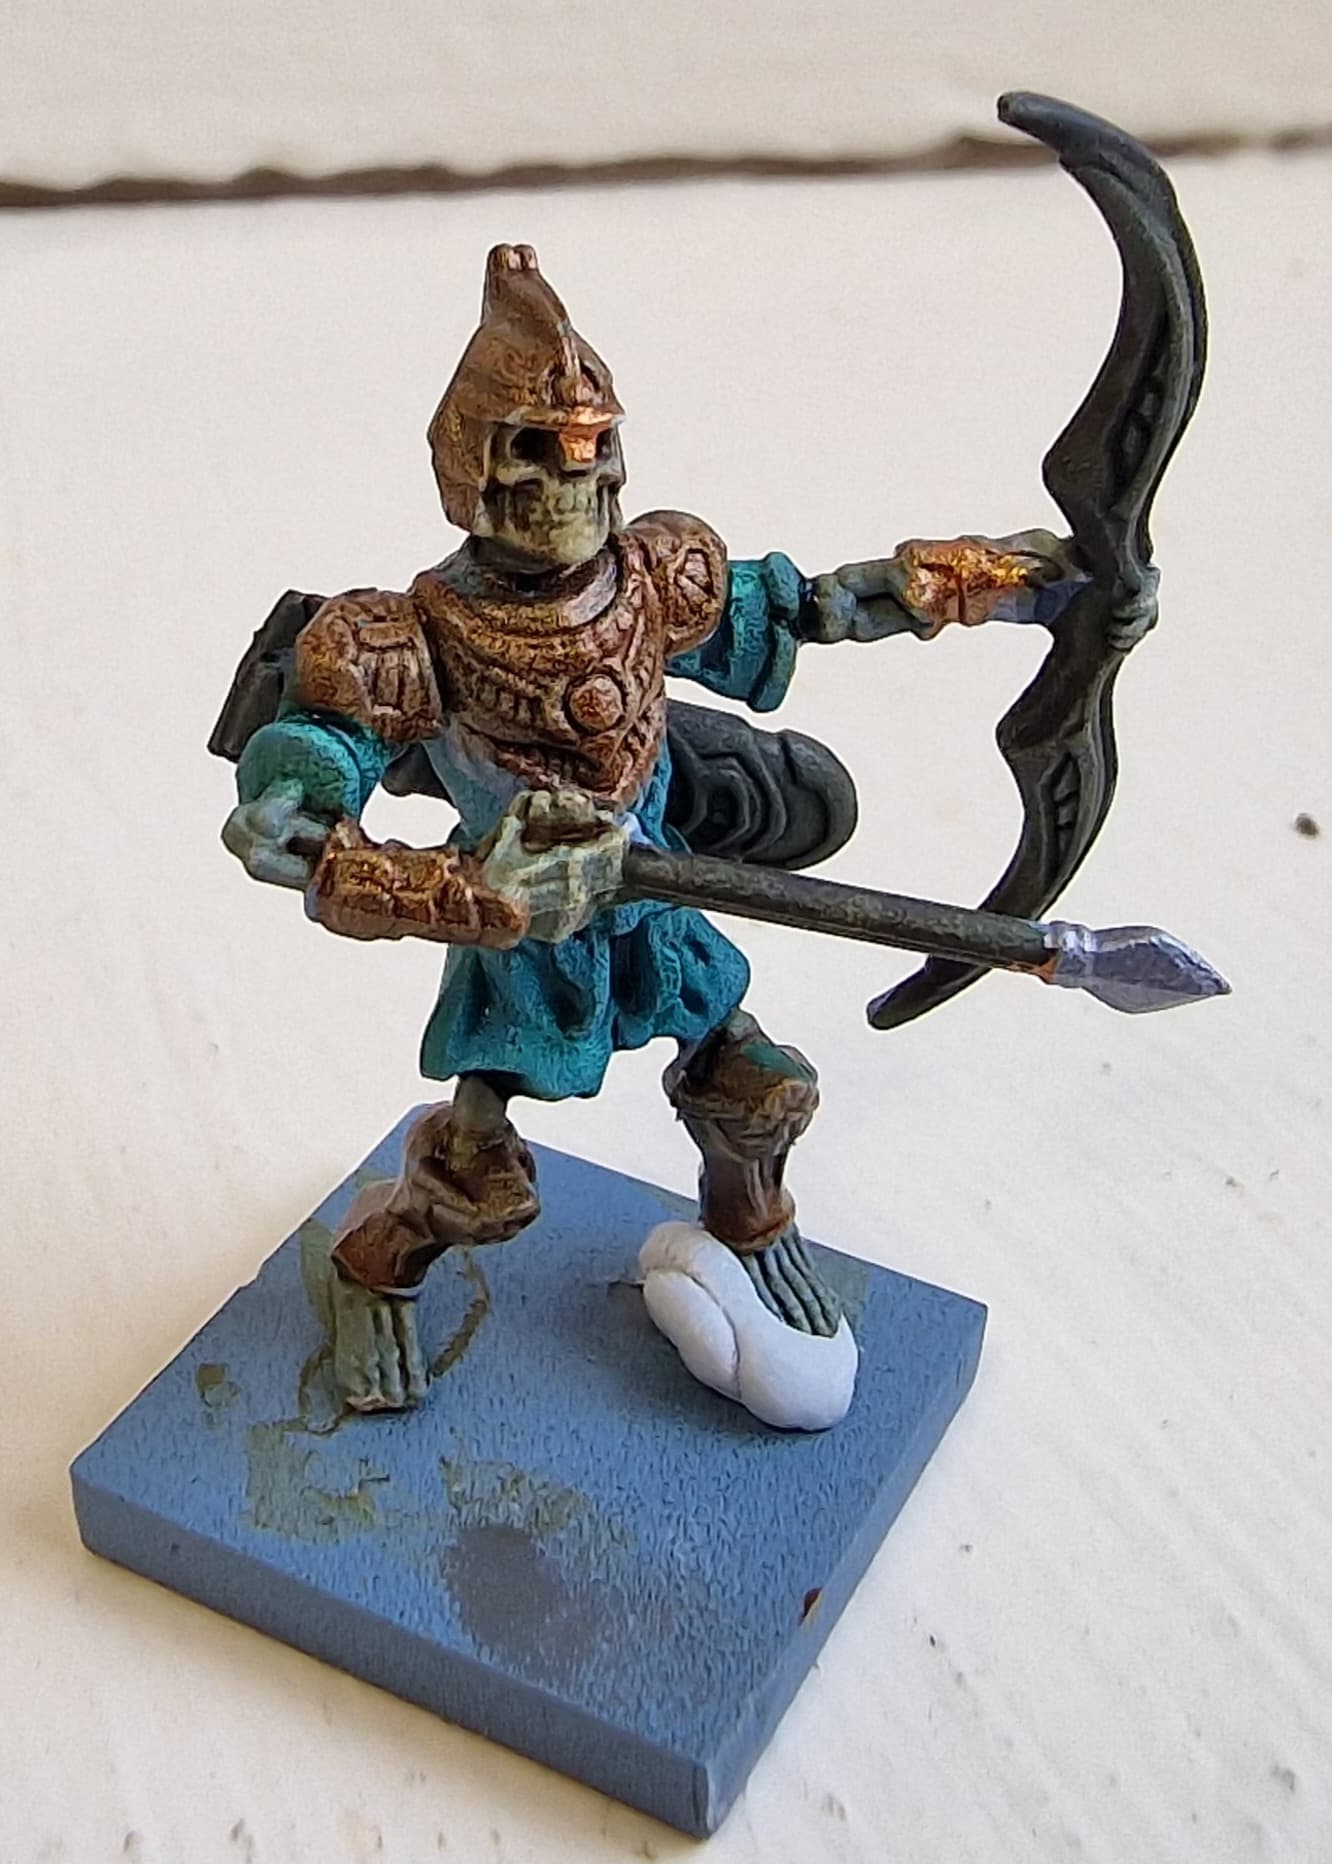
I am shooting for a fairly modest painting standard, and have researched what I’m going to attempt there. But it’s become apparent quickly that I need to decide on how I’ll handle basing, sooner rather than later.

I want to sort of temporarily base my models during the painting process, because this is what I’m familiar with, and it’s necessary for my dexterity/skill at the moment. I’ll use the bases supplied rather than ice lolly stocks or whatever else, because I’m familiar with that. I’m proposing to use a minimal amount of superglue on one foot to secure the model, then when it’s completed, I’ll ‘snap’ the model off without damaging it.

Anyone got any views on this process -is it risk free with hard plastic models, or should I be concerned about damage to the model?

I will then either discard the base, in favour of gluing the model to a pre-prepared multi-base from Warbases, or I will properly finish the base neatly, and then re-glue to the base properly, and slot the bases into a movement tray from Warbases.

Whether I use movement trays or multi-bases, I’m planning on using PVA glue dipped in Base Ready, with some strategic addition of rocks and tufts of grass. I know it’s a far cry from the sculptural DIY dioramas I see experienced KOW players do, but I think this is a level of finish that is about right for me at the moment.

If I order the 3mm KOW warbases base, and cover with Base Ready, some rocks, some tufts, and glue the models directly on, and edge the base with black for contrast, is this is an OK approach - will the overall unit have the right height? Will them be relatively easy to move around in a casual game?

My other option is, as mentioned, to remove the bases, finish them properly, and then reapply the whole lot in a movement tray. I’m pretty sure I actually would want to glue them into the movement tray, to avoid having them rattle and move around, fall out etc.

It seems that with either of the options above, I would probably look to multi-base the units in smaller unit sizes, troops or regiments, so that I have some flexibility in terms of fielding them at that or larger units, depending on the day.

If my multi-basing approach is viable I would probably prefer that.

Sorry for the very basic questions, but I find that a lot of the YouTube instructional material involving mutlibases is pitched a level higher than I’m aiming for, and incorporates modelling putty, cork and various other materials and just takes things to a level that I don’t want to explore at the moment, for a few reasons (Maybe in the future).

5 Likes

For temporary basing, patafix/blu tac or wood glue is also an option

Both your options are viable and consider if you are going with single bases on trays, you can still add spacers or rocks and don’t need to glue the models base to base

For glueing the models on the sculpted base, either bin them with copper wire or use a little bit of green stuff an super glue

4 Likes

Thank you Kodos…

I was hoping to glue the models to a pre-prepared multibase. Probably just use MDF primed, painted and with Base Ready applied (Thinking of going for a sandy finish, and playing on a PVC desert gaming mat).

Sorry for the dumb question, but when you say green stuff and super glue, I am envisaging using a little bit of both on the feet, but seperately, and directly onto the base…? I gather pinning is considered preferable but I was hoping to avoid that. My purchase costs are spiralling already and I don’t want to buy much more kit.

3 Likes

yeah, putting a little bit of greenstuff where you want to place the mini (or on the feet of the mini) and a drop of superglue on top of that and press it down.
this creates an even surface for the glue to hold

pinning is the alternative to using greenstuff so whatever you already have would work

4 Likes

It sounds like you have a good idea of what you want to do already @Rory . I had a similar background in 40K and Warhammer/AoS doing Orcs/Goblins or Orks before i started KoW. Likewise, money was/is also tight.
I’m currently revisiting the first KoW Army I started building, Northern Alliance, and although the older ones a a bit rough and ready, they were fun to build and paint. Currently, i’m using Tesco tokens to base my individual models to for basing/painting, before putting them together on their final tray. The plastic tokens will accept my Gorrila super glue and the model won’t fall off, but with a little presssure in the right spot release the miniature when you want it to. For cheap bases I use tough cardboard and reinforce it with coffee stirrrer sticks flat underneath and also as a trim around the outside. This helps to avoid warping as the glue dries.
I also use nomorenails as a gap or basing filler/glue. It is easy to work with, sets relatively quickly and can be smoothed or stappled as it is drying should that prove necessary.

2 Likes

@Rory, your solution works.

I paint my models, like you, on 20mm square bases and then move them to a pre-prepared multibase. this approach works fine.

Here’s a tutorial that doesn’t require serious modelling: and which shows plenty models on their way from individual bases to multibases, like your option.

Good luck and show us the results!

2 Likes

Thanks for the support and tips, guys… I’ll throw up the results… As long they’re not excessively ugly!

2 Likes

KoW multibasing is really the reason that wargaming became fun again!

Plan is perfectly viable - Warbases pretty much gets flagged on any bases suggestion query and are really good. Luke’s Base Ready stuff is great - you could also use thin layer of tile grout rather than pvc as it gets you ‘bare’ patches easily

4 Likes

Lots of good response here! one thing I want to mention is that if you dont plan on pinning, but rather paint the base and models separate and then simply glue them on in the end, I have found that models fastened this way (basically glued to some sand and texture) have a higher chance of snapping off when you lift or handle the base, or bump it by accident.
If you are planning on a relatively low-effort style on the unit base I would suggest painting the models, then glue them directly to a bare mdf base (if you use a file under the feet to create some flat spots it will stick optimally) then carefully apply thinned out pva glue (you can mix in some dark brown in the glue as well to get some color right away) and sand etc around the feet, and paint around the feet in the same way. I did this with my undead because I wanted a very simple basing scheme. But it is a bit of a hassle to paint around feet and legs of course.

I learned to pin when I started kow because I could then achieve the best of both - nicer bases which I could not have achieved if I had already glued models on top of it, and models that sit dead stuck on the base even if bumped.

2 Likes

Magnatize everyhing to the movement trey. You invest so much of your time and dime in the rank and file armies. I try to utilize my miniatures in multiple game systems.

1 Like

I use the same method as @FredOslow most of the time, mixing PVA and cheap poster paint to paint around the models as i attach them to the base for better adhesion. So, i don’t put on a full regiment and then paint, i put them in a rank at a time to get better access around the feet, then add the next rank. once the PVA is in place around the models, dropping and grit/grass ect into the fresh glue as i go. I can go back later and fill in gaps with bits of stone later if needed, using a stronger adhesive on those.
I also do my final highlighting once the models are in place… shocking I know! no point in painting what can’t be seen :slight_smile:

1 Like

I think I’ll try gluing an Ogre regiment down to their multi-base, and then do the Base Ready ‘around’ the figures, as discussed. I can see how this would work quite well for large infantry like this, but might not go as well with a more closely-packed multi-base, of course. We’ll see.

The Ogres are temporary based, primed and dry-brushed.

Next job is to assemble the Empire of Dust contingent, and do the same for them.

Then on to the painting and multi-basing.

3 Likes

An update…

I’ve been really struggling with assembling the skeleton warriors, spearmen and cavalry. Partially because my fat fingers are just struggling with the tiny, tiny heads and arms, but also… Glue… I’d forgotten what a pain it can be.

I had an Army Painter plastic glue that I gave up on, it just didn’t seem to be establishing any purchase on the models at all… I completely second guessed myself and went to Loctite super glue, which would have been the norm back when I was modelling in the late 90s. Did the ogres and some skeletons using the superglue but I do hate the inevitably sticky fingers…

So I went back to plastic glue today, for the other half of the skeletons, trying a Citadel plastic glue I had on hand, and bizarrely this is working absolutely perfectly with them. I haven’t kept the Army painter plastic glue, I threw it out in a fit of rage, but I’m starting to wonder if it was out of date or something.

If I could go back, I’d do the whole lot with plastic glue, but it’ll be too late now.

When I have some breakage, as is usually inevitable with superglued models IMO, does anyone know if plastic glue can be applied to a site that has some a broken superglue bond on it - would I need to sand that off and then apply plastic glue if I wanted to go that route?

Other than that, other developments is that I’ve started using blue tac for the temporary basing, as was suggested, and I’m awaiting my bases, which appear to be held up at the Post office over Brexit charges…

I used Loctite superglue for the ogres, and that went fine - perhaps because of larger contact areas it was a little more forgiving in terms of establishing a bond.

I feel like this is going to end up being classic “first armies” stuff. The next models I do I will probably approach very differently.

I was also listening to a Ronnie Renton interview and he spoke about multi-basing his dwarf army, undercoating in black, and then just “painting what he could see”, rather than painting individually and then multi-basing. It would obviously be quicker to the table, but I can envisage obvious drawbacks. Do many people actually do this? I would guess the middle ranks would end up just being black undercoat mostly, below the shoulders or whatever.

1 Like

Old glue certainly can effectively stop working as it should - plastic glue needs a chemical reaction for the plastic parts to bond, which can fade over time

1 Like

I feel like a bit of a moron, the new glue has allowed me to rattle (if you’ll excuse the pun) through 10 skeletons in the time it took me to do a handful yesterday.

Oh well, better to learn now.

2 Likes

I don’t go as far as that. I base colour everything in whatever coulor pallete i’m working on, but often do the final wash and touch ups/highlighting once everything is in place on the base

Glue wise, I use four types, Gorrilla Super glue 15g with impact touch (The one with the blue lid) . It is reliable , thick enought to bind even small pieces in a controlled manner, and sets quickly enough. Avoid the Gorrila glue that you need to moisten the pieces you want to glue… hate that one. I end up with me and the model covered in glue. Then i use PVA for some things. For bigger projects and gap filling or a number of other things I have a tube of nomorenails. and some UHU type solvent multi-purpose glue for some things. It sticks quickly but doessn’t set hard for a good while so has it’s uses.

1 Like

Well, that’s everyone assembled and primed.

Next order of business is - if I can manage to stay interested long enough - dry brushing all the EOD. Doing 50 odd models isn’t the end of the world but I imagine it’ll take some time. Thankfully I have very low standards, which will help.

3 Likes

So here we have ‘proof of concept’ colour schemes. The level of finish here is, for better or worse, probably what I’m going to stick with. I’m more a “get them to the table” painter, but equally I don’t want to hate the way they look, either.

I’m basically happy with the EOD archer here. I can’t claim that the bone tones turned out how I expected… There’s a weathered, algae-covered look here that I didn’t expect. I think I’m going to have to suggest these bad boys arose from a swampy fringe of the desert, or something.

Happy with the colour of the robes, I was going to also try purple, but I might save that for the cavalry and the officers, and leave these guys with this kind of spectral blue green.

I tried a dark wood on another model, but I think the lighter greenish-brown here works better. I might even experiment with a more woody orange shade.

As for the ogre, I’m not happy. In hindsight, I regret the colour combination here. I wanted these guys to be in shades of copper and bronze armour, but in hindsight it’s too close to the EOD and also (in my opinion) too close to the reddish skin tone I put on them. The blue cloth was applied at the end and was an act of desperation, but it just looks totally incongruous.

If I want to strip this model down, is Isopropanol the way to go, and if so, how long do I need to soak it? Just a scrub afterwards?

In terms of an alternative colour scheme, I feel like it’s “back to the drawing board”, I’m not sure what I’m going to do. I’m considering any options really. Need some further detailing on the boomer as well.

To an extent here the issue is I have a decent range of Speedpaints, but I find that they way they are actually coming up over the grey primer I applied is not what I anticipated. Really glad I didn’t prime these in black, I almost did.

3 Likes

Both paint jobs are good, so no issues on that front.

The ogre, as you say is possibly a bit samey? You could switch the accent/spot colours to more a green/verdigris vibe quite easily which contrasts with the warmer colours on the skeleton?

As a test model, i probably wouldn’t bother stripping unless you wanted to do everything from fresh. I’d just base layer the bits you want to change if just parts?

2 Likes