I thought this might be useful for people looking to do budget friendly landscapes that are really affordable.
Materials -
Heavy foamboard from Walmart. 2-3$ a sheet (Could do 2-3 armies. depending on size. )(truly much stronger than the cheap stuff )
Glue of choice - I prefer professional Locktite in a blue bottle. 5$
Sand of your choice. - Thinner the better. strainer 1$ at Diaso.
Grass I went with 2 colors. But some people use 4. 4-5 each for a small bag.
Cork board - Diaso - 1-2 dollars for a few 1ft sheet. or 8 for 3 12" sheets at Walmart - “back to school section”.
Primer paint.
Sharp exacto knife.
Metal straight edge.
Colors.
Primier paint/base paint
Dry bush
Tasks
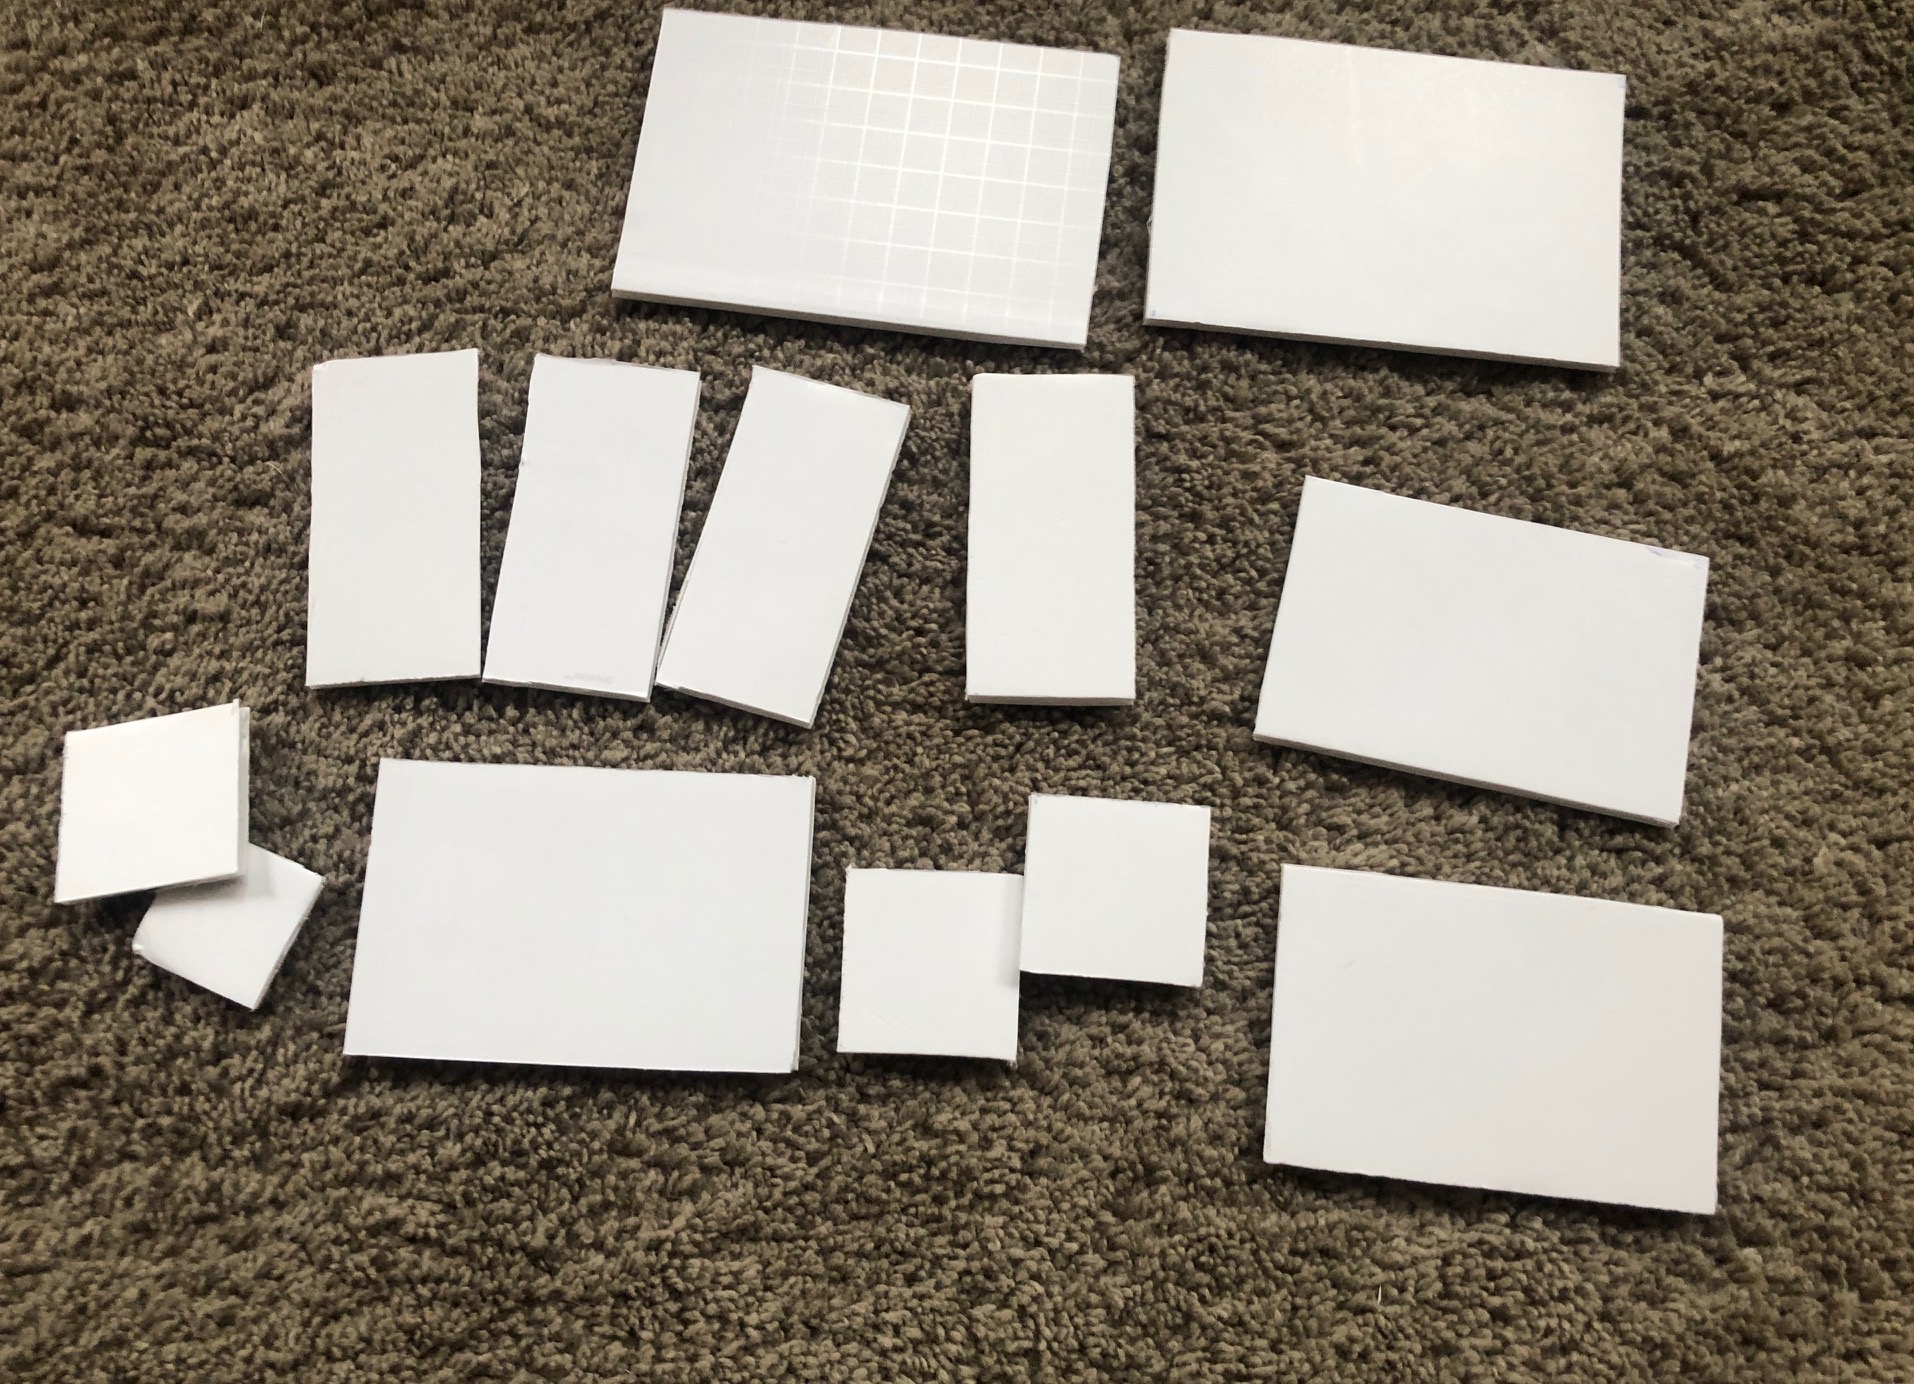
Cut the plastic/foamboard.
I started with the army units I wanted to use. I have the laser cut bases for reference, so I basical use those bases as templates then checked the size after cutting to make sure they all matched and met the rules requirements.
Considered where I wanted terain.
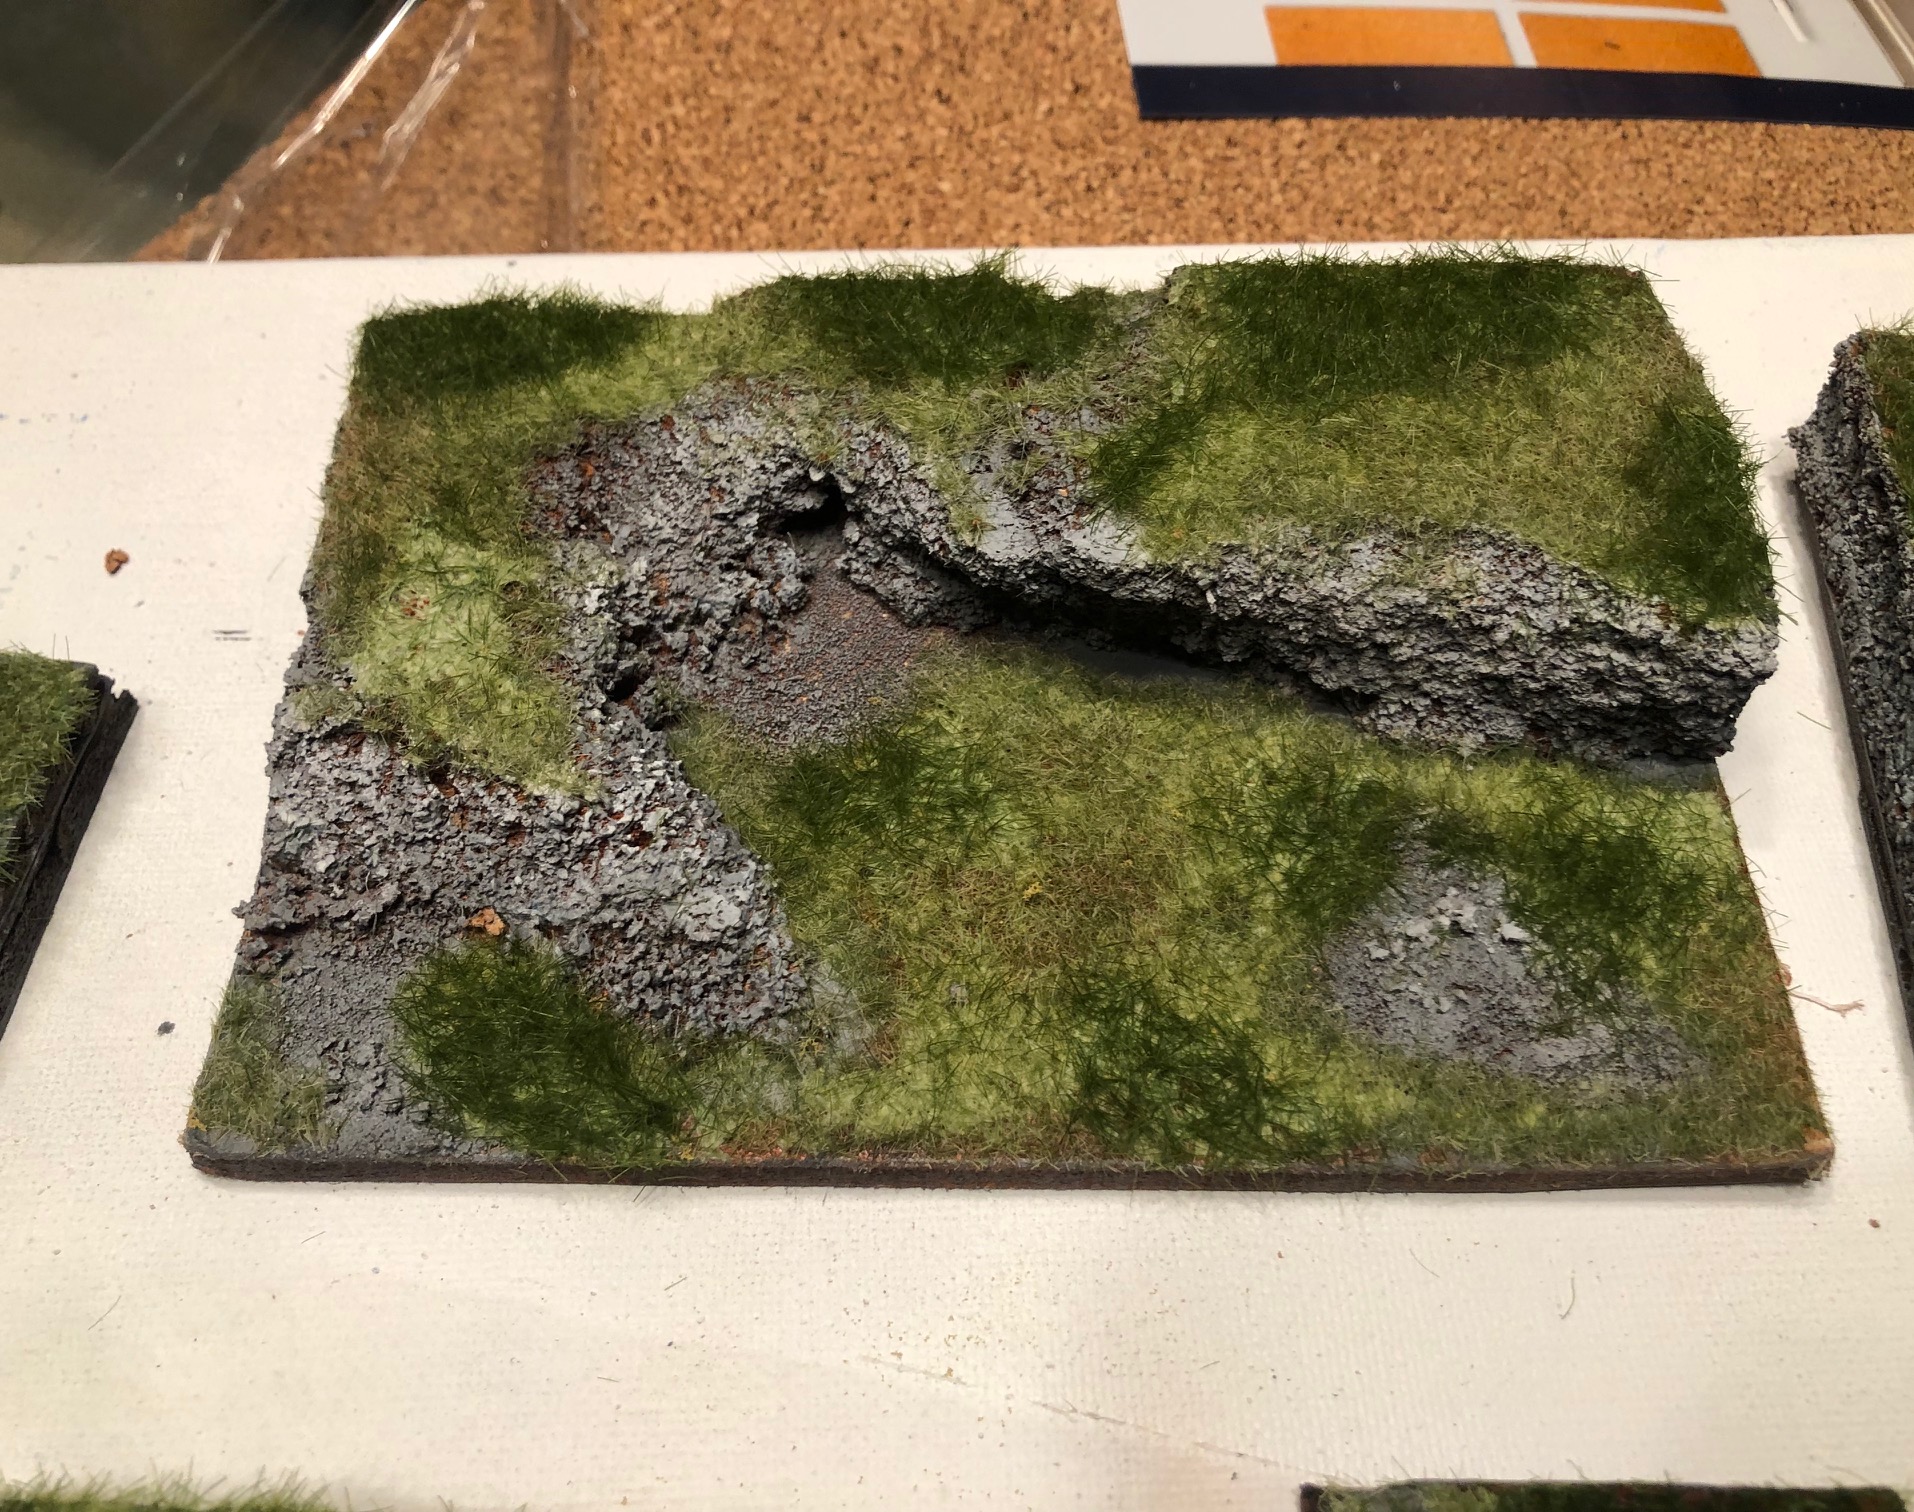
I already had the idea in my head from TJs Ogre army, so I wanted to see if I could do a similar grassland. He used yellow grass which made is color pallet pop. I with with the more traditional greens, Im actually trying to duplicating a landscape I liked years ago in Warmachine/Hordes. It was more of a forest theme, but what I liked was the contrast of the gray rocks on the green grass. Brian’s army was very vibrant and dynamic so I wanted that effect. I will be obtaining that similar effect with rolling hills and cav models jumping from ledges.
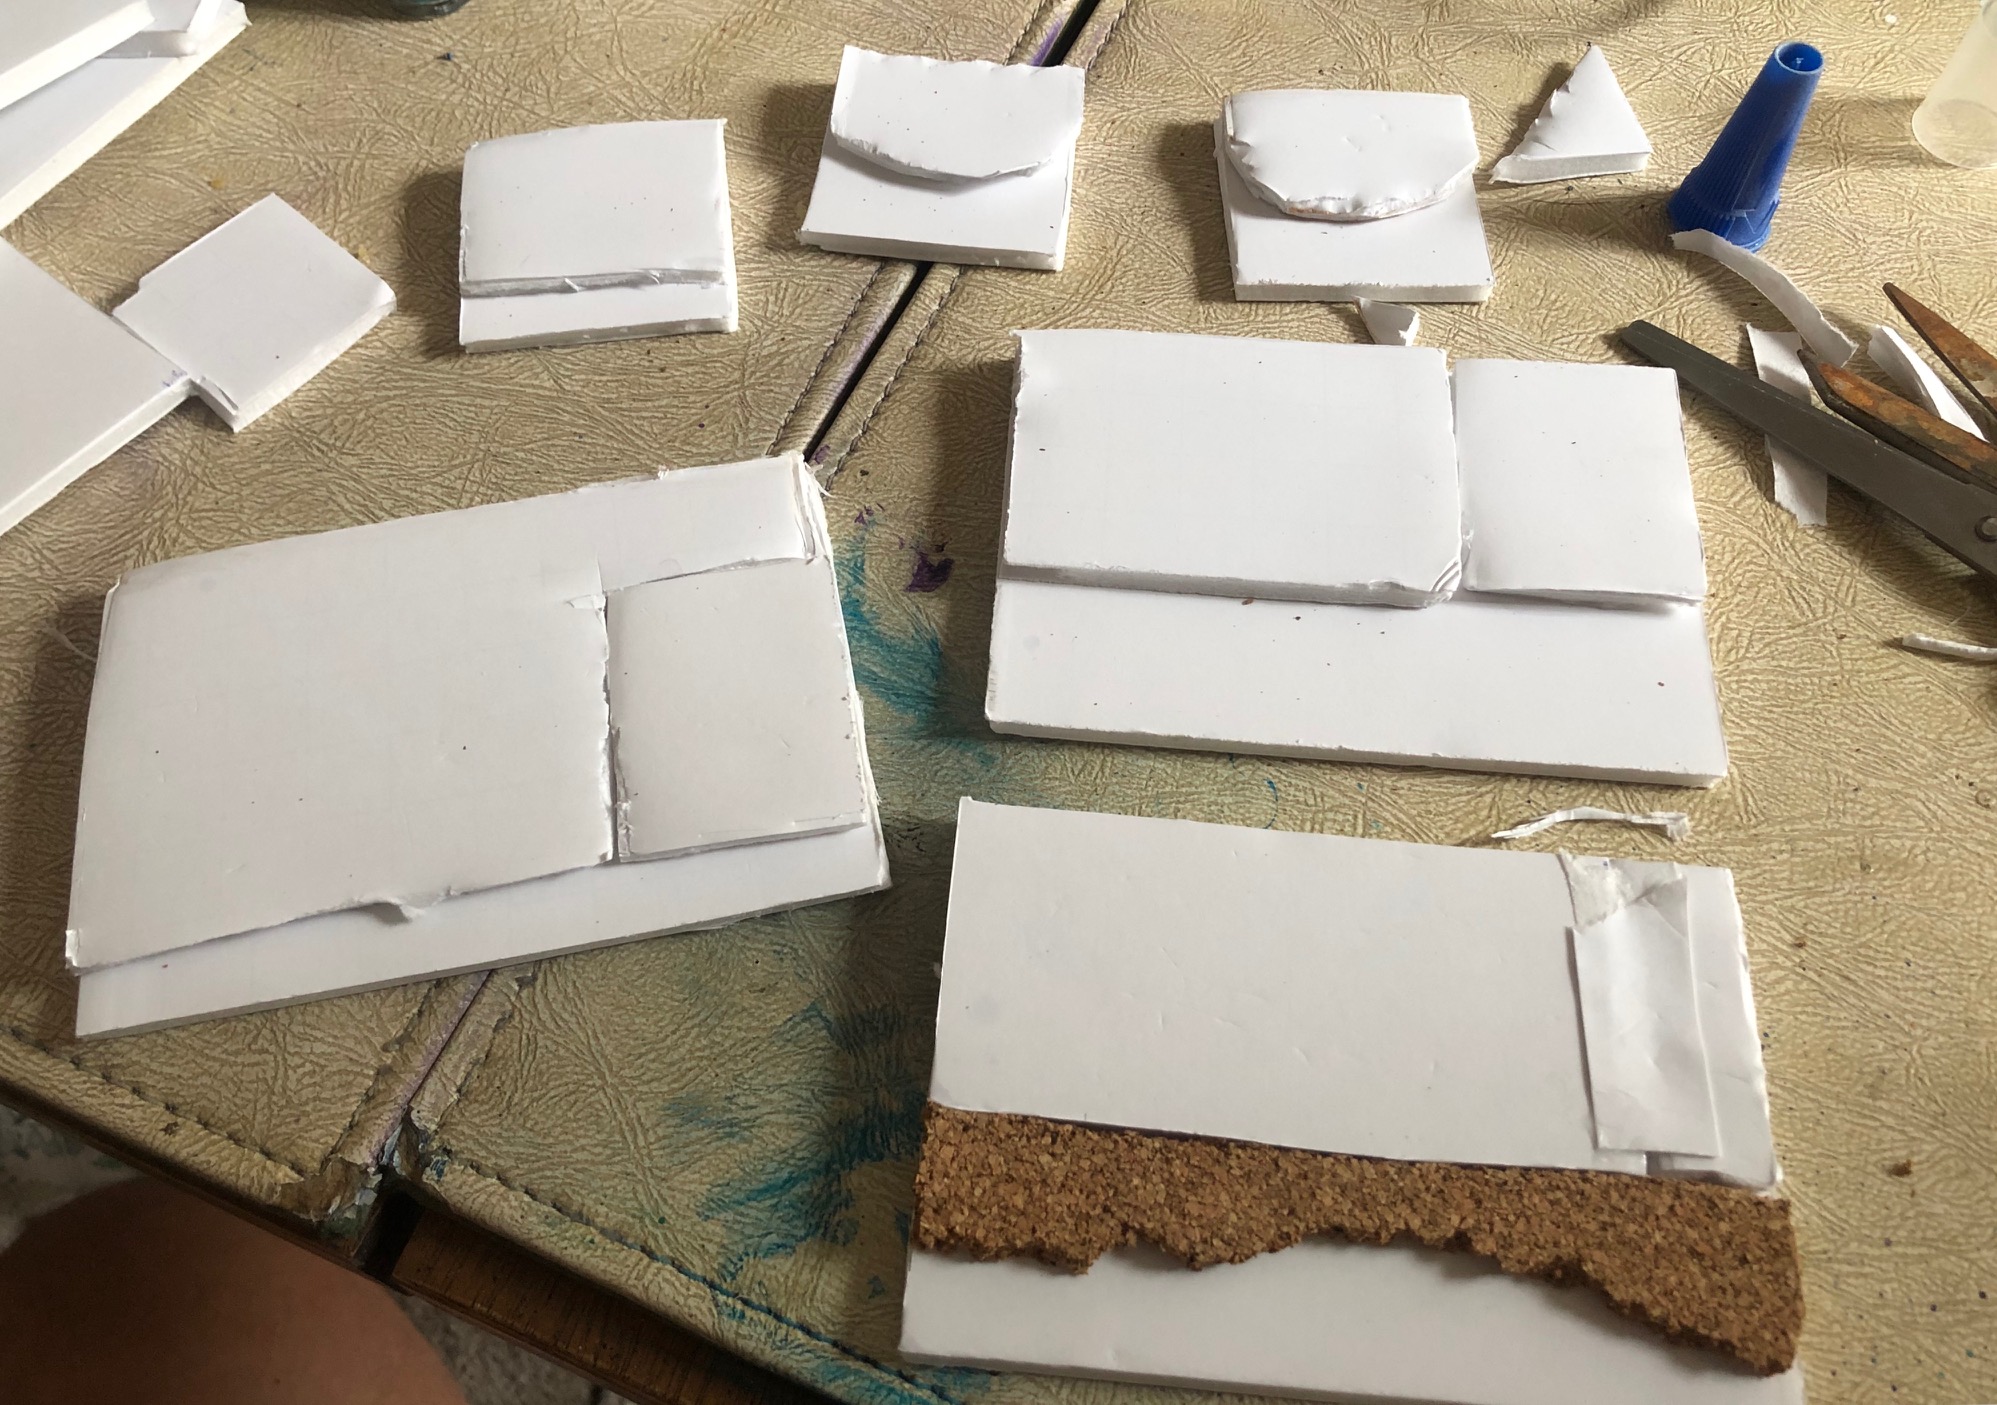
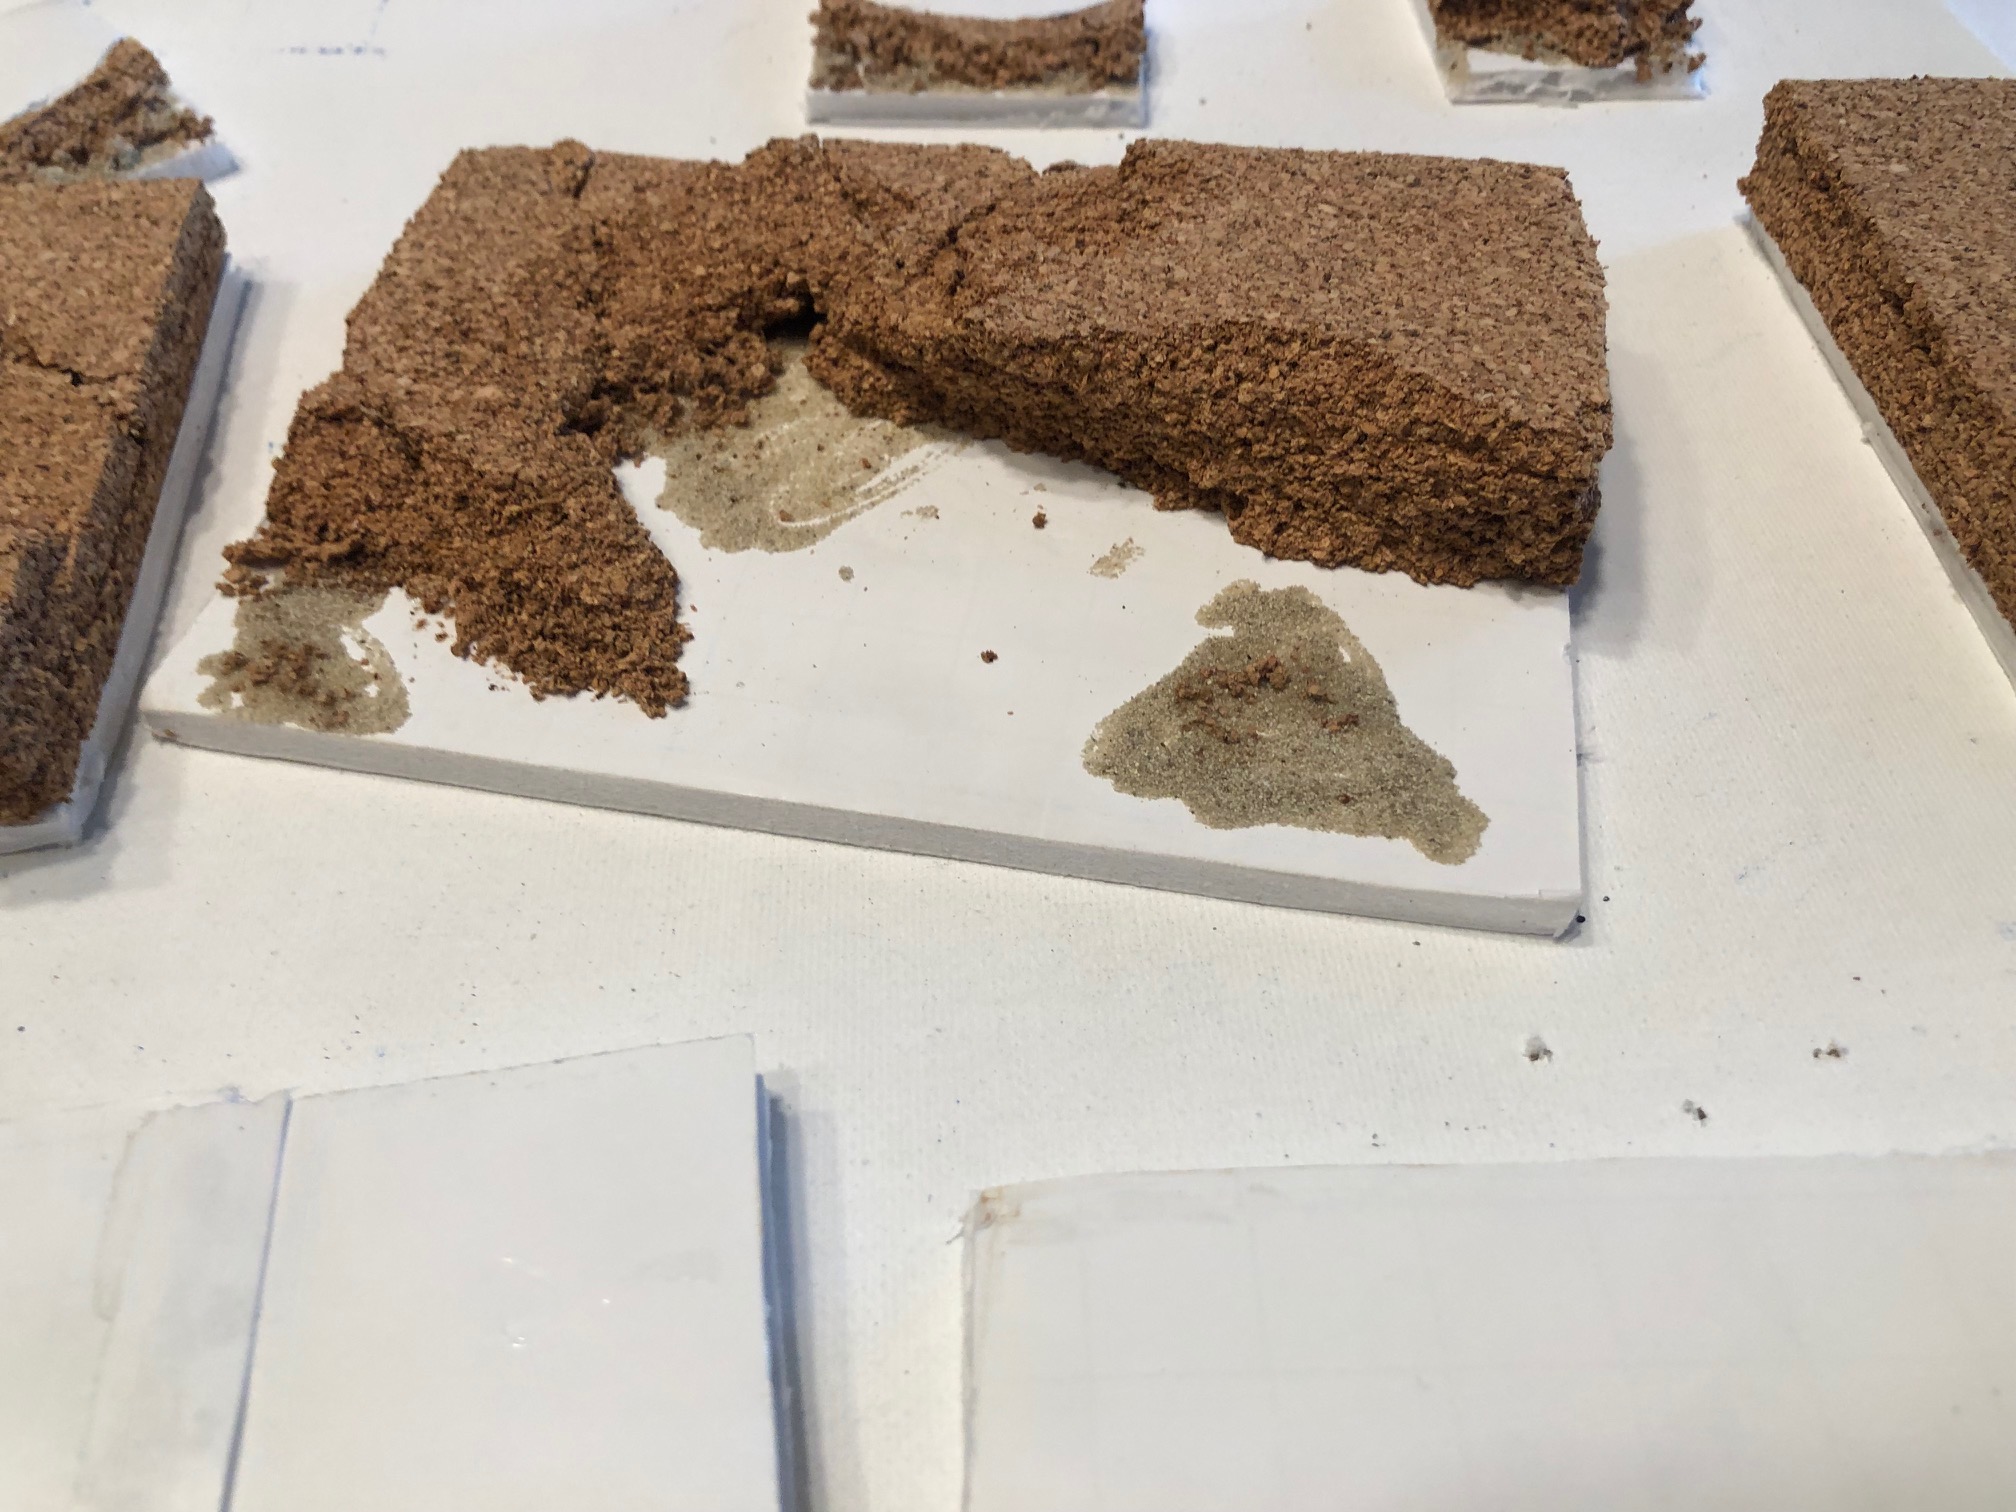
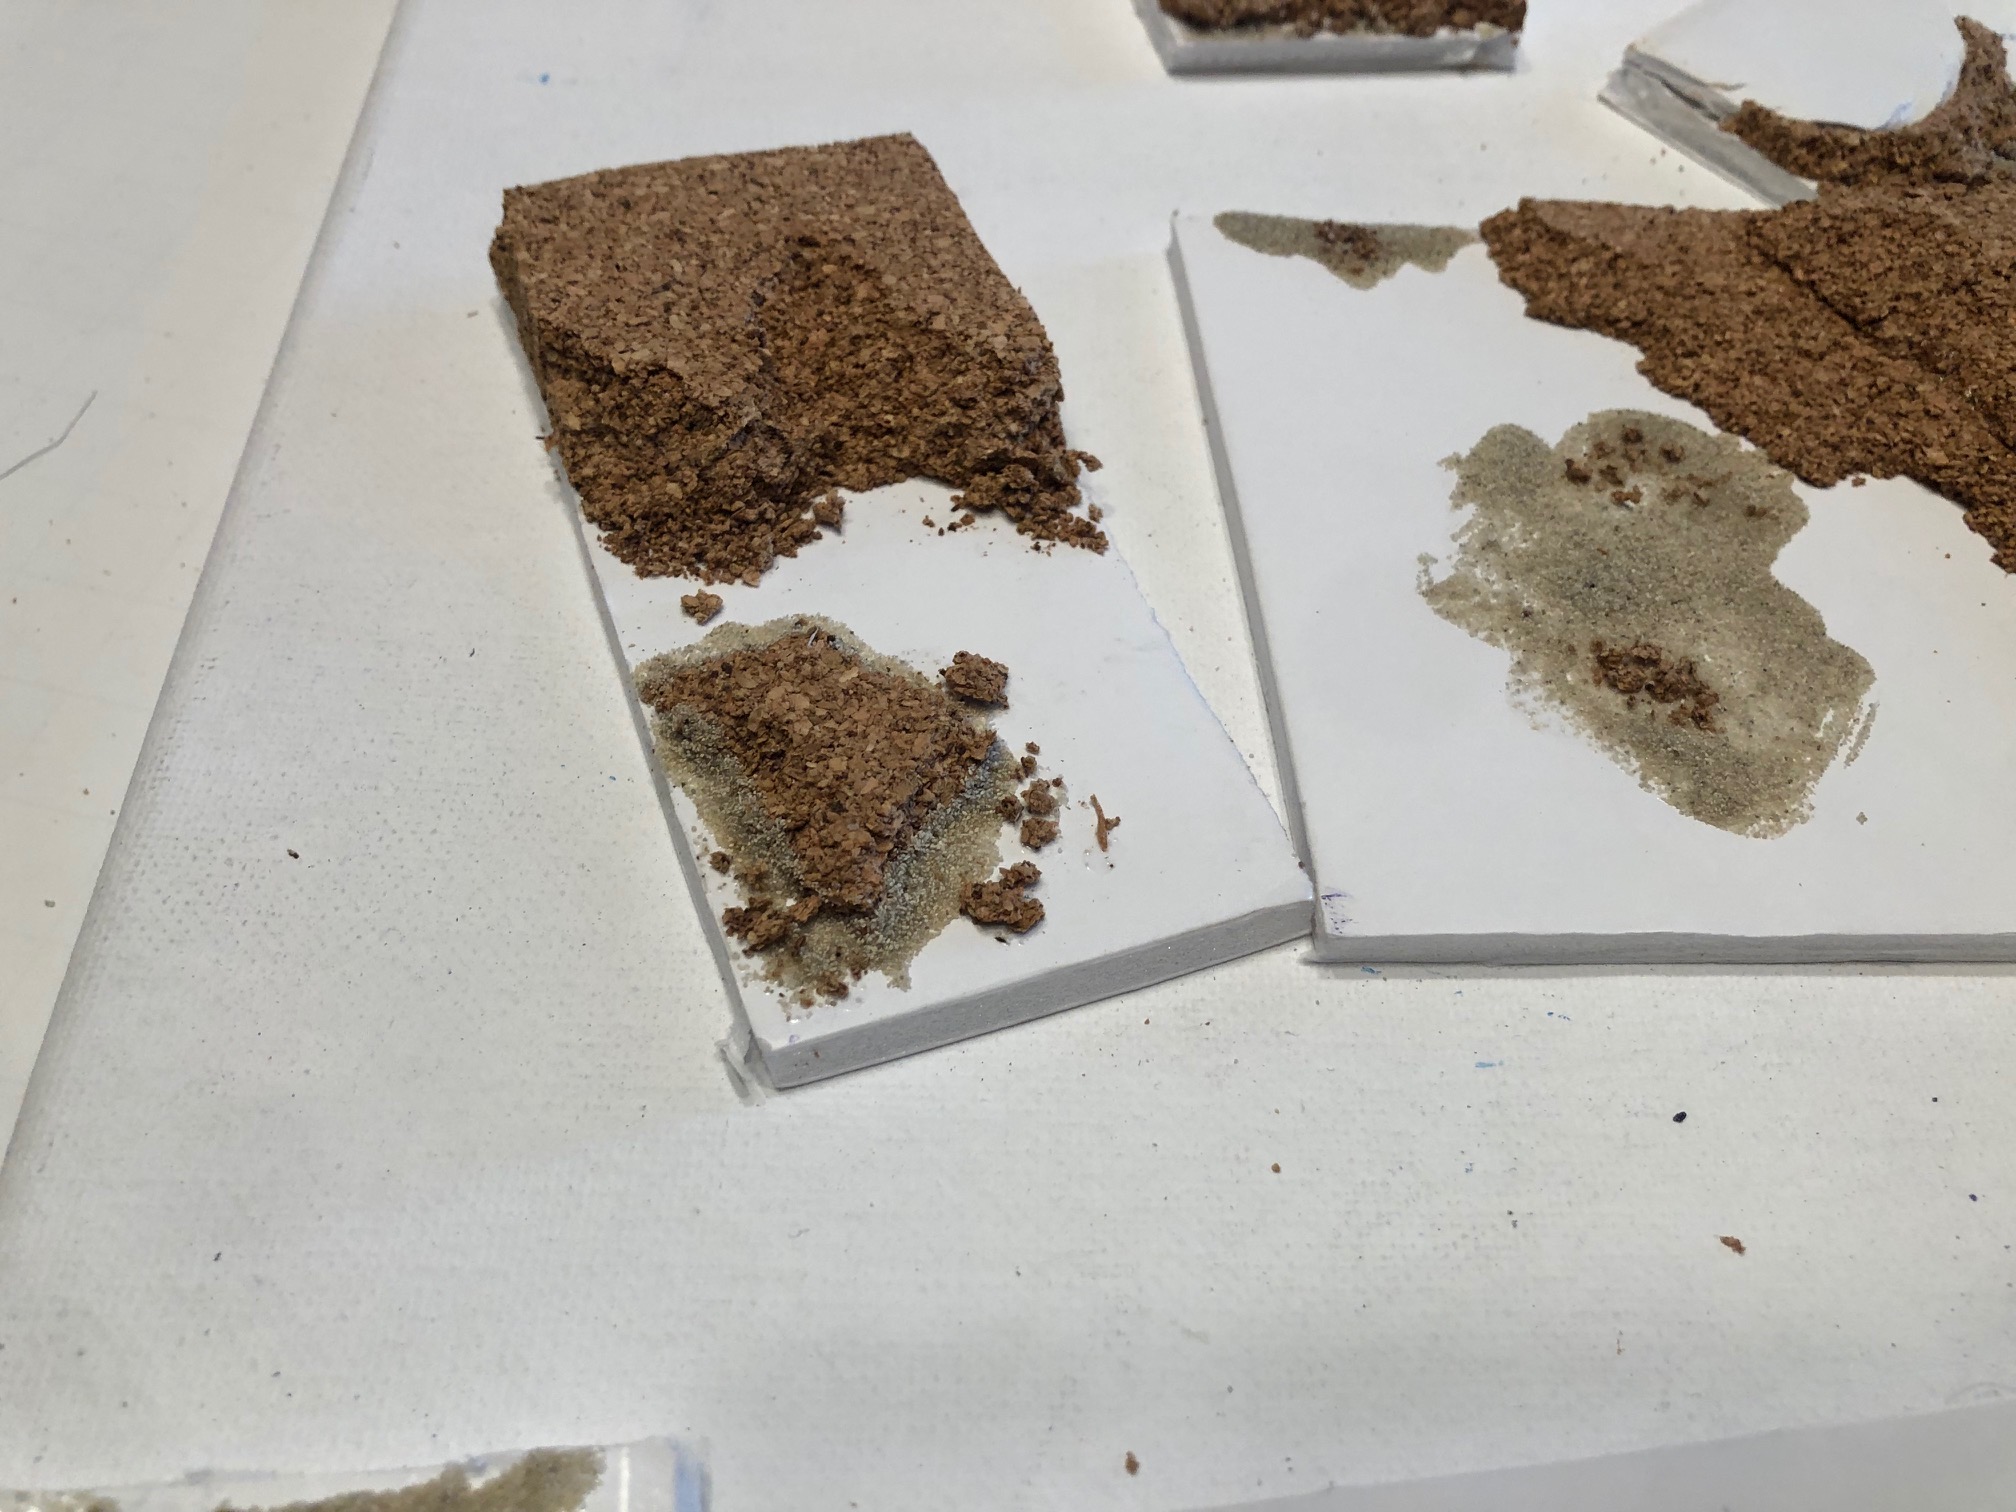
Marking and gluing
I marked where I wanted the hills and started gluing torn off piece of the cork board. I recommend an glue accelerator to speed up the process. I did it all at one time. Moving to all the bases in stages. If I knew I was going to stop soon, I would complete each stage. So all the cutting would be done.
Once I had all the terrain where I wanted, I went on line and looked and more dynamic armies that I liked. Characters on high perches, units on hills, etc. one of the places I like to go is CMON. I go to the filter and type what Im looking for. I use 7-10 on the scale and just wander through. I found I wanted to make some changes. So I made some hills taller.
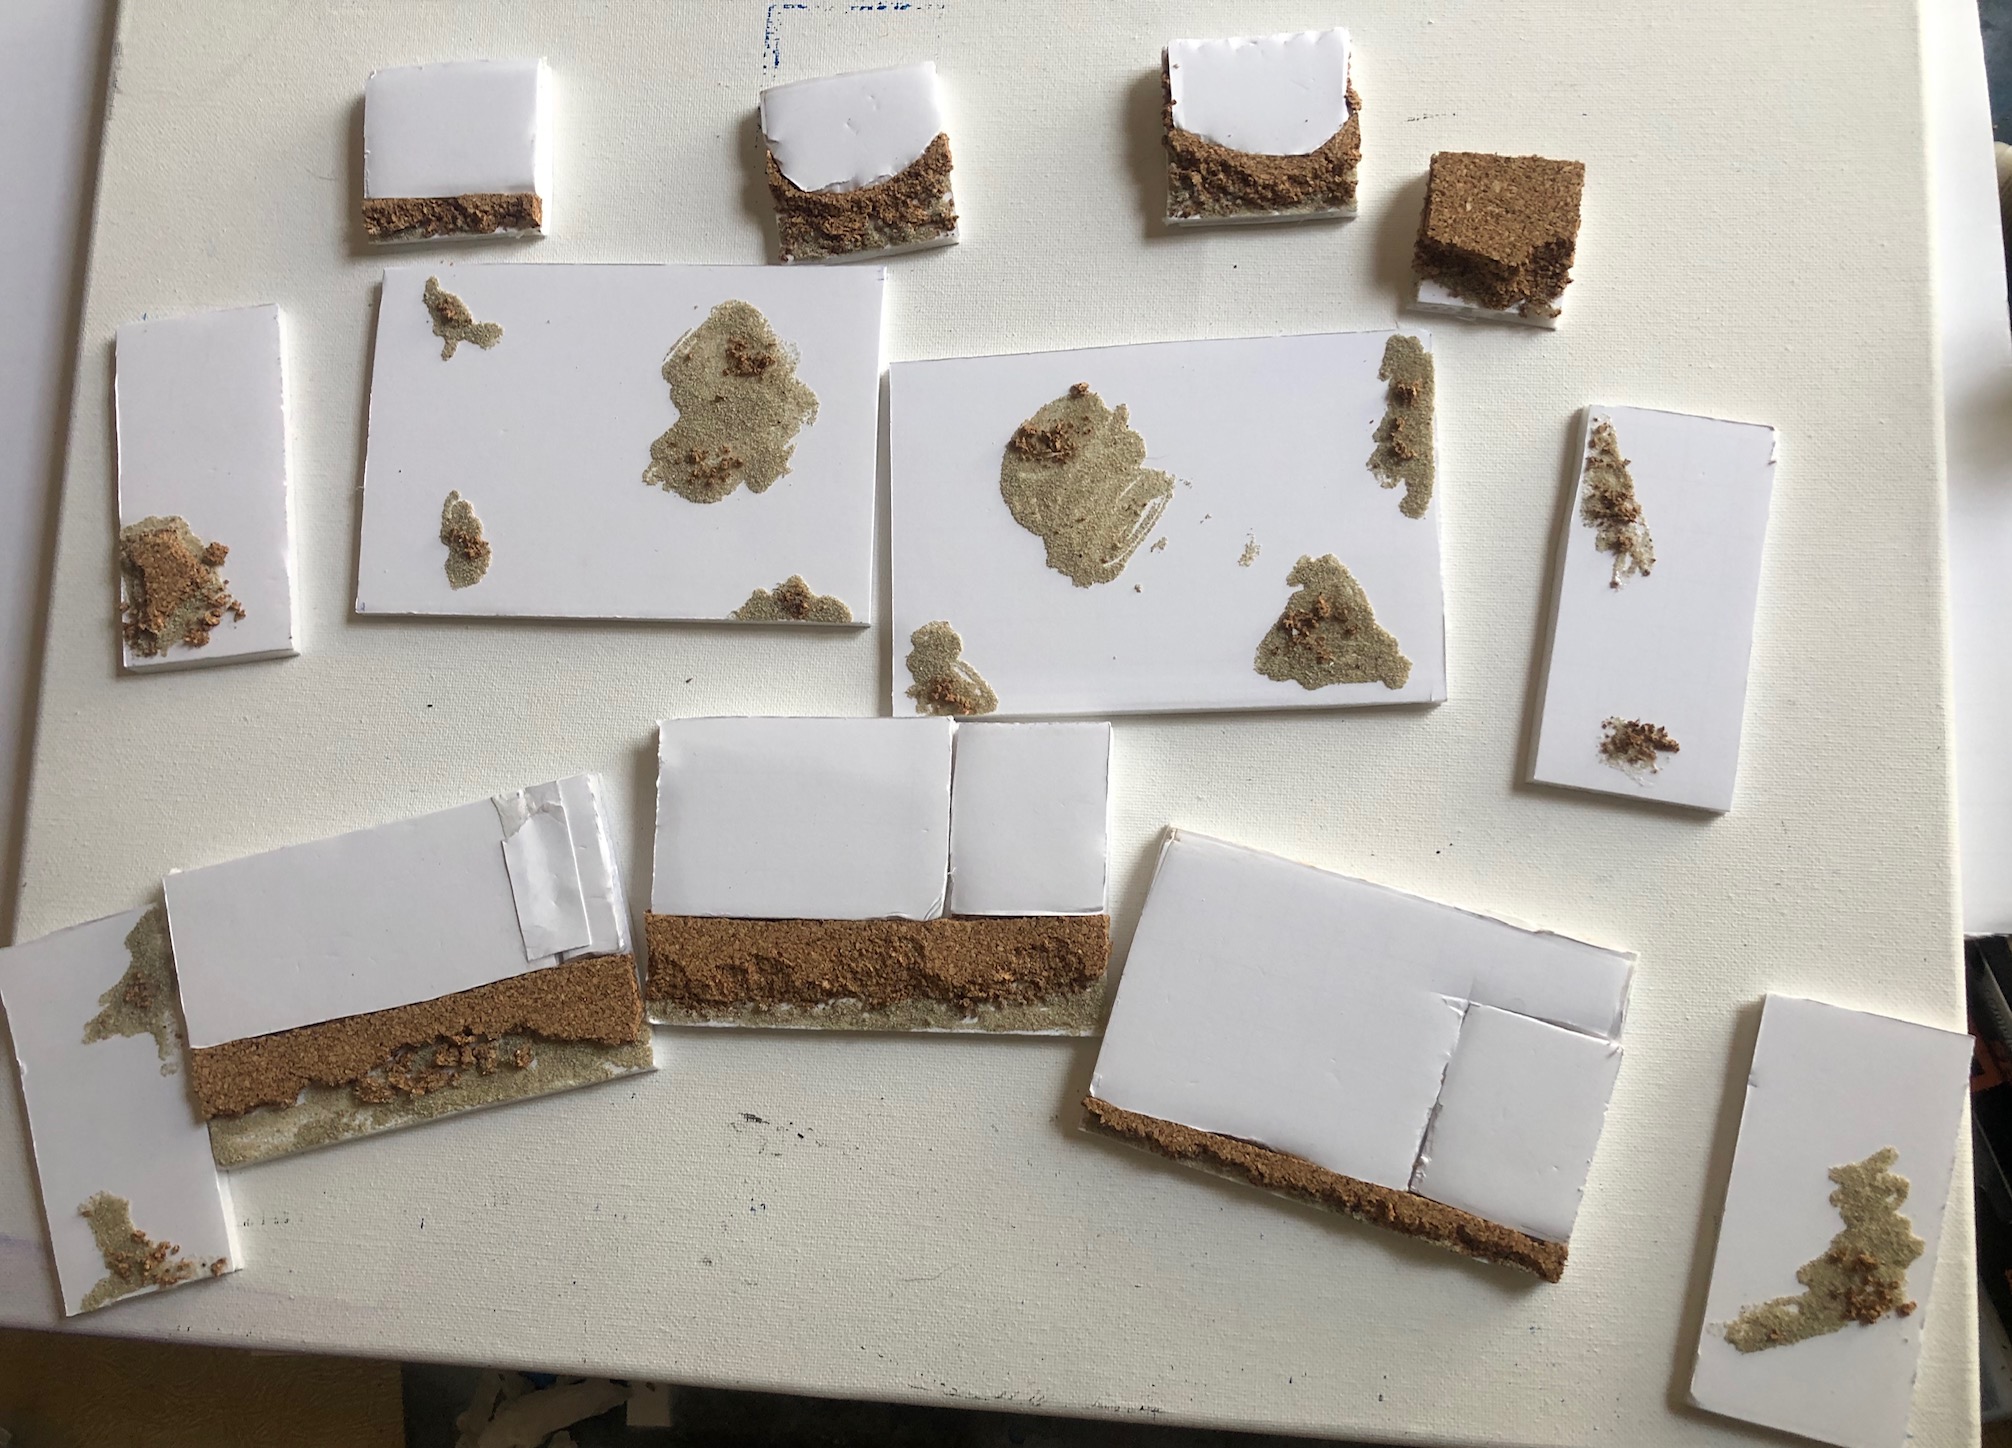
Primer
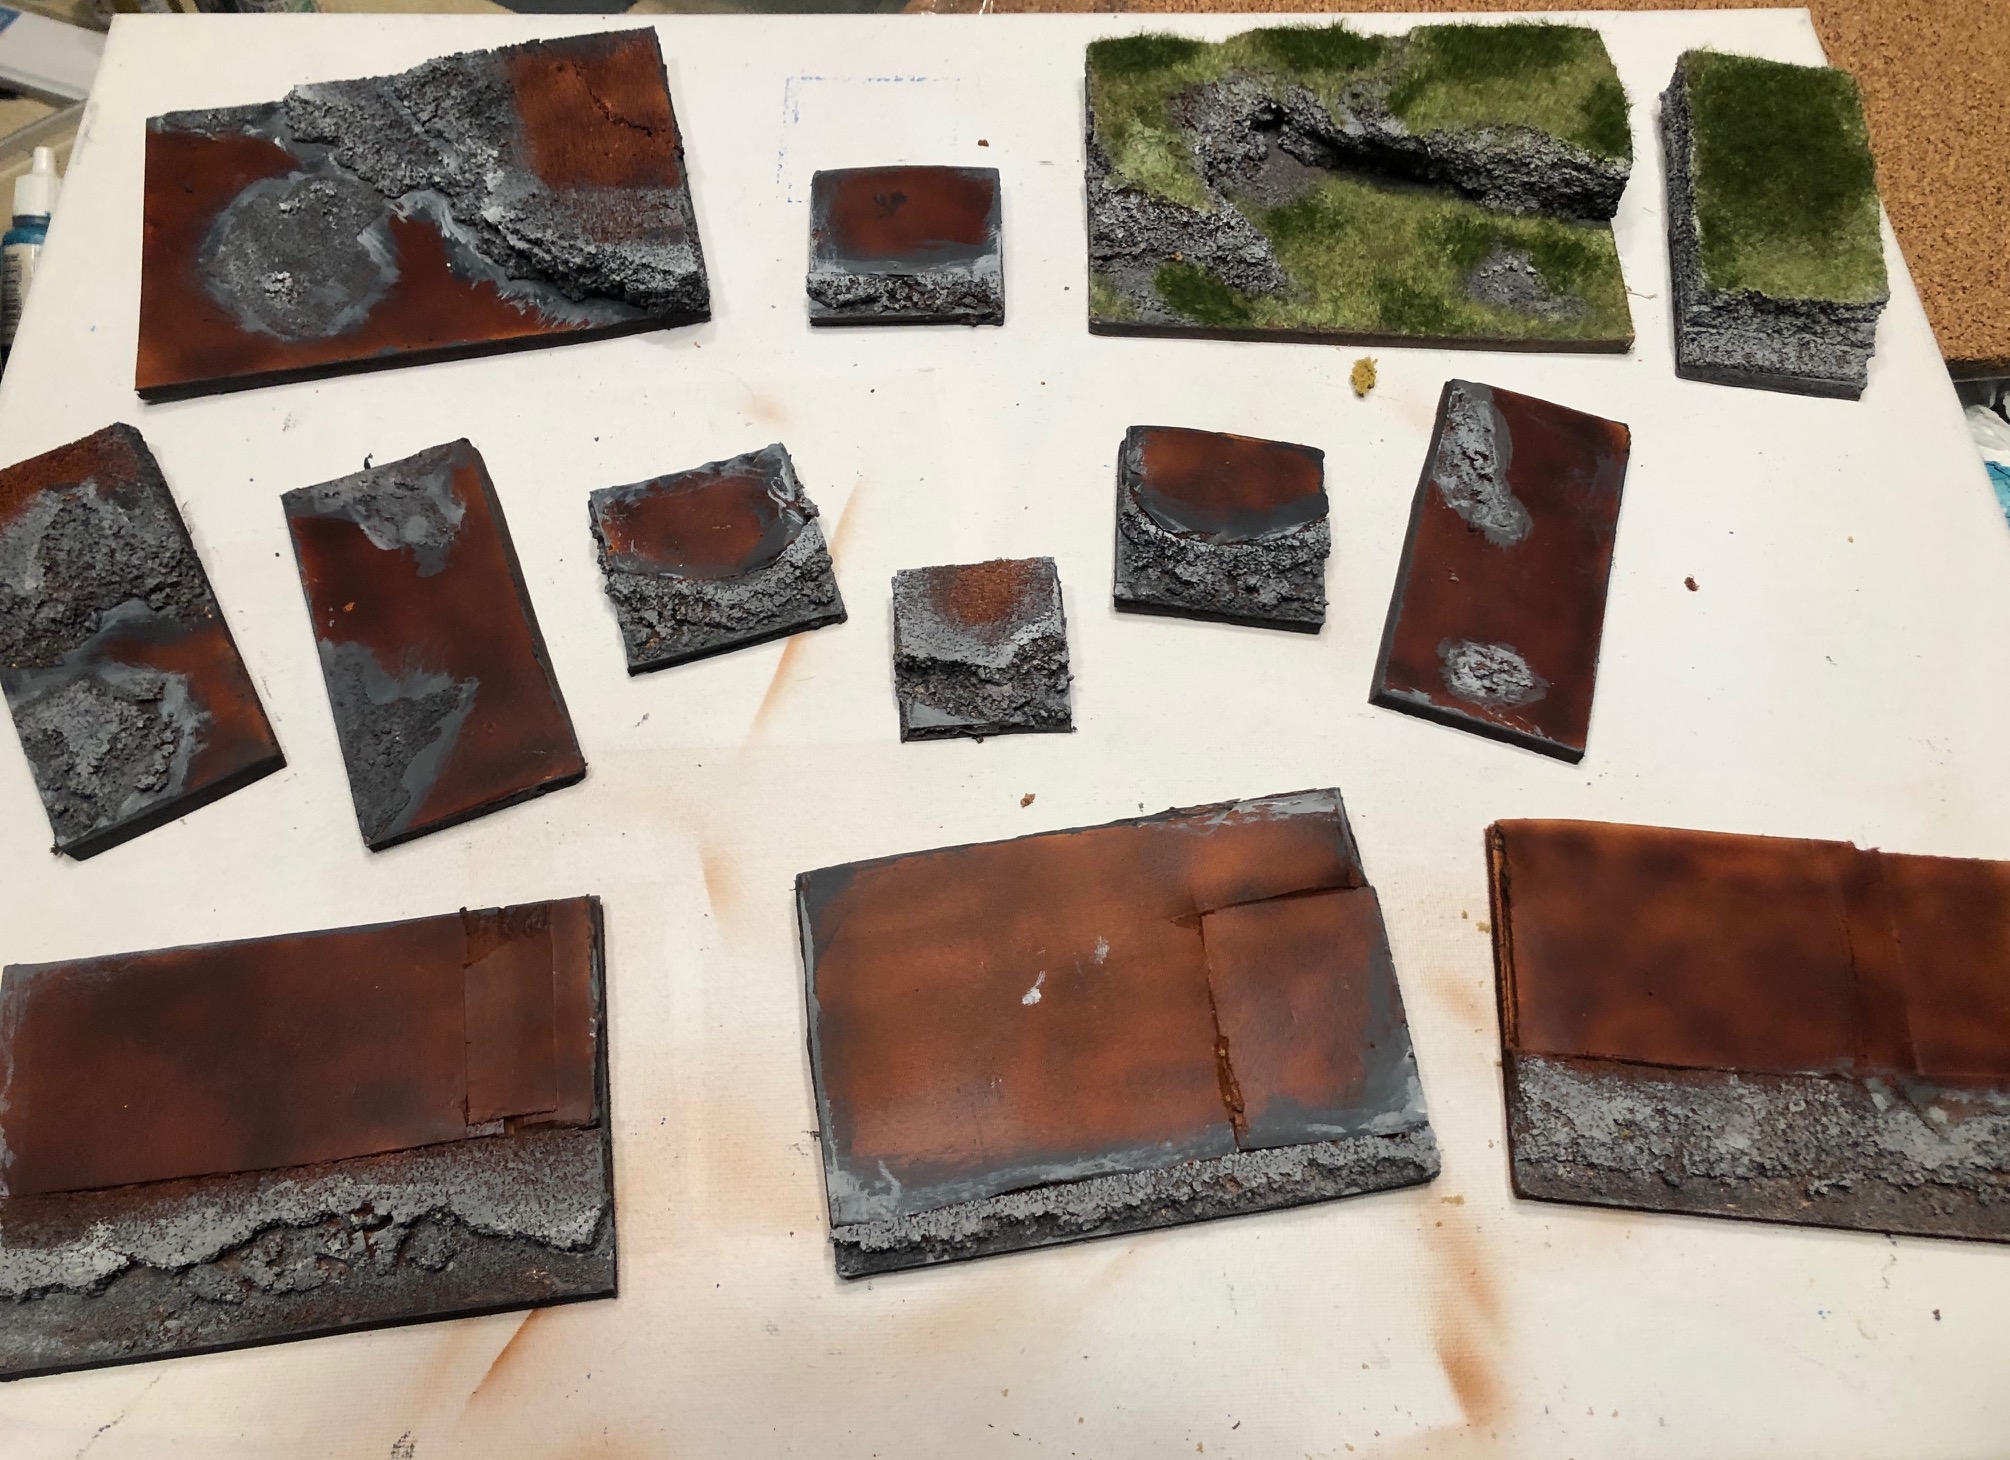
Once I was happy, I took it all outside and primed them all safely. I used white primer. Use your favorite. I have the most luck with the Army painter white. you can use darker colors if you want… I wouldnt be surpised if a flat brown spray primer from michaels was used. Might save money and time.
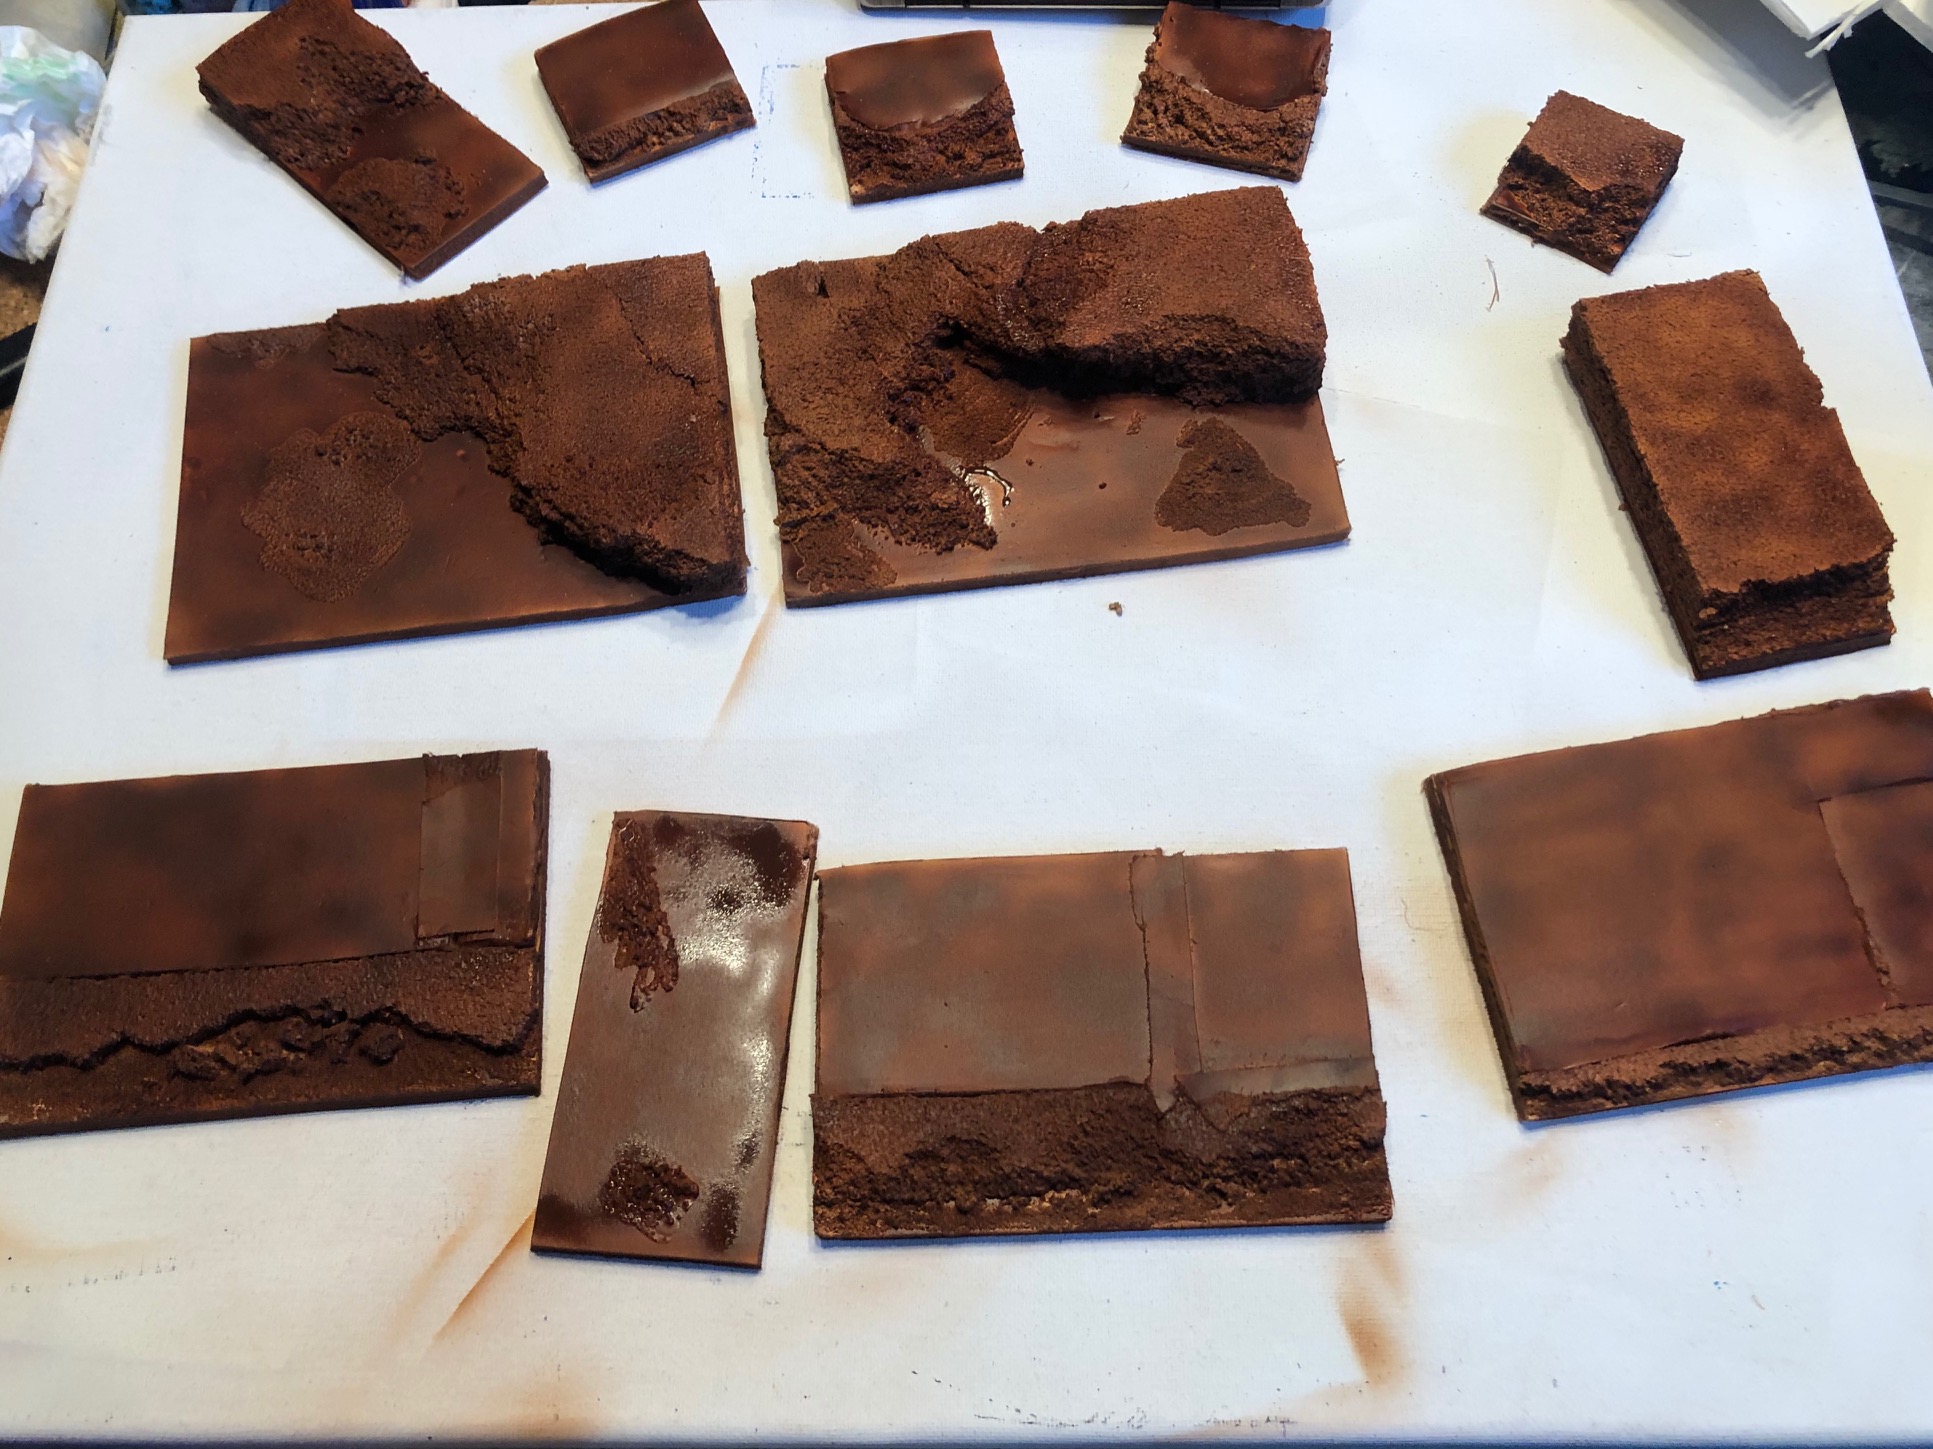
Base color.
I based the grassland with brown. I used my airbrush, but a base paint of brown from a spray can would be fine too. I had the colors. The spray can would be faster, and if you dont have an air brush it would be the most cost effective.
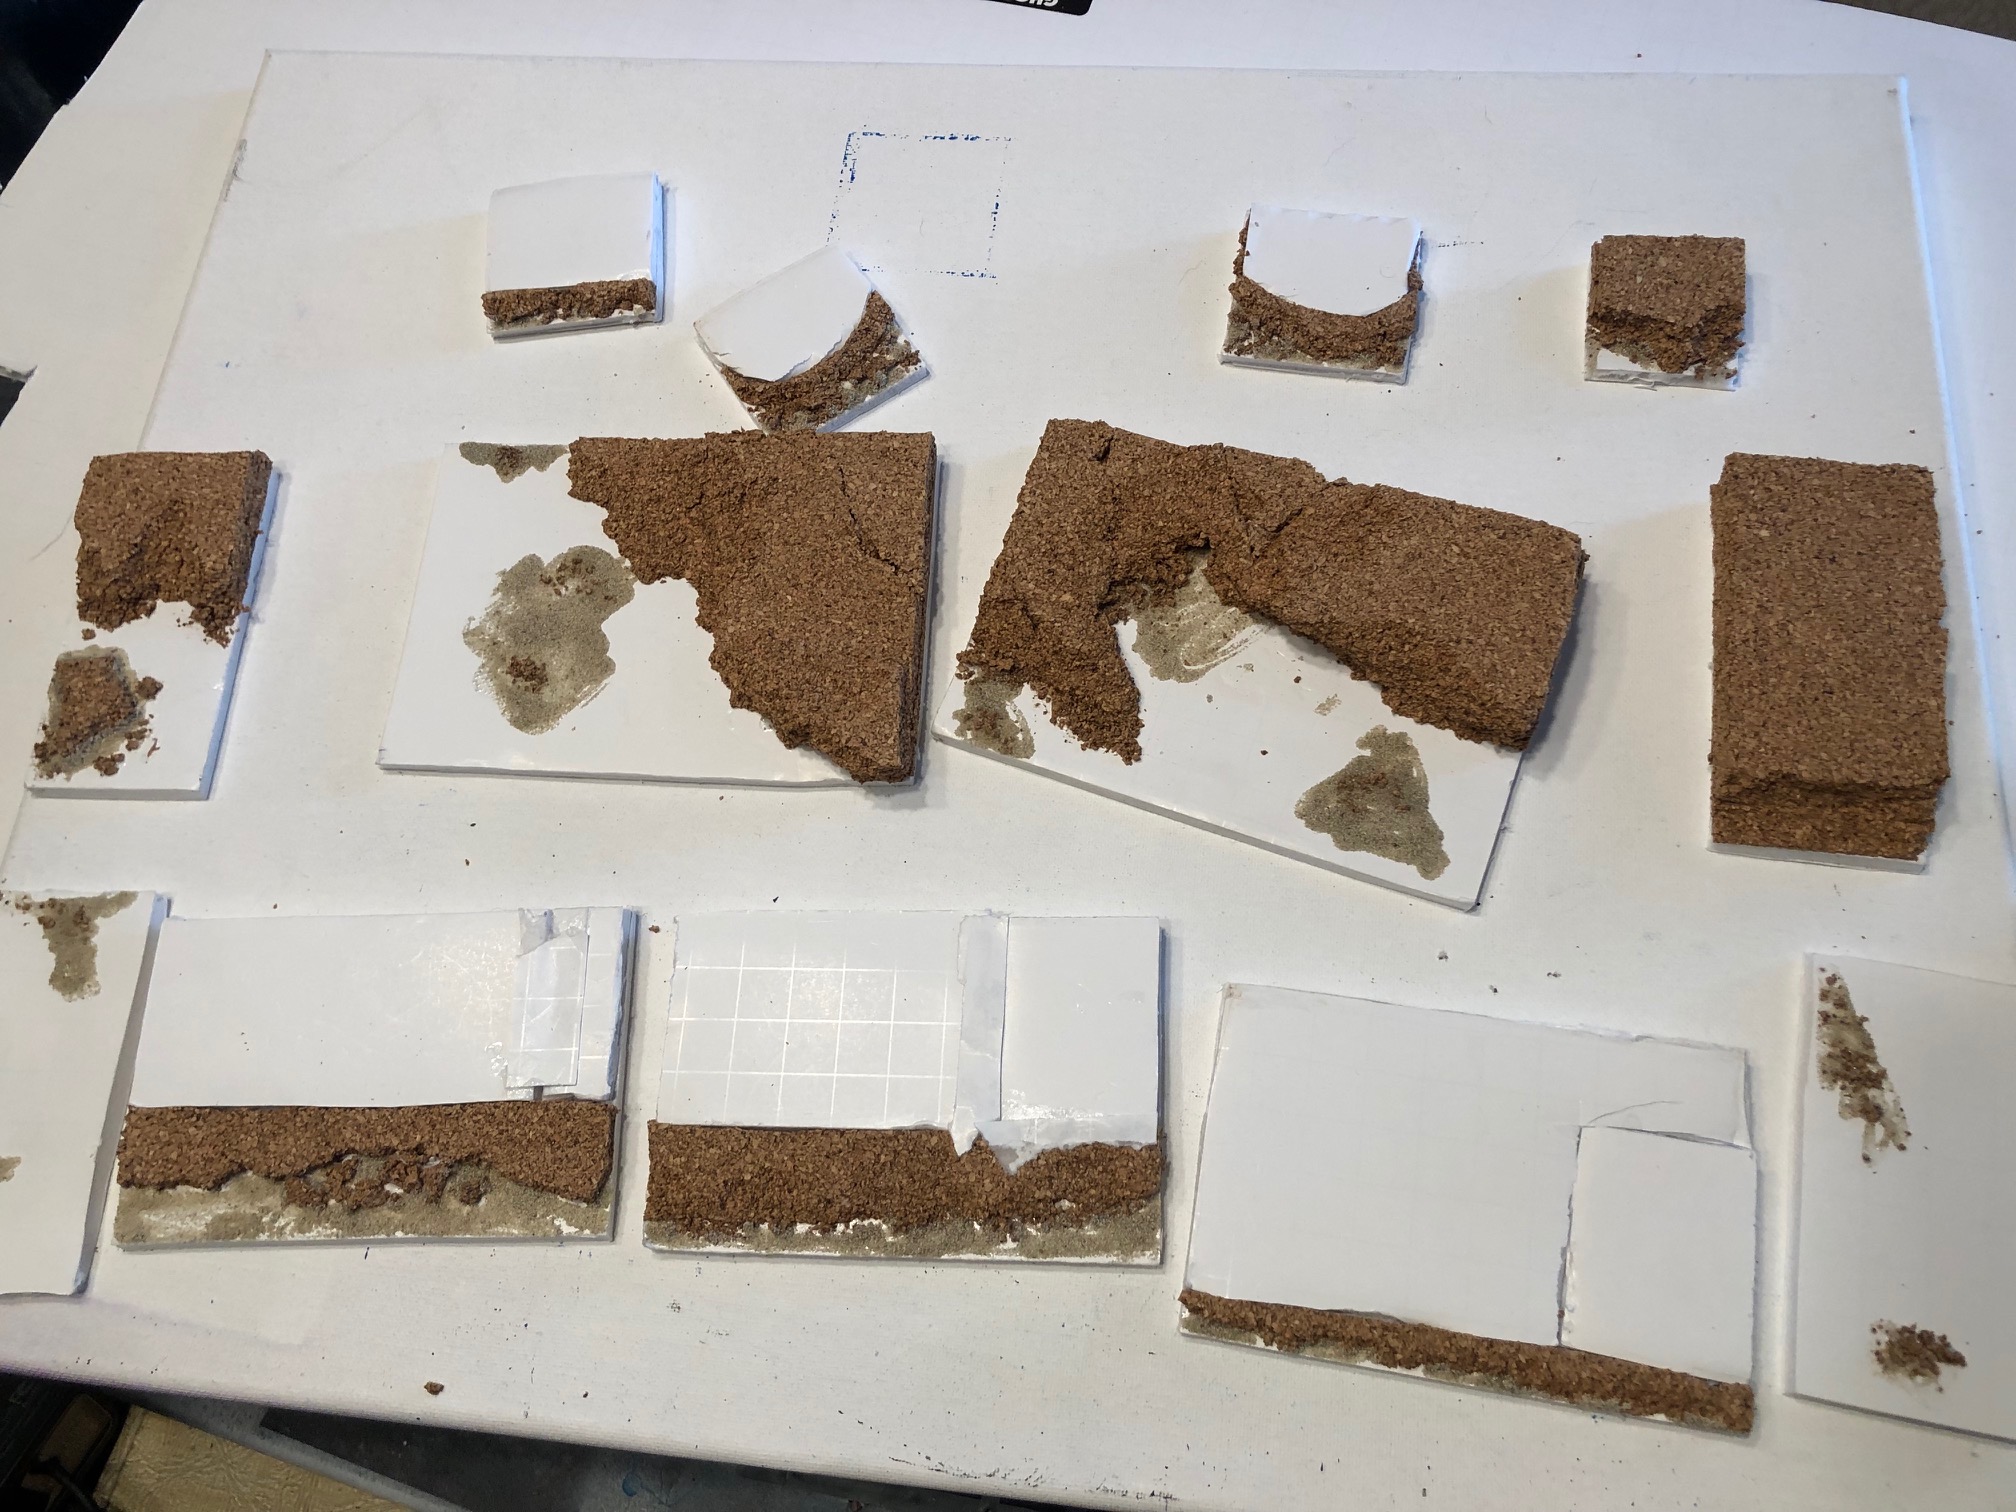
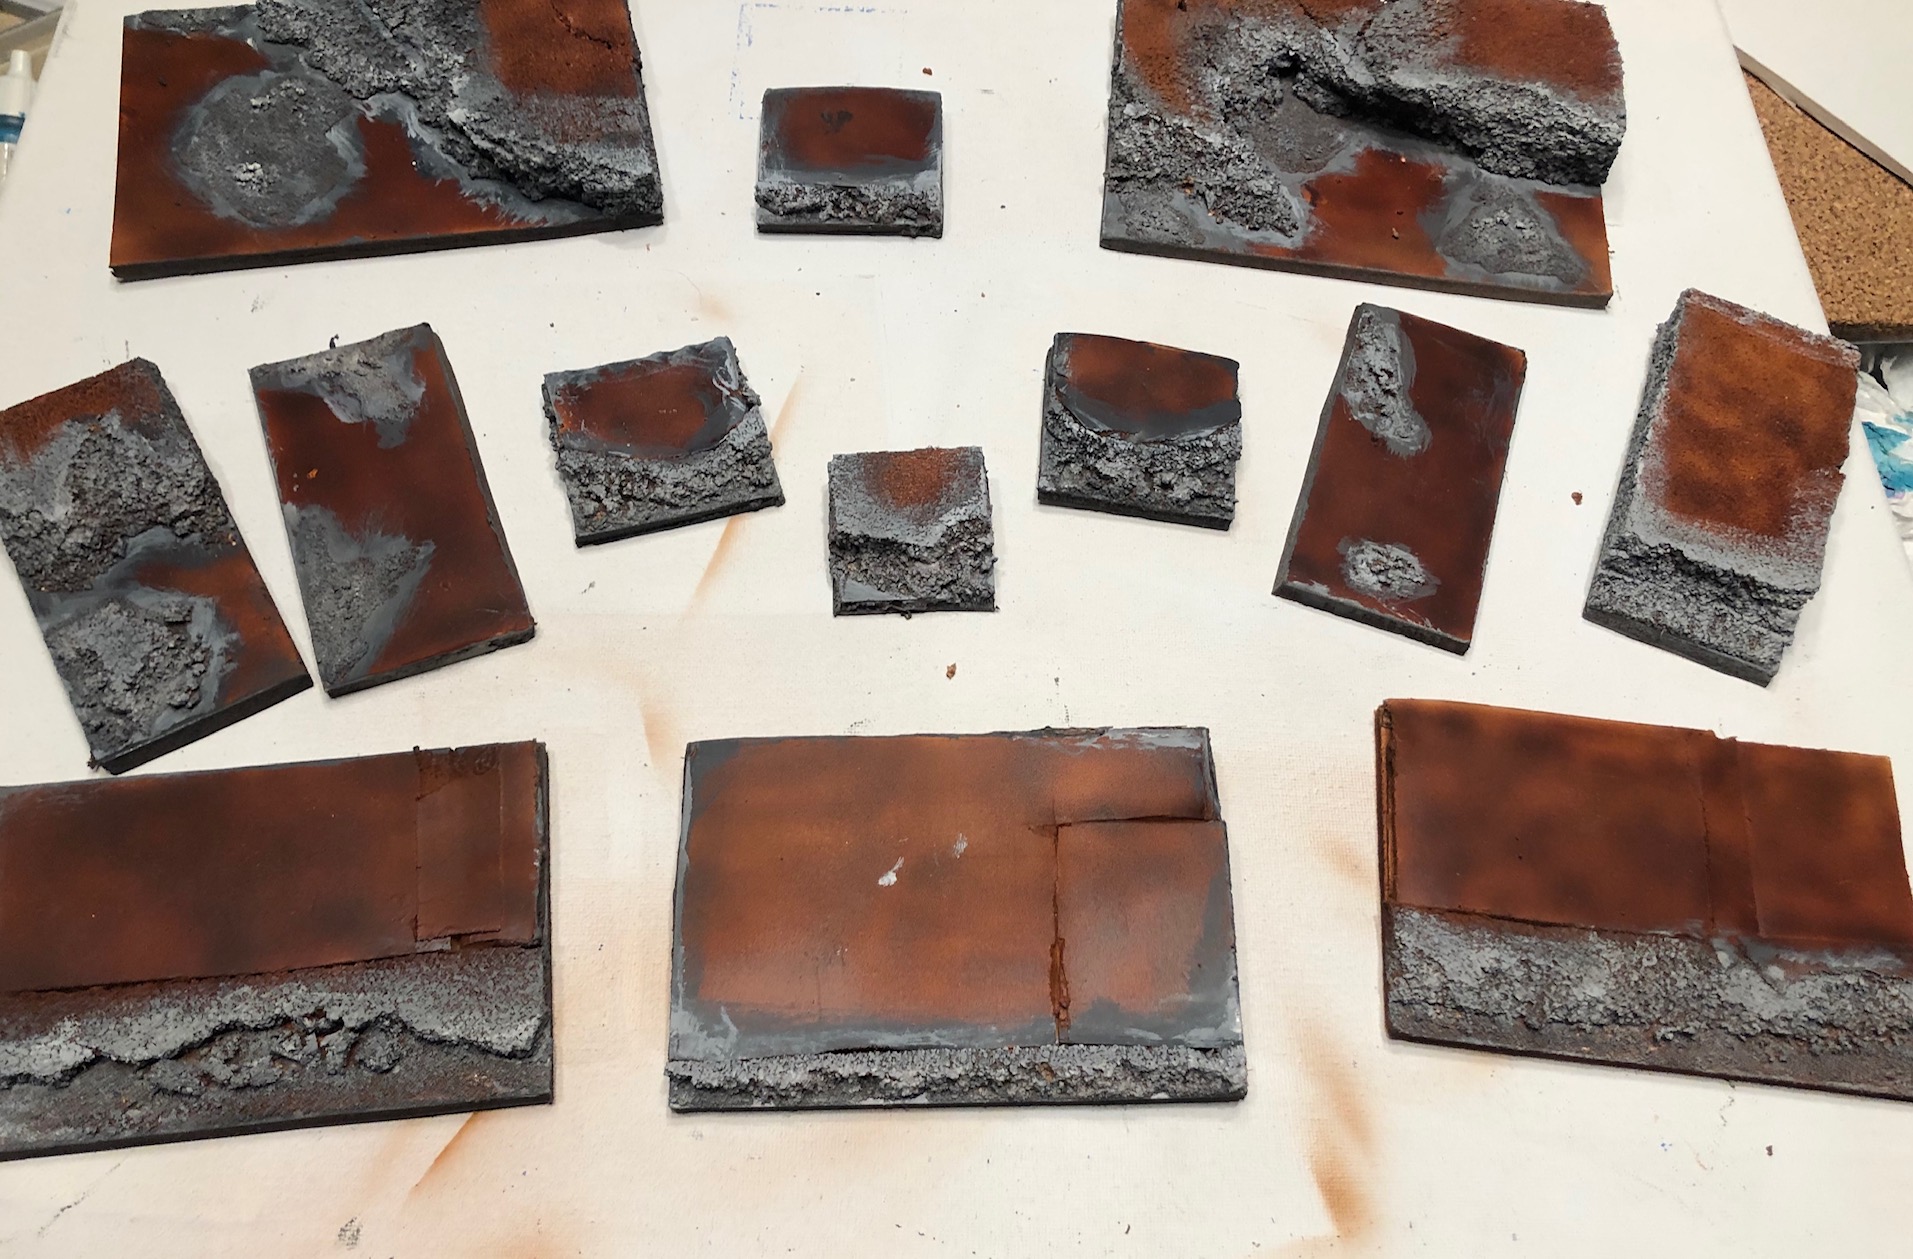
Drybrushing
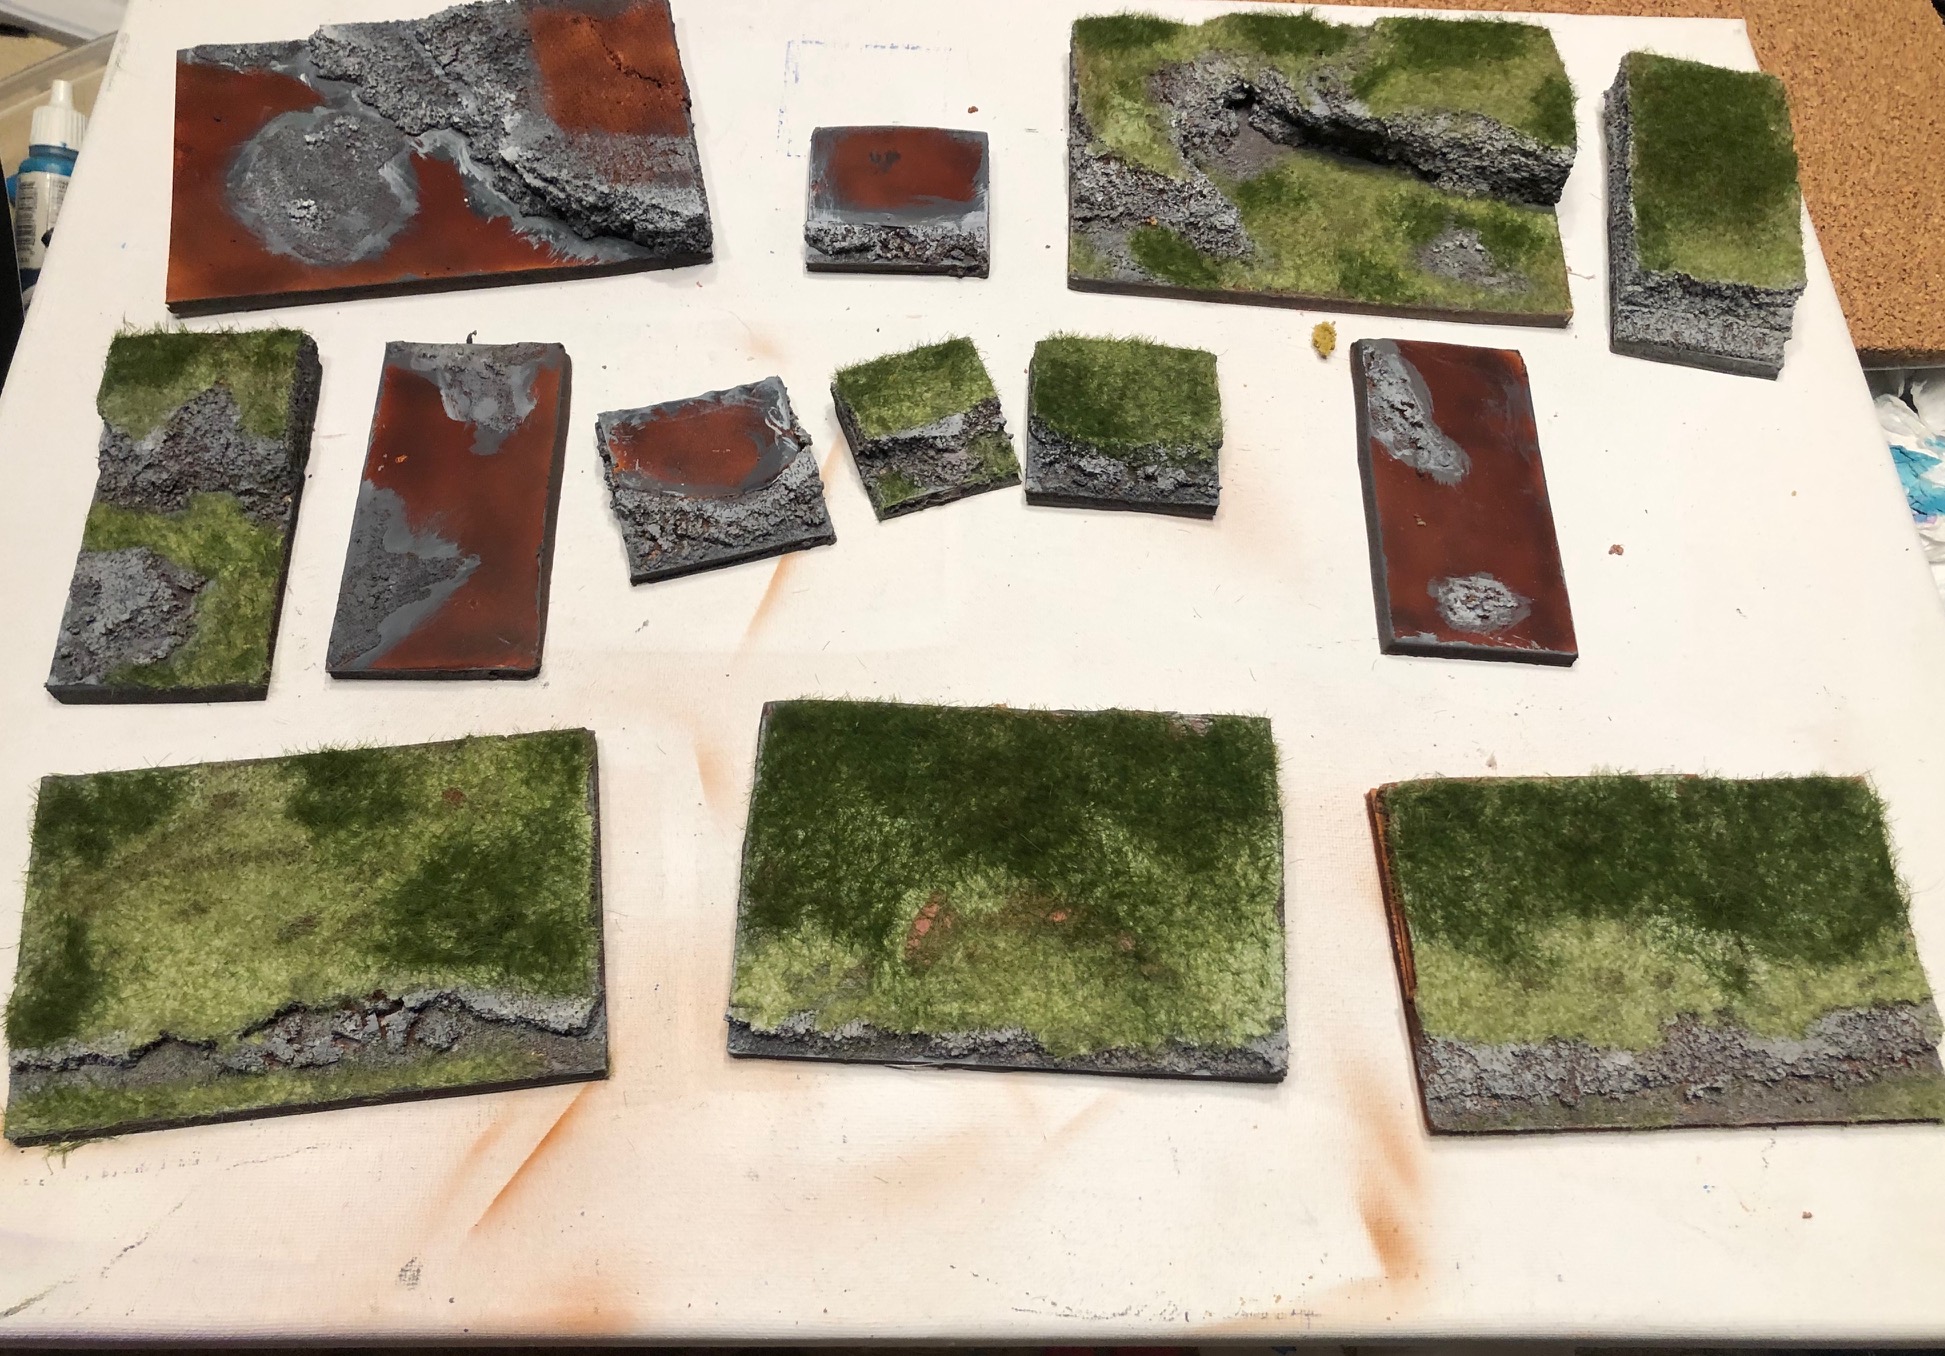
My Rocks are Grey, so I broke out my trusty drybrush and took about 30 min to det all the rocks that woudl show from the grass colored. Need to do this before putting on the grass.
Gluing the grass
This is the part I think most are waiting for. Grass applicator? What kind of grass? how to you get it to stand up? What size grass?
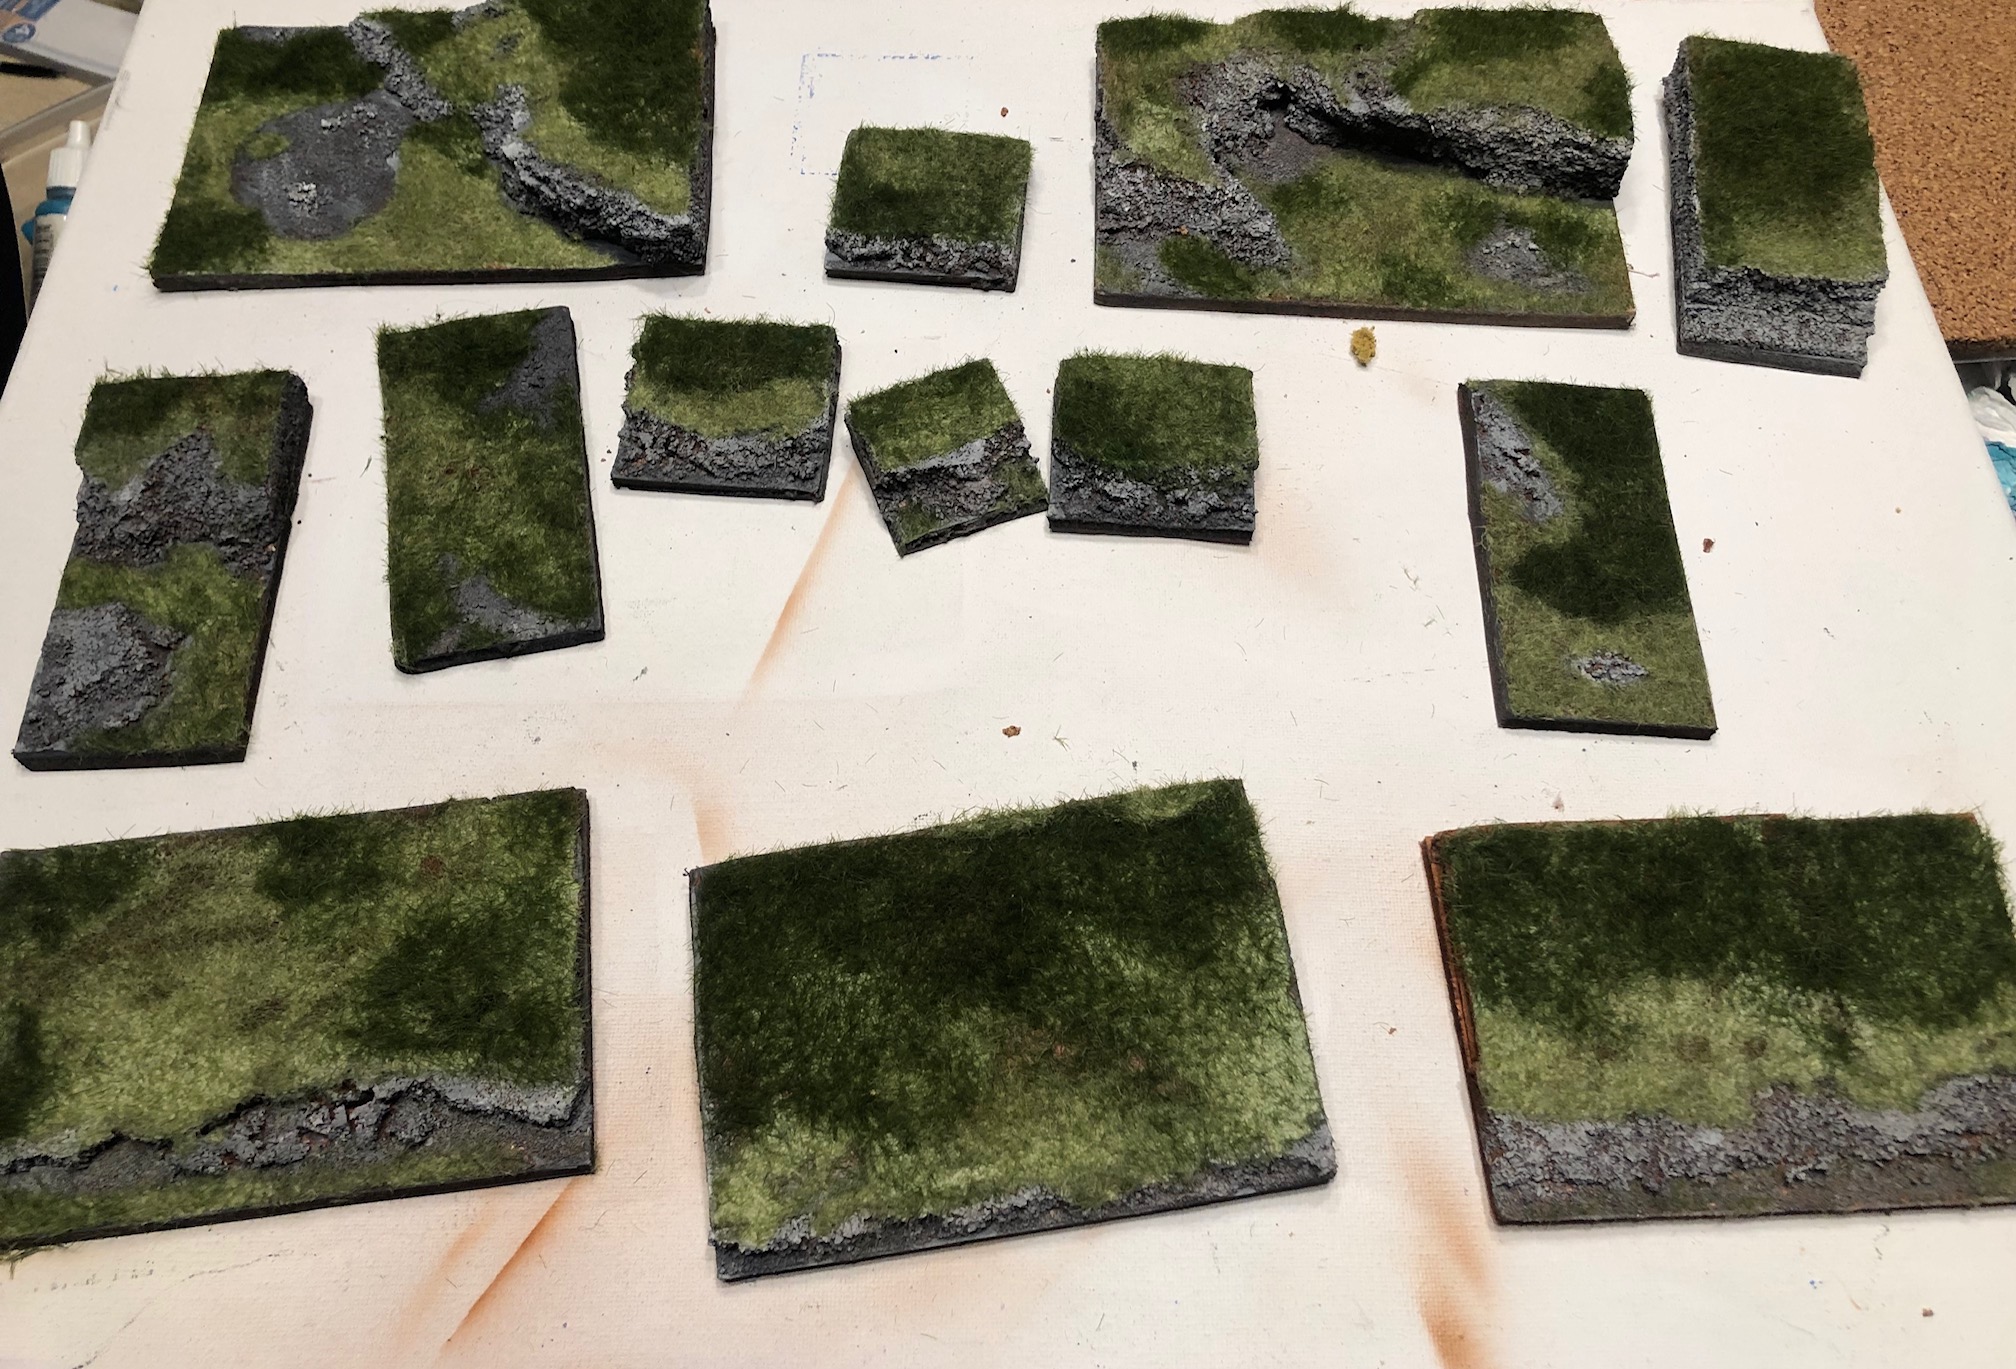
I have lots of kinds of grass from woodland scenics and other brands. I would start with a 2mm grass, then move to 4mm. If you want longer grass in some patches go with 7mm. If you want really tall grass like weeds, go for 12mm. They also make some straw versions that add dynamics.
Get some scenic glue. It drys fast. I tried wood glue and paper glue, it’s just not as good. Spred the glue on the area you want to have grass. I didnt thin the glue on this first layer. I took the light color grass that is 2mm and put it into a thin strainer and shook it. shack it until it spreads like you like. Do one whole bases with all the grash you want and see if you like it. Go to the darker and taller grasses as you like. Personally, I like to use dead grass wihs is browner but I didnt want that look on this landscape. You can wet a brush and add some more clue or use a spray bottle to wet the area for more grass. You may need to make more passes as it drys. Go back in 30 min and see if you like it. There are a few more techniques out there with longer and thinner grasses.
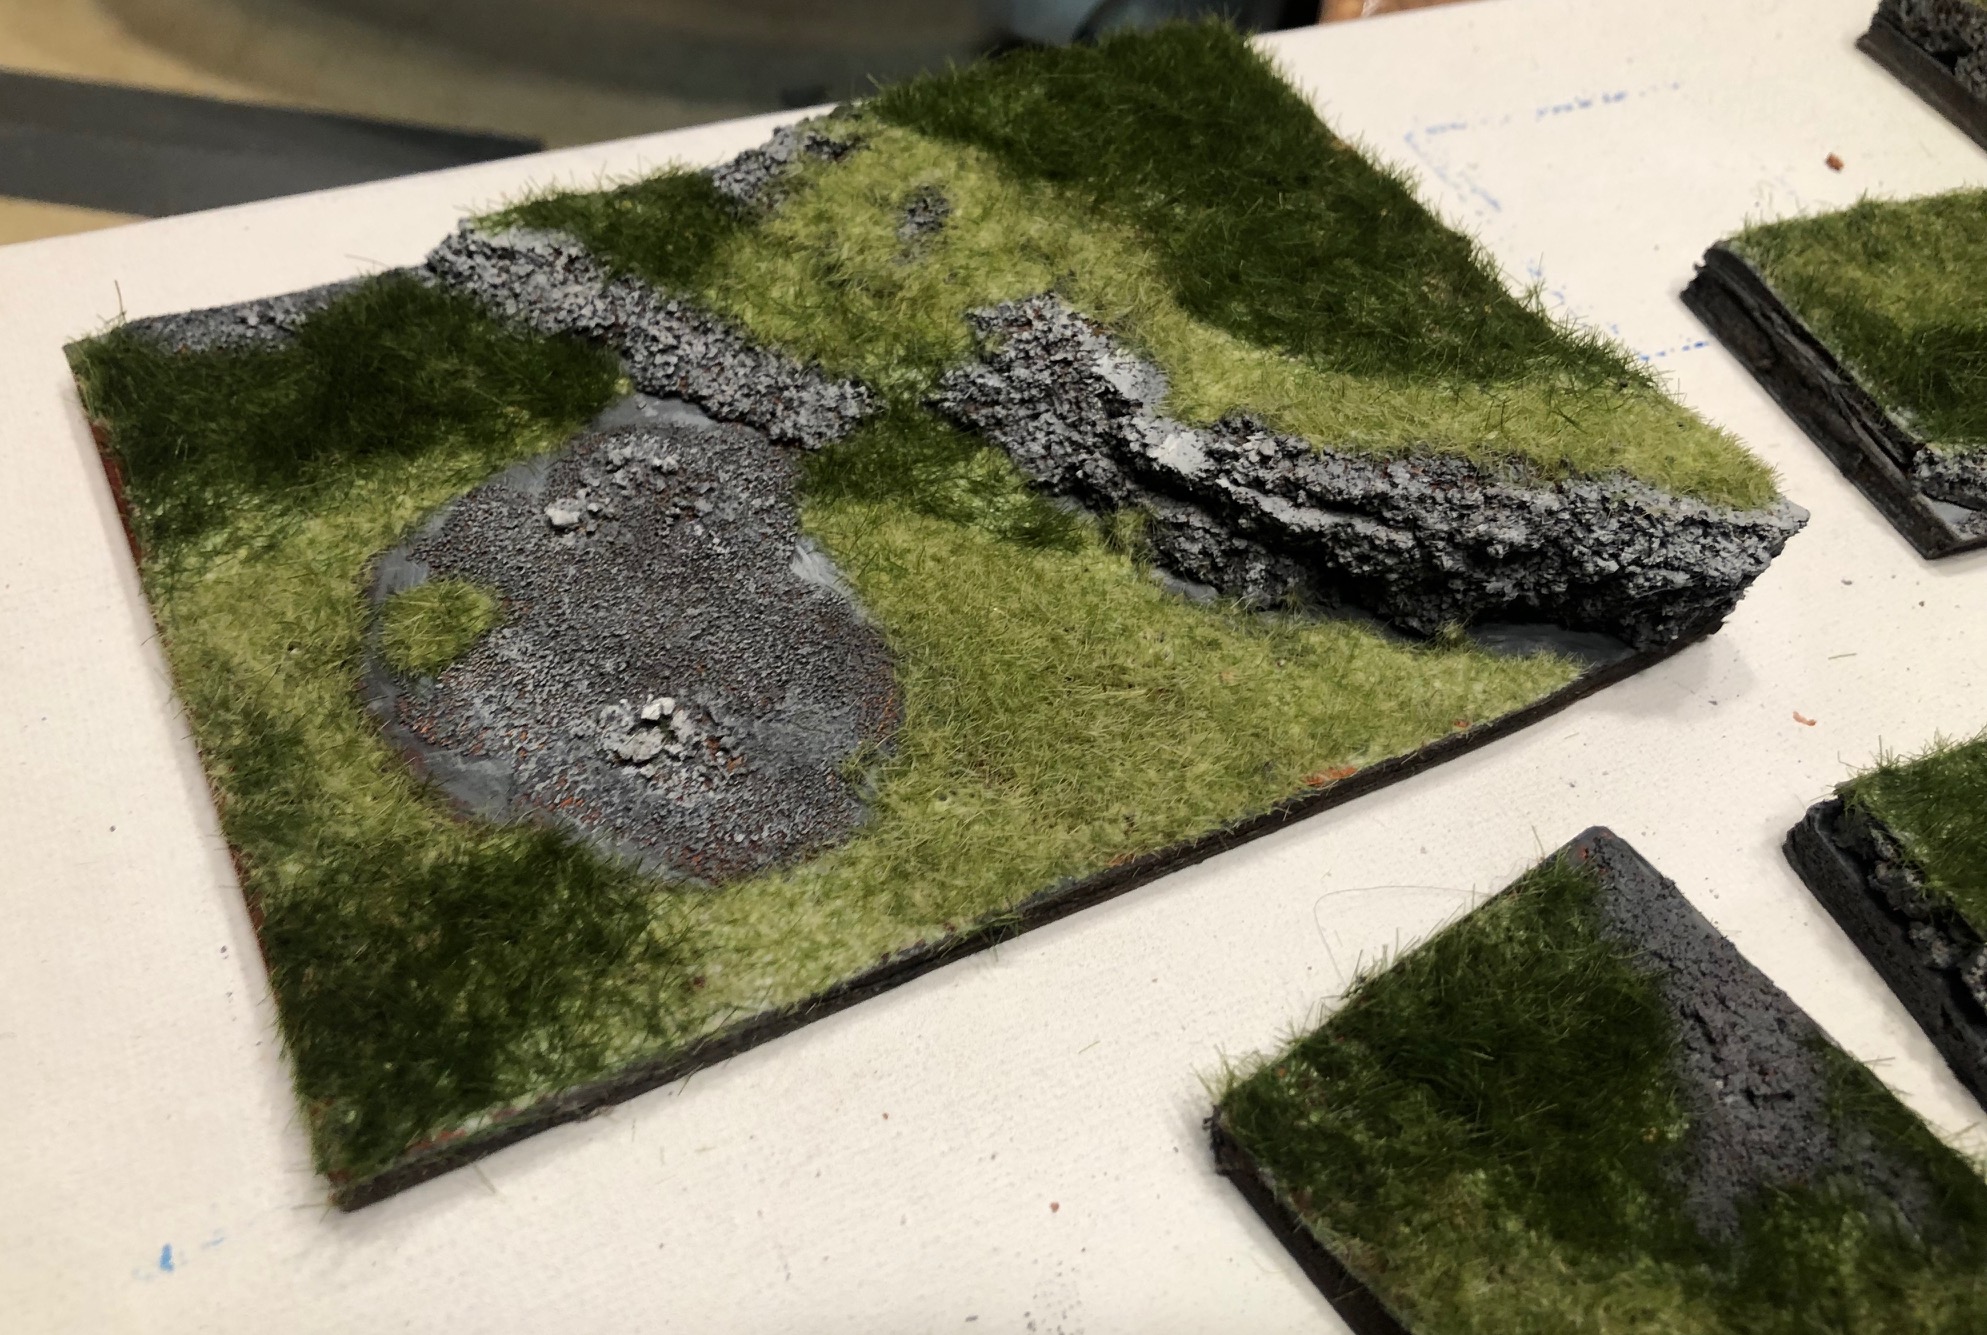
Here are some pictures for you. Says a thousand words.