Slowly but surely getting things done.
The cav base that I was really excited about making is ready for the models as I finish them:
Still need to finish the rider and find her arms but attached it to the base already as its easy enough to paint there.
The other cav unit has a chariot on it which I had endless trouble assembling so I actually just built it up on the base. Lots of damage to the base so needs repainting.
Here is my model that I am using as a color scheme template/sampler. All the spears are batched up at different stages heading in this direction.
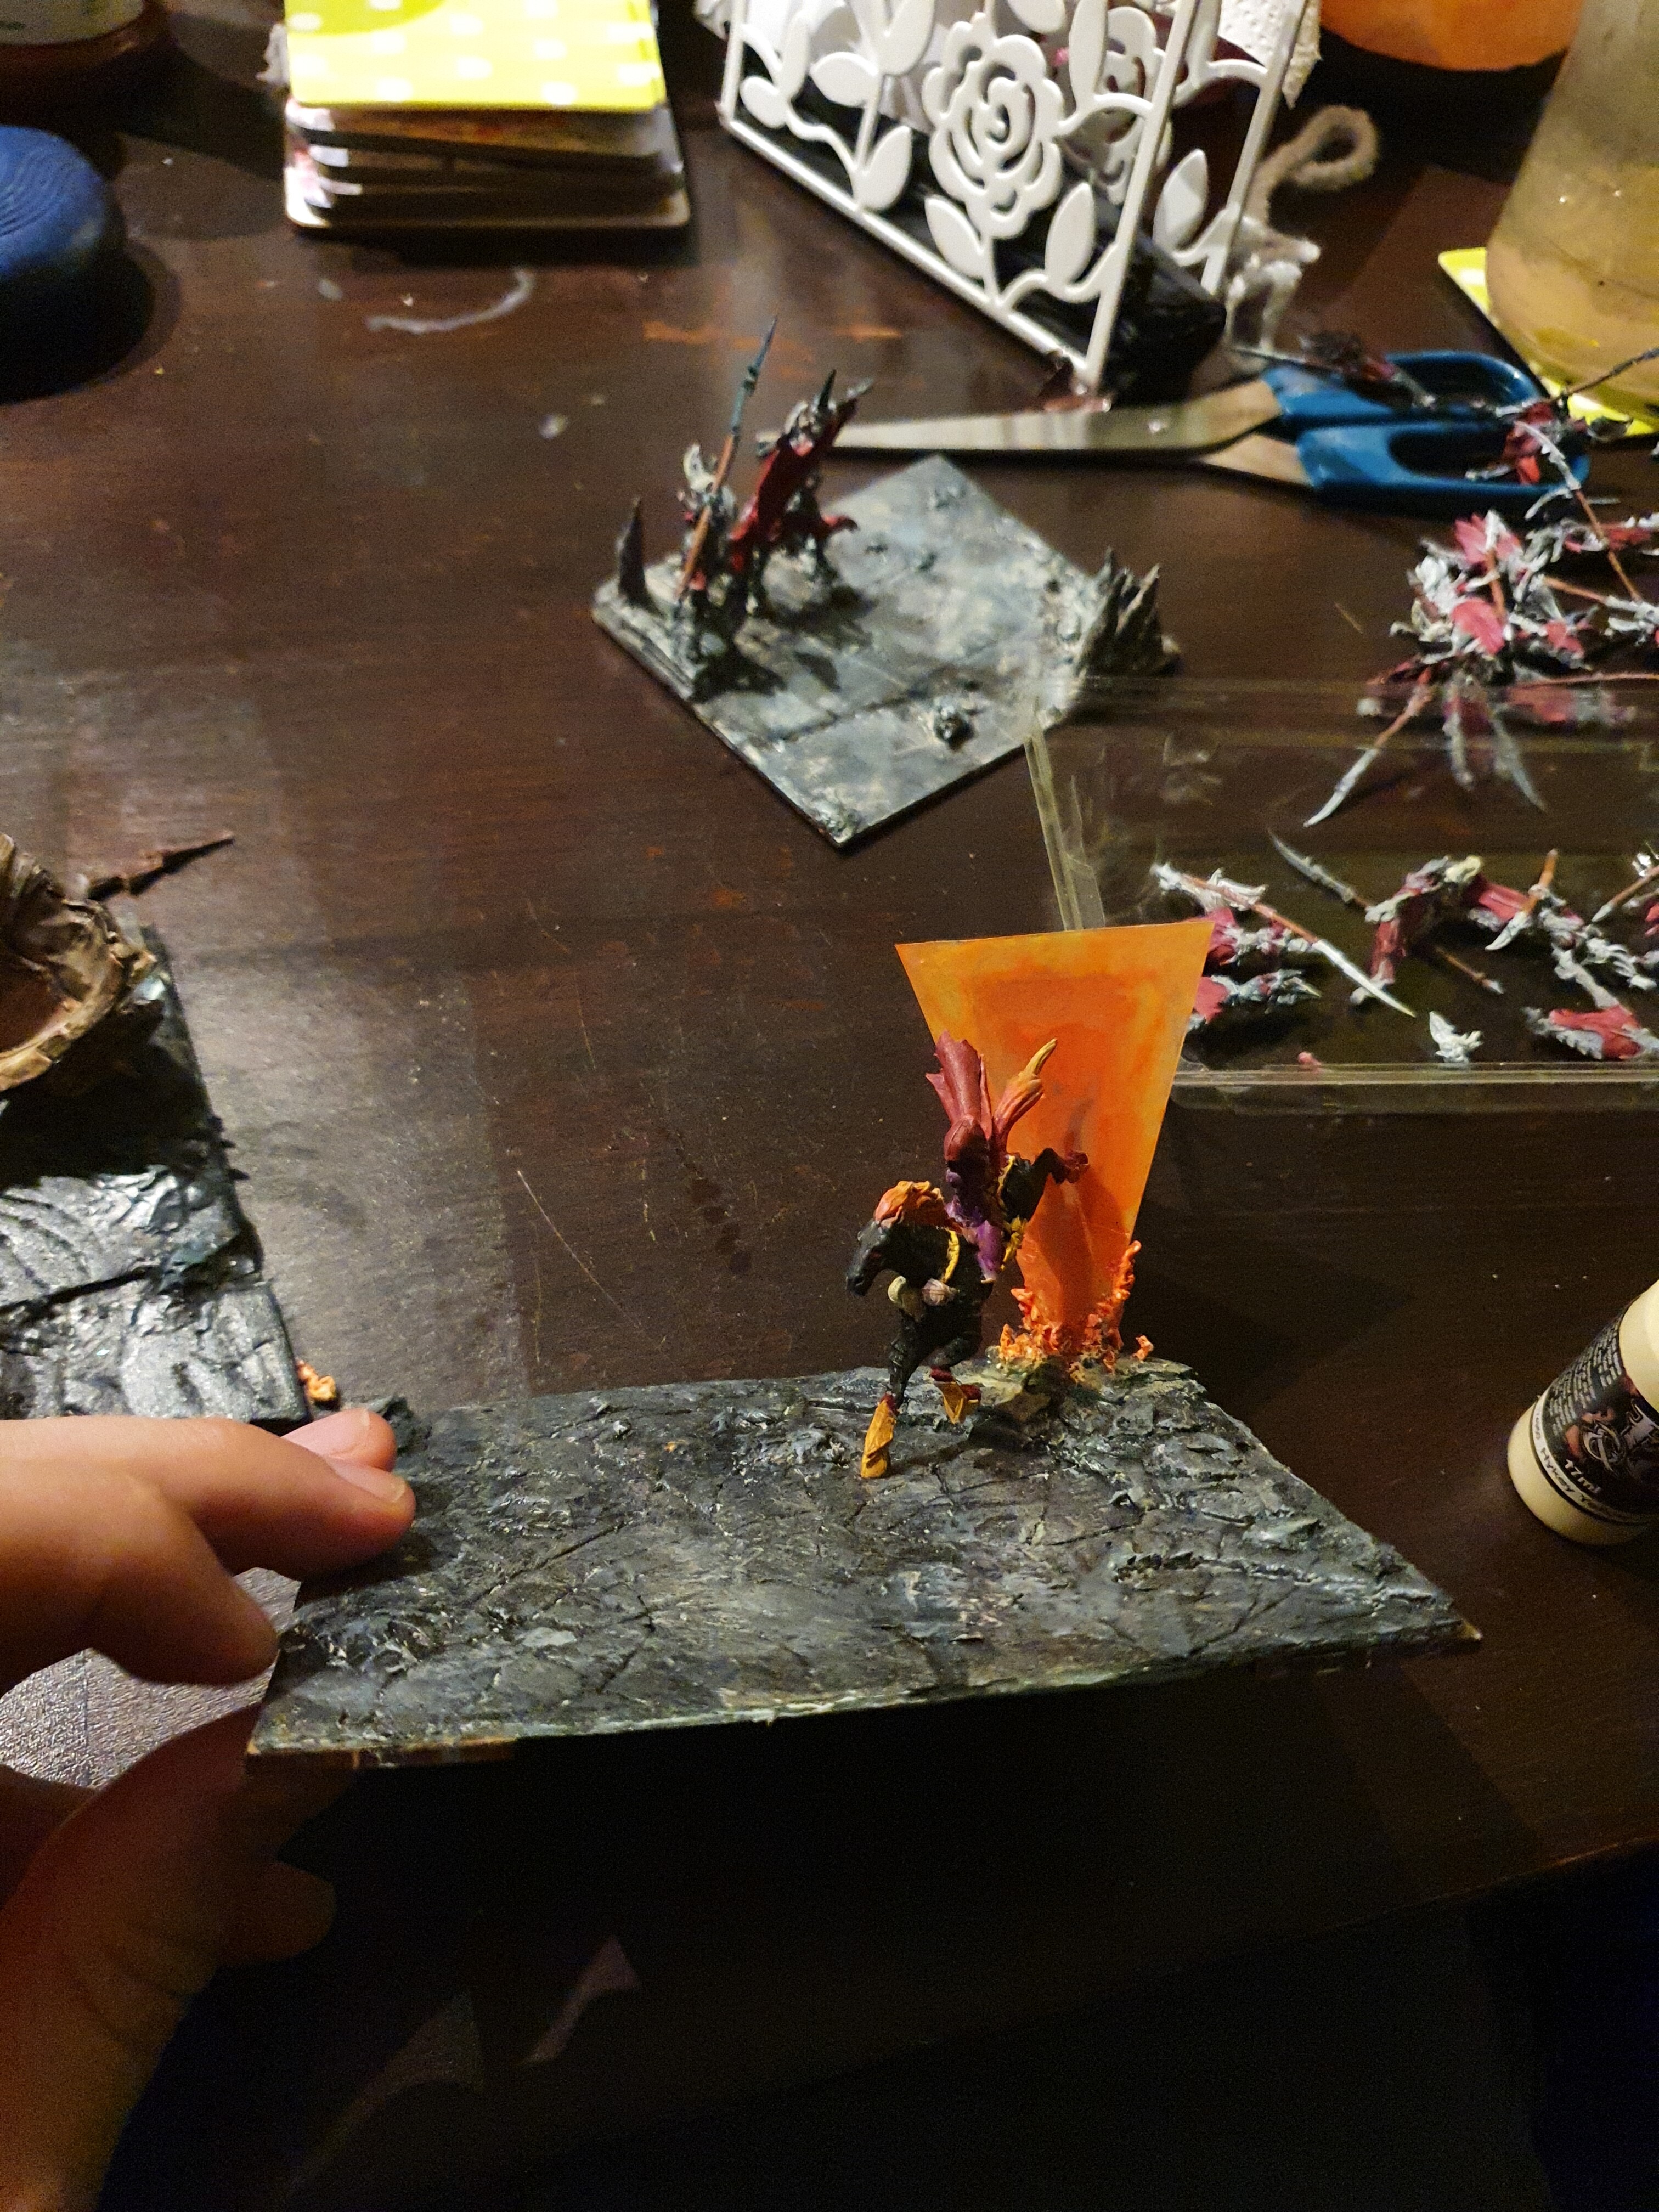
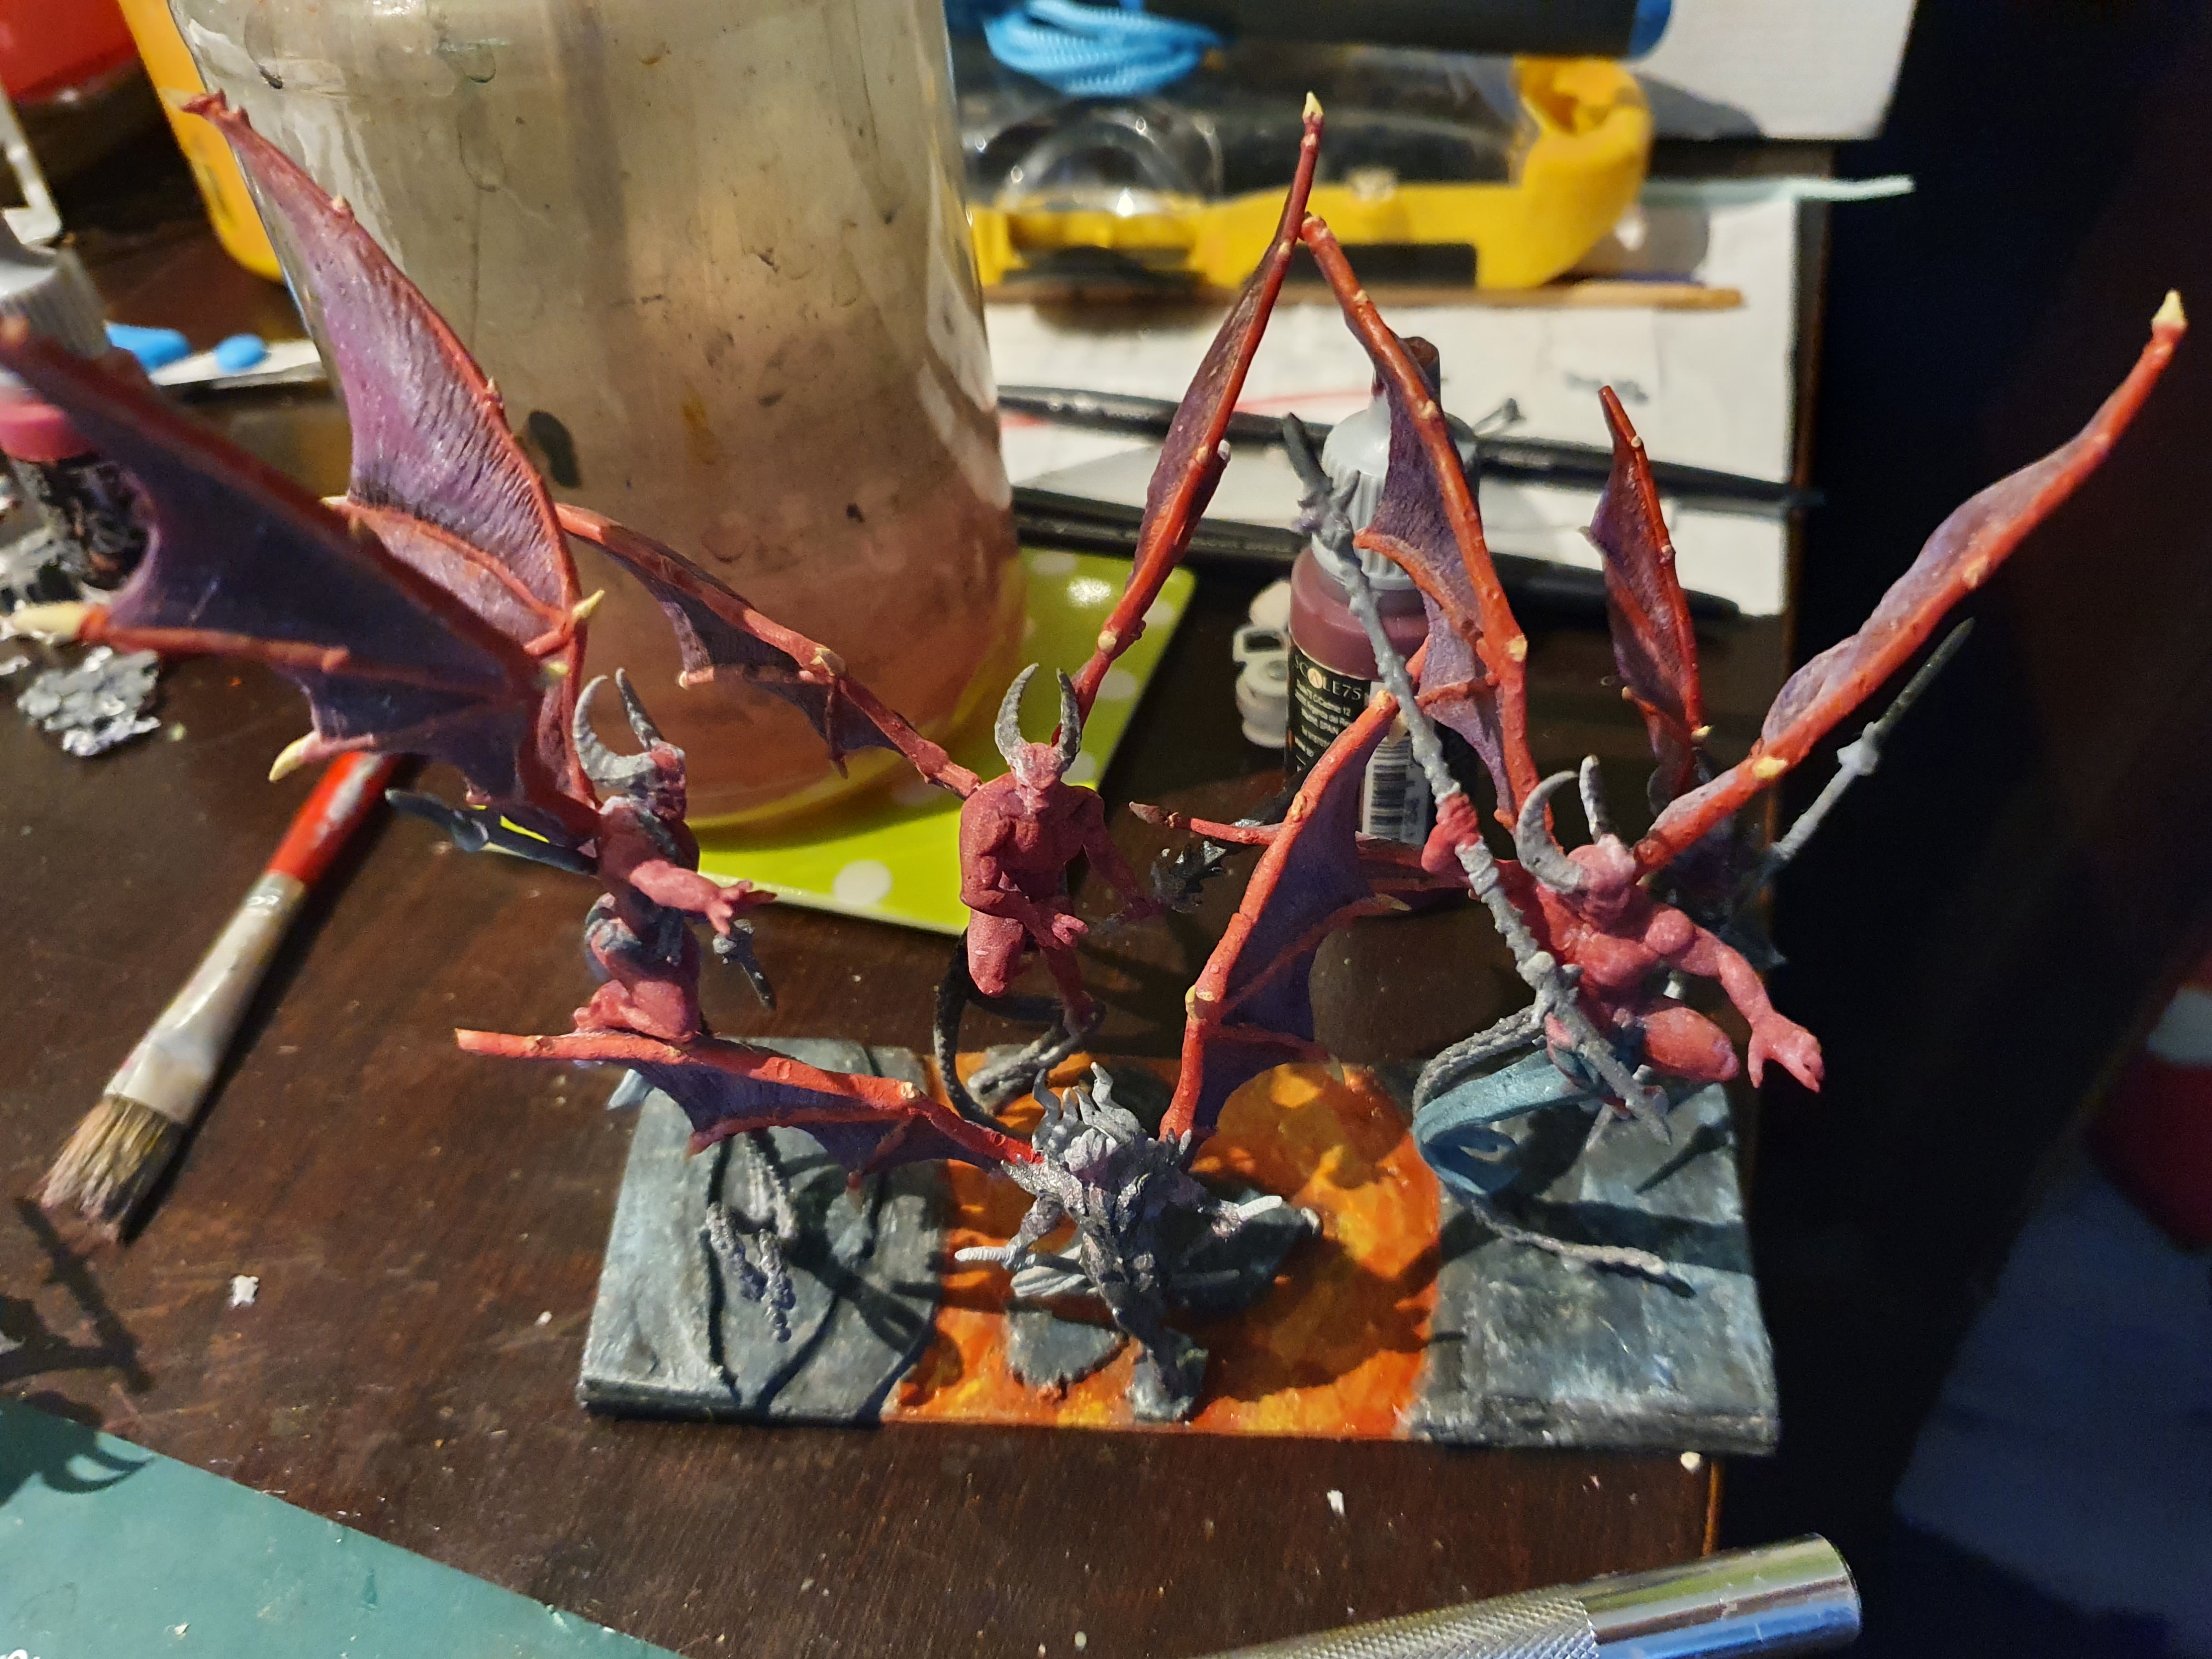
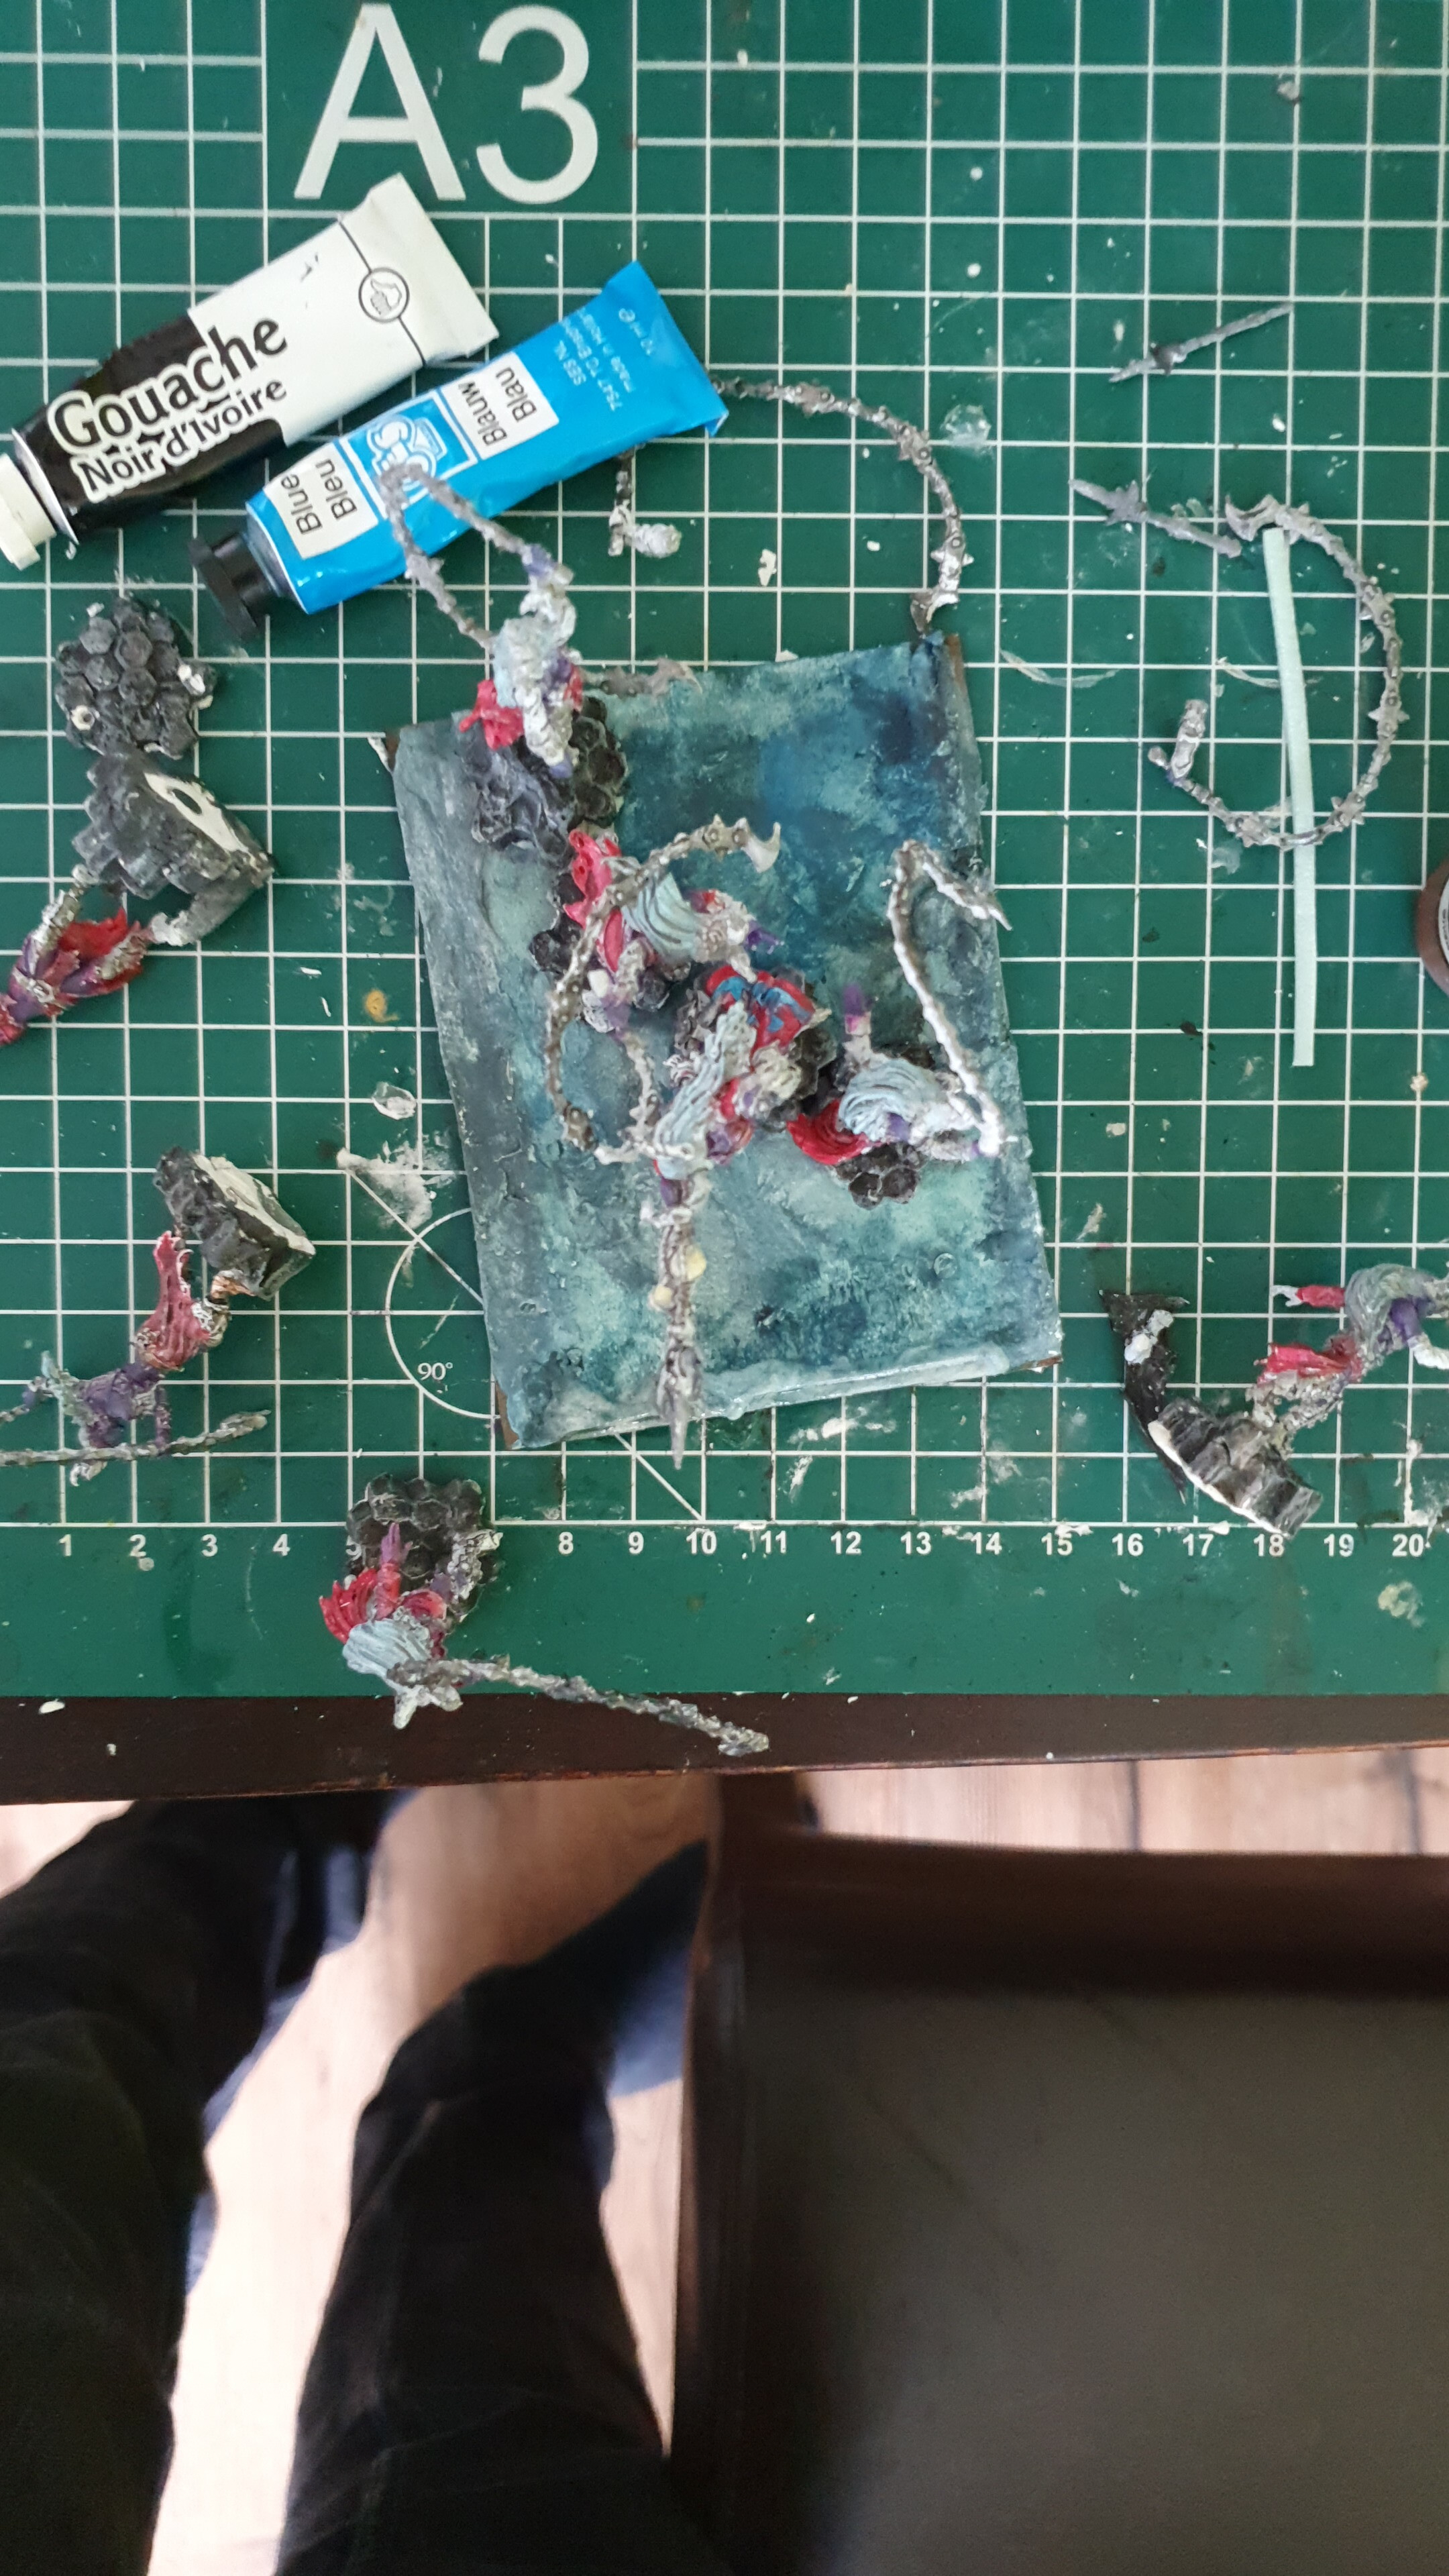
I also fixed my big demons sword finally with super strength gel super glue with hopes it’ll stay on this time.
7 Likes
The spears and cavalry are looking good and the orange really pops against the dark grey.
I really enjoy coming back to this thread. It helps motivate for my own Twilight Kin
1 Like
I’m glad it is helping out!
I am honestly burning out on my TK right now, I just have so little time to paint and following a plan is dampening my fun a bit (I usually get inspired by a model and go crazy painting it in one or two sessions, never knowing which model will catch my interest next).
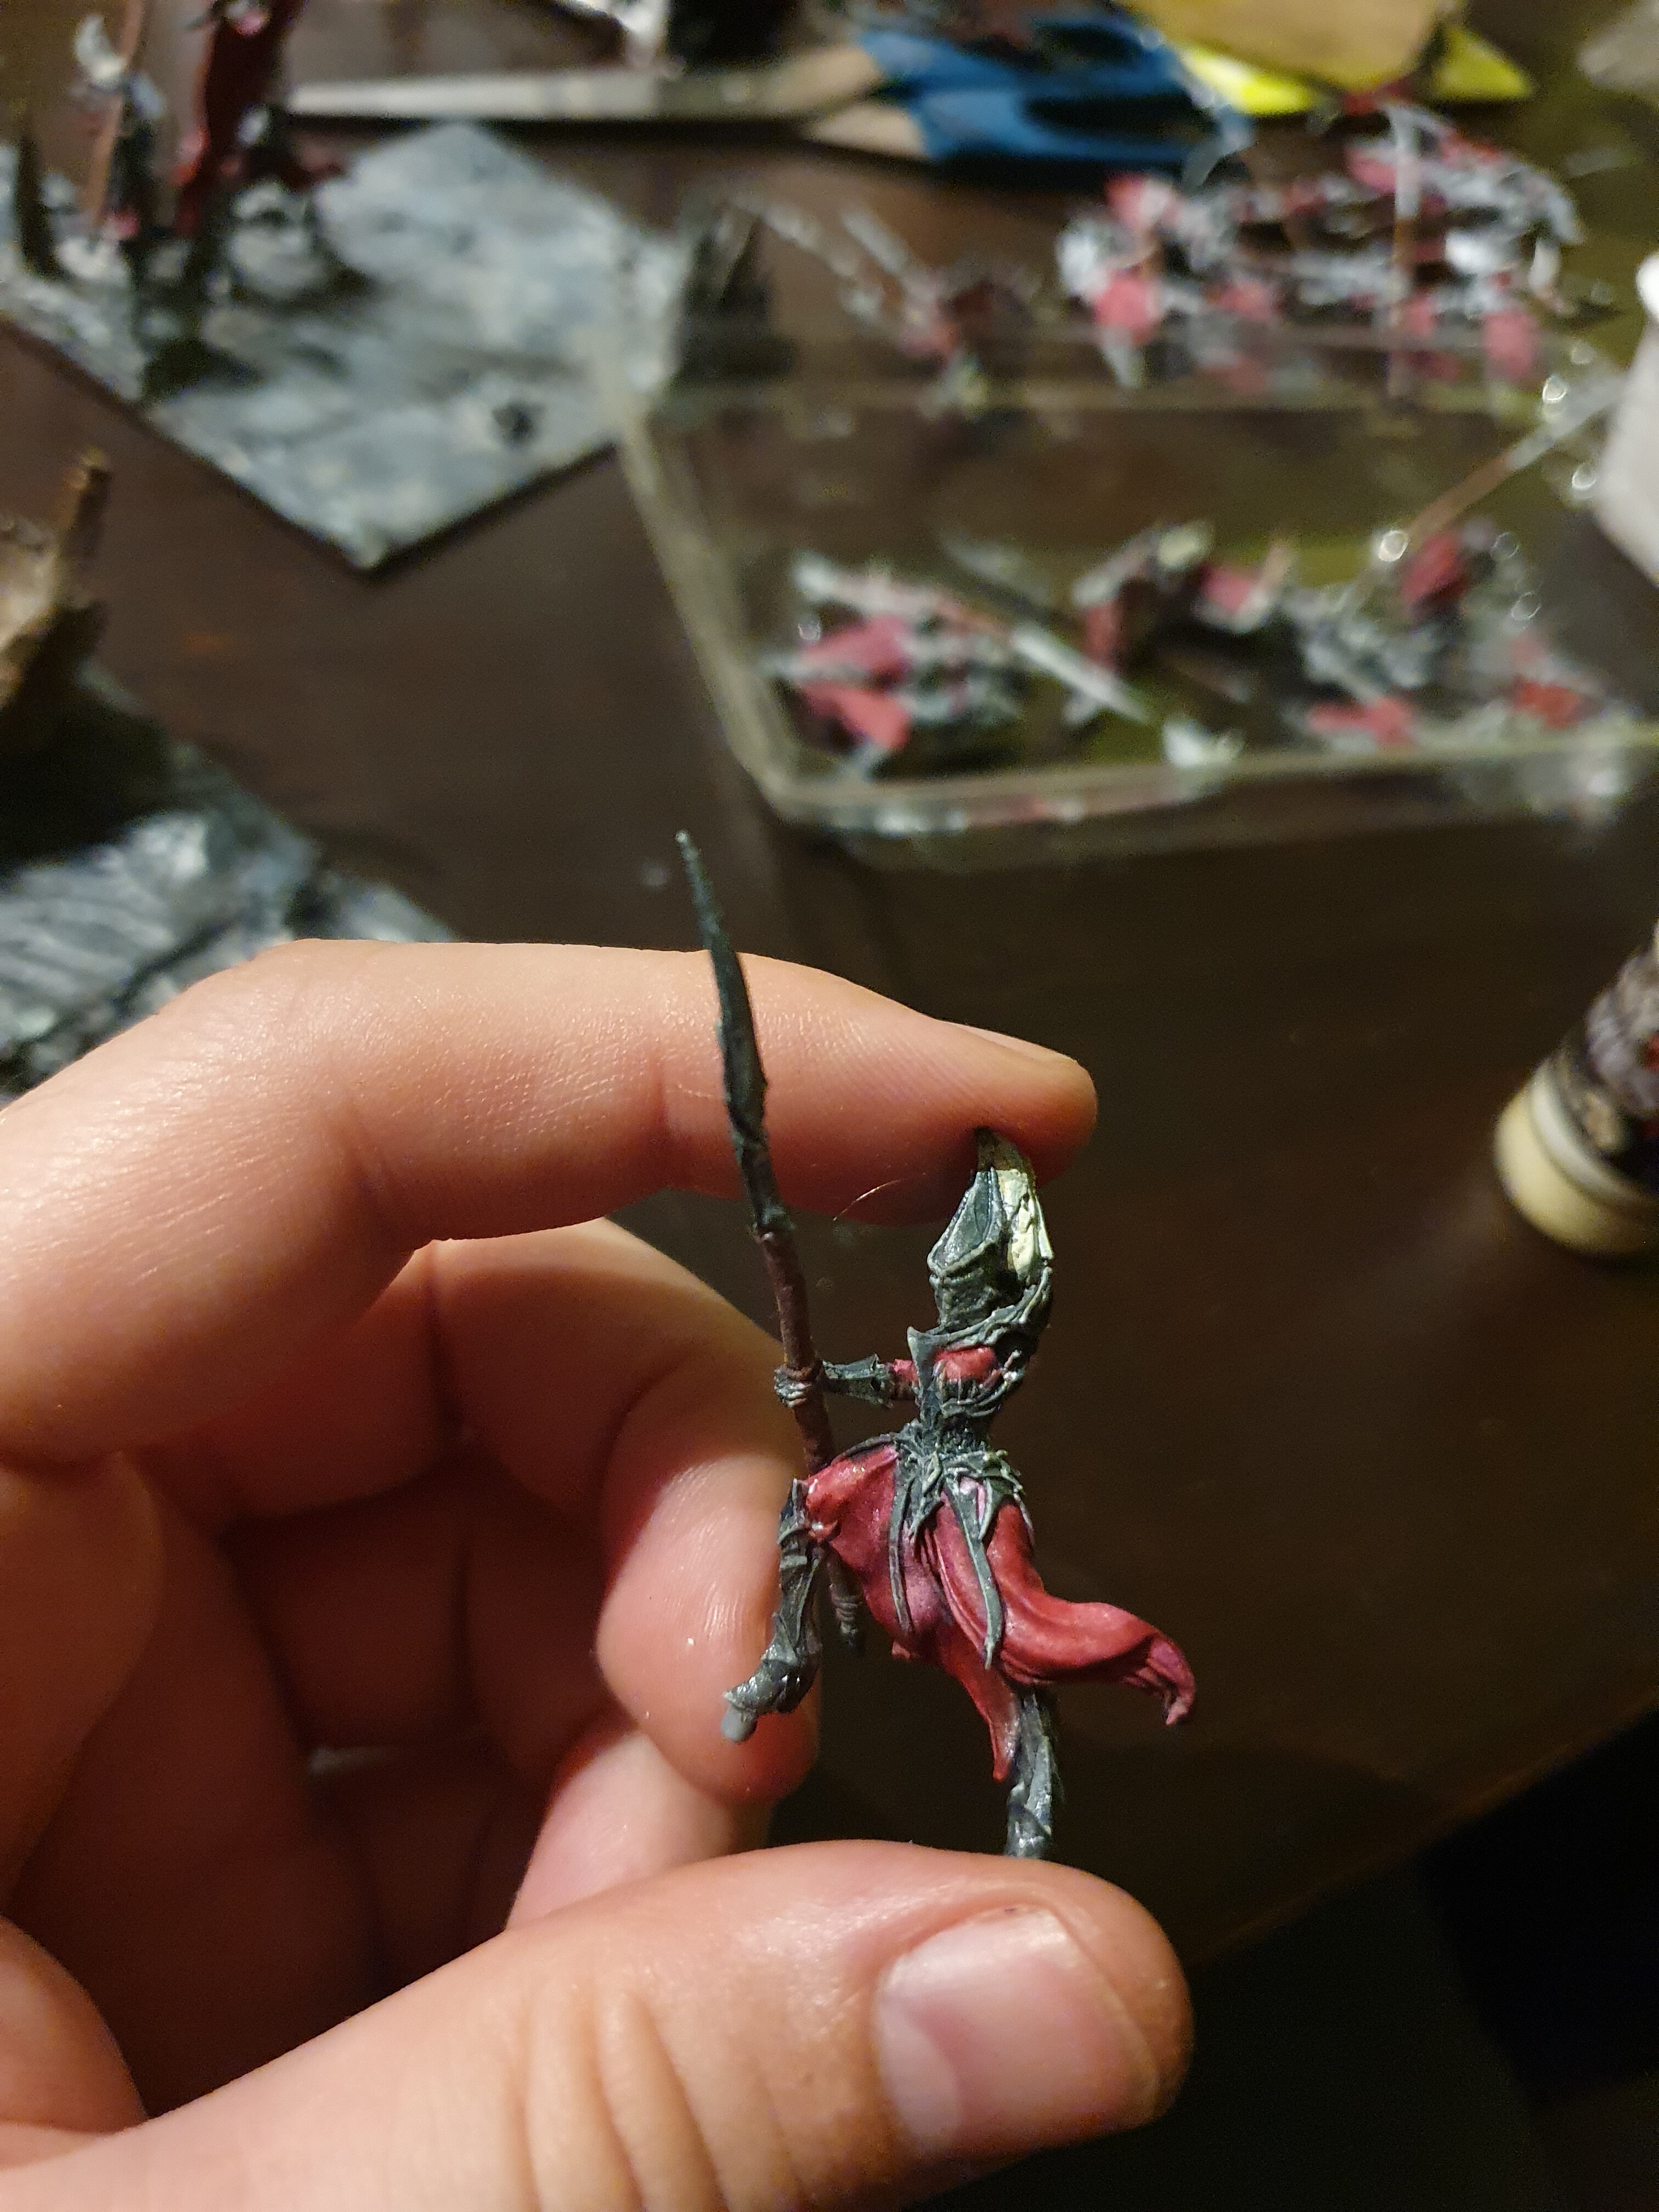
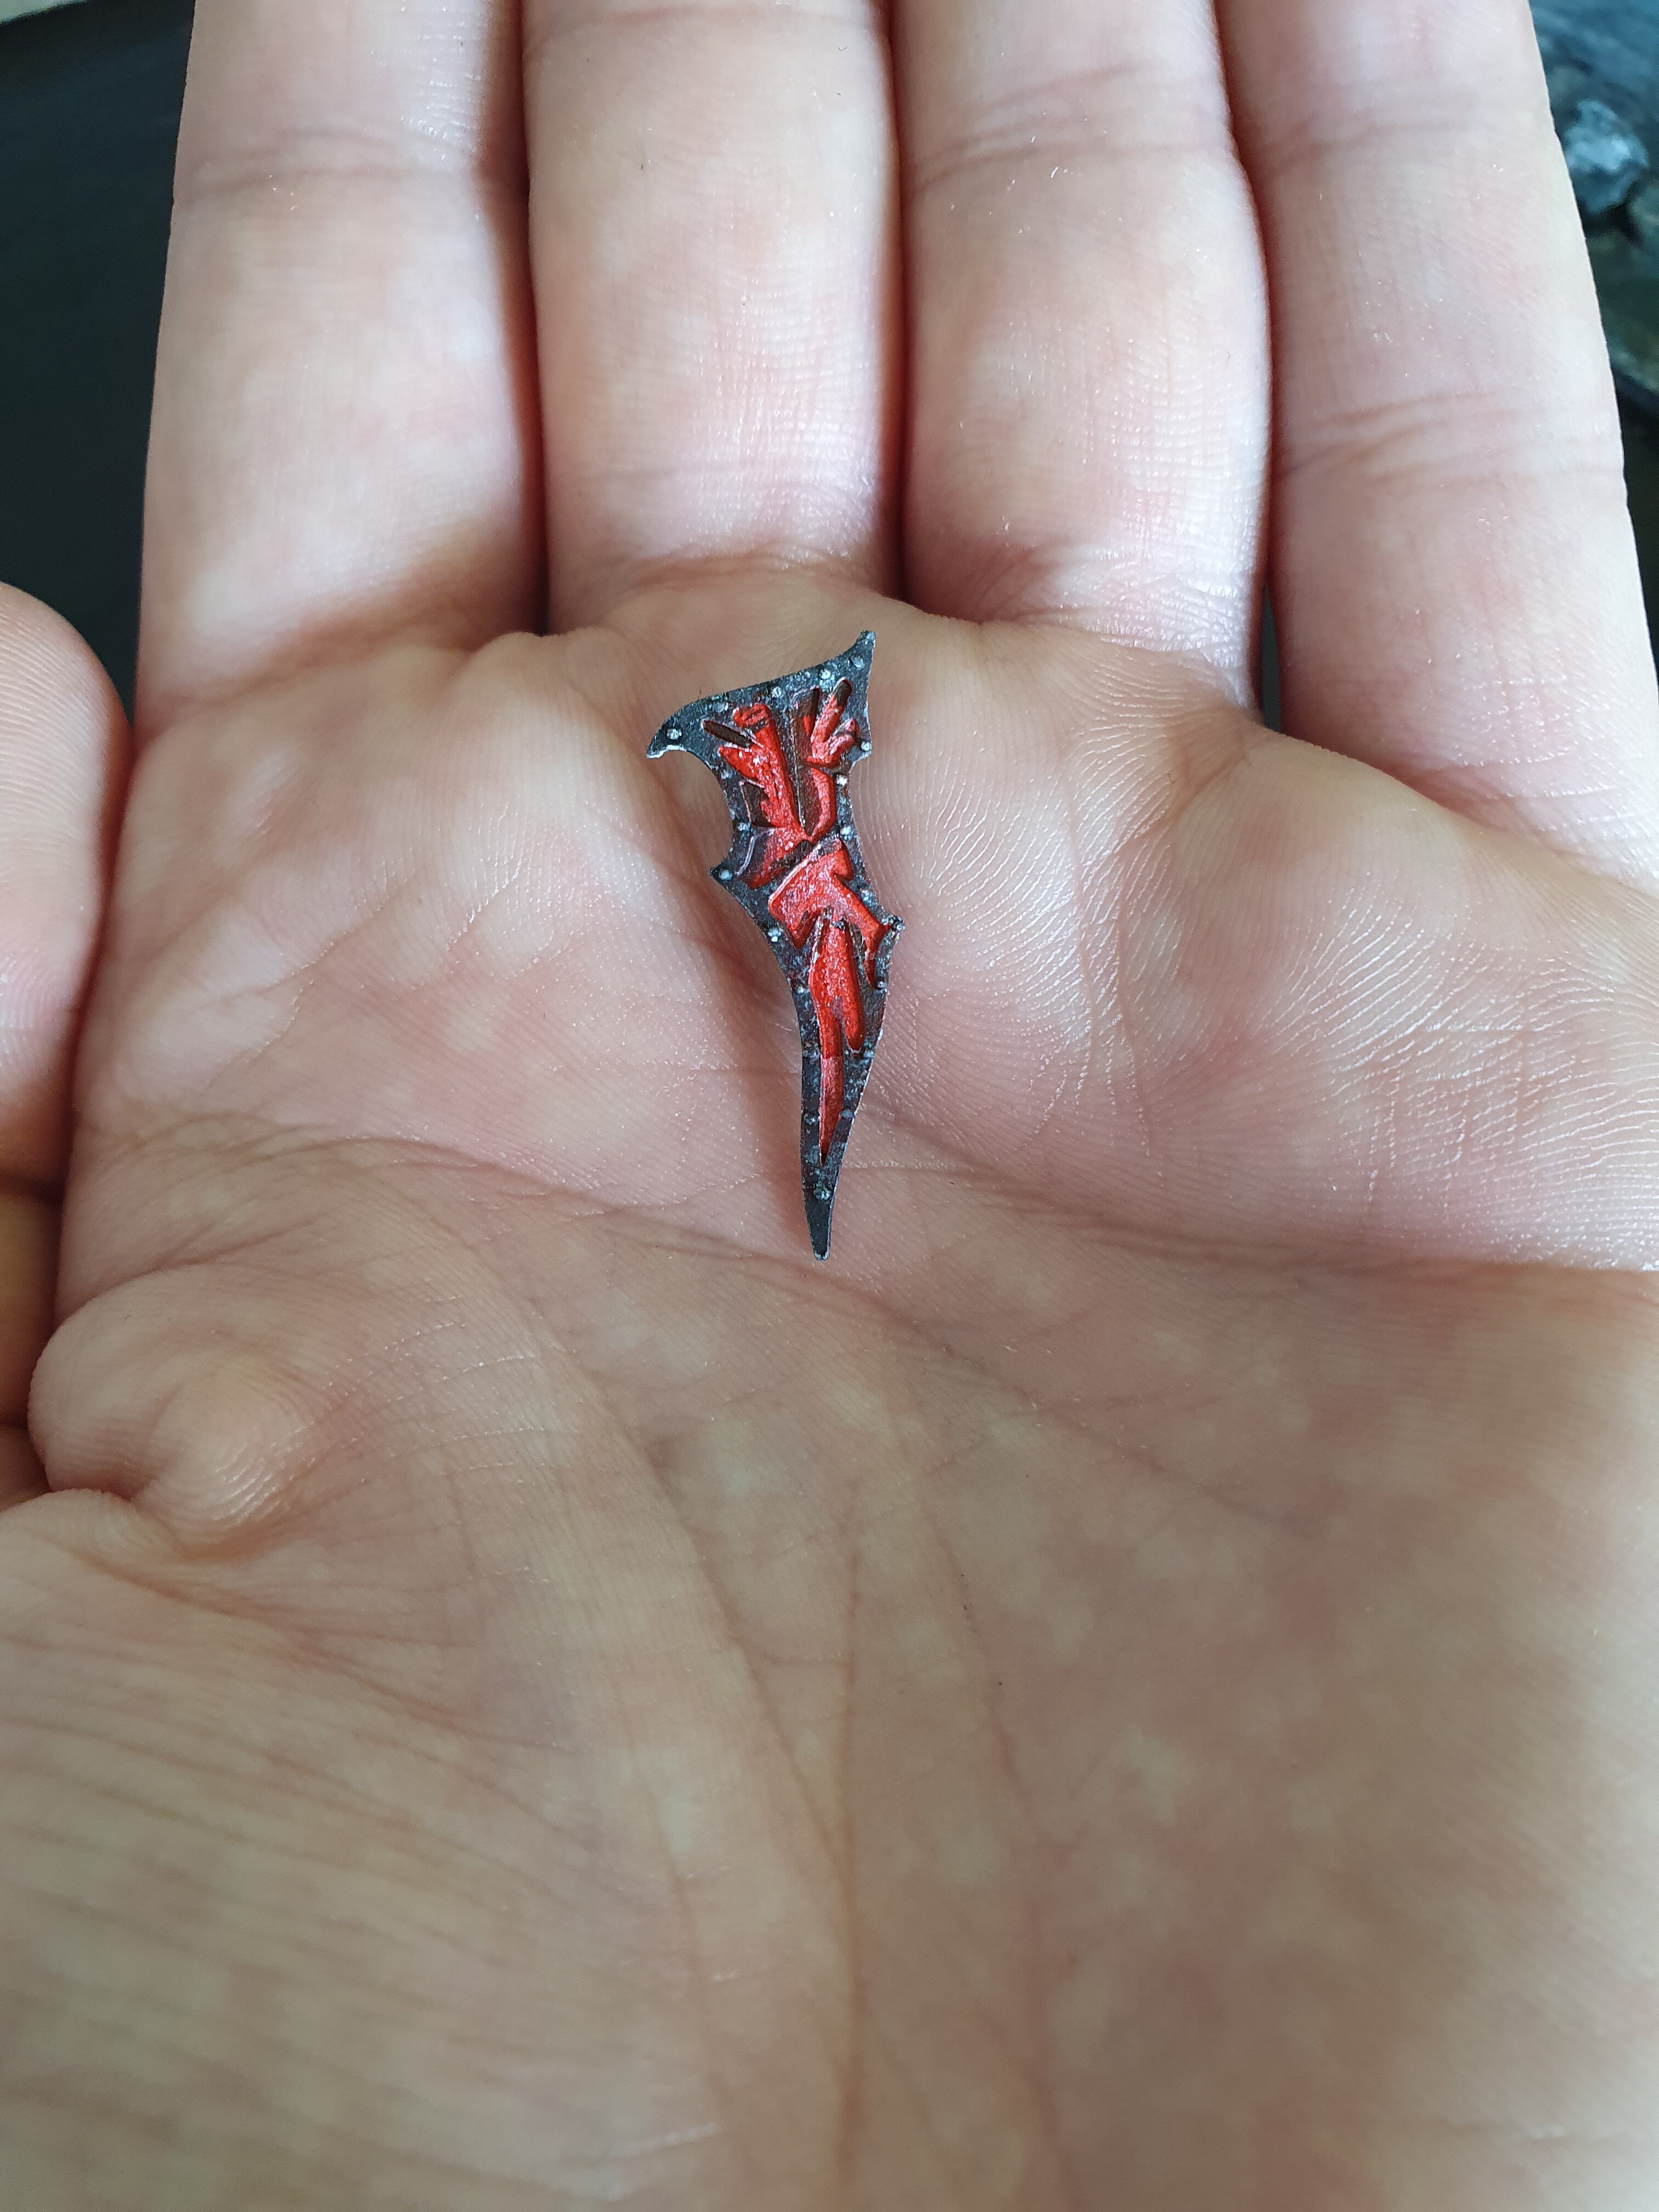
That said, my spears are 95% done! I am fixing the last details, touching up places that had mistakes while batch painting and gluing to the base as I go. Here is a little teaser of the scheme I went for the shields with:
2 Likes
Yeah, I like to bounce around on my projects so I don’t loose momentum. Hence why I’m working between five active projects at any one time.
I also like the shield. Don’t know if you’ve played The Elder Scrolls, but it reminds me on Daedric armour. The second best armour aesthetic after Obsidian.
1 Like
Now that you mention it, it does look like that armor. Been forever since I played an elder scroll game.
Normally I bounce but I really need to have my army tabletop ready by the end of August, and I’m so close to finishing.
Right now I have left (listing for myself mostly):
- Touching up the spears and gluing to the multibase (about 1/3 through gluing).
- painting the details on the cavalry and gluing. Assembling the riders that were broken off.
- painting the details on the impalers and making the magnetic multibase.
- 3 troops of gargoyles (are still being printed, bases are just starting to take shape)
- Going back and doing detail work of the big demon if I have time.
Never been this close to finishing such a large hobby project haha.
2 Likes
Two more gargoyles printed (leader ones)
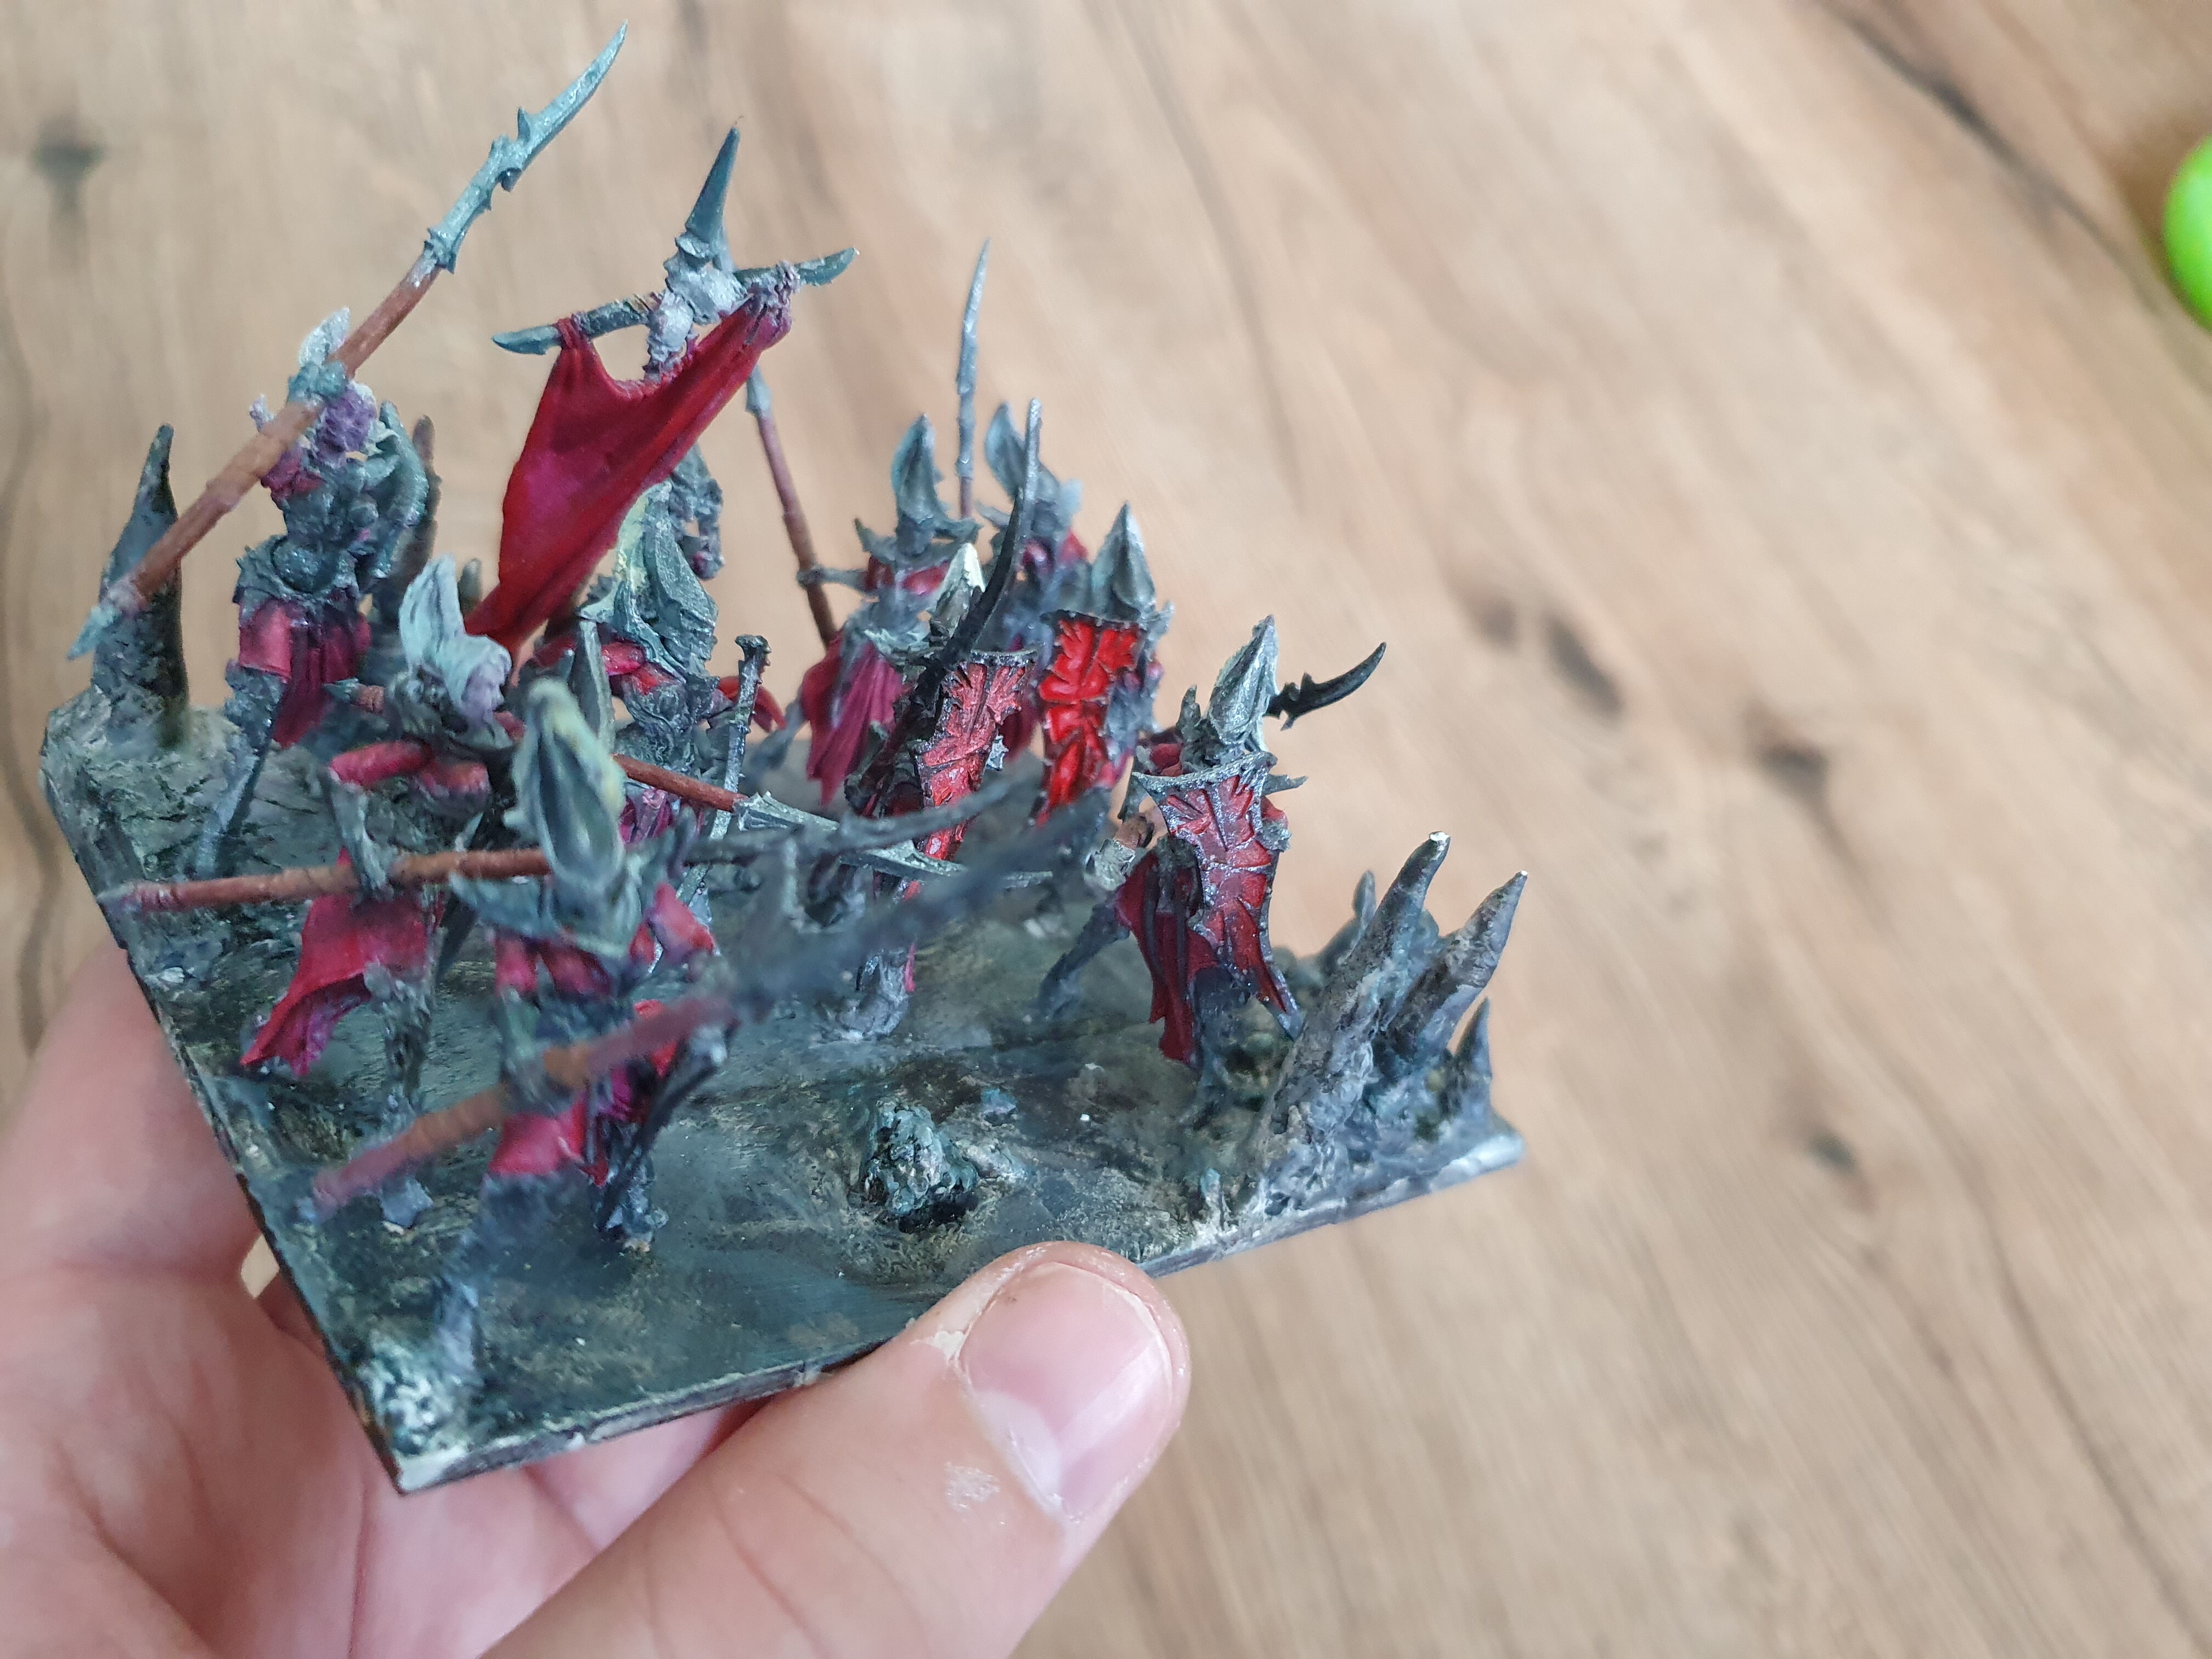
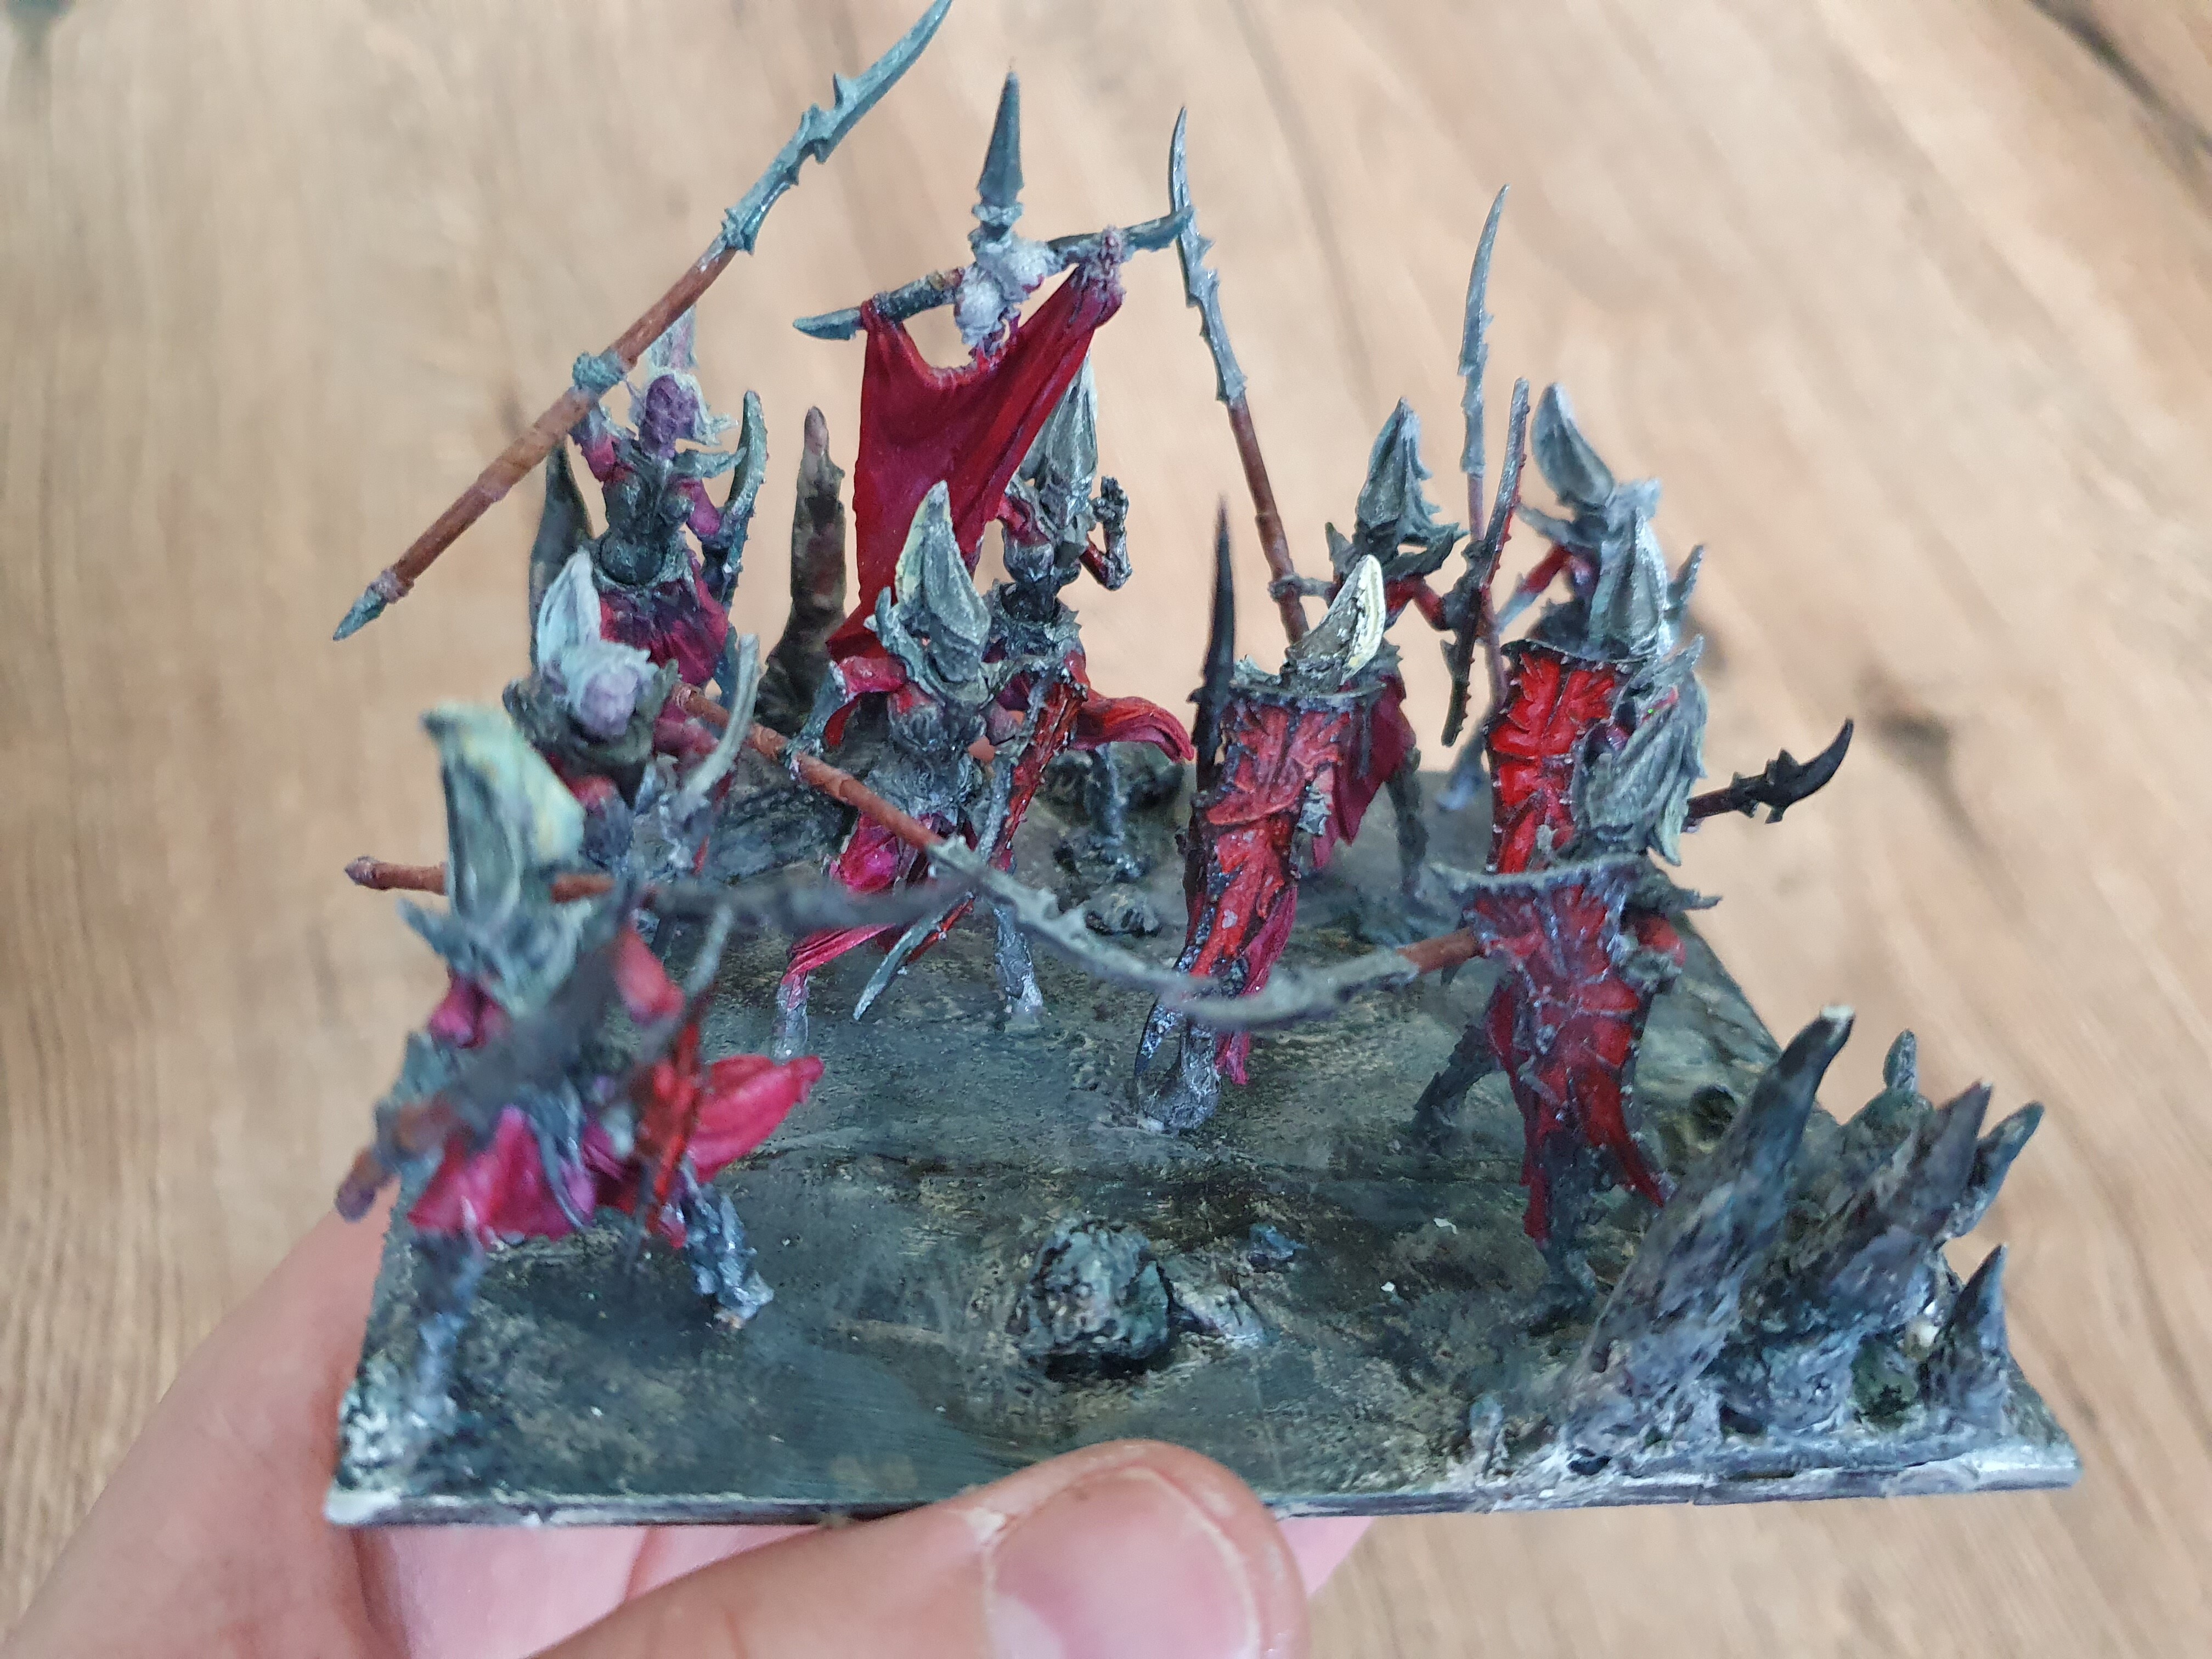
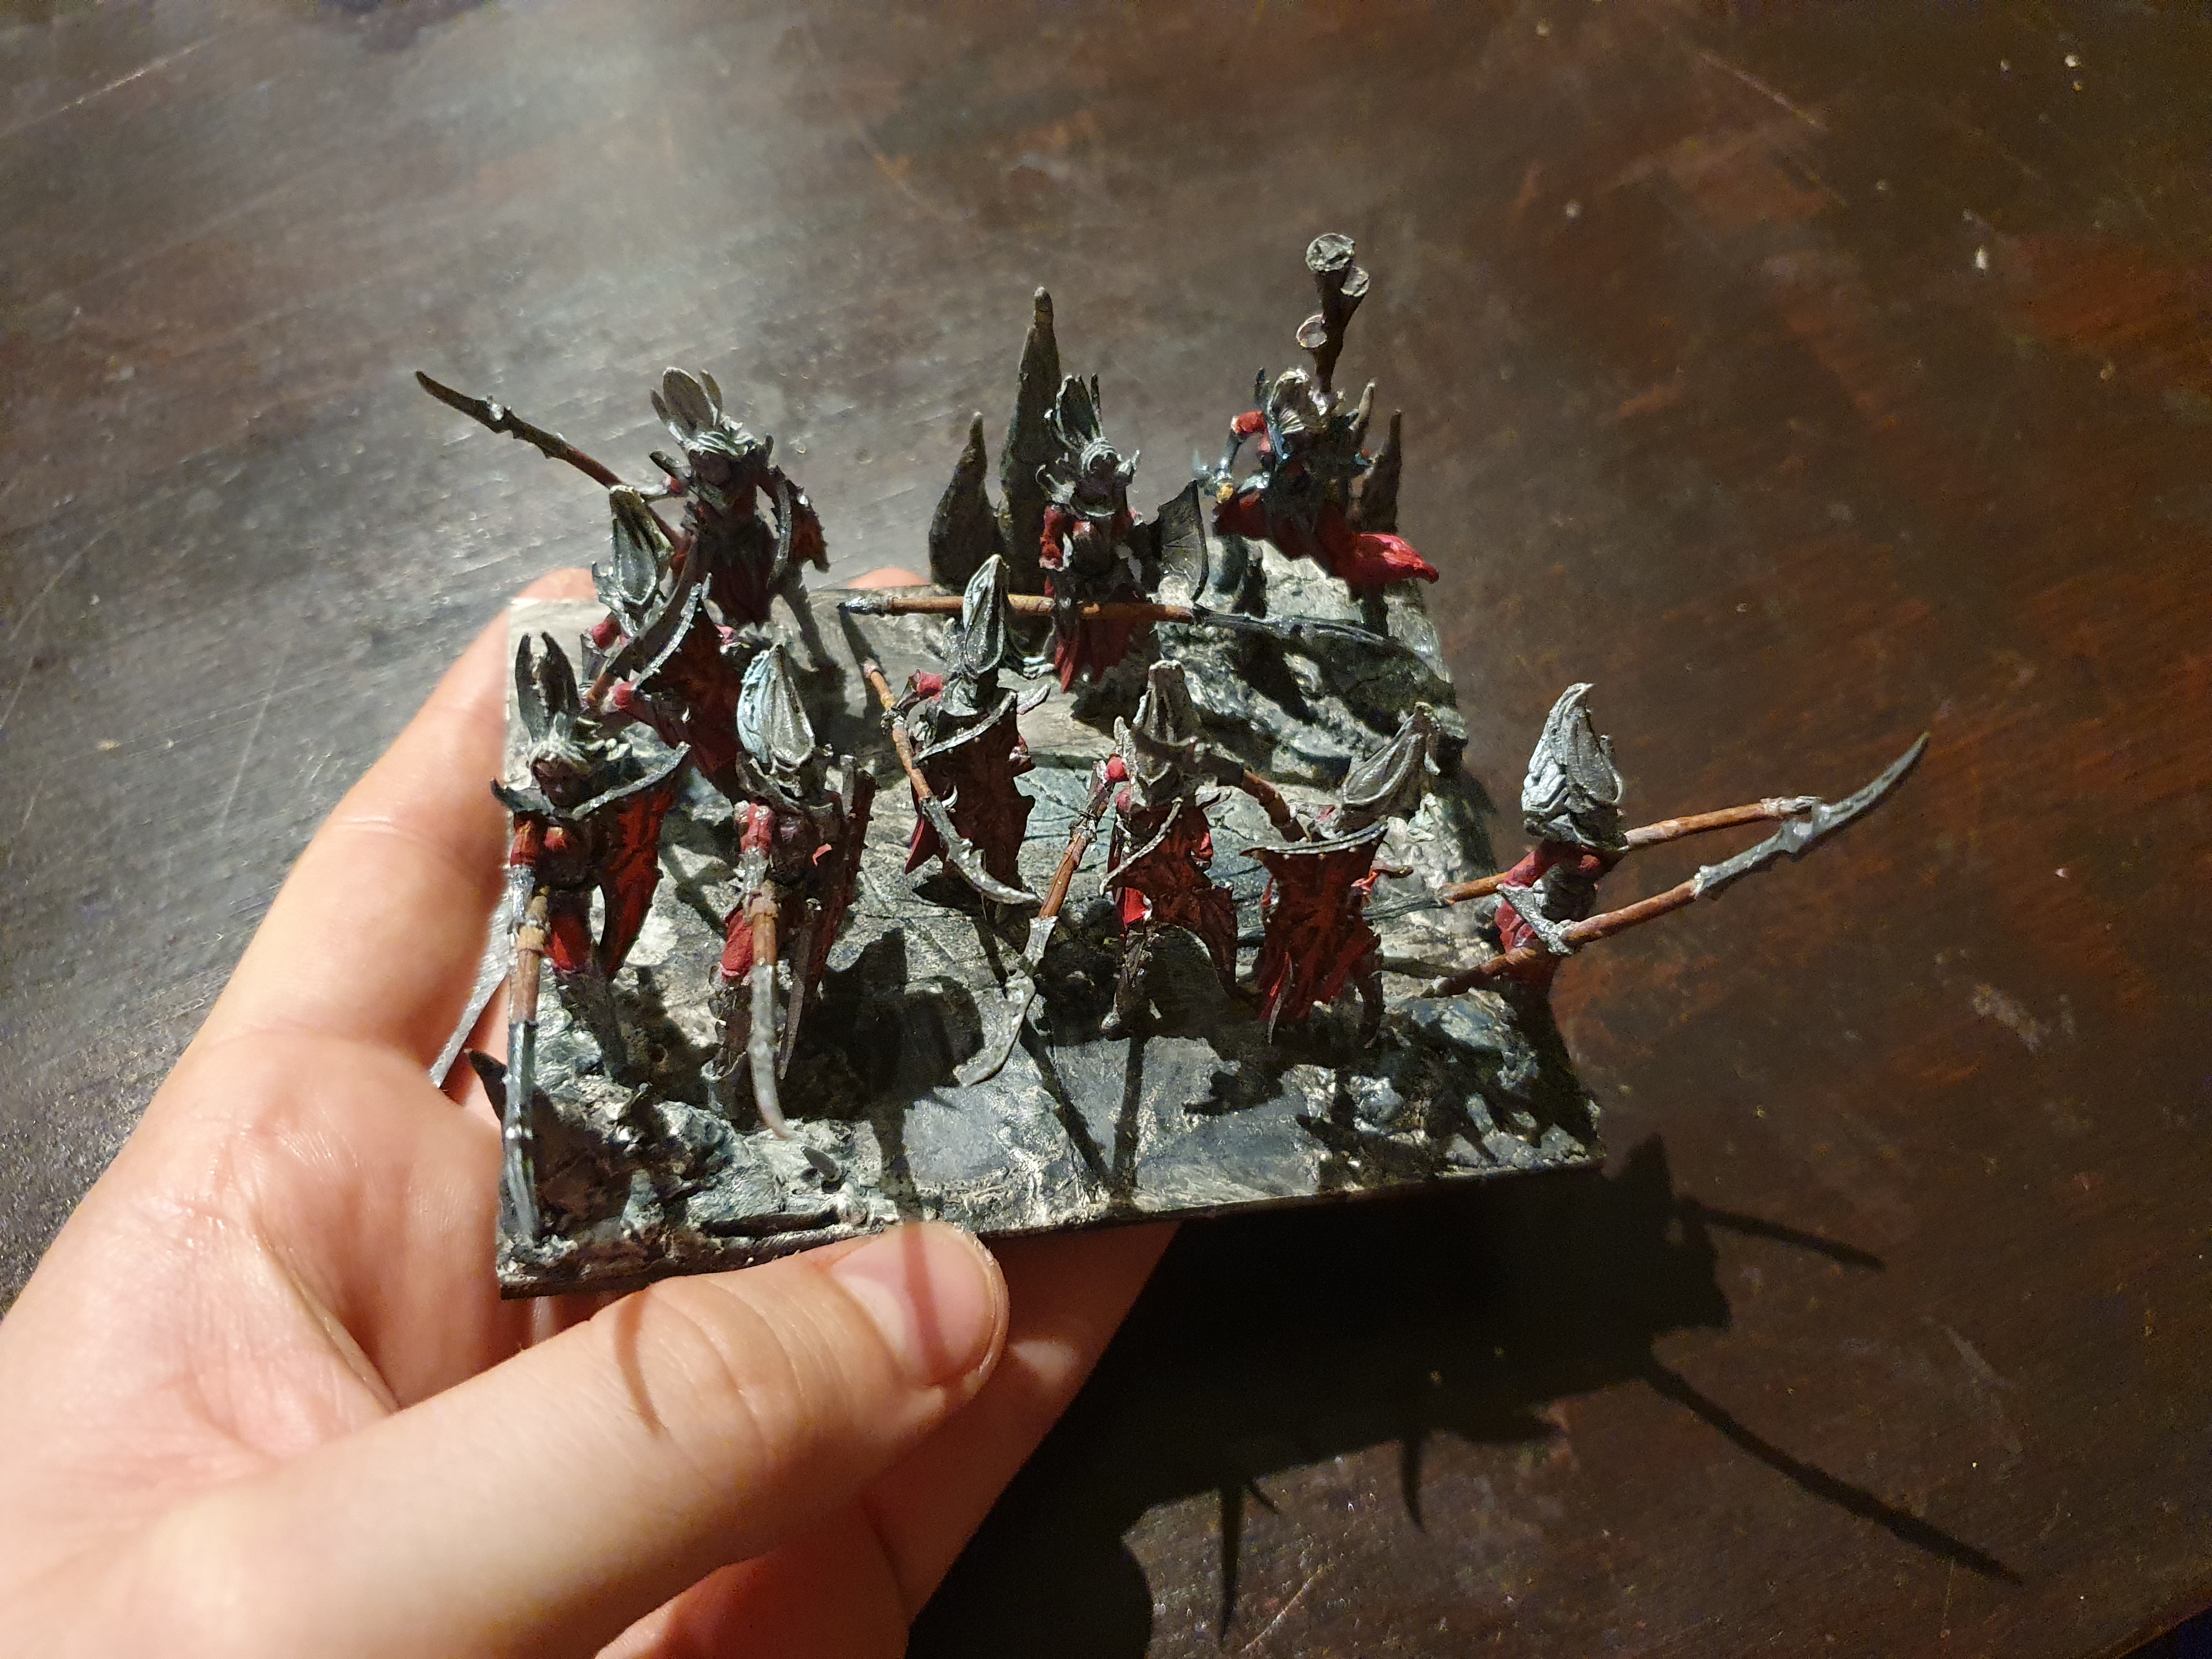
And here is one of the spear regiments. I was having trouble fitting all the spears so I went with 2 less per regiment (and thus getting 4 spear levies for vanguard yay)
10 Likes
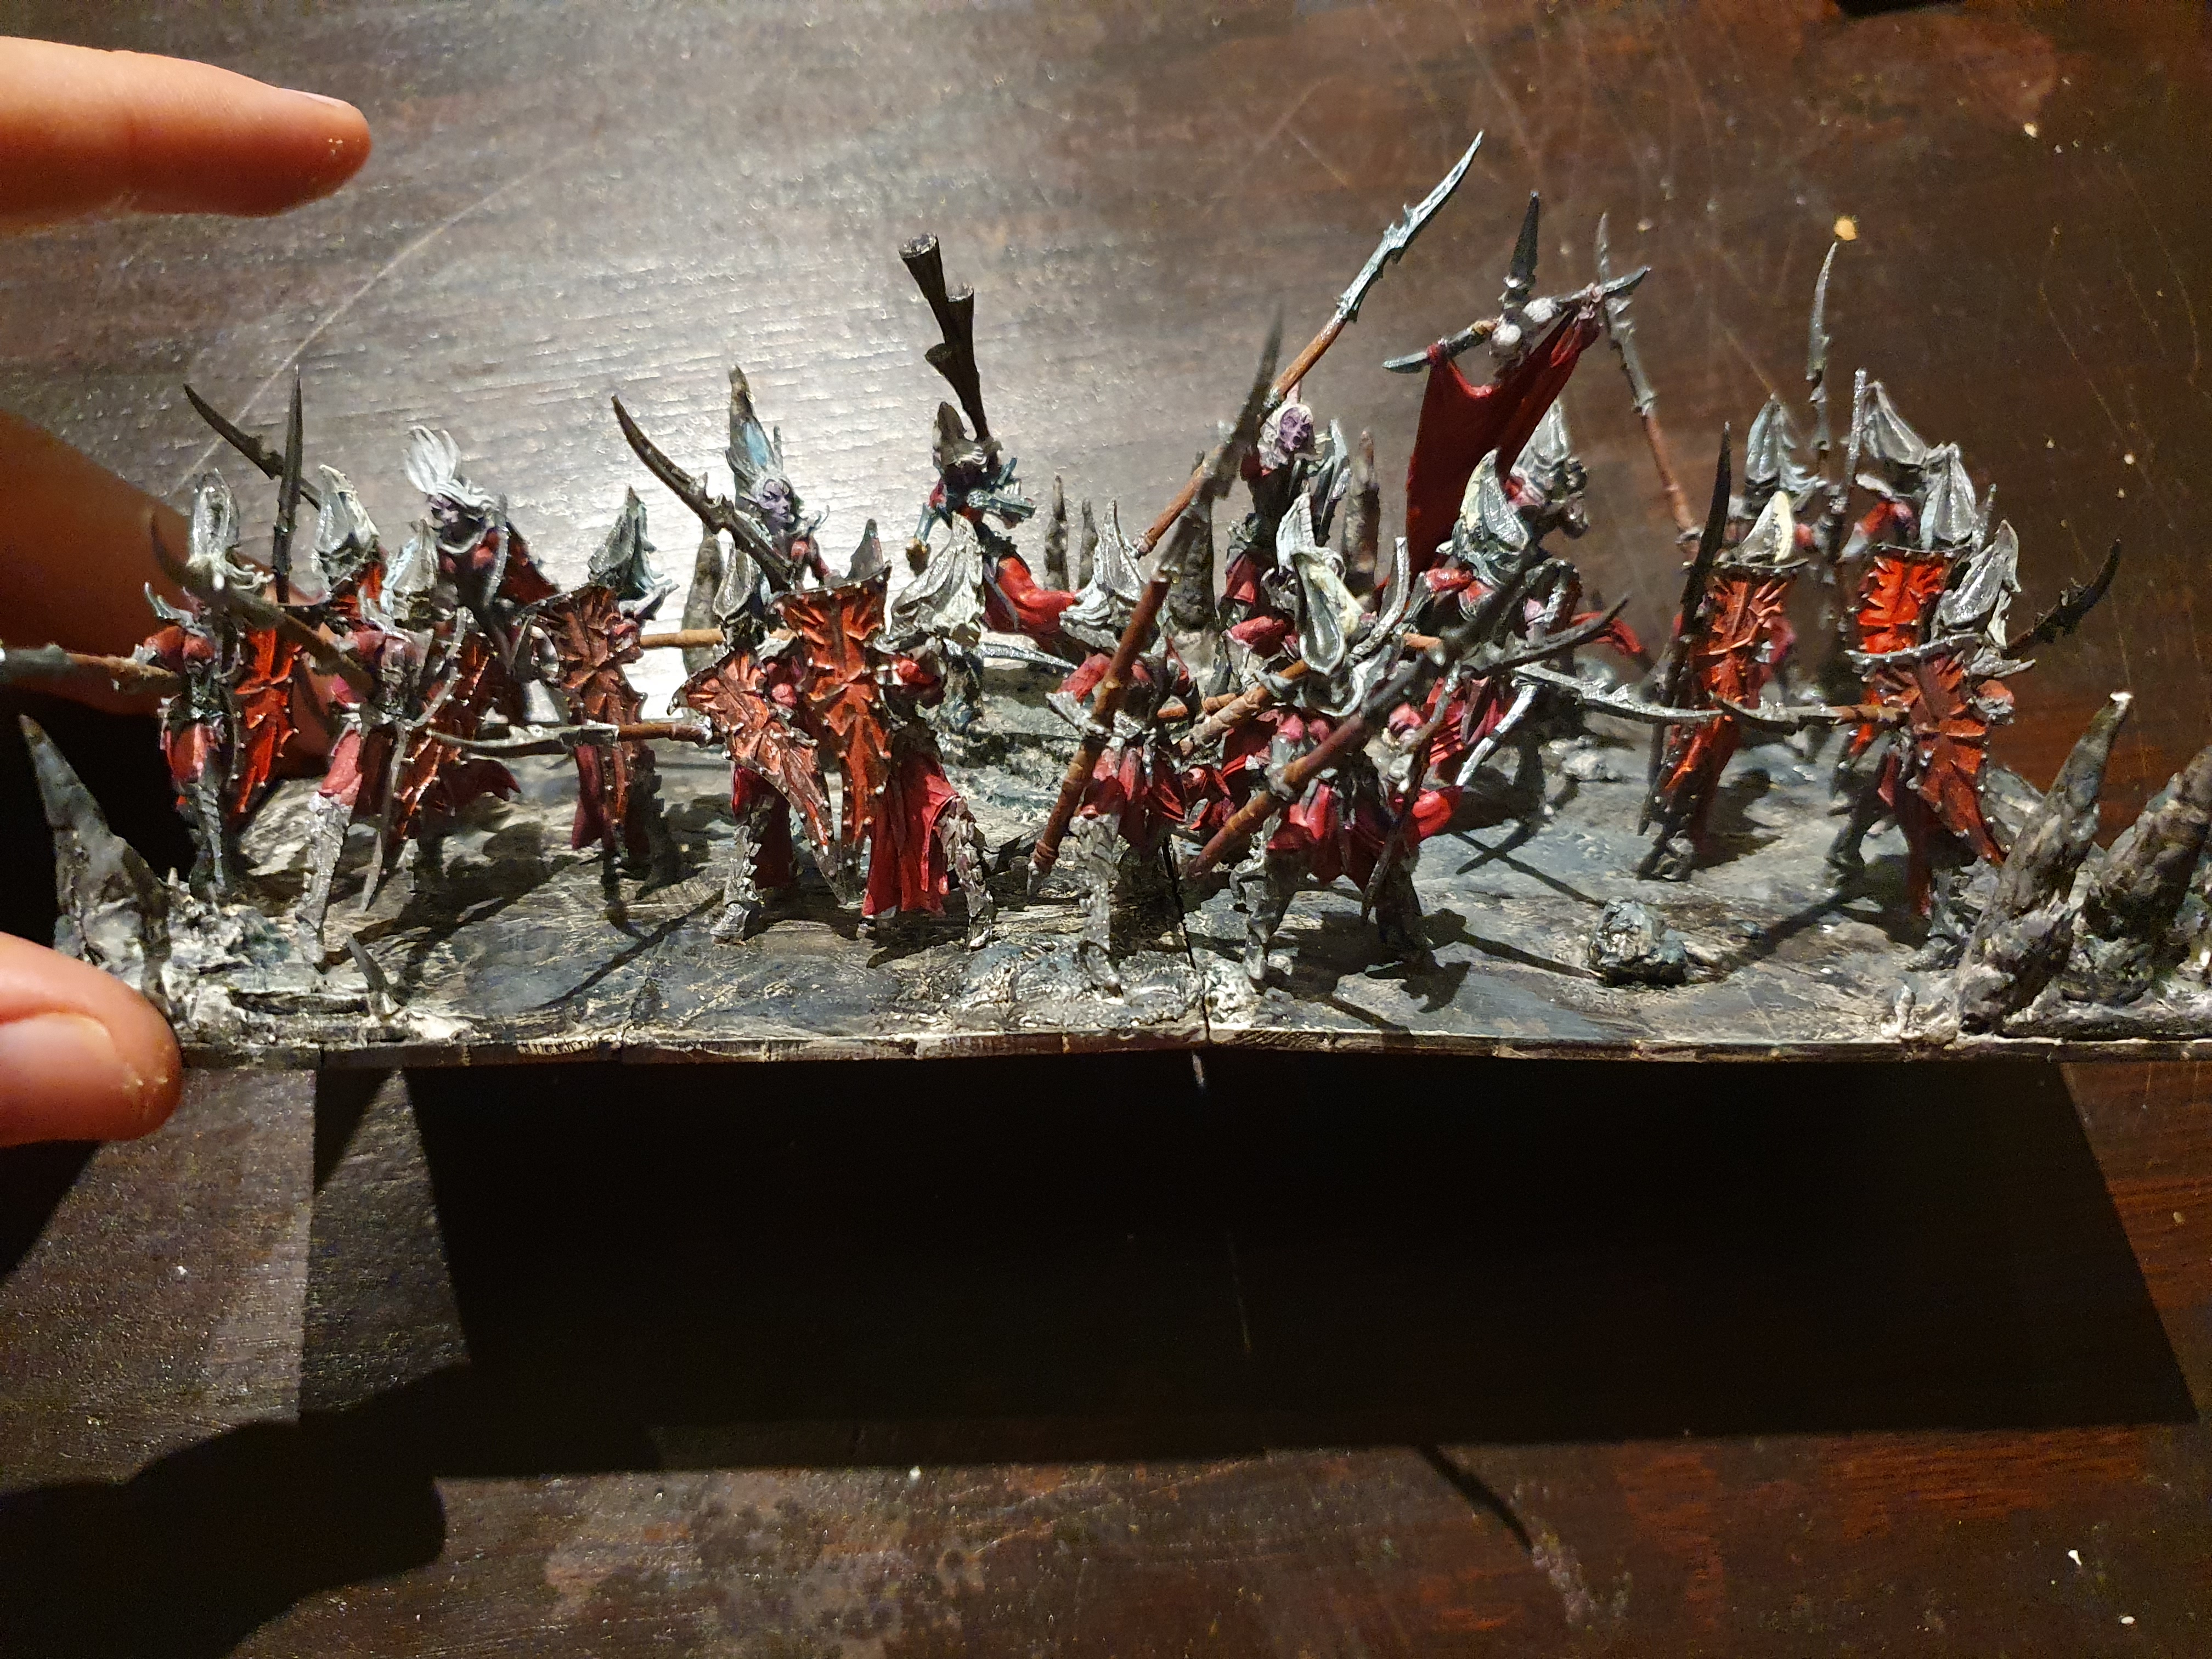
Regiment 2 and the horde when they are joined (sorry about the super overexposed picture, took them directly under the overhead light I was working under):
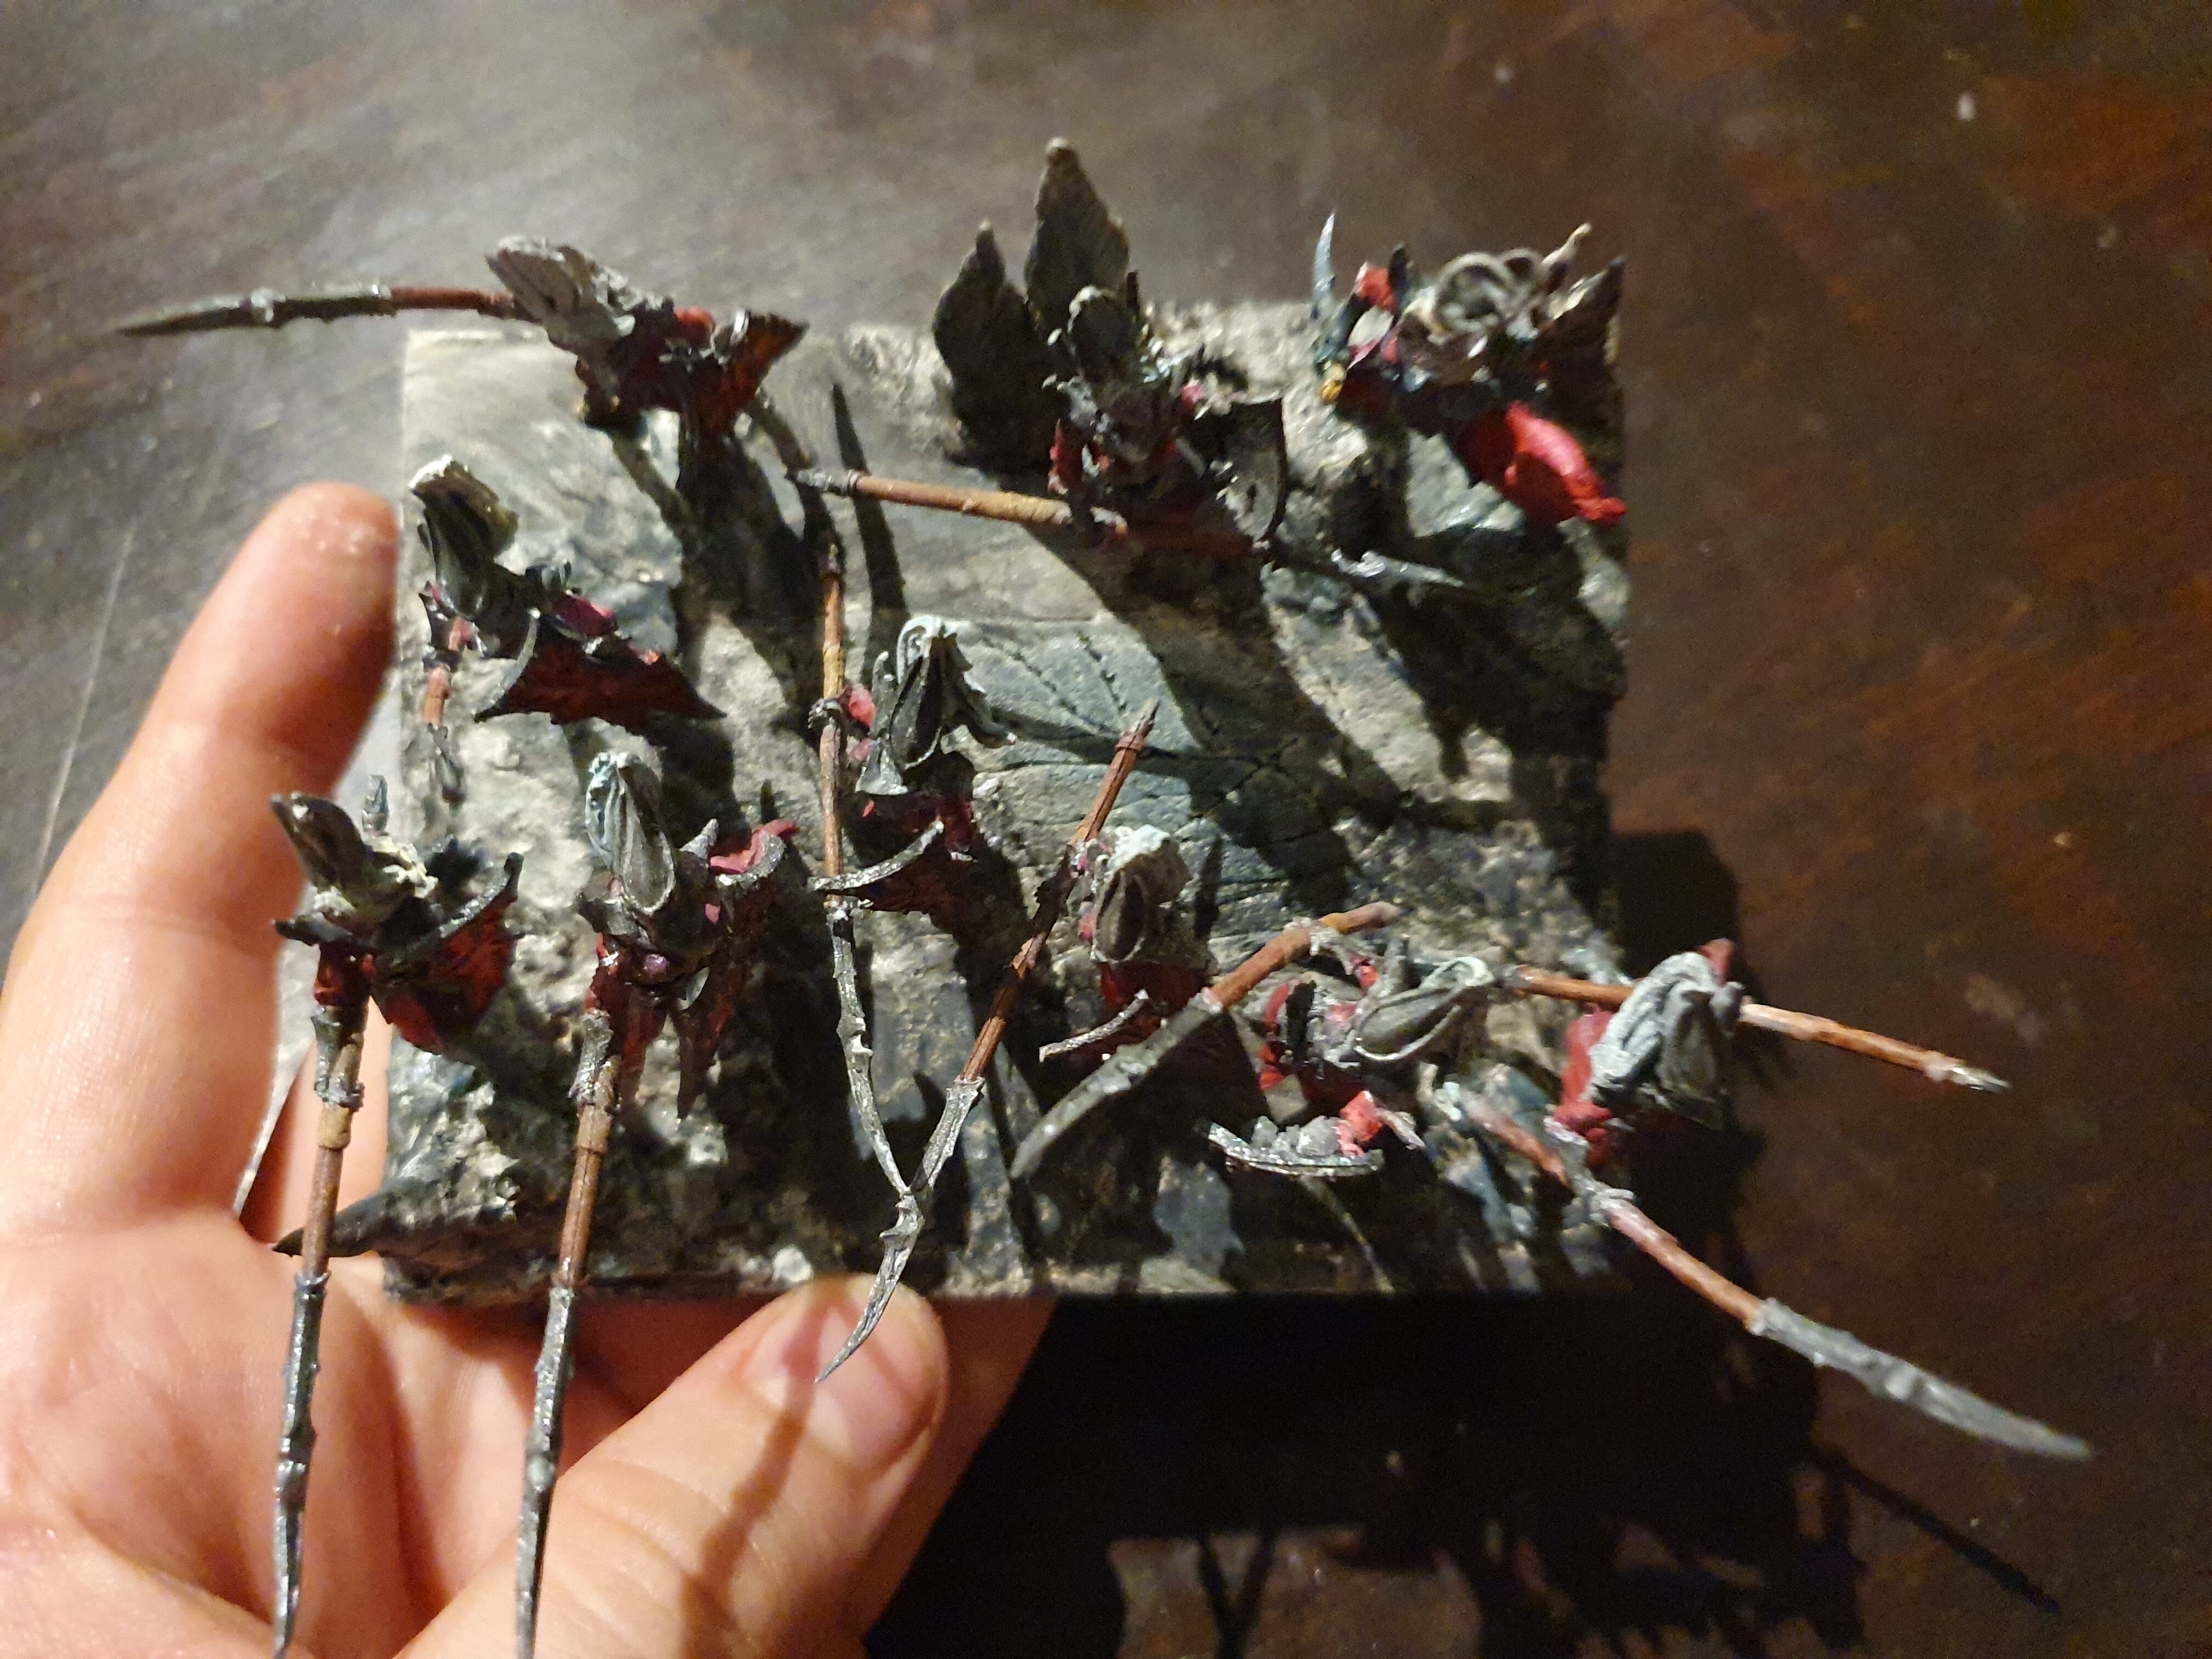
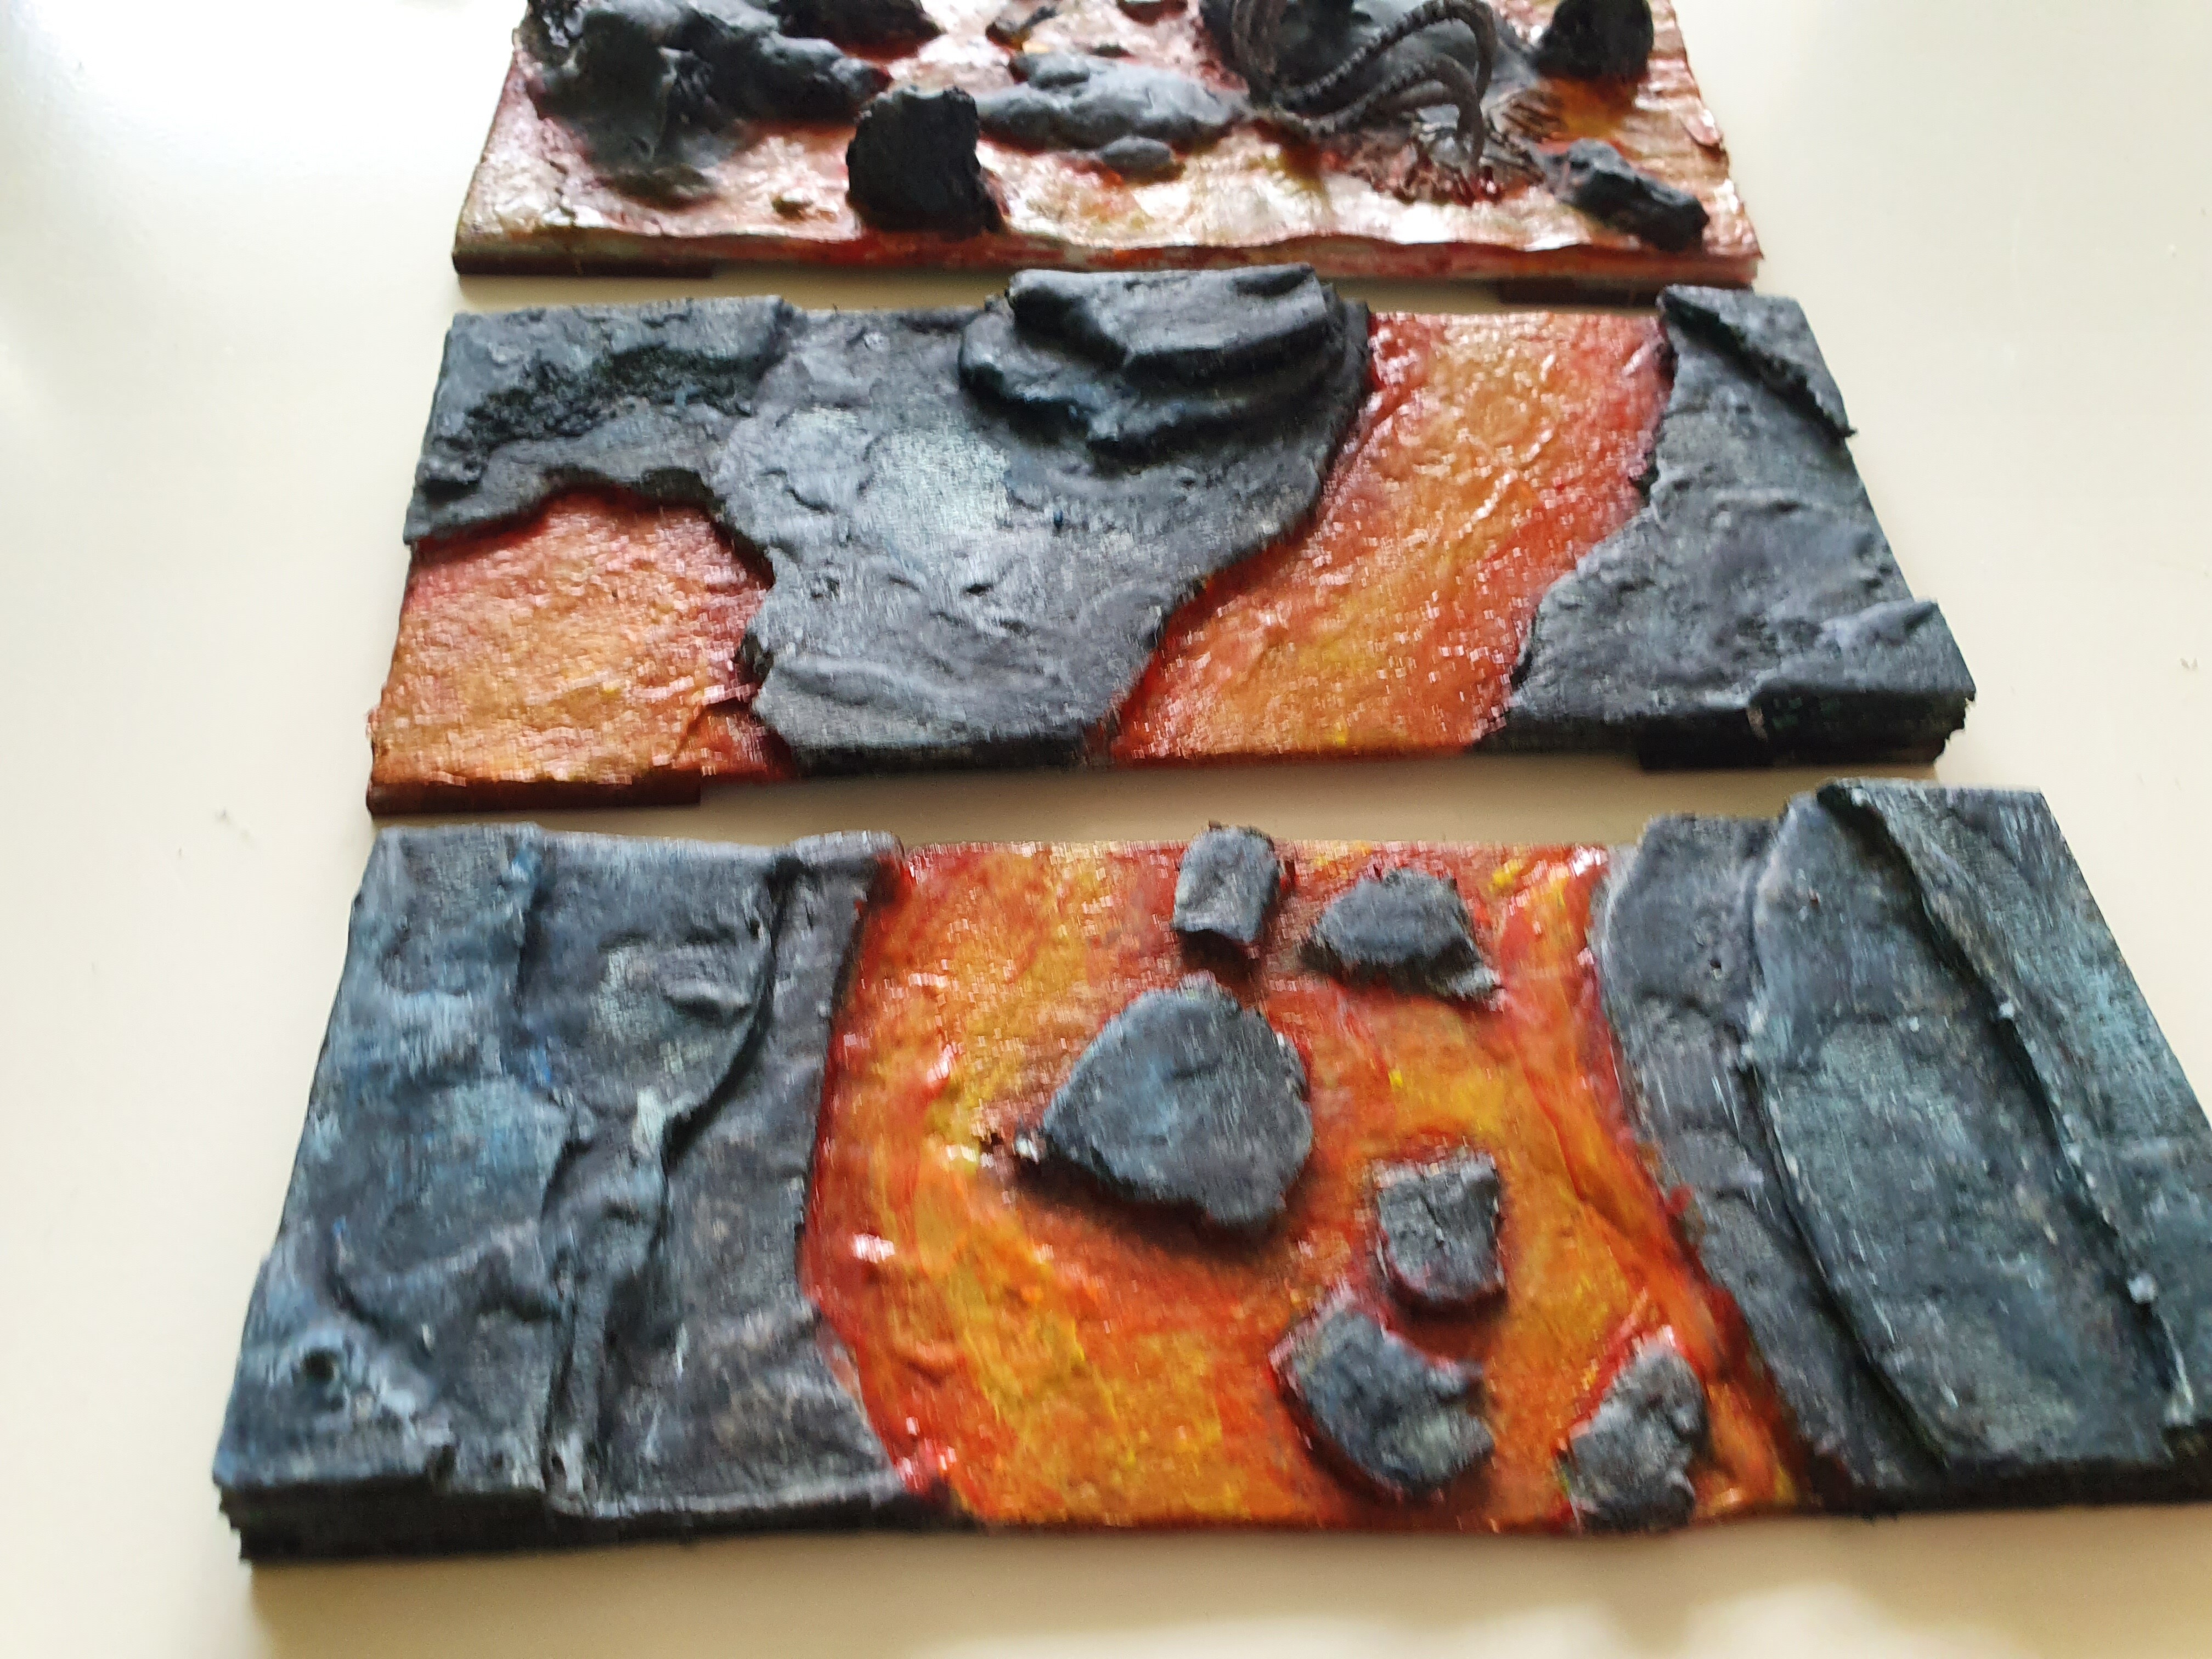
I actually had to drop another spear from this regiment as I just couldn’t get it to fit. There is a spot for it that I should fill with more stalagmites or something (pic below). Maybe a little lava thing to break up the greys.
I’ll take a group pic of everything thus far under natural lighting tomorrow. Hopefully if the rest of my life decides to stay calm I’ll even add a regiment of cav to the pic, but thats a big if xD
9 Likes
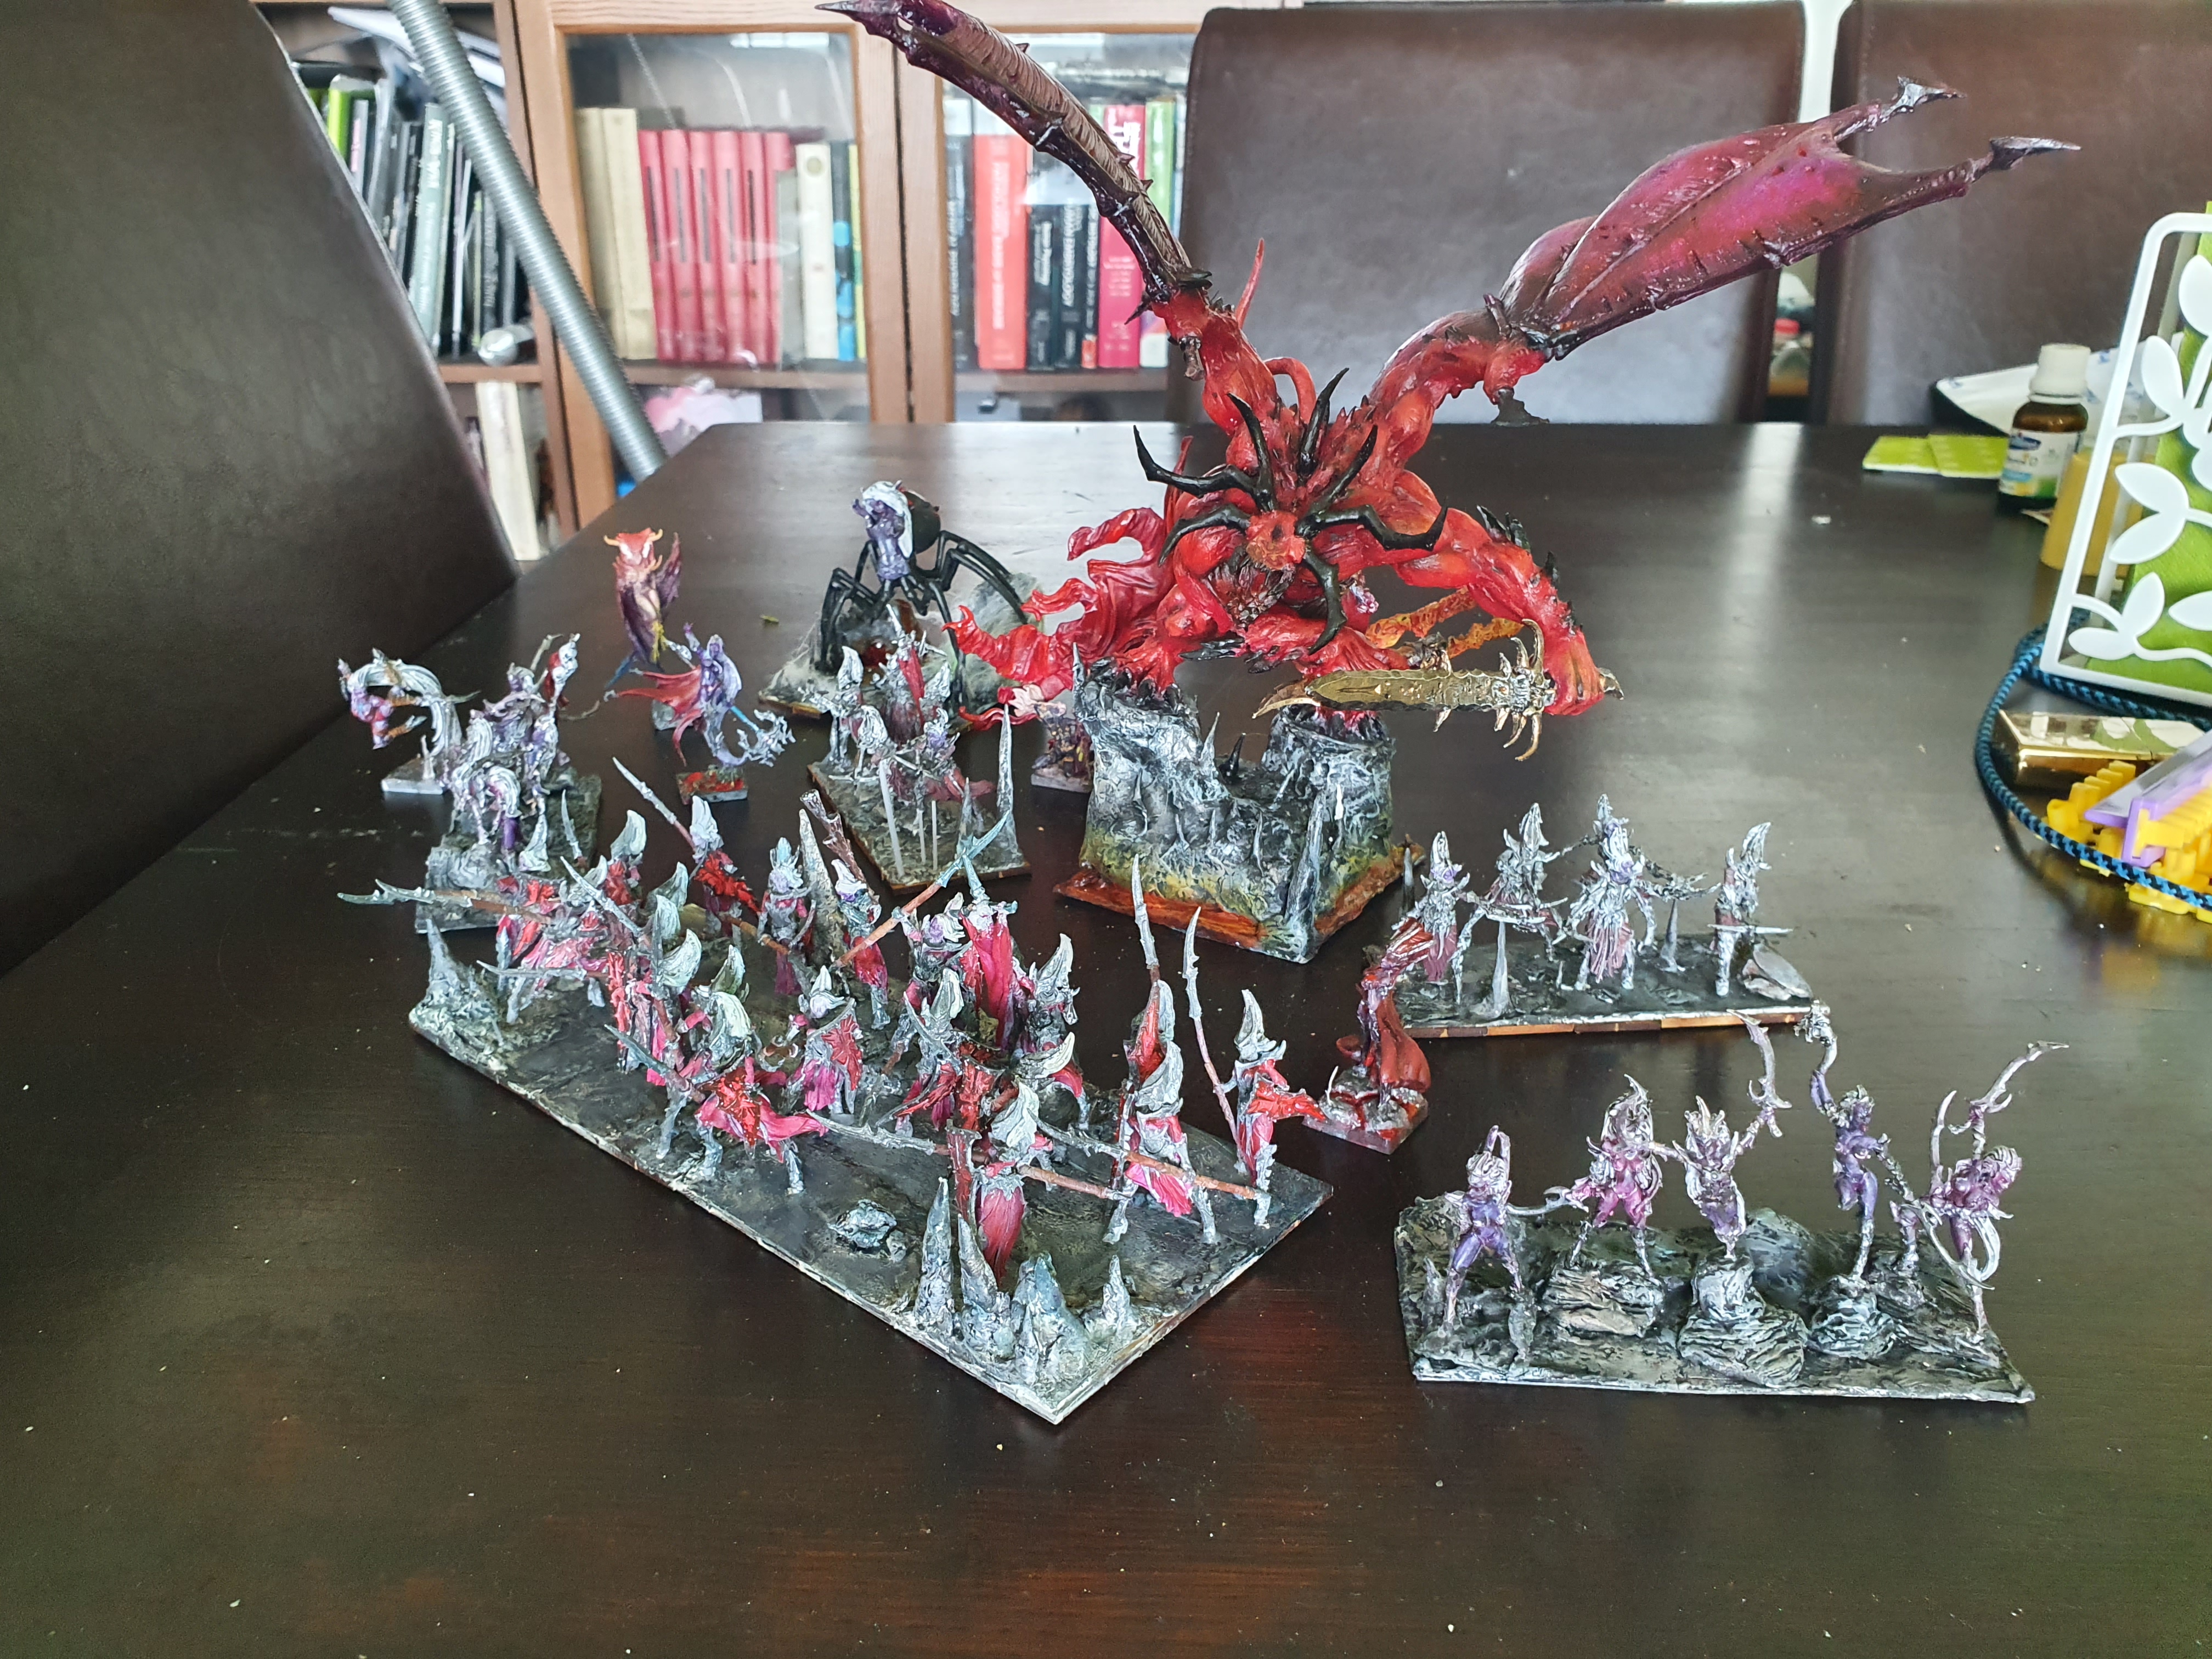
My painted collection thus far:
1 Archfiend
1 Banshee
1 Shadowhulk
1 Assassin
2 Summoner Crones (1 w/ scepter)
1 Regiment/2 Troops Blade Dancers
2 Troops of Gladestalkers
2 Regiments/1 Horde of Tallspears
13 Likes
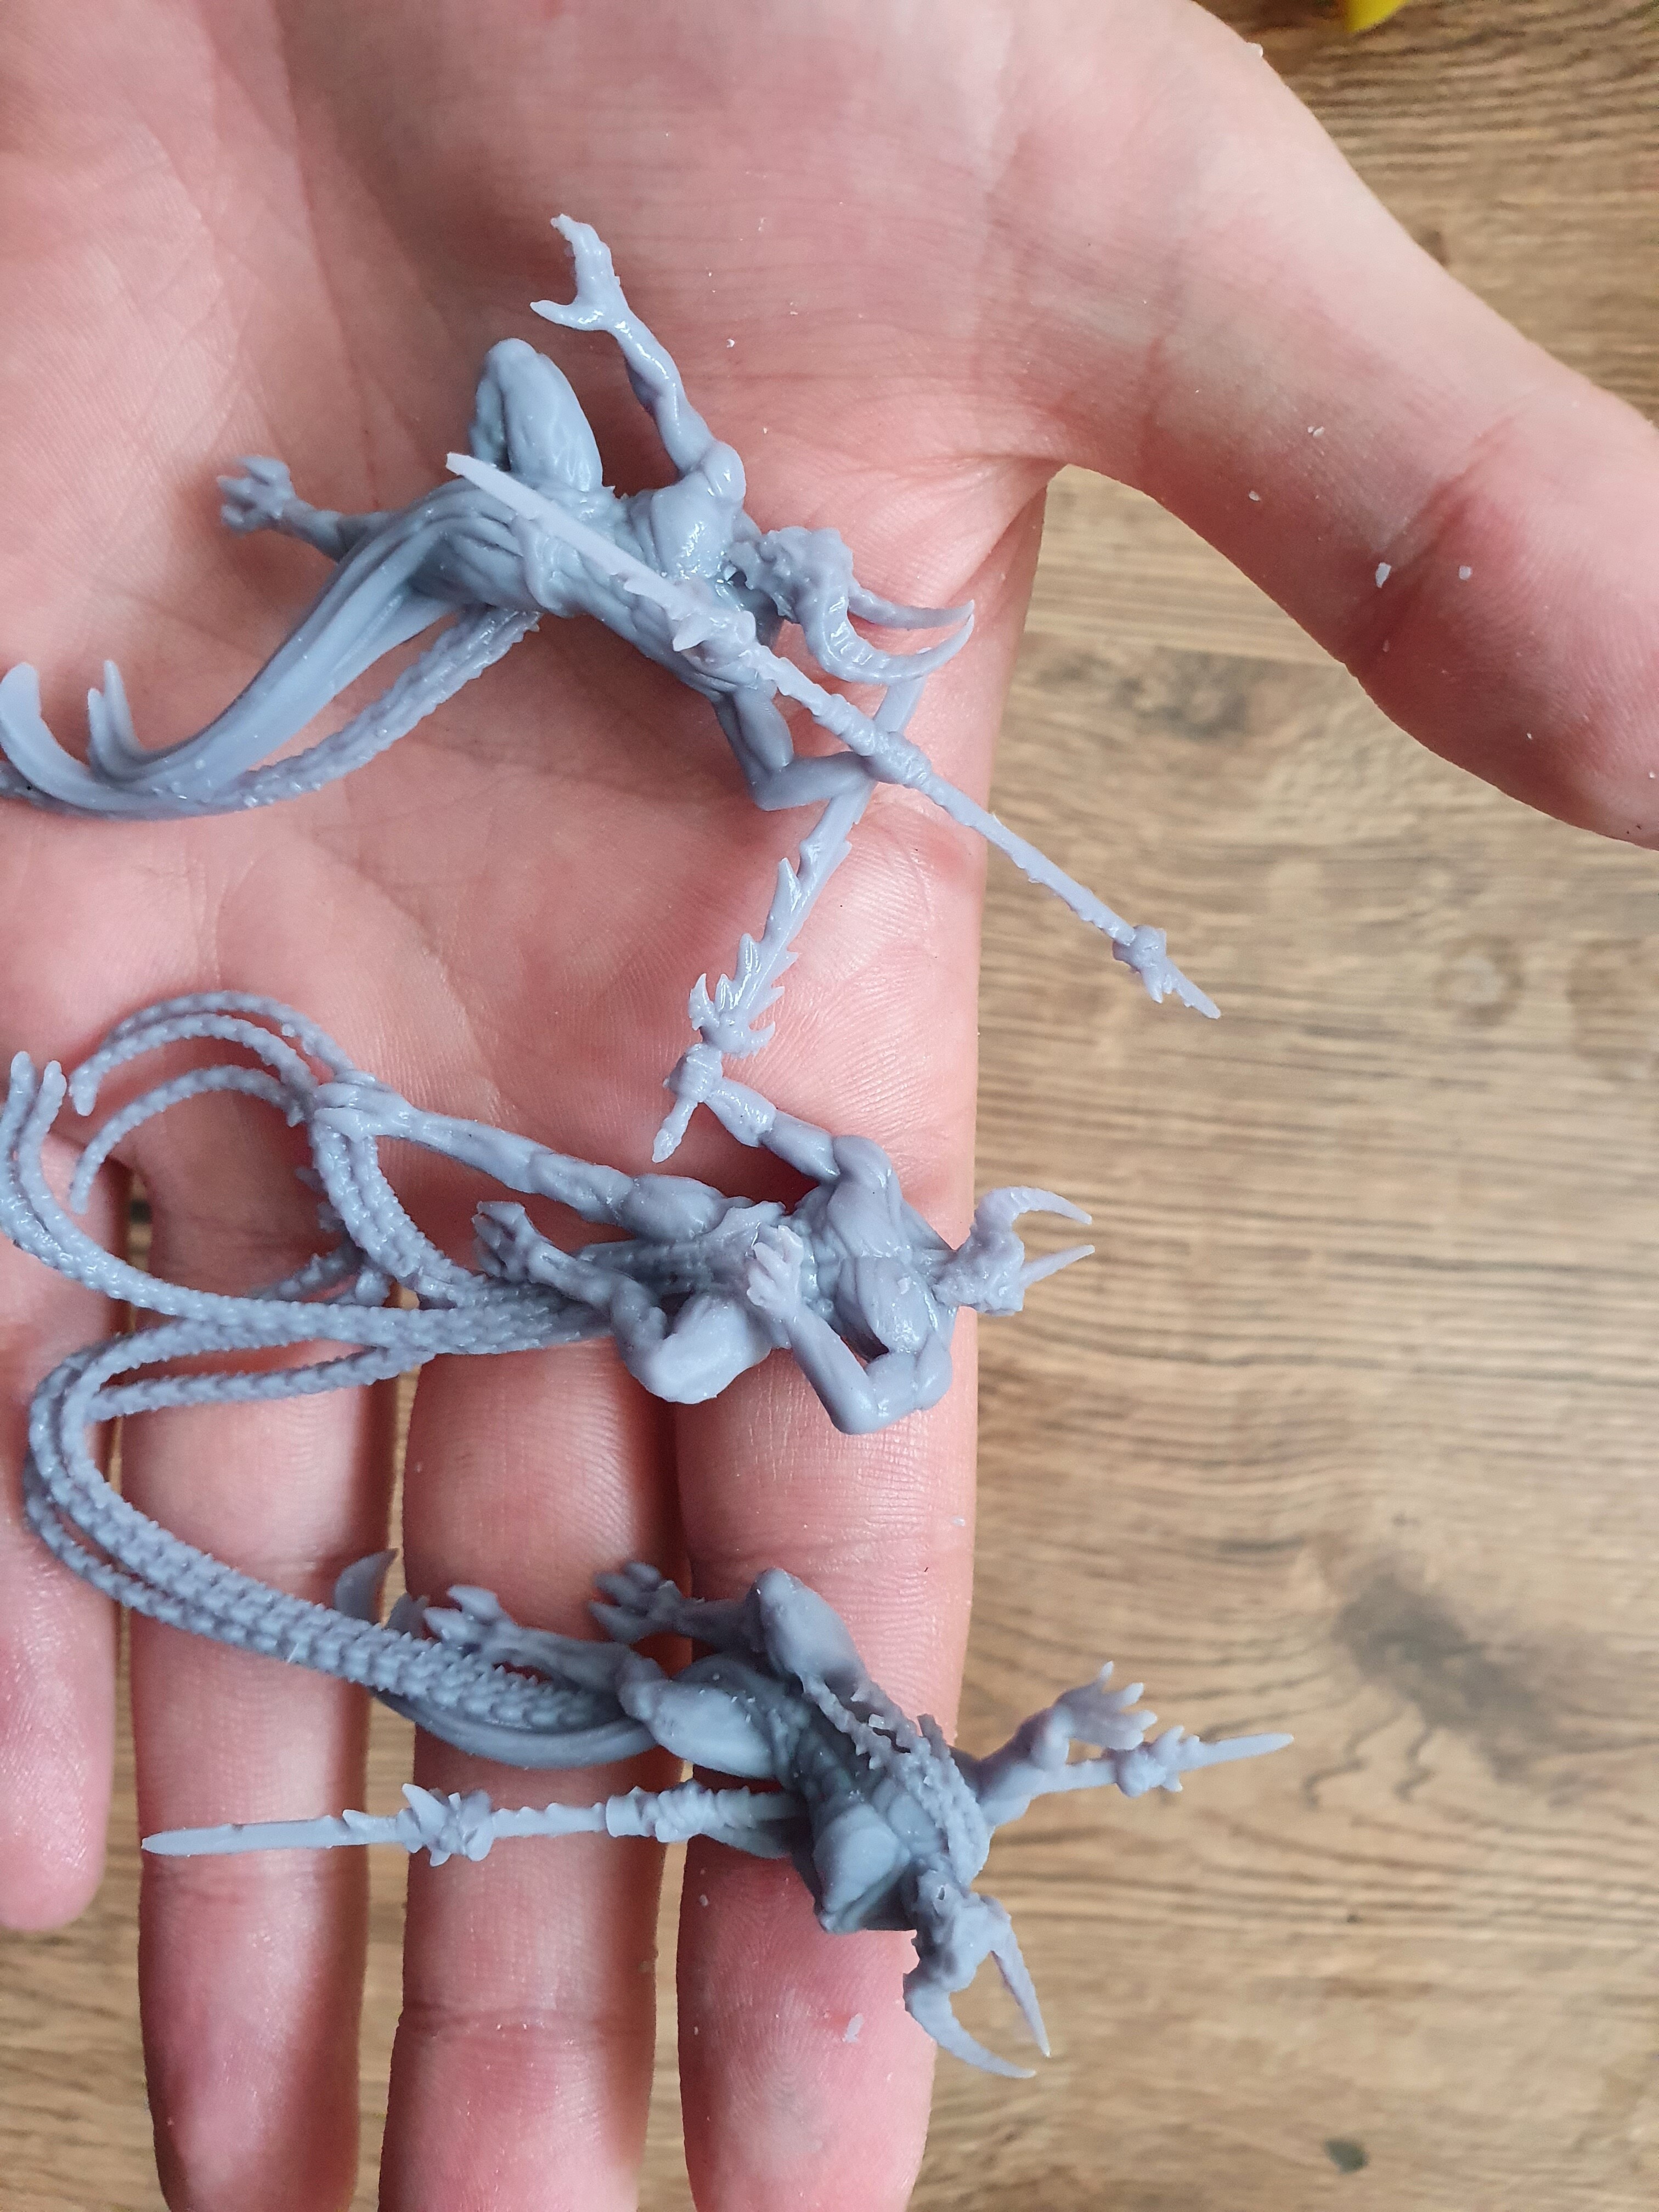
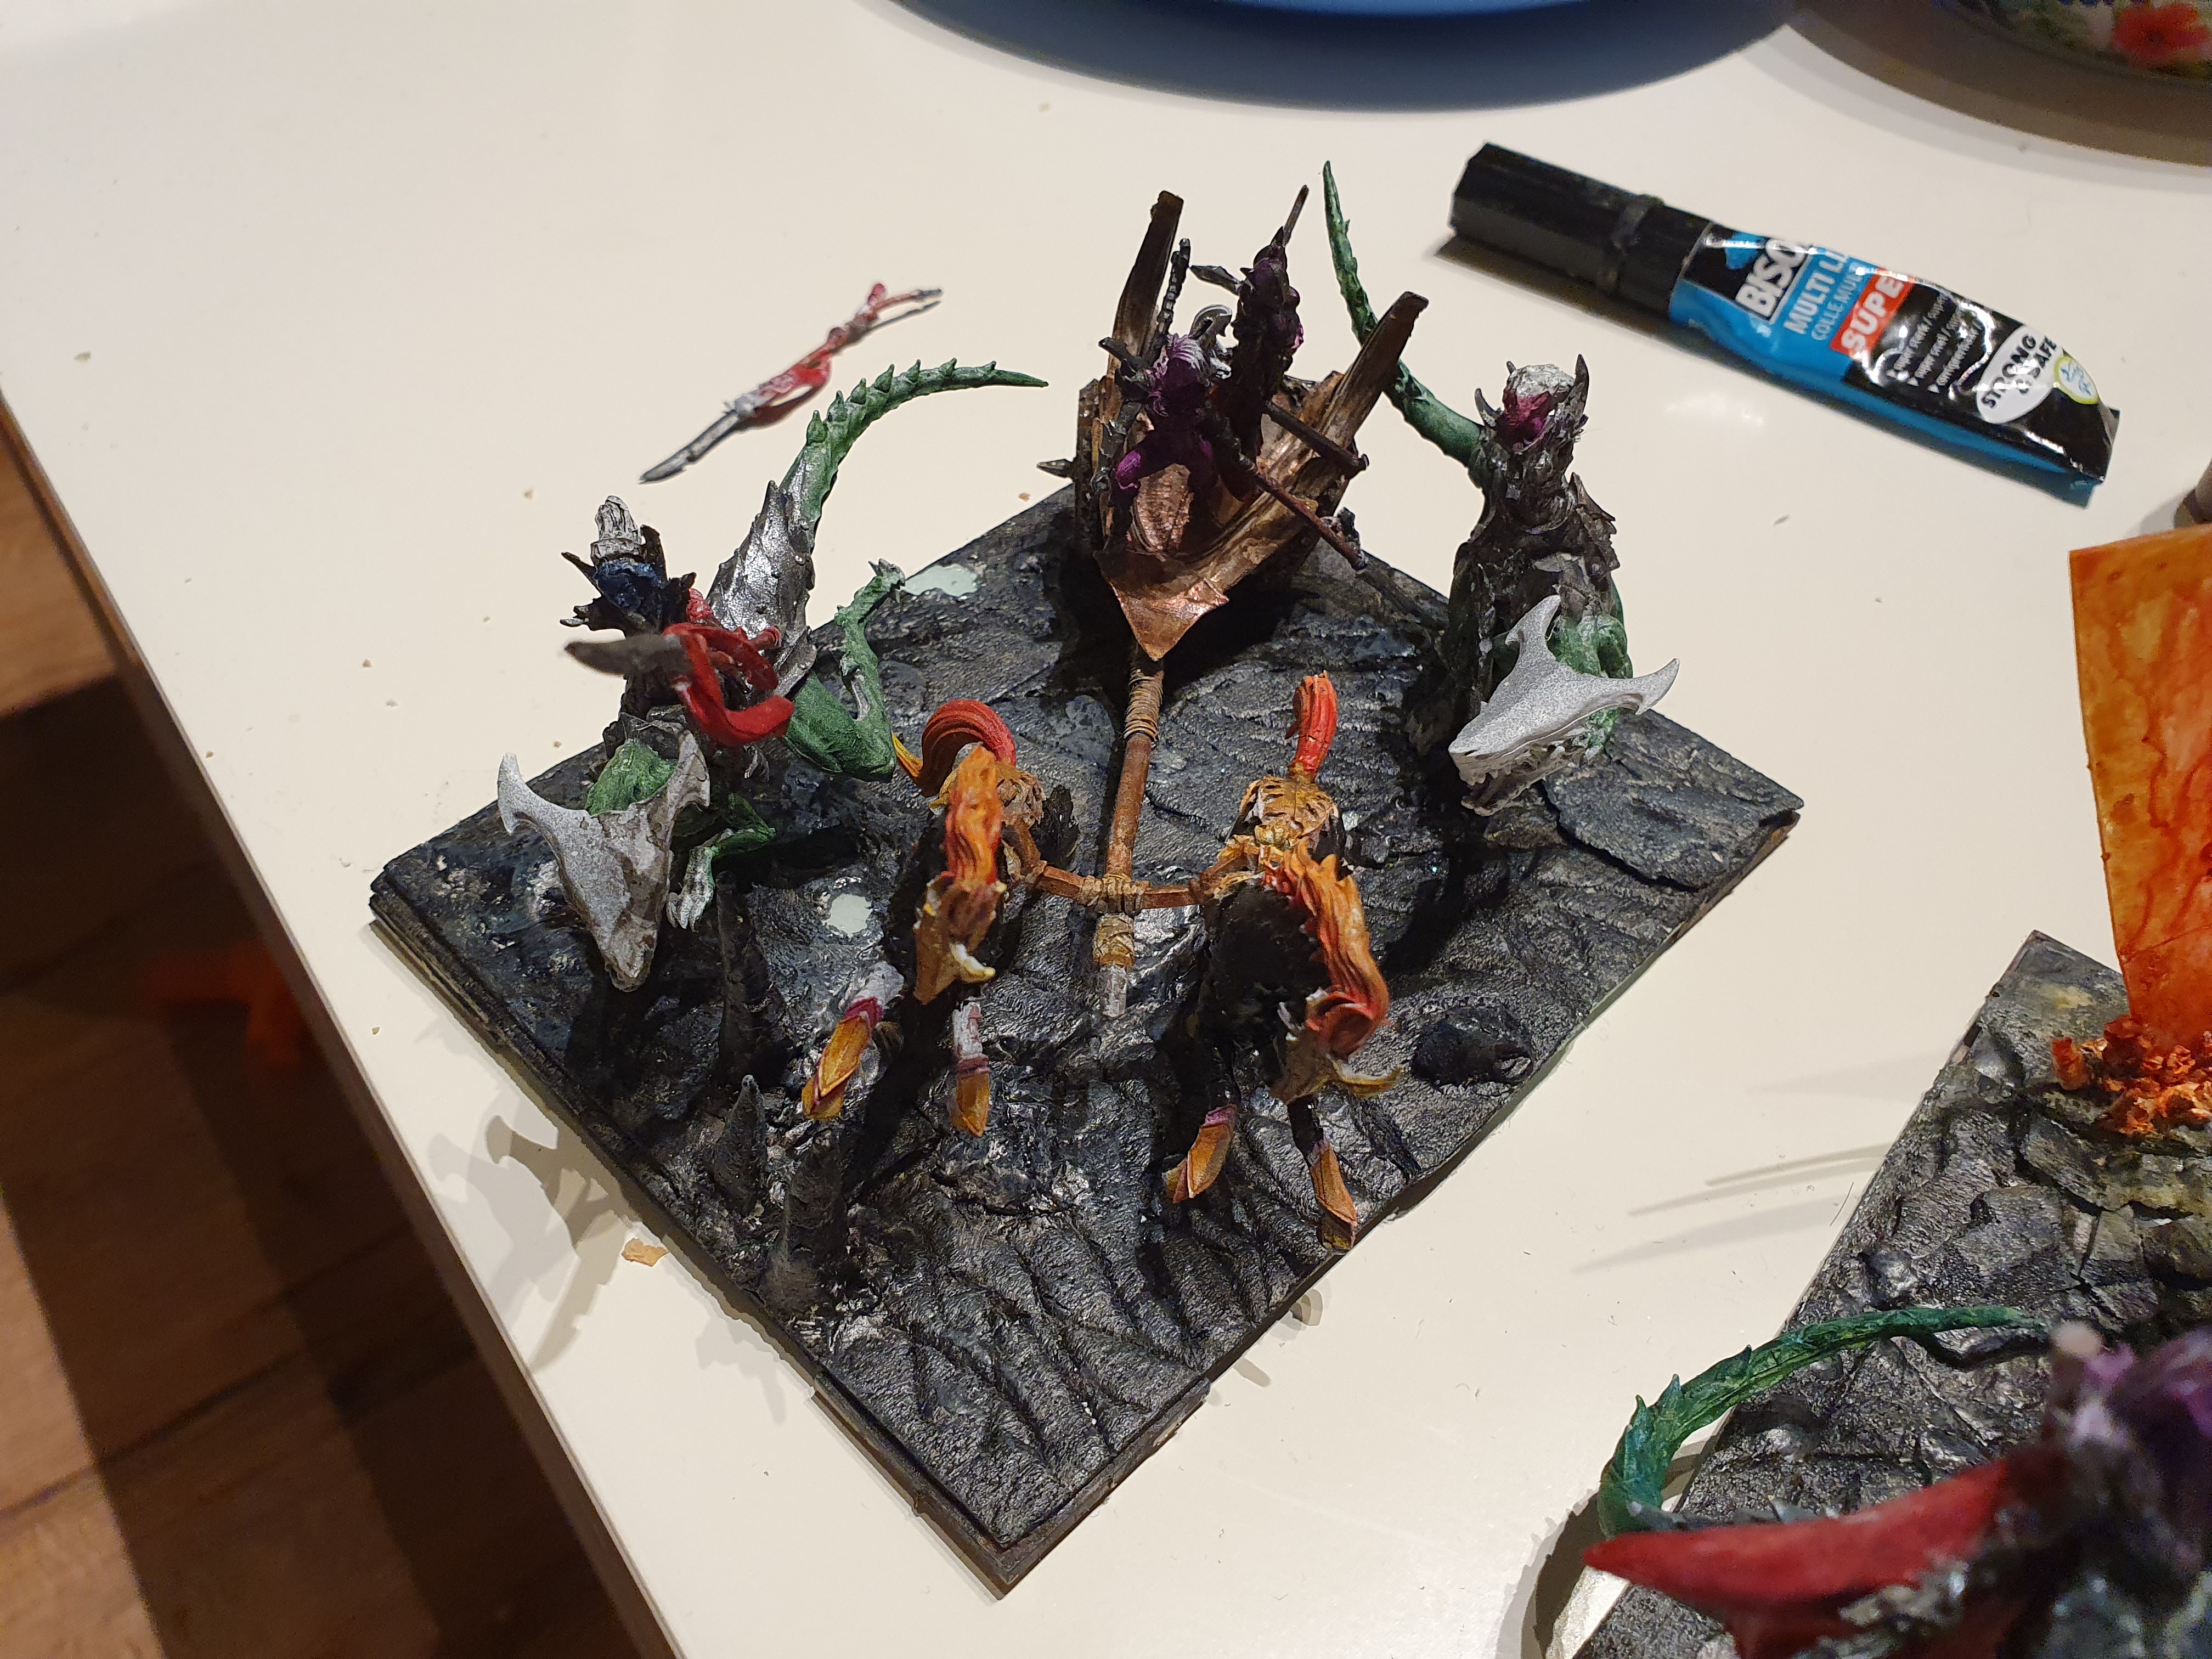
3 more gargoyles printed, a close up (these guys (and mirrored) form the main troops for my gargoyles) bringing me to 11 printed models.
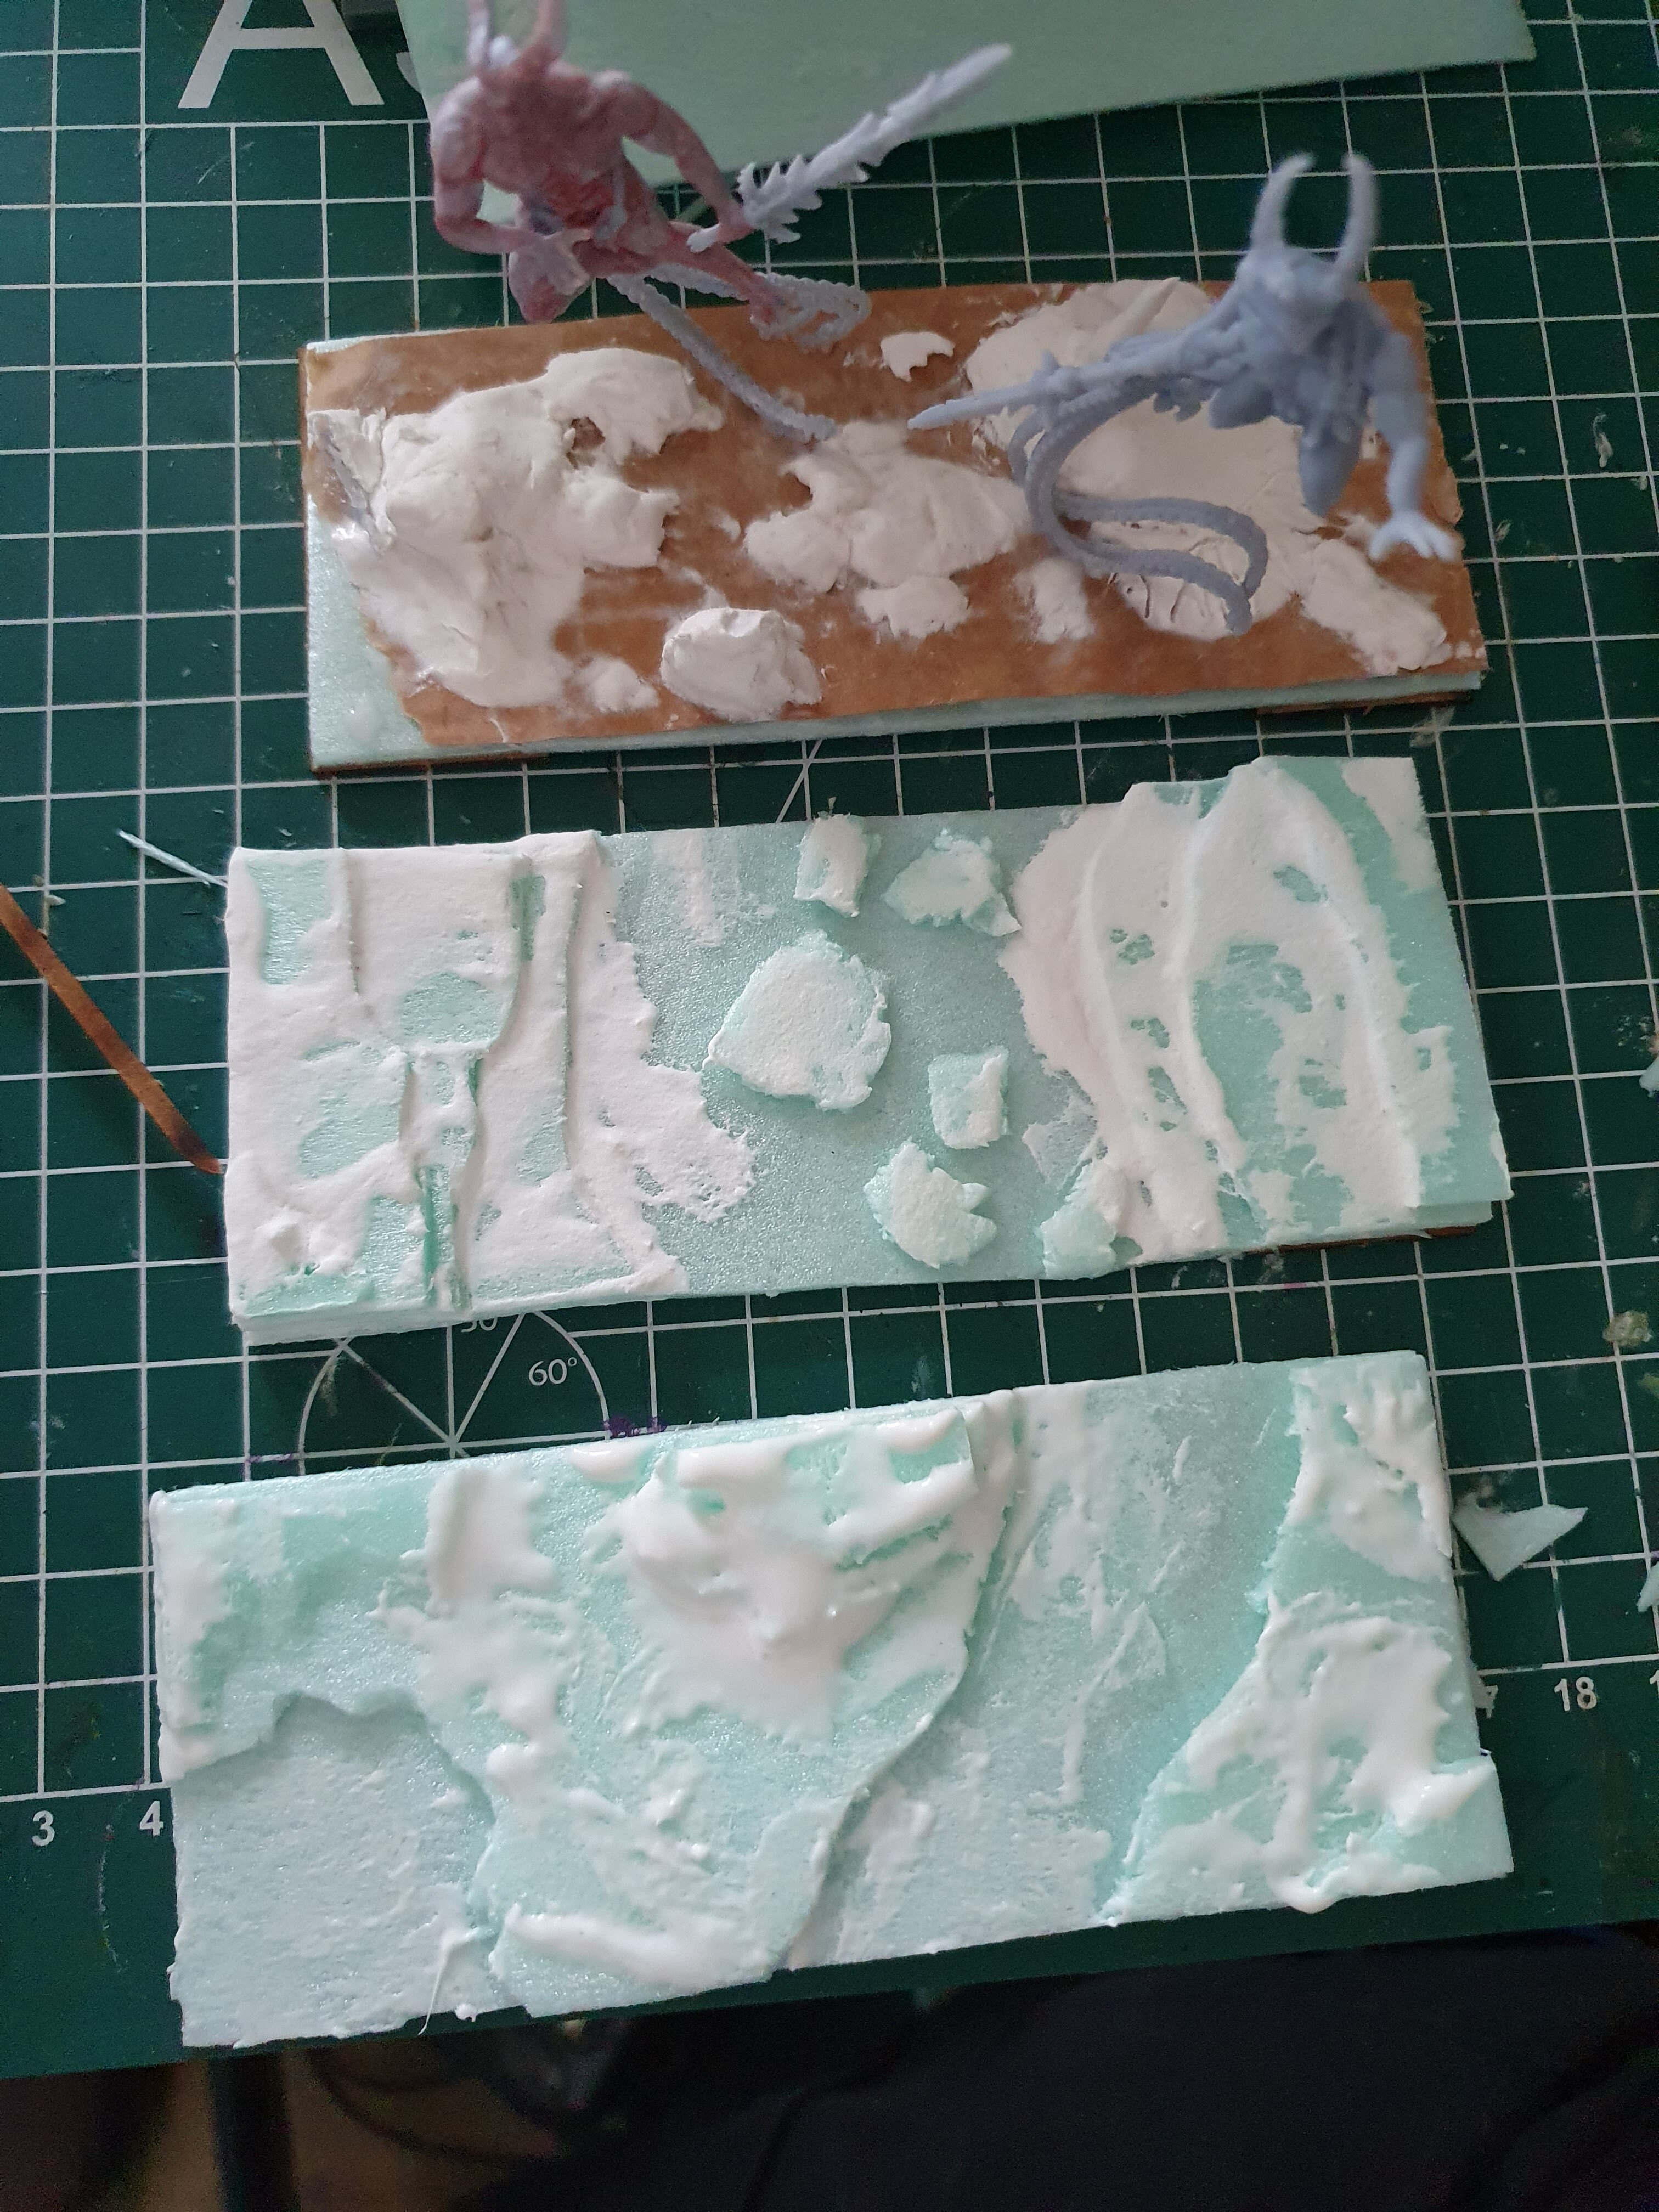
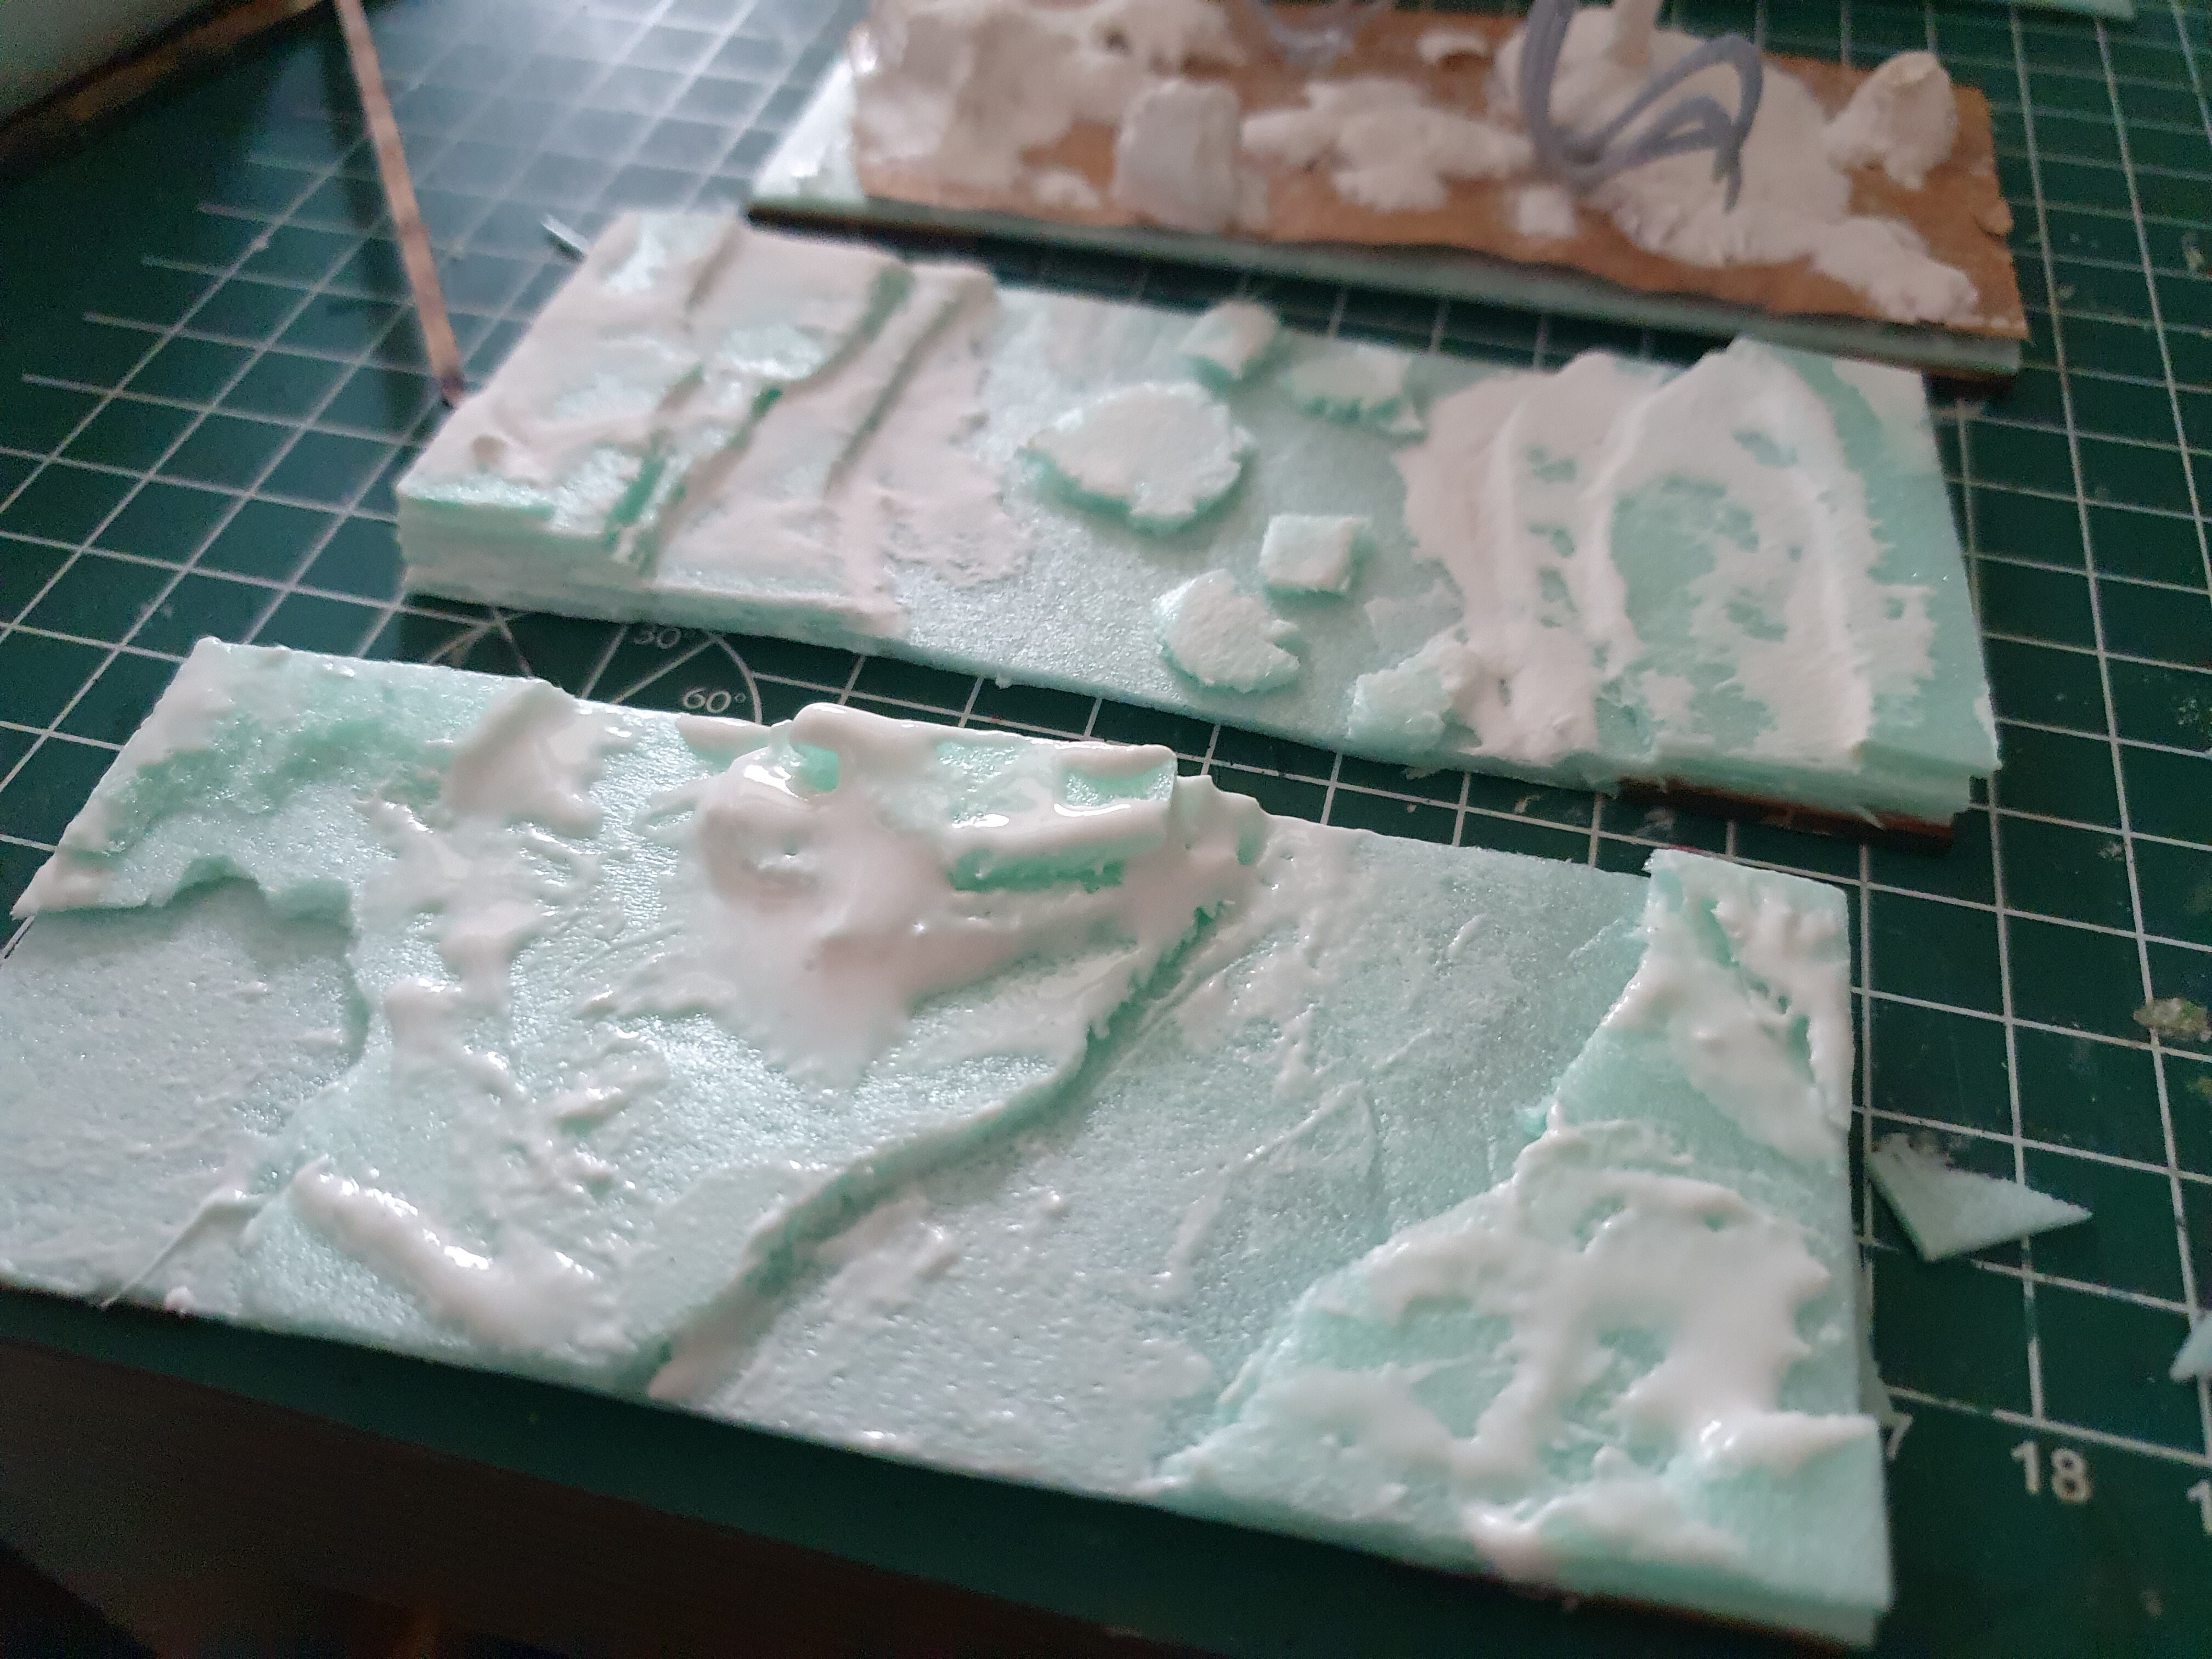
Also have been making the bases today:
11 Likes
You’re making healthy progress and I admire the work you’re putting into the army. As I said, it helps me pull my finger out with my own Twilight Kin.
1 Like
Gargoyles base done
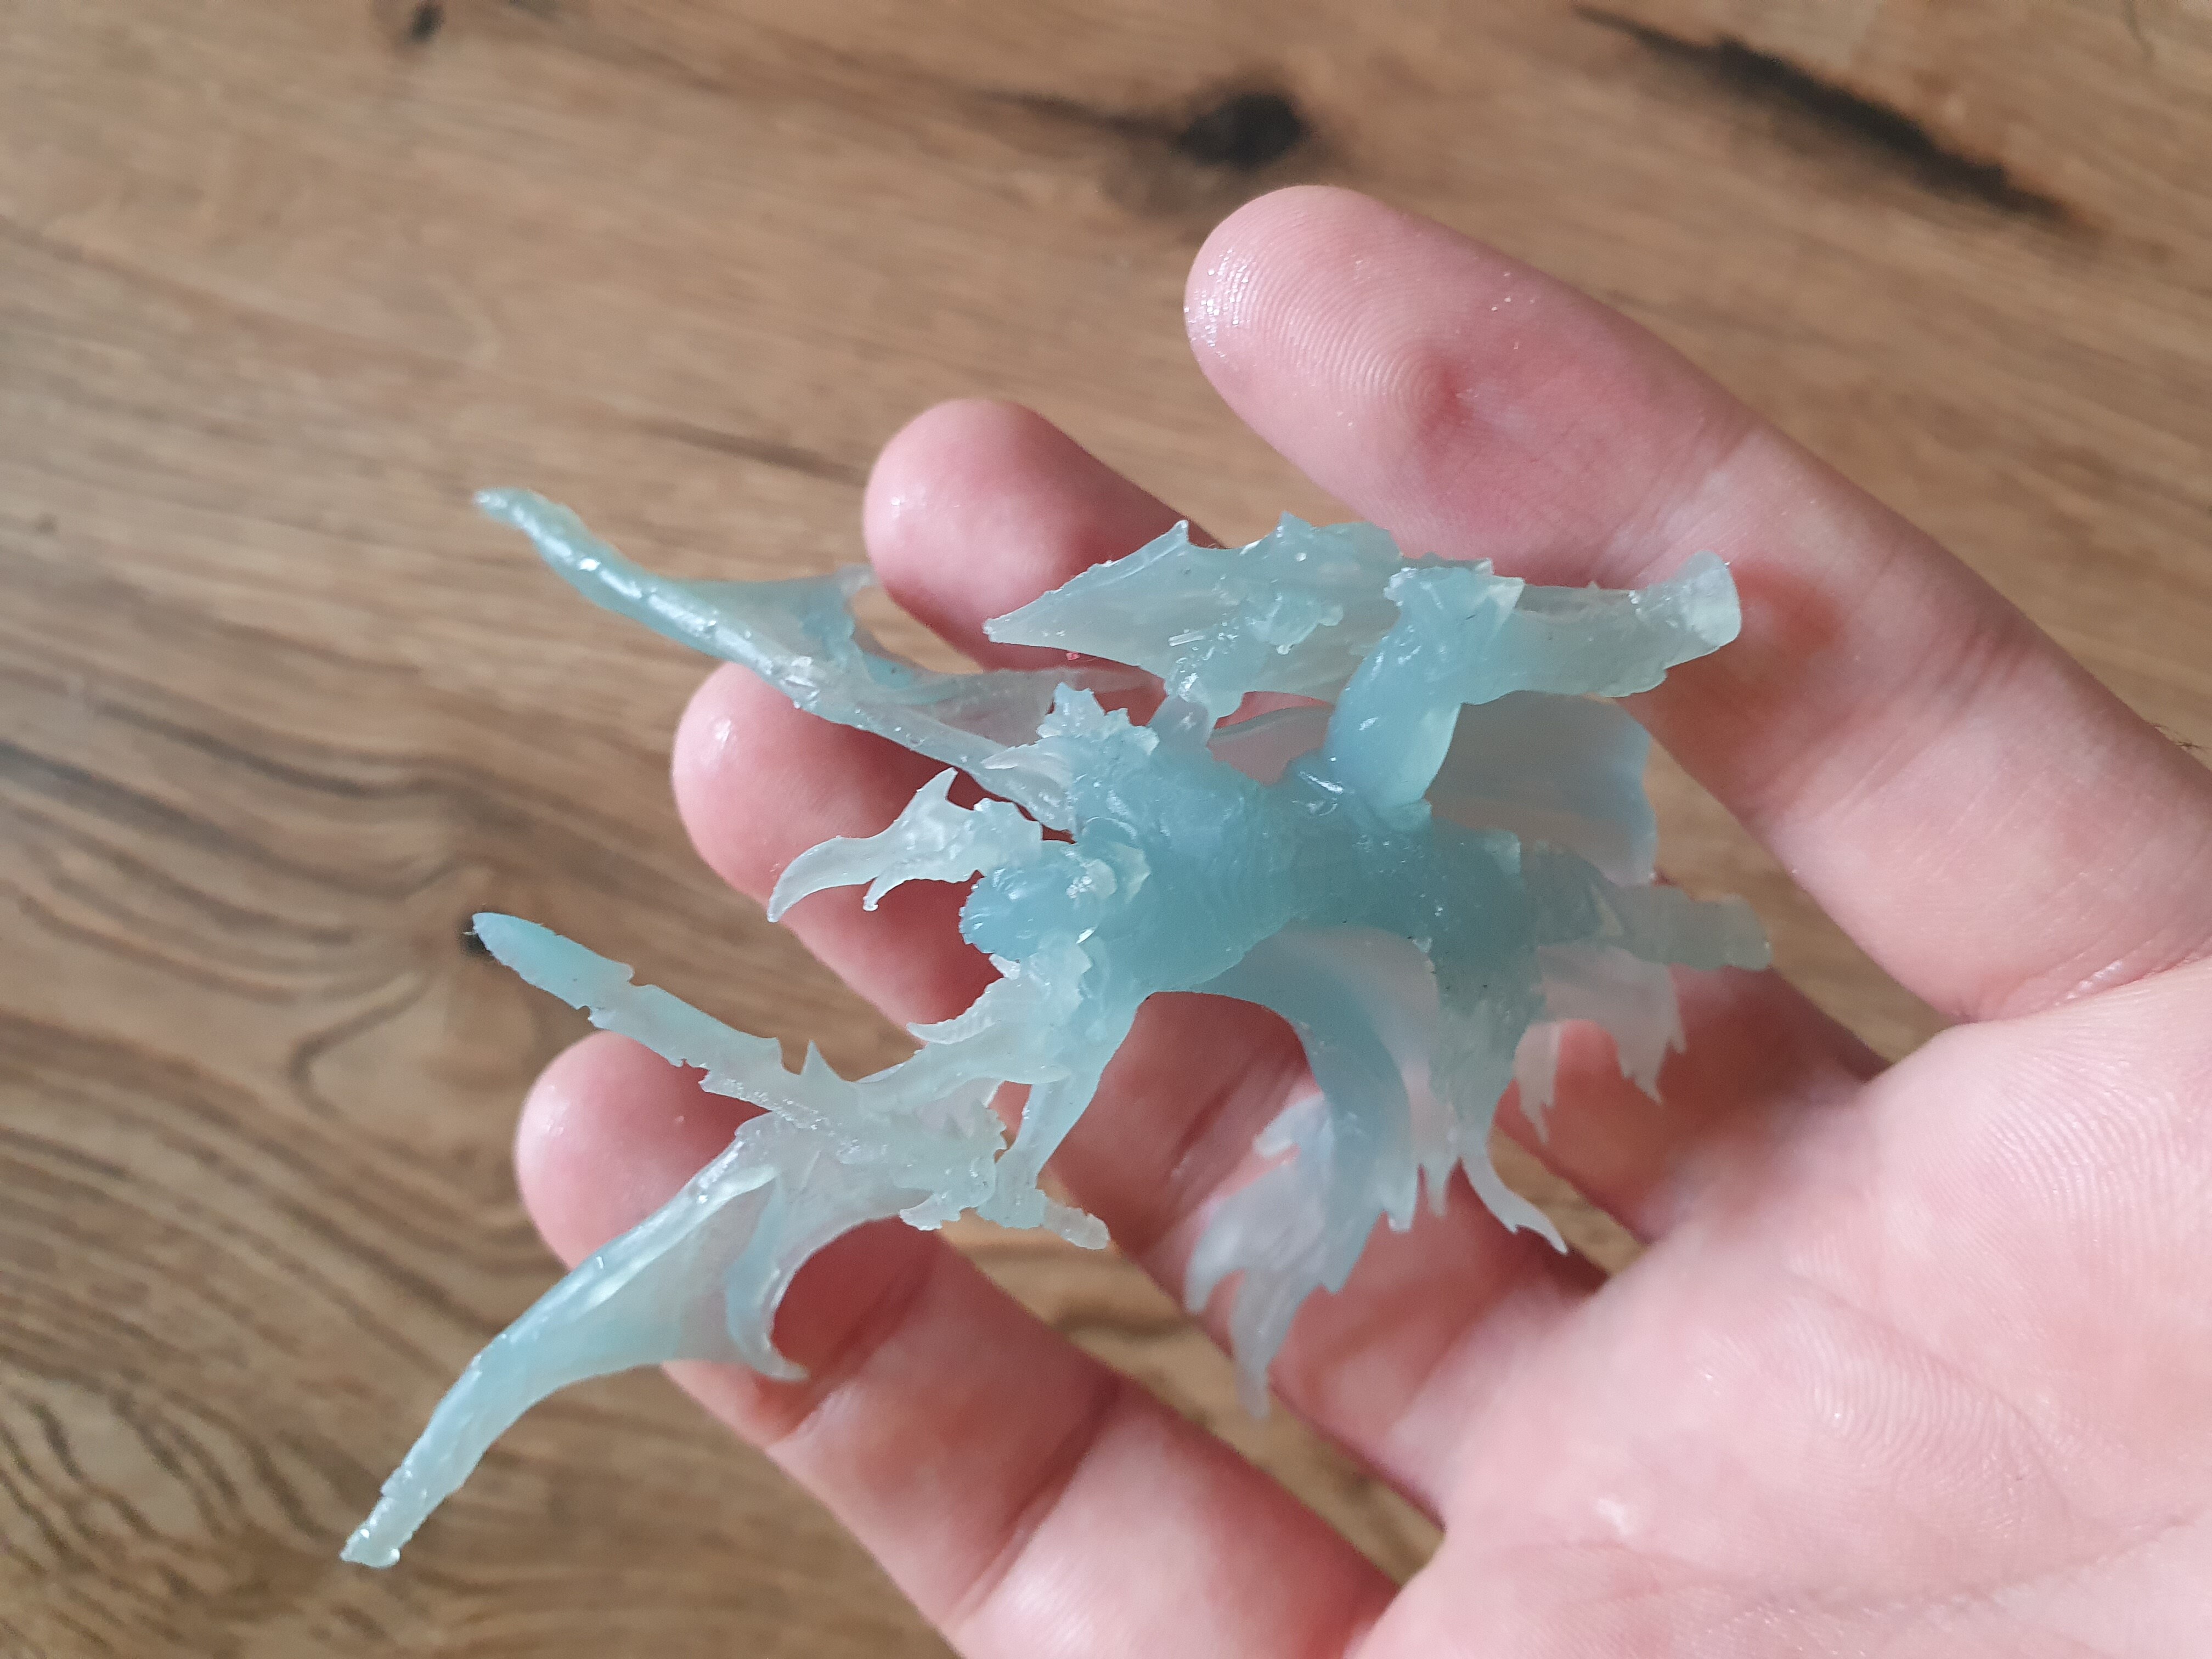
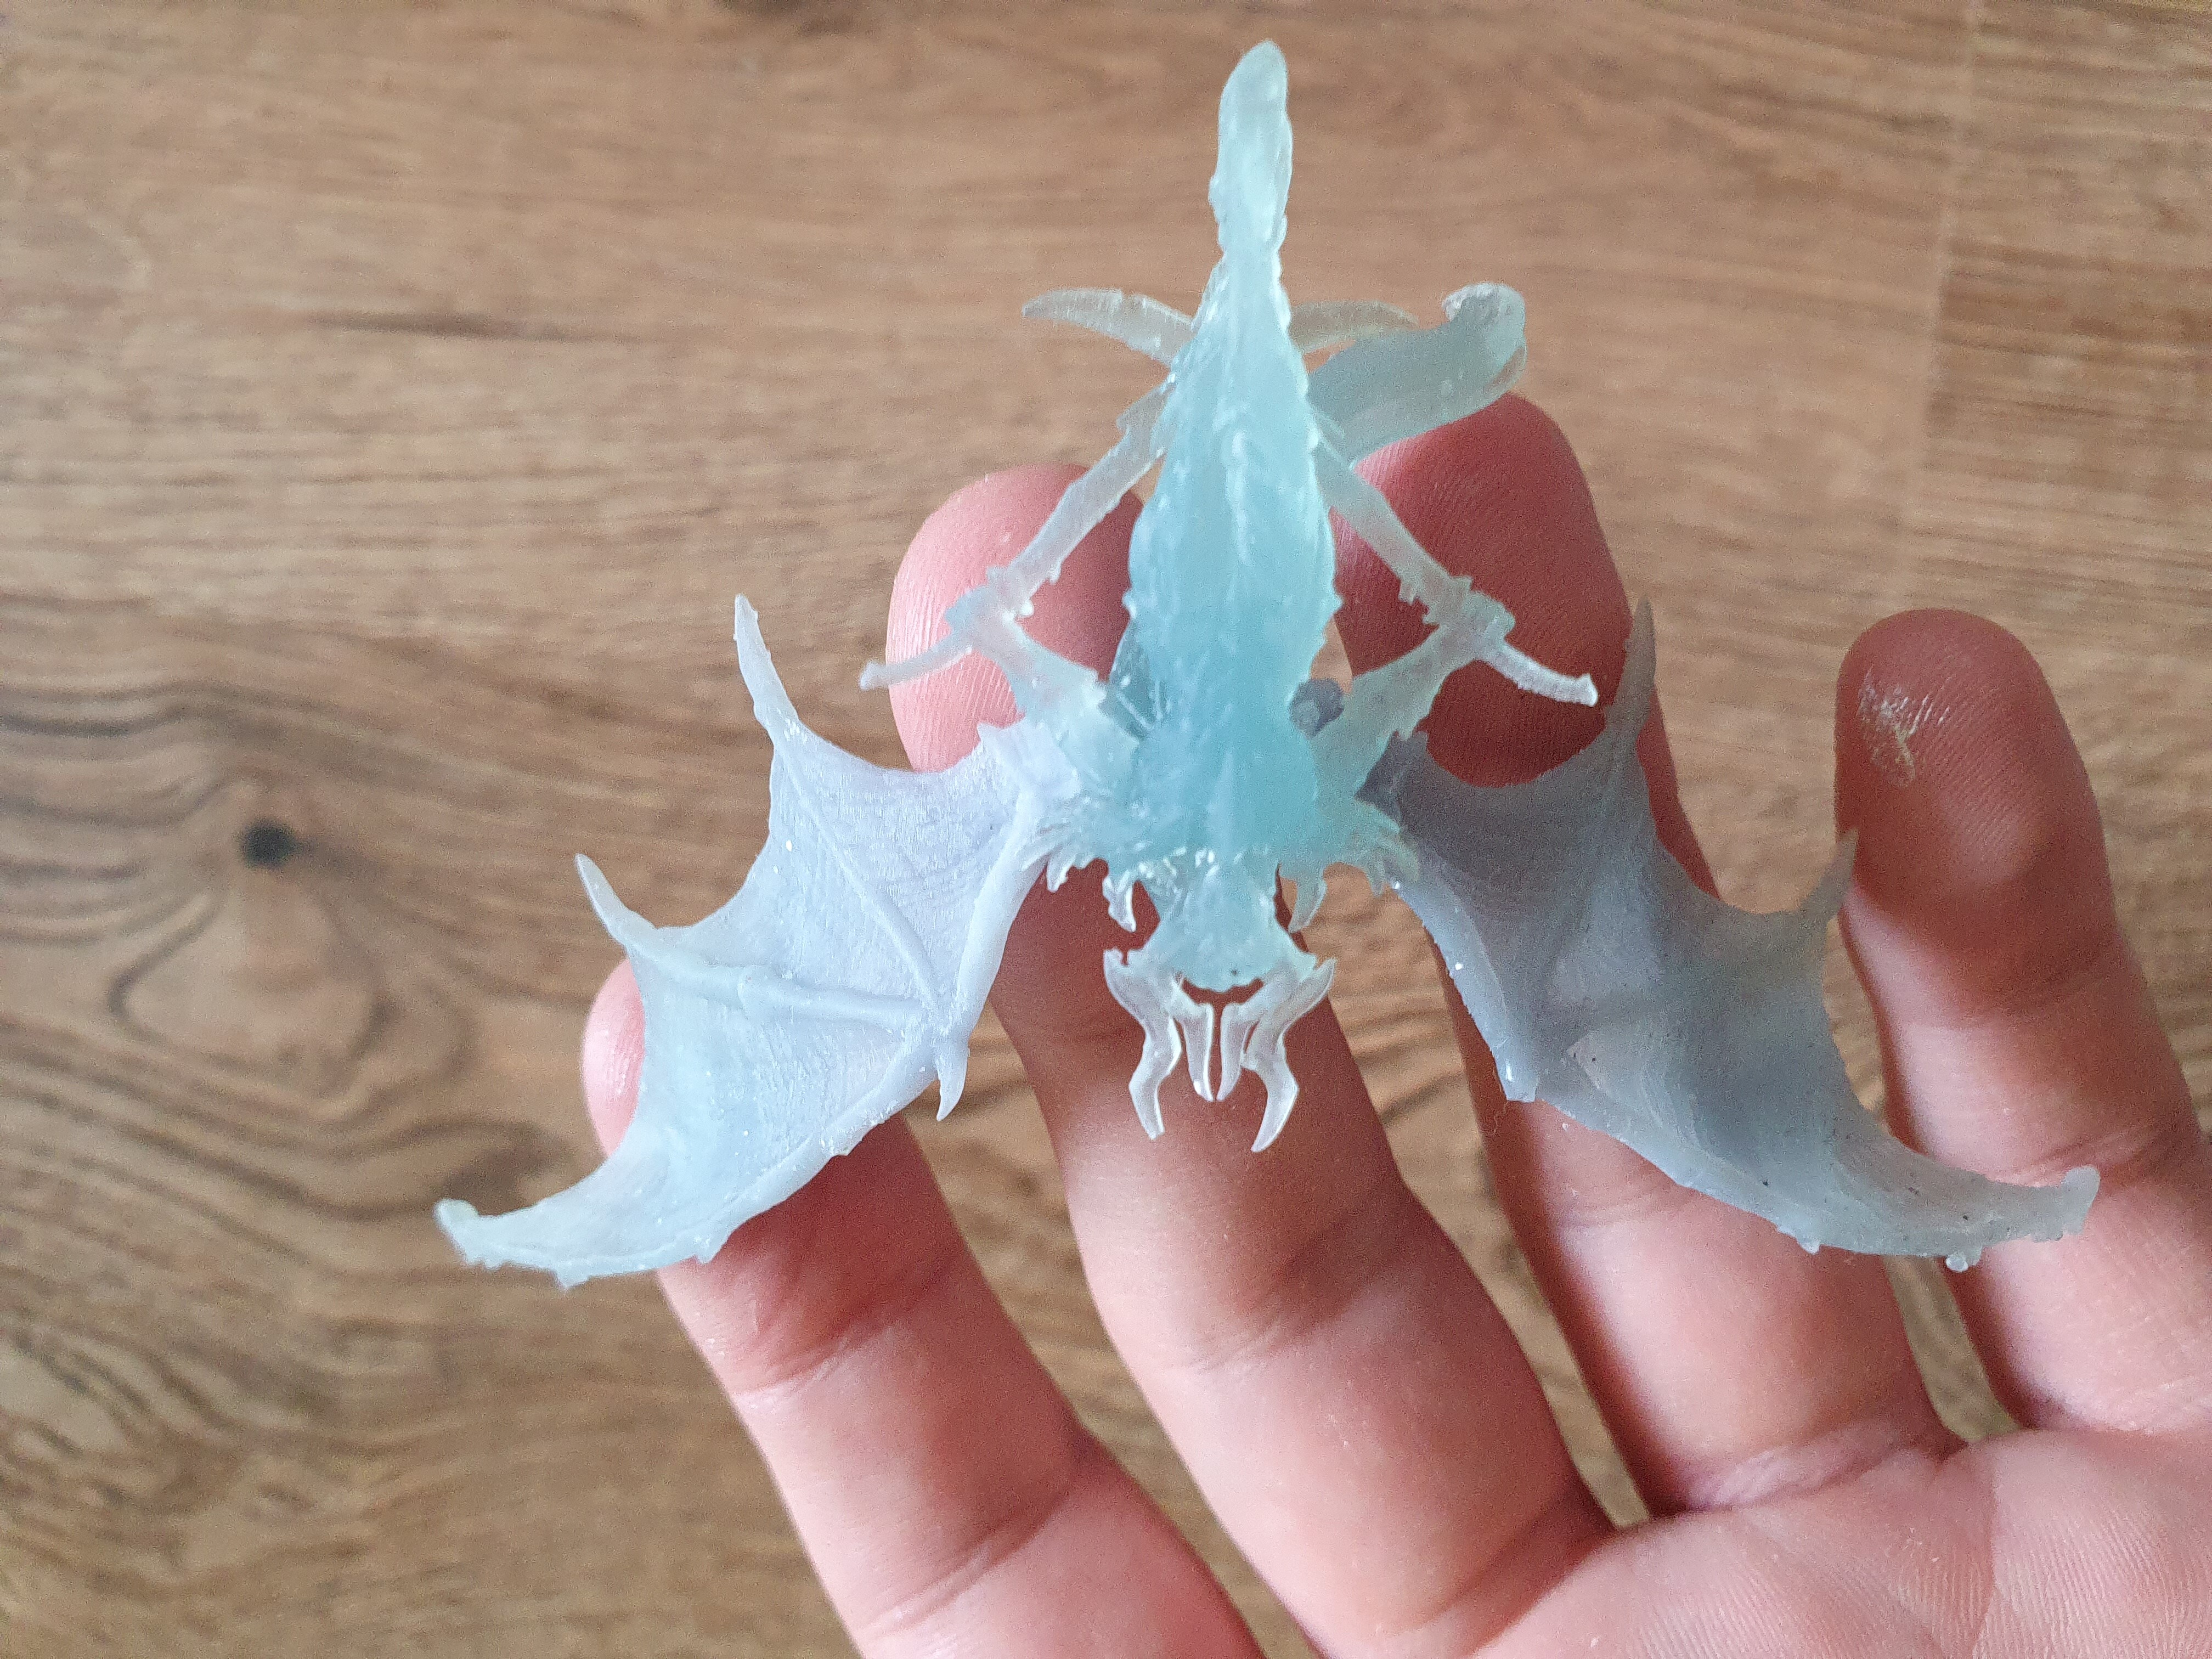
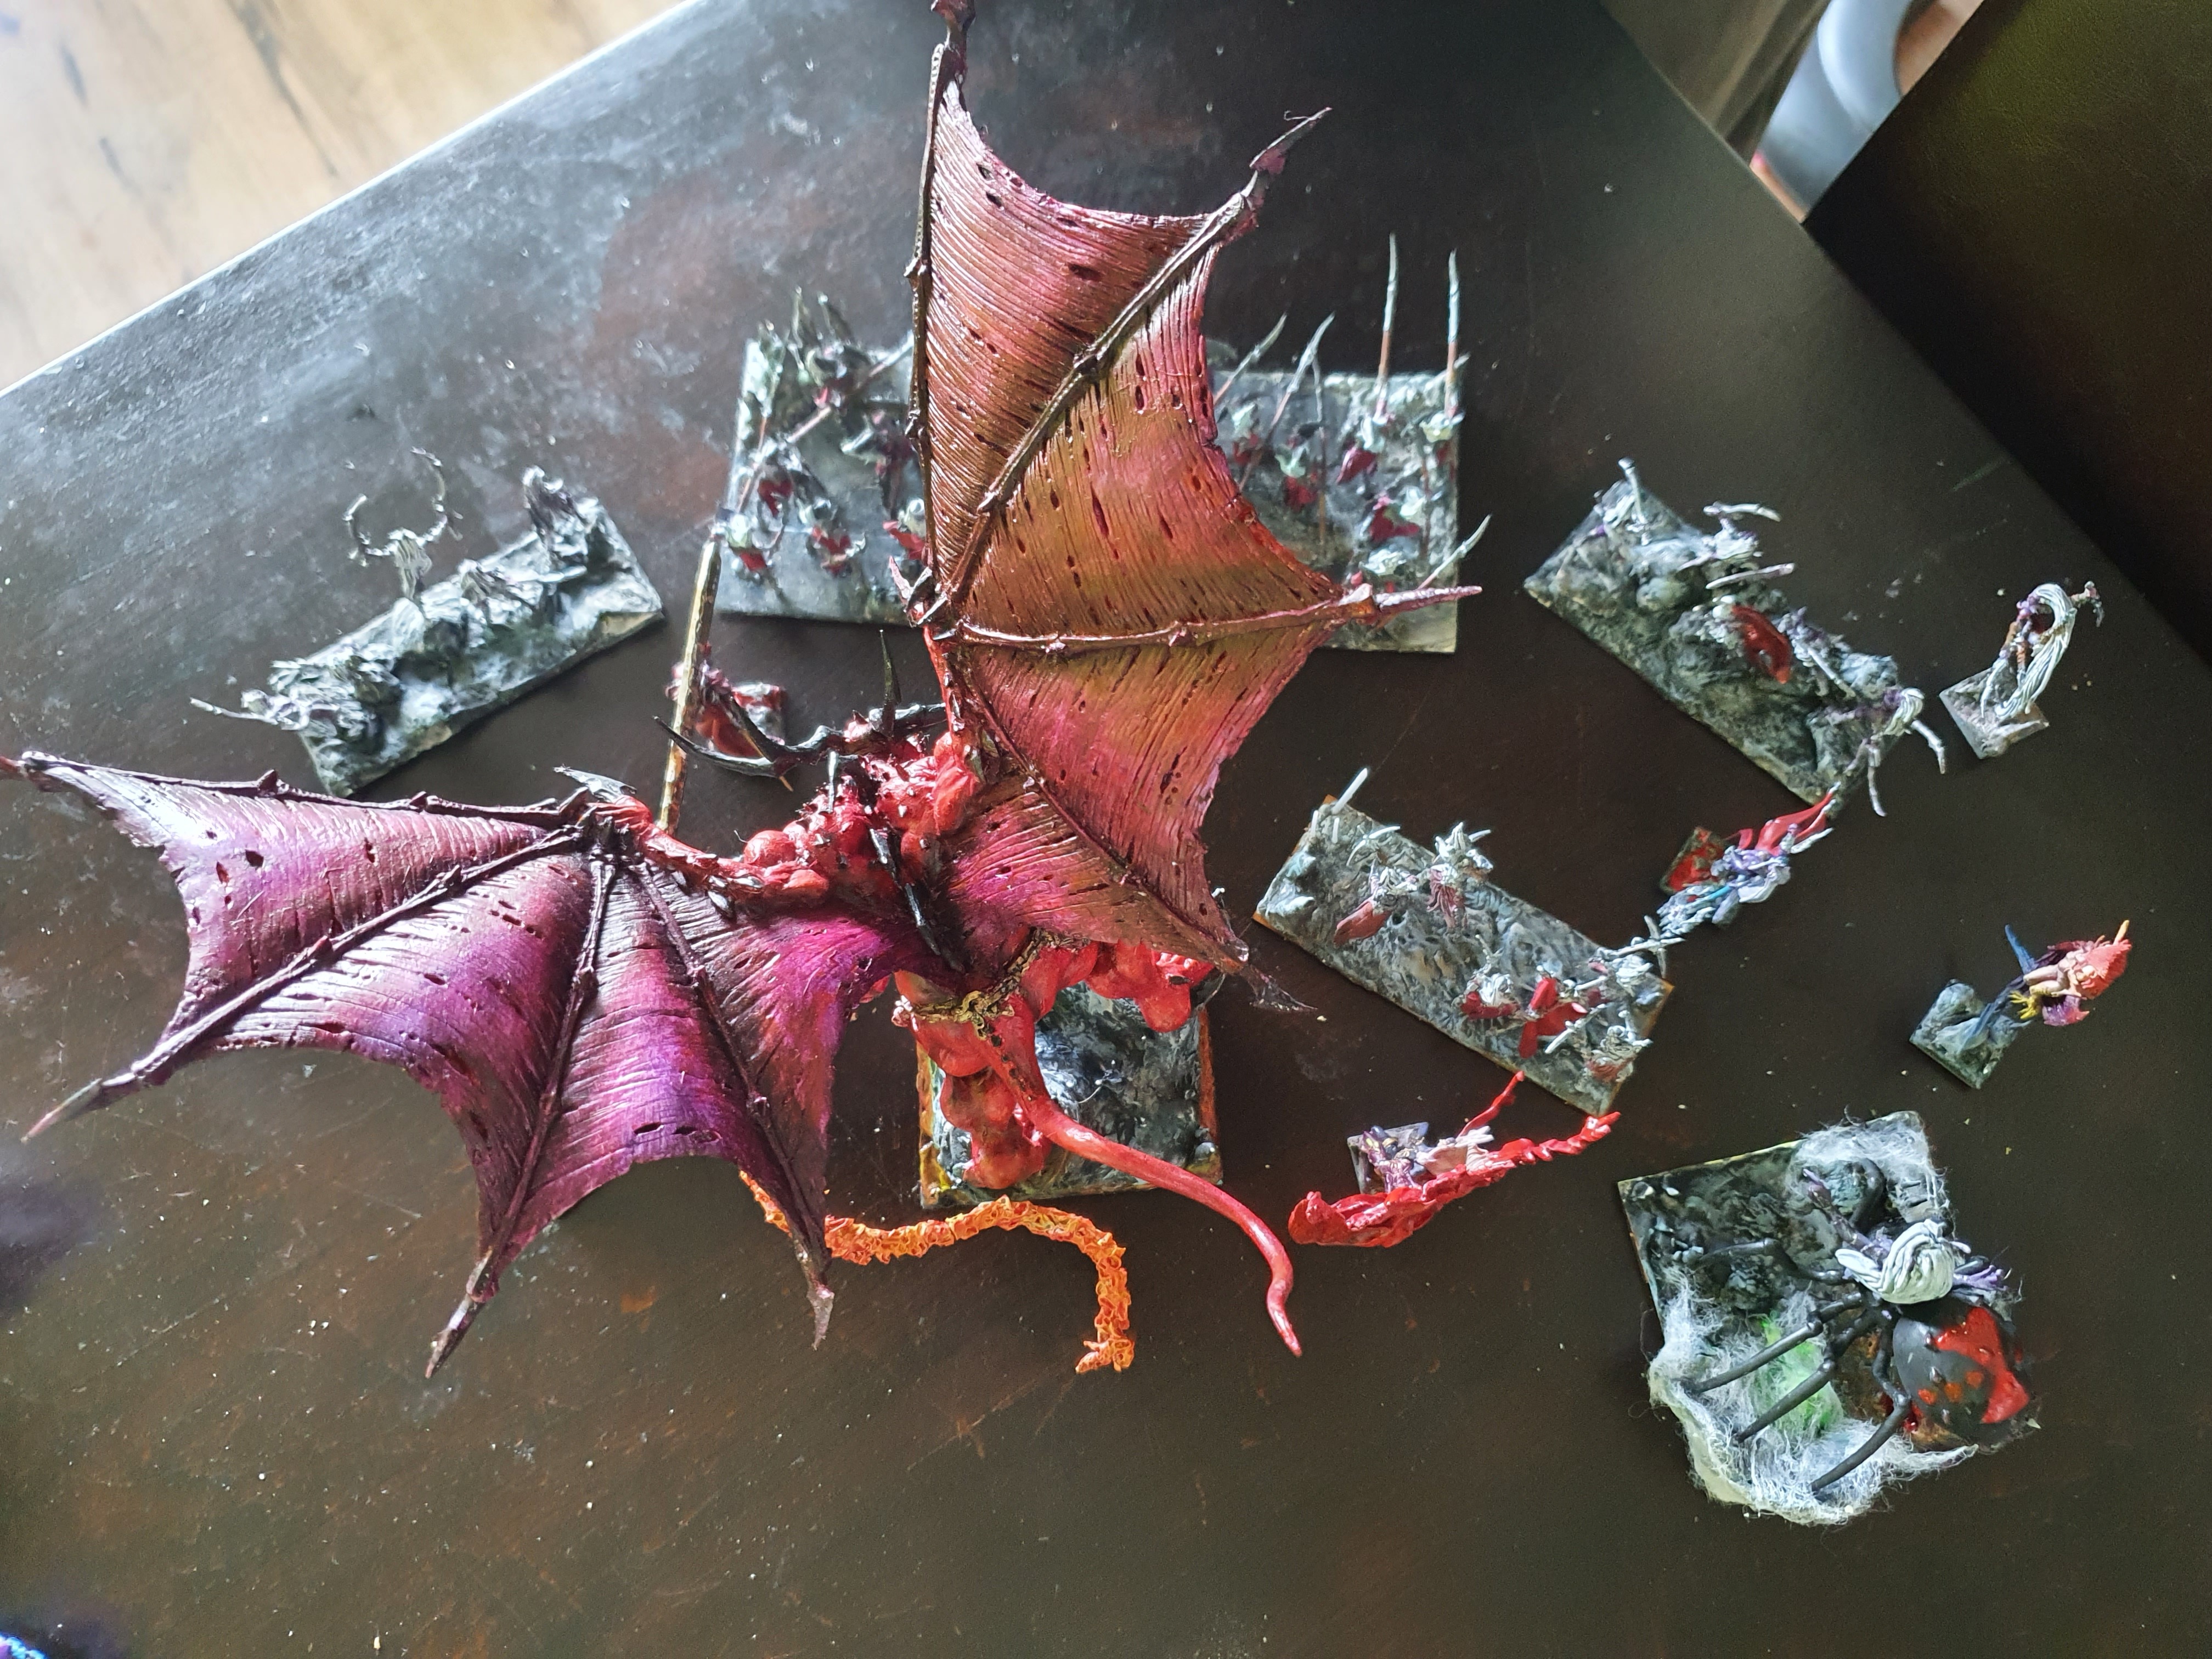
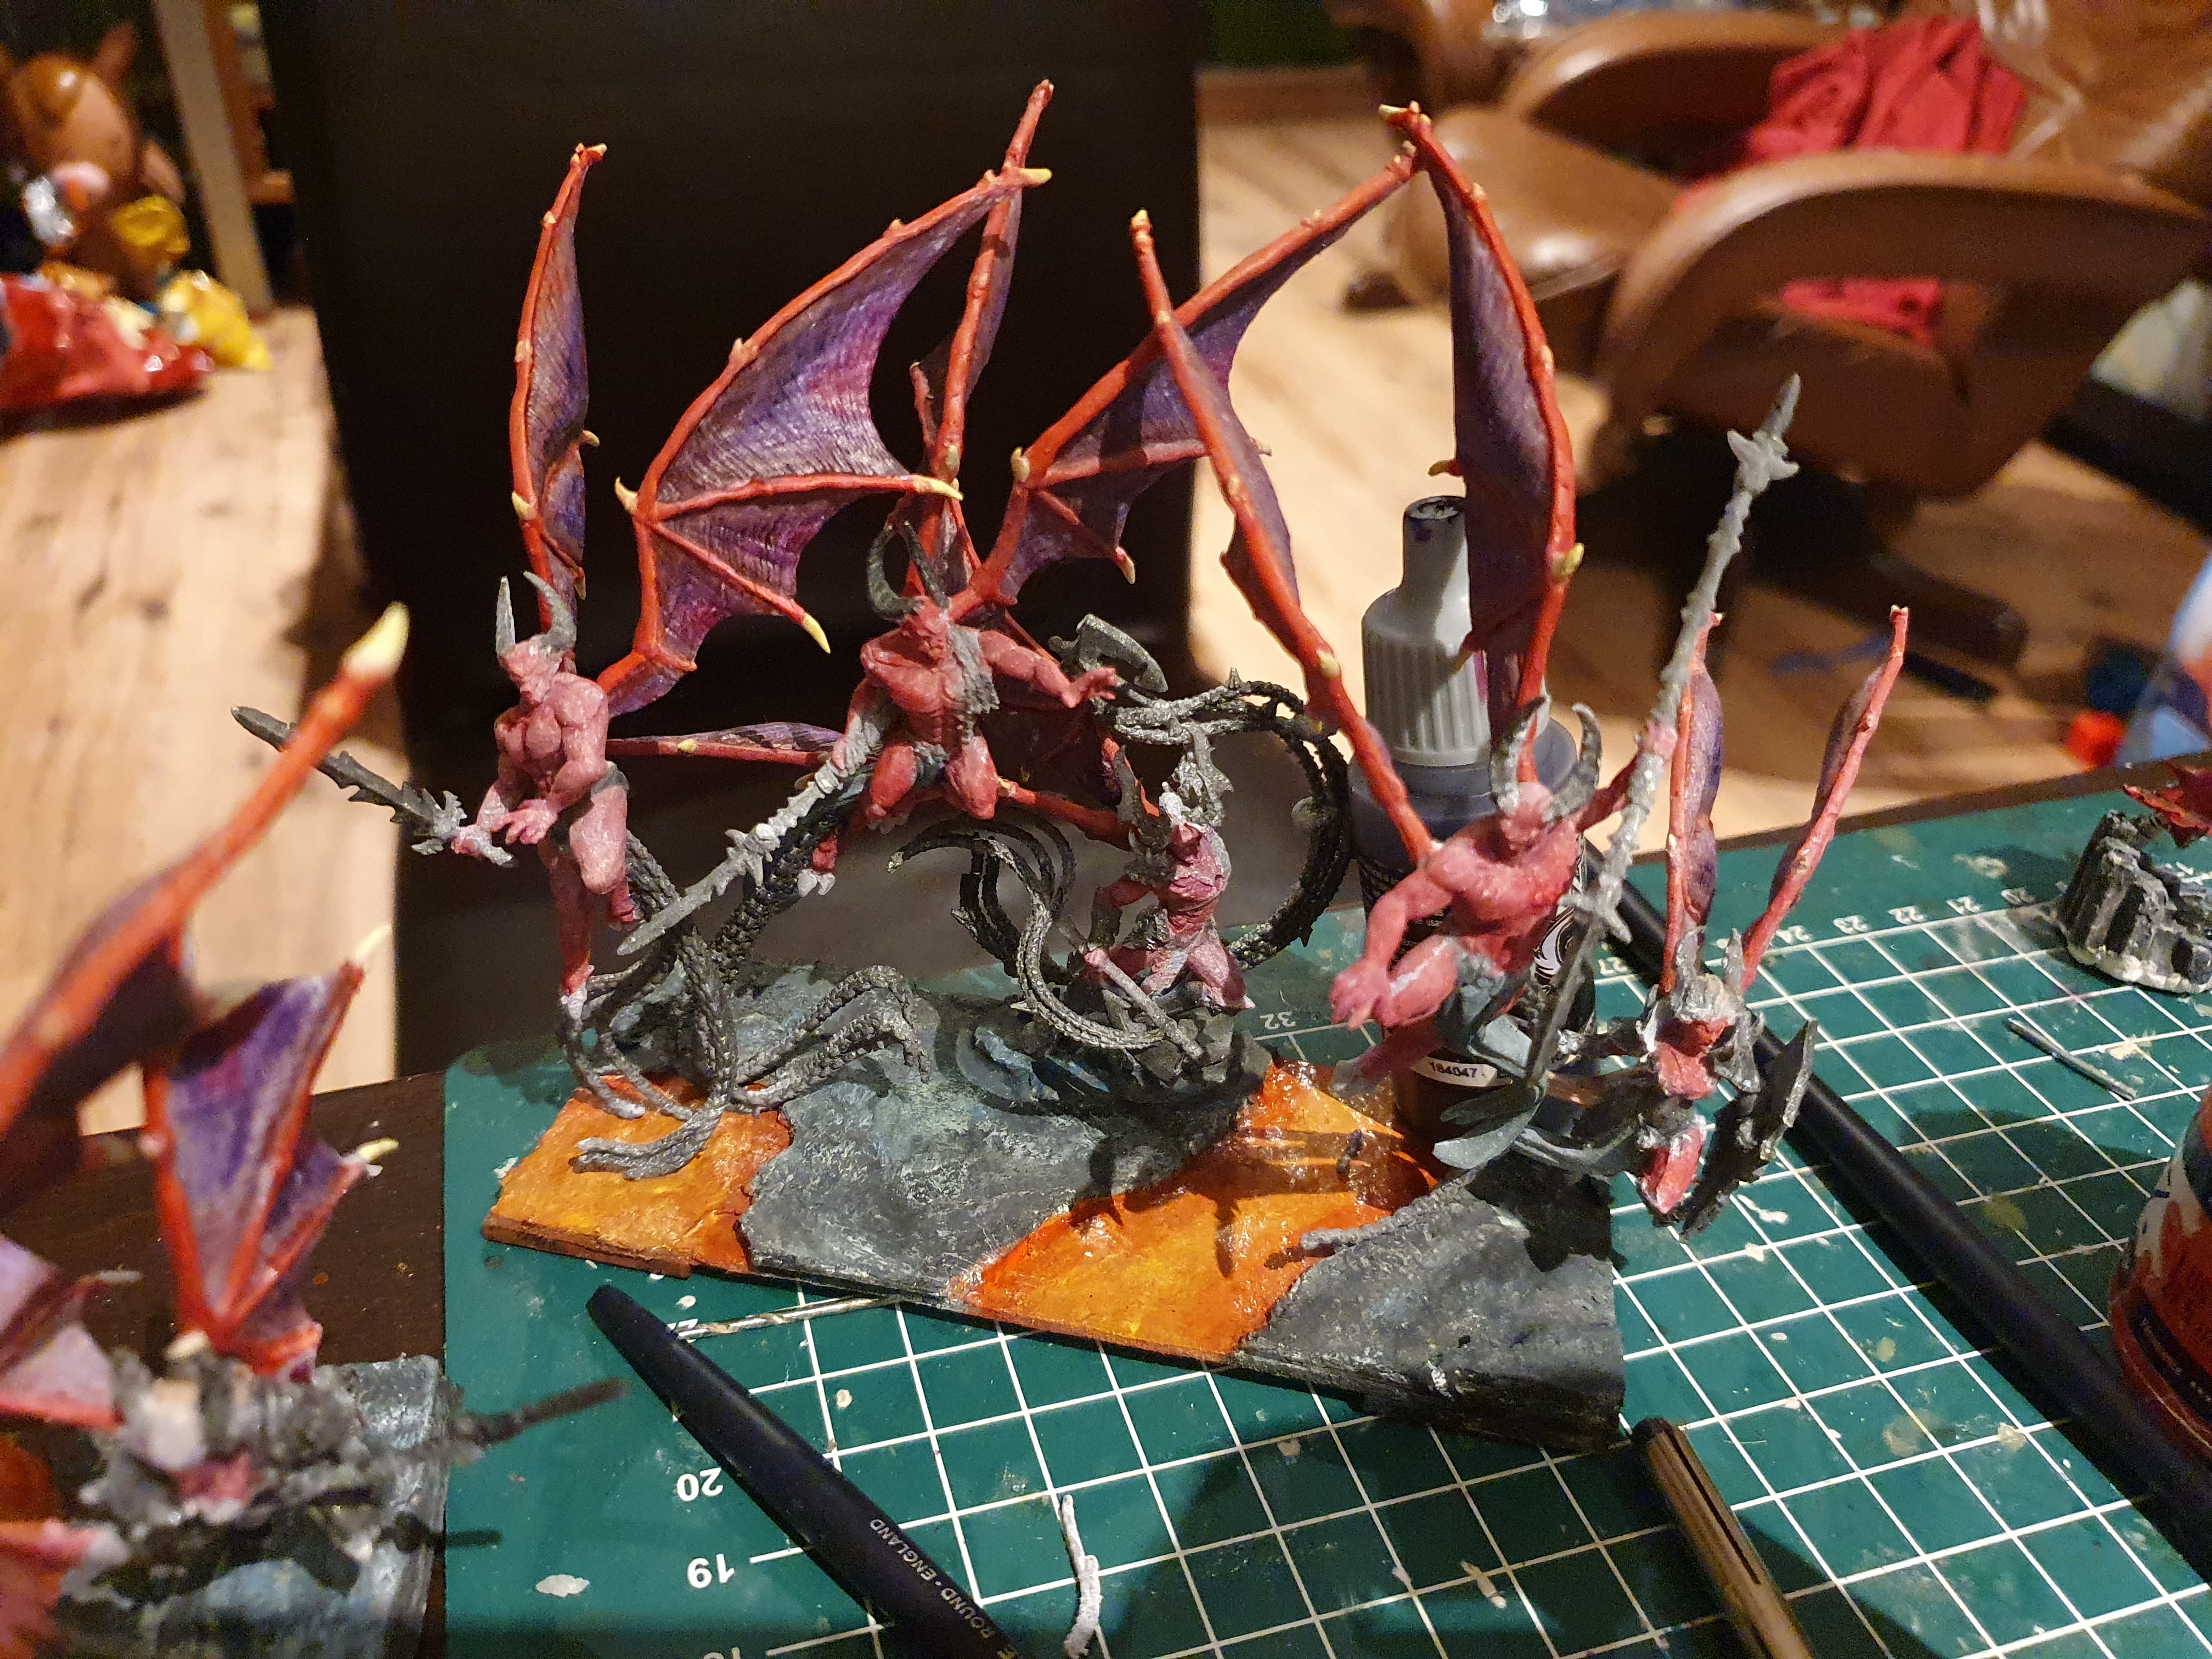
Wings are almost done, here is what they look like (lighting is a bit poor, they are a bit like the big demon’s wings)
8 Likes
Getting there, the wings turned out to be a nightmare as the pins were not well designed.
EDIT: update for today, to say the wings are a nightmare doesn’t capture my frustration quite right. I’ve been using almost all my free time this whole week fixing them and trying to get them attached it feels like.
At this point I have a strategy for building them, namely making sure all wings have atleast 2 contact points instead of one on any difficult acting model (about 80% of them). This means that I am actually gluing wings to each other and weapons as well as the joining point with the model.However, it is really cramping my creative vision.
Anyway, another unit (paint bottle is propping up a wing that two spots just wasn’t cutting it until the glue cures to full strength)
3 more wings to go on the last one. Pic when done, but I need to wait for a bit more curing before attaching the next wing.
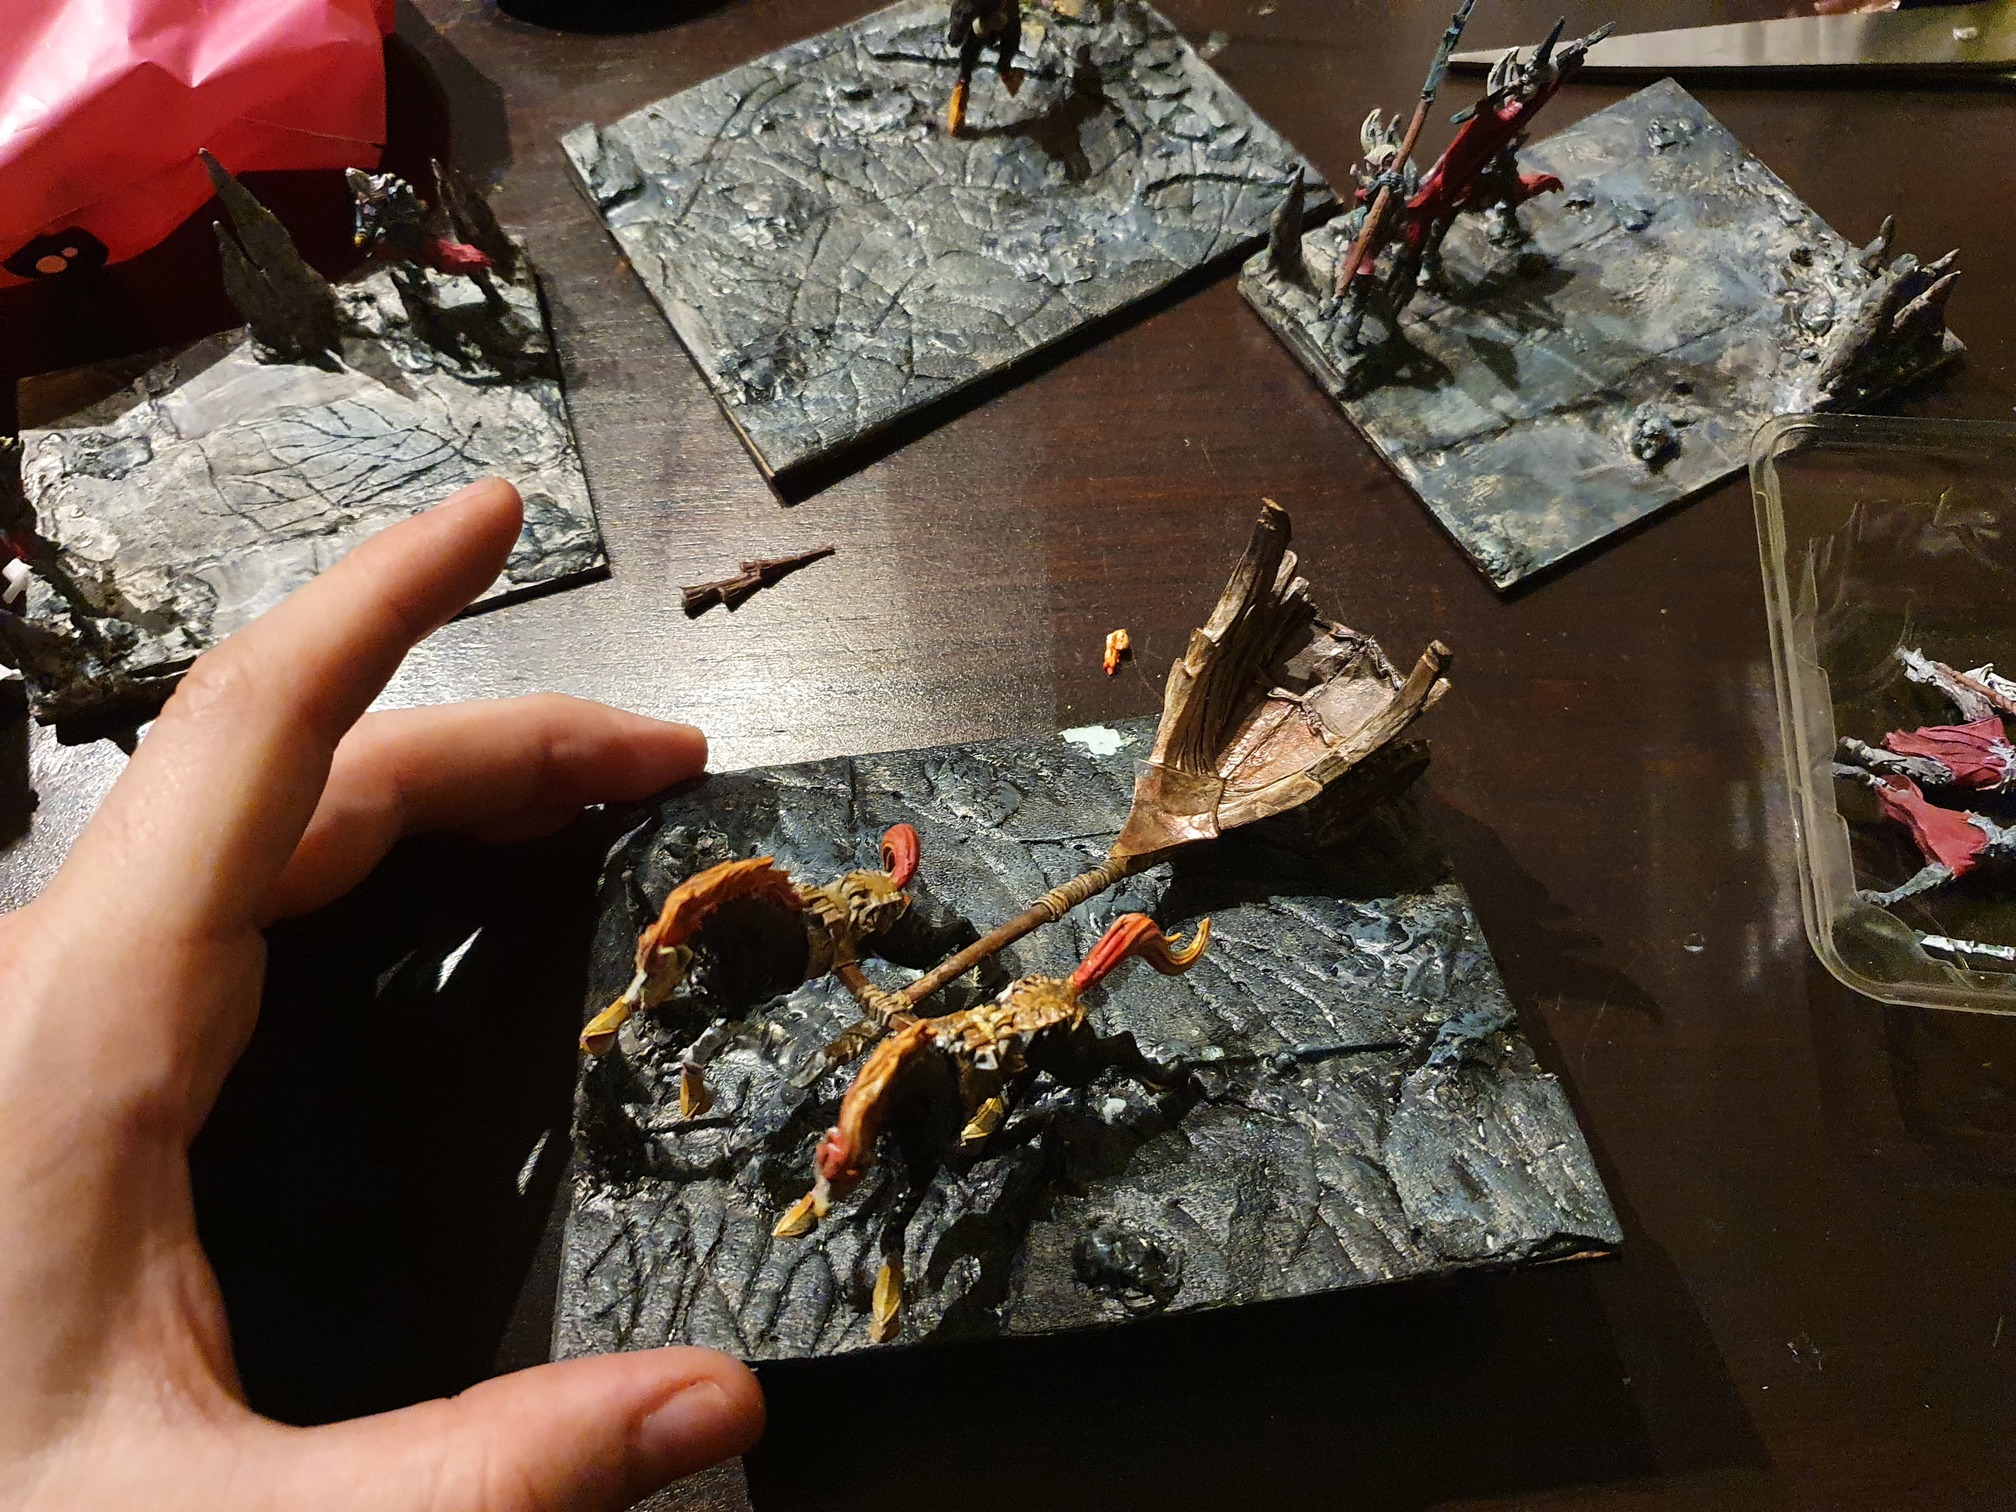
In other news, cavalry is almost table top ready, just gotta paint the lizards head plates, part of one horses legs, apply some more washes to the horses armor and attach the shields/weapons that are drying. Honestly in the future I’m probably going to redo these guys to fill the plate better. RH patreon is releasing exactly the files I need to print and fill out the bases out next month.
10 Likes
Magnetic base ready, impalers almost ready. I intend to do some resin water effects at a future date, but I just broke off 3 wings when I was 1 wing away from finishing my last gargoyle so that takes priority. Going slightly insane.
Cav almost done gluing, got a few more details I want to pick out before calling them table top ready.
And then I am done, a 2300 army just in time for my first ever KoW tournament.
5 Likes
You’ve probably already explored the option, but would a small pin help strengthen the wings? I’ve found even a 3mm pin helps reduce the stress exerted on more fragile pieces that are likely to get knocked. Hell, most of the Tallspears I’m working on have mini-pins holding the heads in place.
Regardless, keep up the good work!  The goal is in sight
They have built in pins, but they’re pretty worthless. I didn’t want to drill 60+ holes to pin um but you are right that would have been a better solution.
Honestly I am just gunna hope these stick and maybe in the future pin any that fall off. And if I ever happen to print more I’m just gunna put the wings on in meshmixer and do the supports myself so its a solid piece.
But its all done and just sitting to get the full cure now.